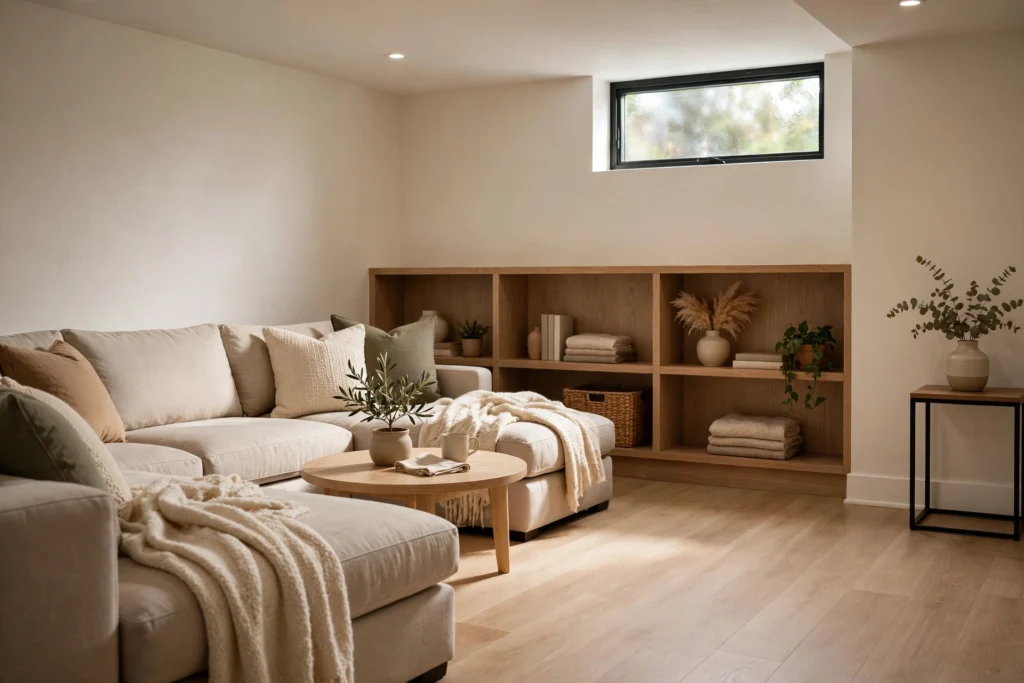
A basement floor takes more daily wear than any other part of a finished basement, so learning how to finish a basement floor properly is worth the effort. The right floor depends on damp, use, warmth and budget, and the wrong choice can trap moisture or feel cold underfoot. This guide covers testing, preparation, options and care in plain steps.
Most basements start as a bare concrete slab. That slab is tough, but it is also cold, dusty and often slightly uneven, and it can draw up damp from below. Finishing the floor means dealing with those problems first, then adding a surface that suits the room: a playroom needs warmth, a workshop needs toughness, and a laundry needs splash resistance.
Basement flooring is a job most homeowners can plan well, even if parts are best left to a professional. The key is order: test, prepare, choose, then lay. Skip the first two steps and even the best flooring can fail.
The Short Answer: What Does Finishing a Basement Floor Mean?
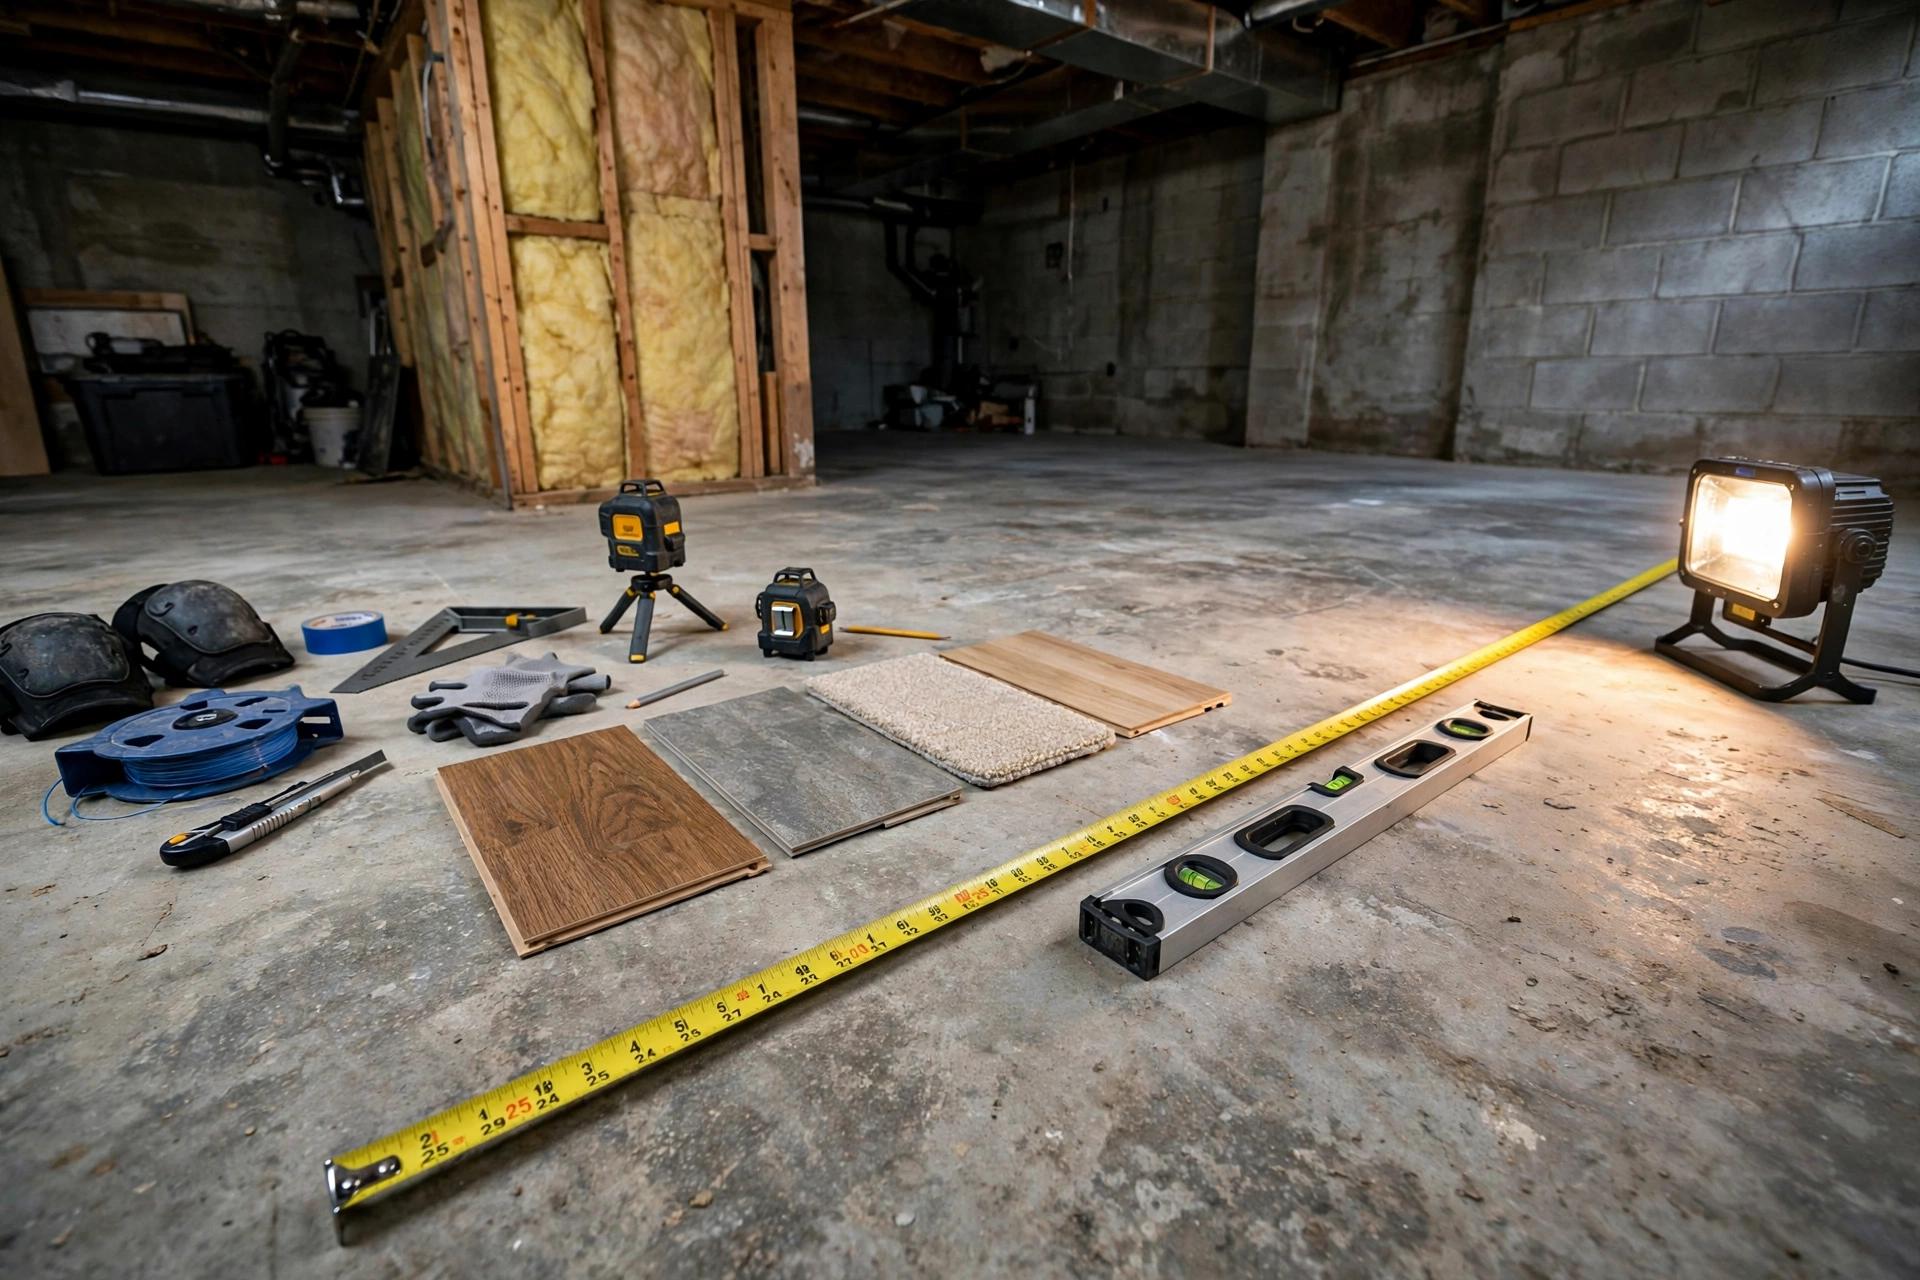
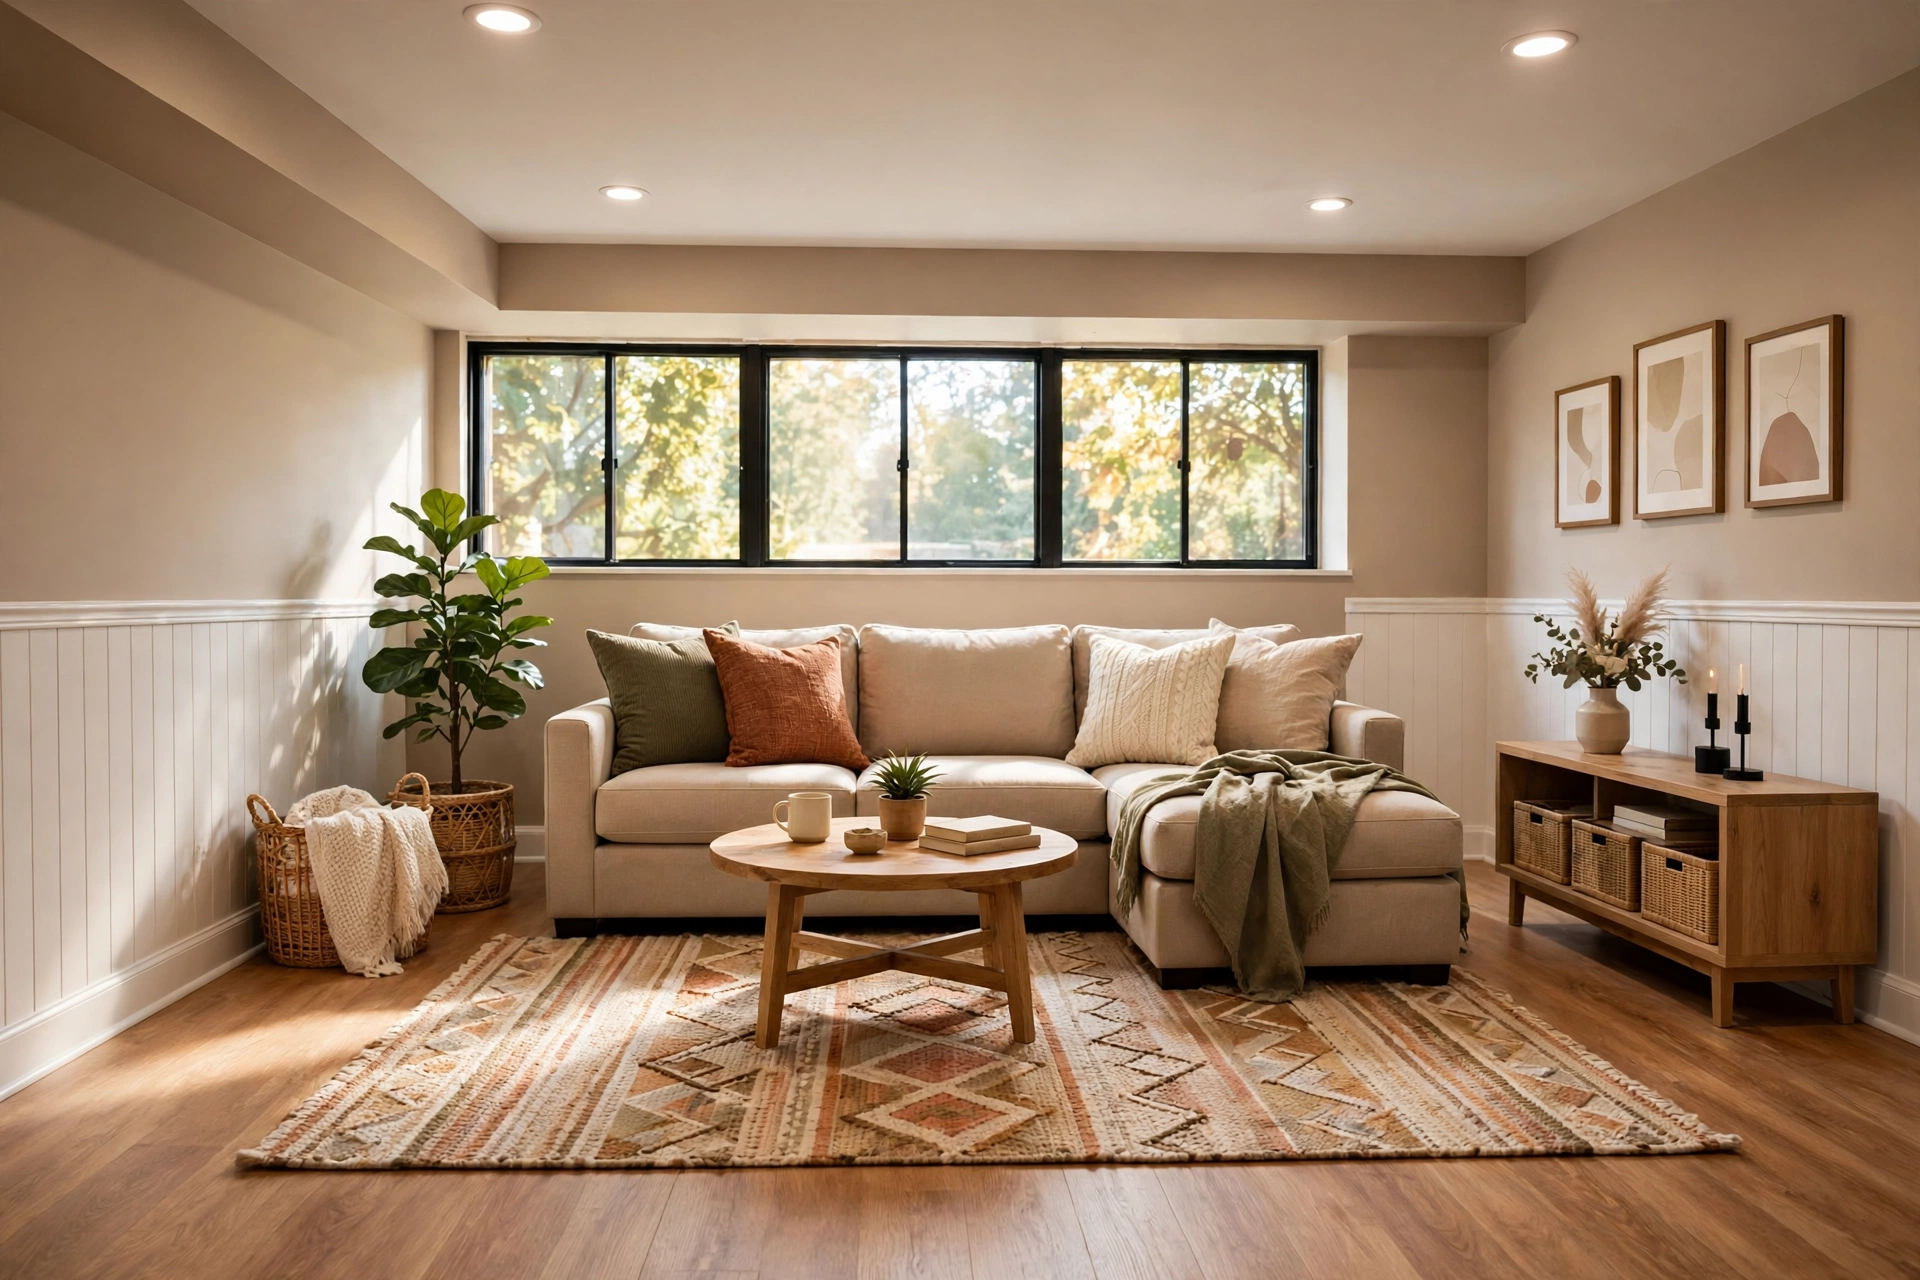
Finishing a basement floor means turning a bare concrete slab into a clean, comfortable and moisture-safe surface by testing for damp, preparing and levelling the slab, and then adding a suitable finish such as sealed concrete, vinyl planks, tiles or carpet tiles. A subfloor layer is added only when warmth, height or unevenness makes it necessary.
In practice, the work falls into three stages: checking whether the slab is dry, flat and sound; preparation, including cleaning, repairs, levelling and dealing with damp; and only then laying the chosen floor. Each stage matters, because flooring over a damp or uneven slab will show the problem sooner or later.
Finishing a floor differs from finishing a whole basement. Walls, ceilings, lighting and heating are separate jobs; this guide stays on the floor, where the key questions are damp, cold and use.
Check Moisture Before You Choose Anything
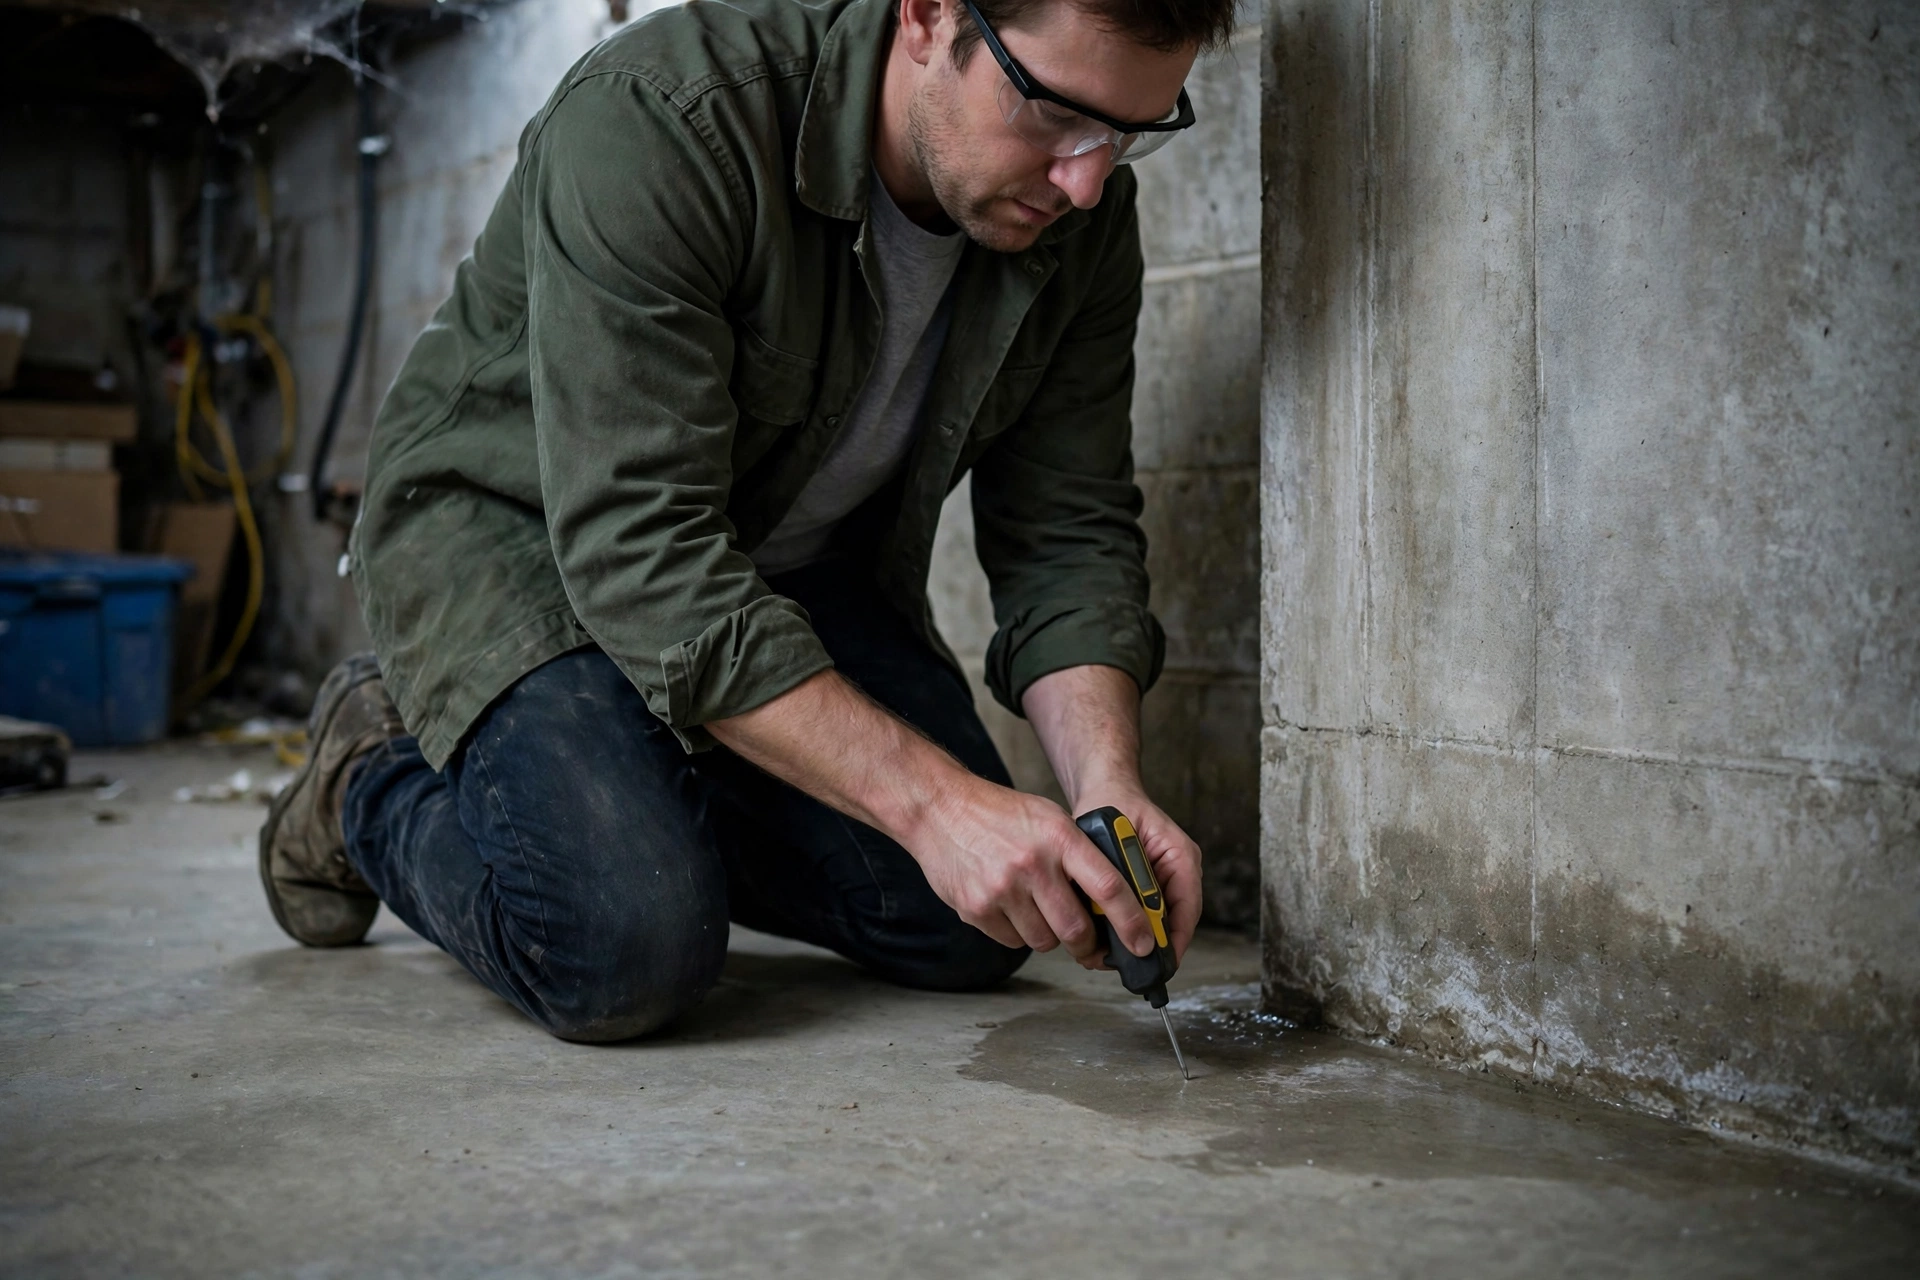
Moisture is the first thing to check before finishing a basement floor, because a floor laid over a damp slab can bubble, lift, smell musty or grow mould underneath. A simple plastic-sheet test or a handheld moisture meter gives a useful first reading, but ongoing damp or water coming through the slab needs fixing before any flooring goes down.
The plastic-sheet test is easy: tape clear plastic tightly to the slab, seal all edges, and leave it for a day or two. Moisture under the plastic means the slab is giving off damp, so a moisture-tolerant finish or a solved damp problem is needed first. A meter reading helps too, but neither test replaces fixing a leak or drainage problem.
Watch for warning signs too: white salty marks, dark damp patches, a musty smell, or old flooring that has already lifted. Find the source first, whether a gutter, a slope towards the house, a plumbing leak or groundwater, and get professional advice if water comes through regularly. Choosing a floor before solving damp is the most expensive mistake in basement flooring.
Prepare and Level the Concrete Slab
Preparing a basement slab means cleaning it thoroughly, repairing cracks and holes, and levelling dips and ridges so the new floor sits flat and stays put. A clean, sound and reasonably level slab is the foundation for every finish, from sealed concrete to carpet tiles, and preparation work is never wasted effort.
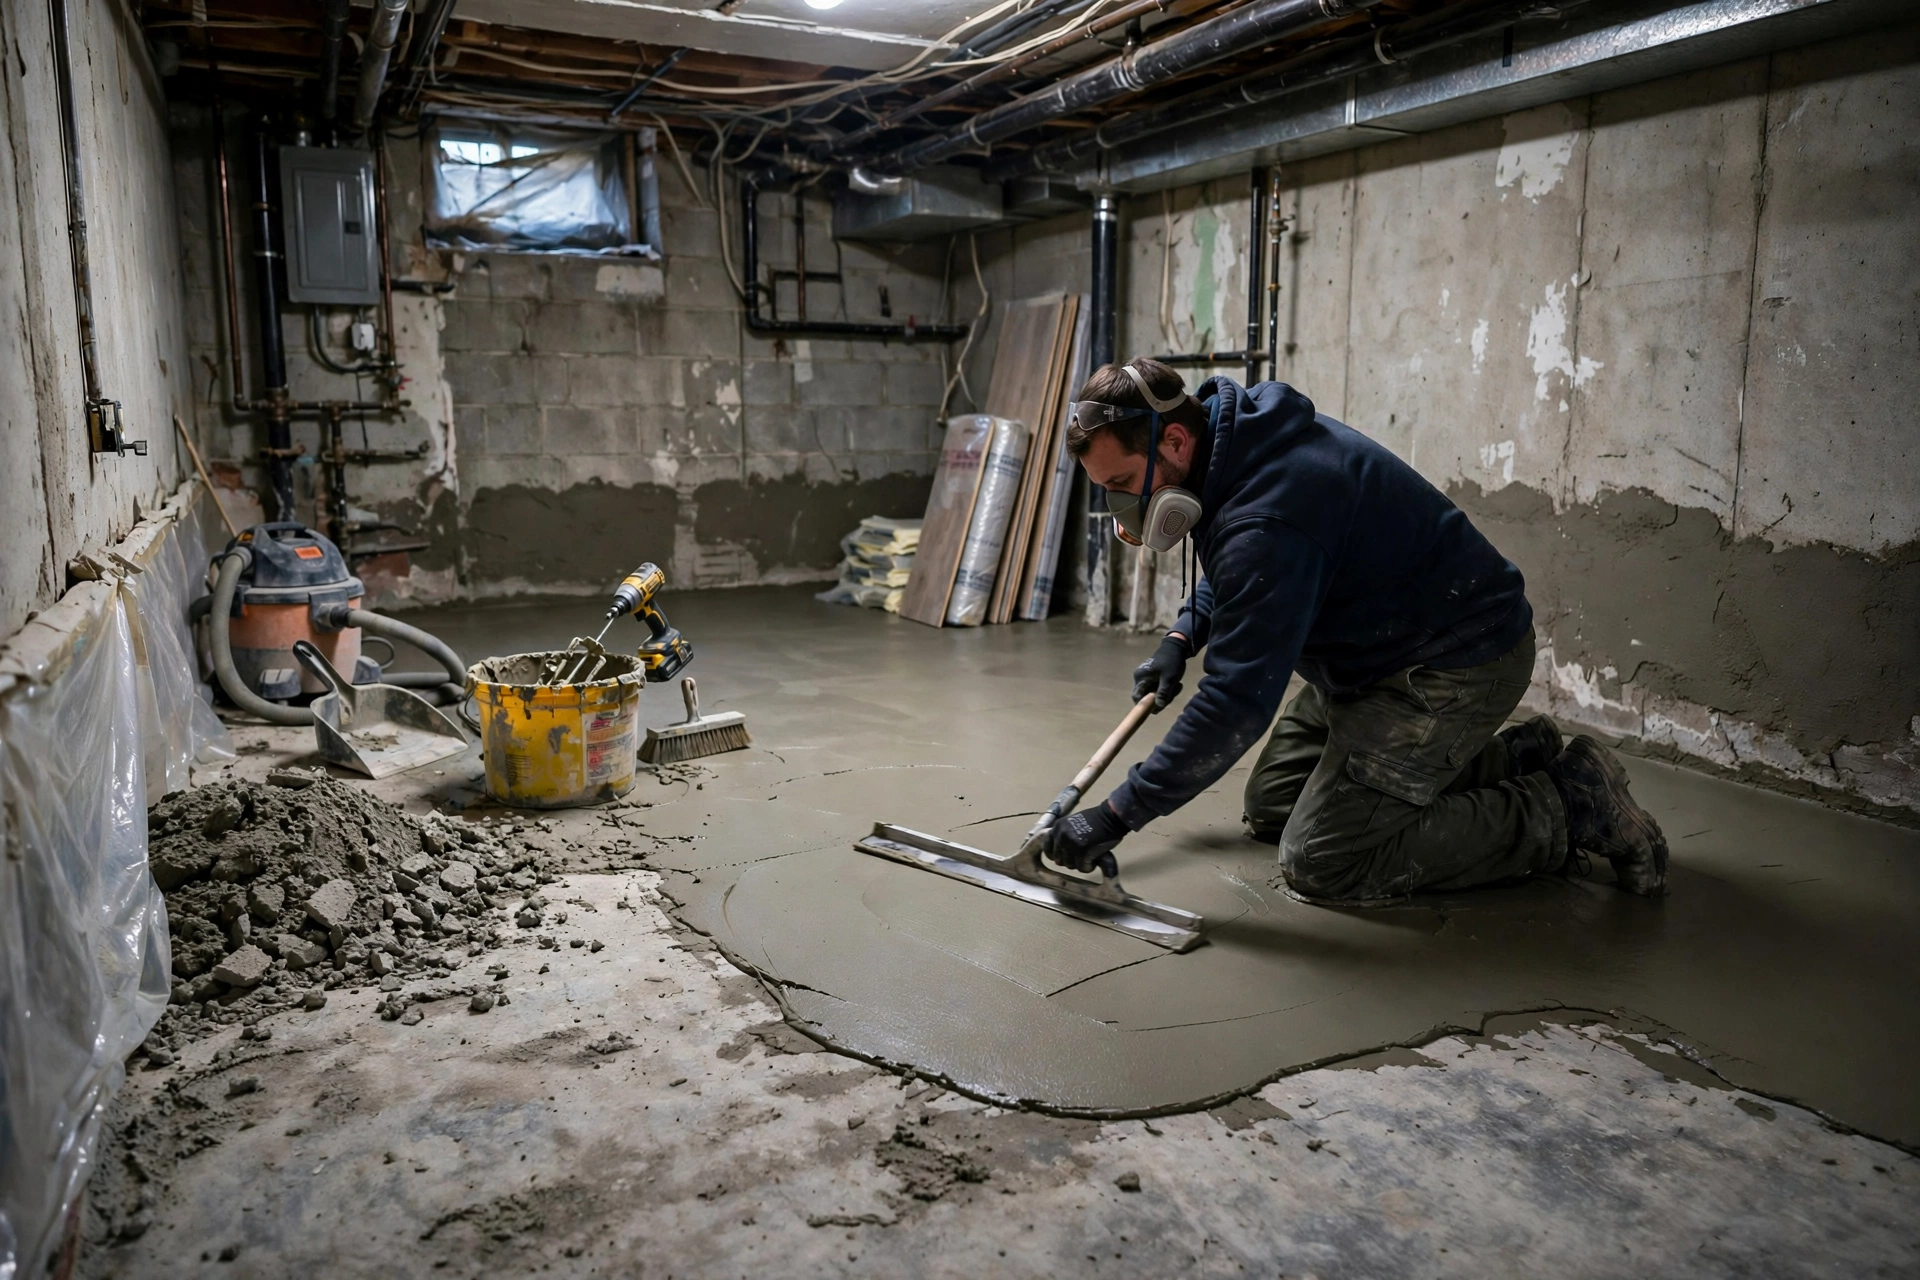
Clear the room, sweep and vacuum, then scrub away dust, grease and old adhesive. Grease spots may need a degreaser, and loose concrete should be brushed off. Fill small cracks with a floor repair product, and get a professional opinion on wide or moving cracks before covering them.
Levelling comes next. Lay a long straight edge across the floor to find dips and high spots. Fill small dips with levelling compound and grind down small ridges, but a badly sloping slab or large hollows may need professional levelling. Here is a simple preparation order to follow:
- Clear, sweep, vacuum and scrub the slab clean.
- Repair cracks and holes and let repairs cure fully.
- Check flatness with a long straight edge in several directions.
- Level dips, grind down ridges, and clean again before laying anything.
- Let the slab dry completely after any wet preparation work.
Rushing this stage is tempting when new flooring is waiting in boxes, but a floor laid on a dirty or uneven slab will show every bump and may not stick properly. A day on preparation saves years of annoyance.
Sealed Concrete: The Simplest Finish
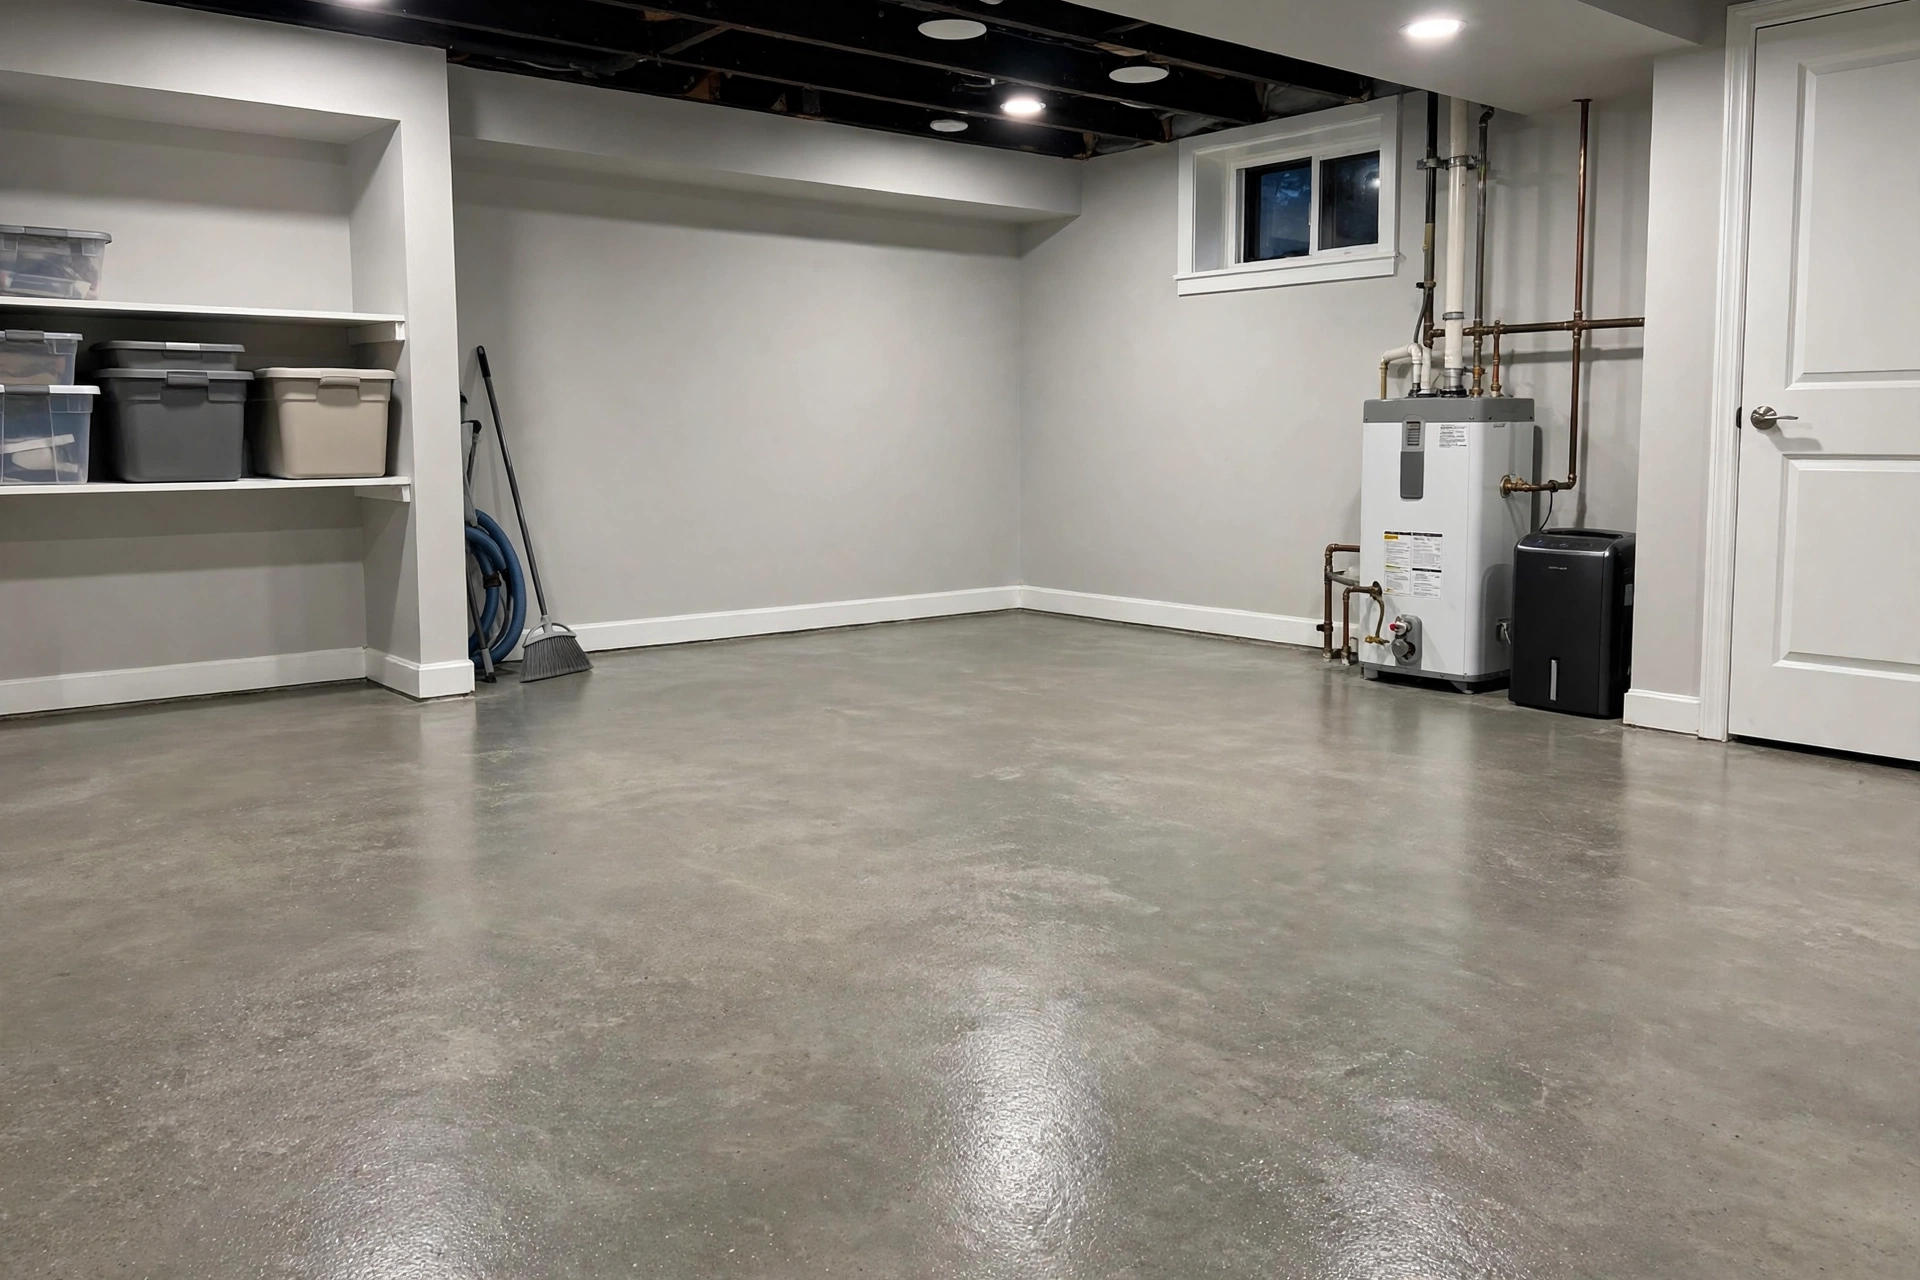
Sealed concrete is the simplest way to finish a basement floor, because it keeps the existing slab and protects it with a sealer that resists dust, stains and damp. It suits a utility room, workshop or storage area well, and it costs less in effort and materials than most laid flooring options.
Sealing works best on a clean, sound slab. After cleaning and repairing, a sealer is rolled or brushed on in thin coats, following the maker’s instructions for drying time and ventilation. The result is harder, easier to clean, and no longer dusty underfoot, with a slight sheen or a plain matt look.
The limits are comfort and warmth: sealed concrete stays hard and cool, fine for a workshop but less inviting for a family room. It can show stains if spills are left, and a badly cracked slab will still look cracked. Where comfort matters more, a laid floor over the sealed slab is usually better.
Vinyl Planks for Basements
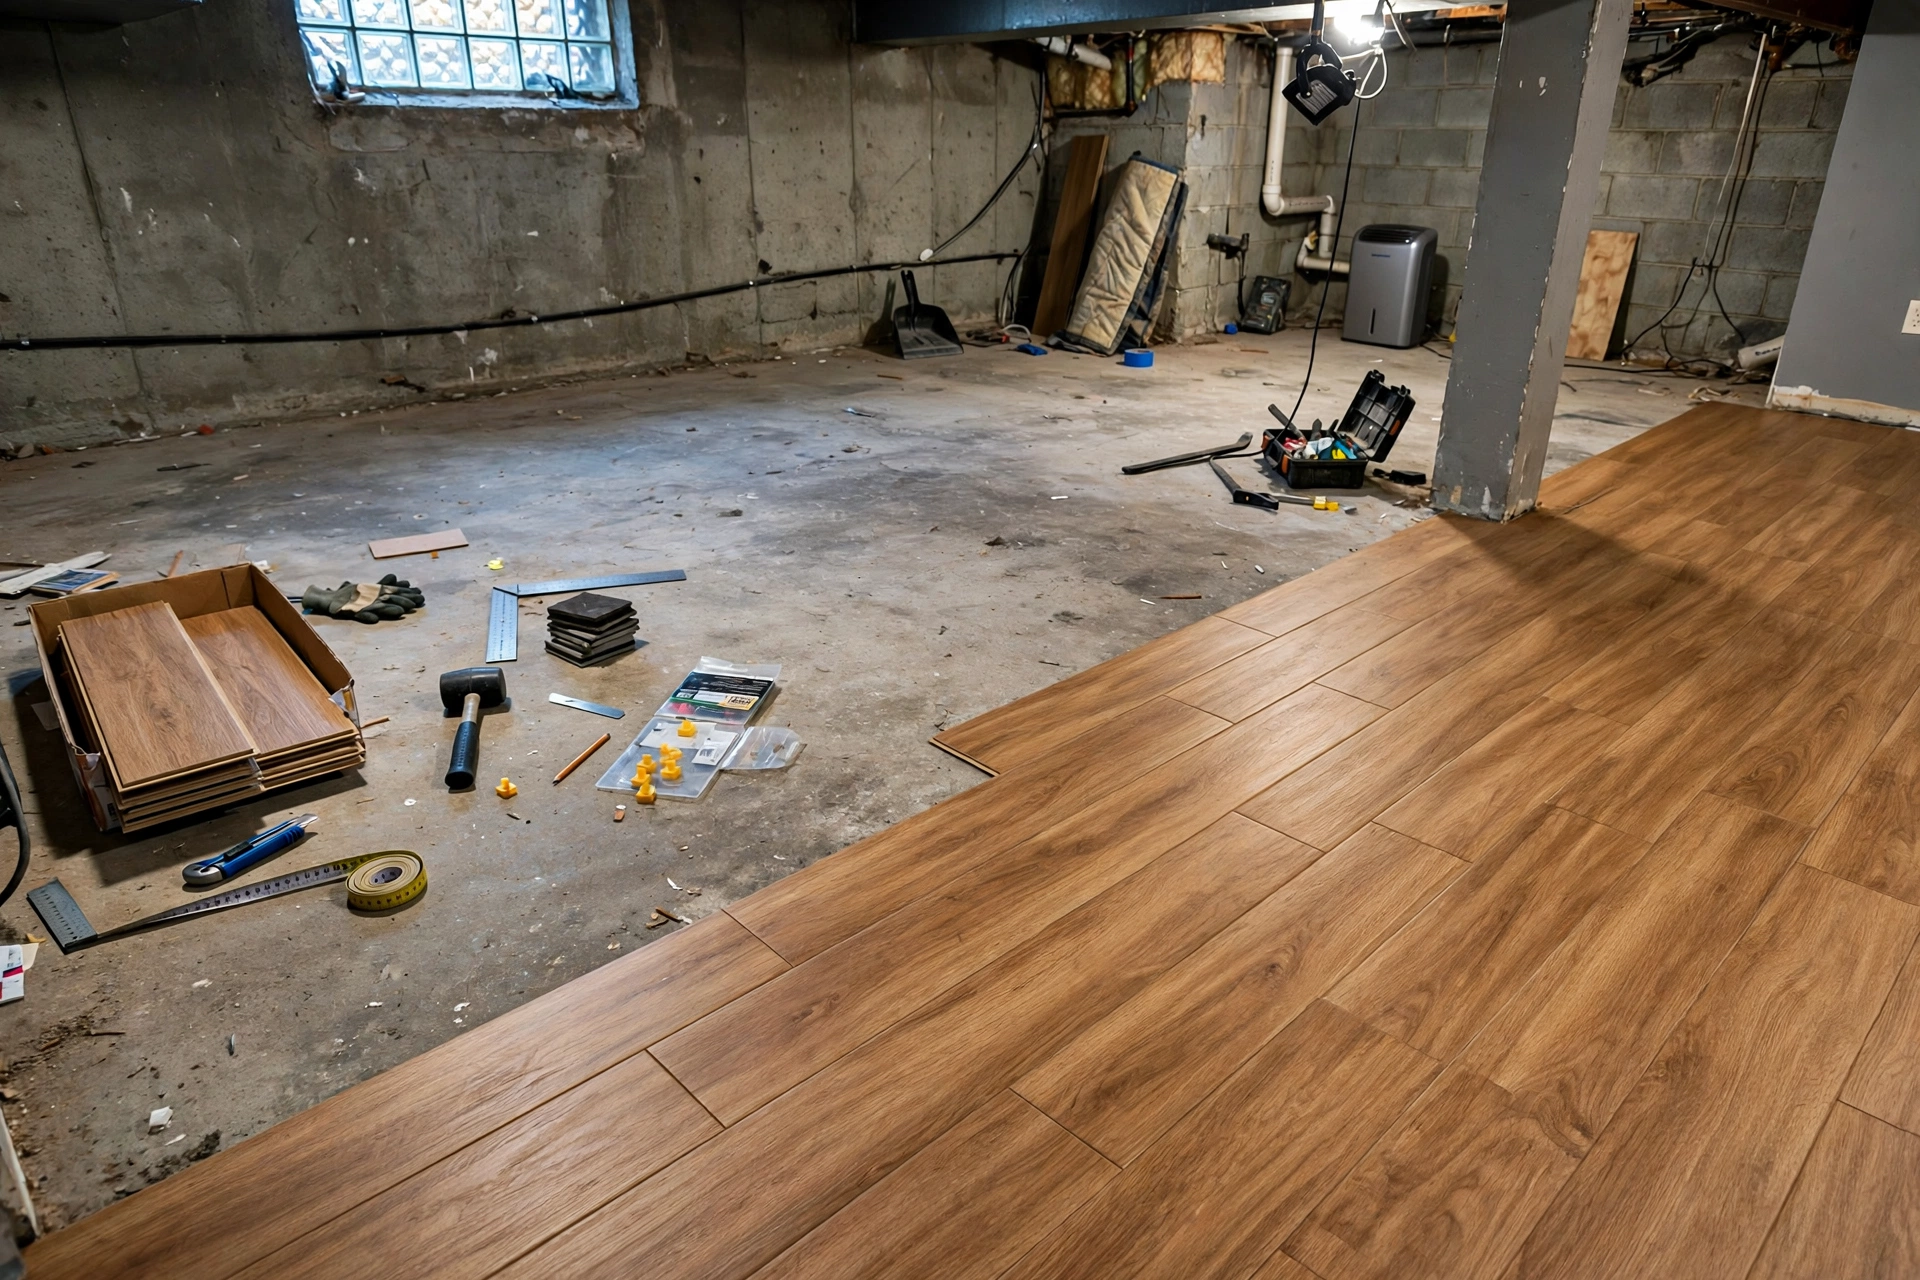
Vinyl planks are a popular basement floor choice because they look like wood, cope with occasional damp better than real wood, and are comfortable and quiet underfoot. Many vinyl plank floors are made to float over the slab without glue, which suits a basement where a small amount of moisture movement is possible.
Vinyl planks work well in family rooms, home offices and playrooms, where warmth and appearance matter. They come in wood and stone looks, are easy to sweep and mop, and a damaged plank can often be replaced alone. For a basement, choose planks rated for below-ground rooms.
There are limits to watch. Vinyl planks still need a flat, dry slab and are not a fix for ongoing damp. Heavy furniture can dent softer planks, and direct heat can mark them, so plan the layout accordingly. With a dry, flat base, though, they give a warm, finished feel without the damp worries of real wood.
Tiles for Basements
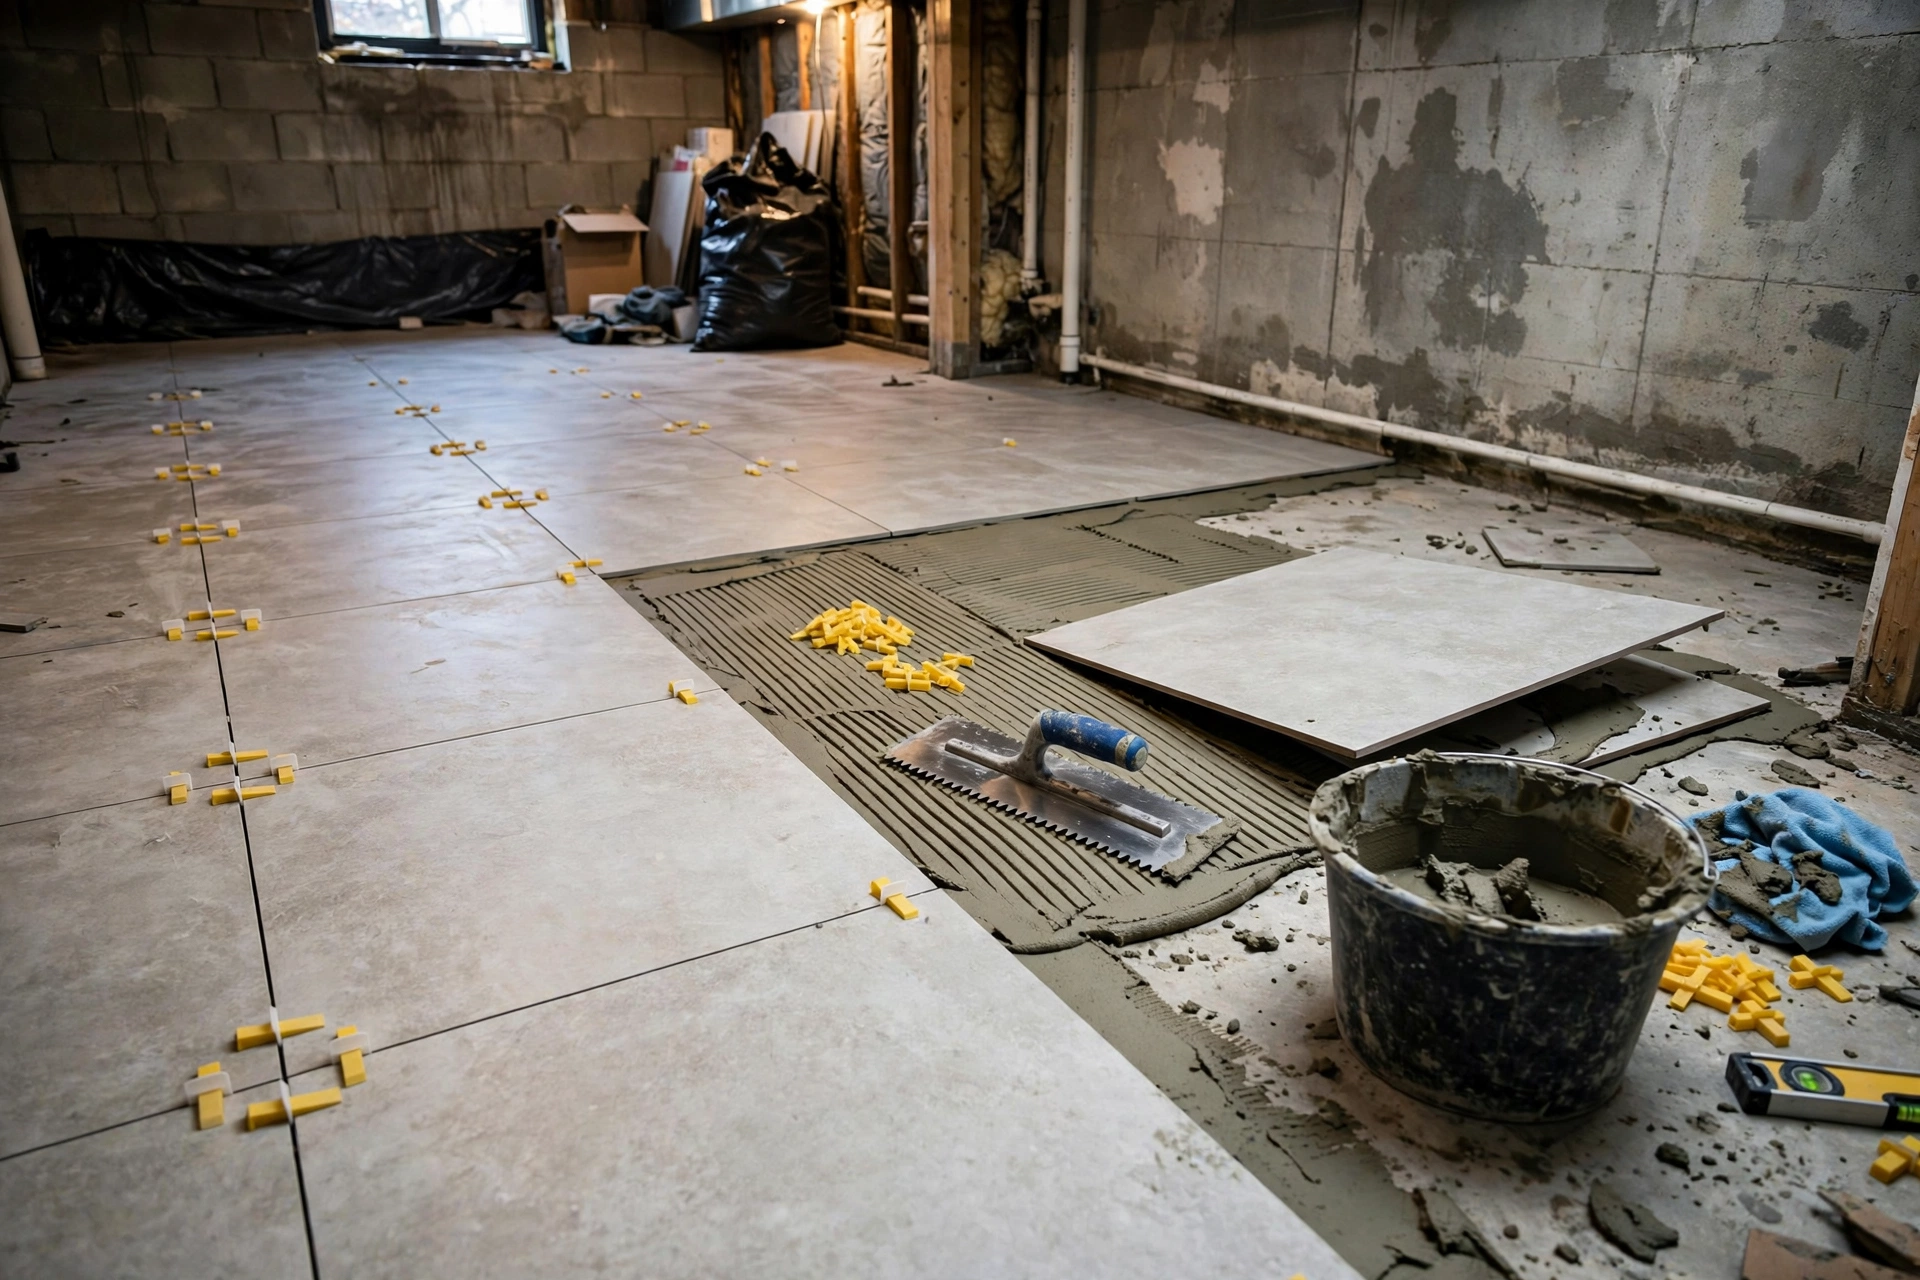
Tiles are one of the toughest basement floor finishes, because ceramic and porcelain tiles resist water, stains and wear, and they suit laundry rooms, bathrooms and entrance areas especially well. A tiled basement floor is easy to clean, does not harbour dust, and can last for decades when it is laid on a sound slab.
Laying tiles takes more skill than floating vinyl planks, since tiles are fixed with adhesive and grout and must be set out evenly. Grout lines need sealing in a damp-prone room, and the slab must be flat and stable, because tiles can crack if the base moves. Many homeowners therefore hire a professional tiler for a basement.
Comfort is the main trade-off. Tiles feel cold and hard underfoot, which matters where children play or people walk barefoot. Rugs or slippers can soften that, but tiles will never feel as warm as carpet tiles. Where toughness and easy cleaning matter most, however, tiles are hard to beat.
Carpet Tiles and Warmth Underfoot
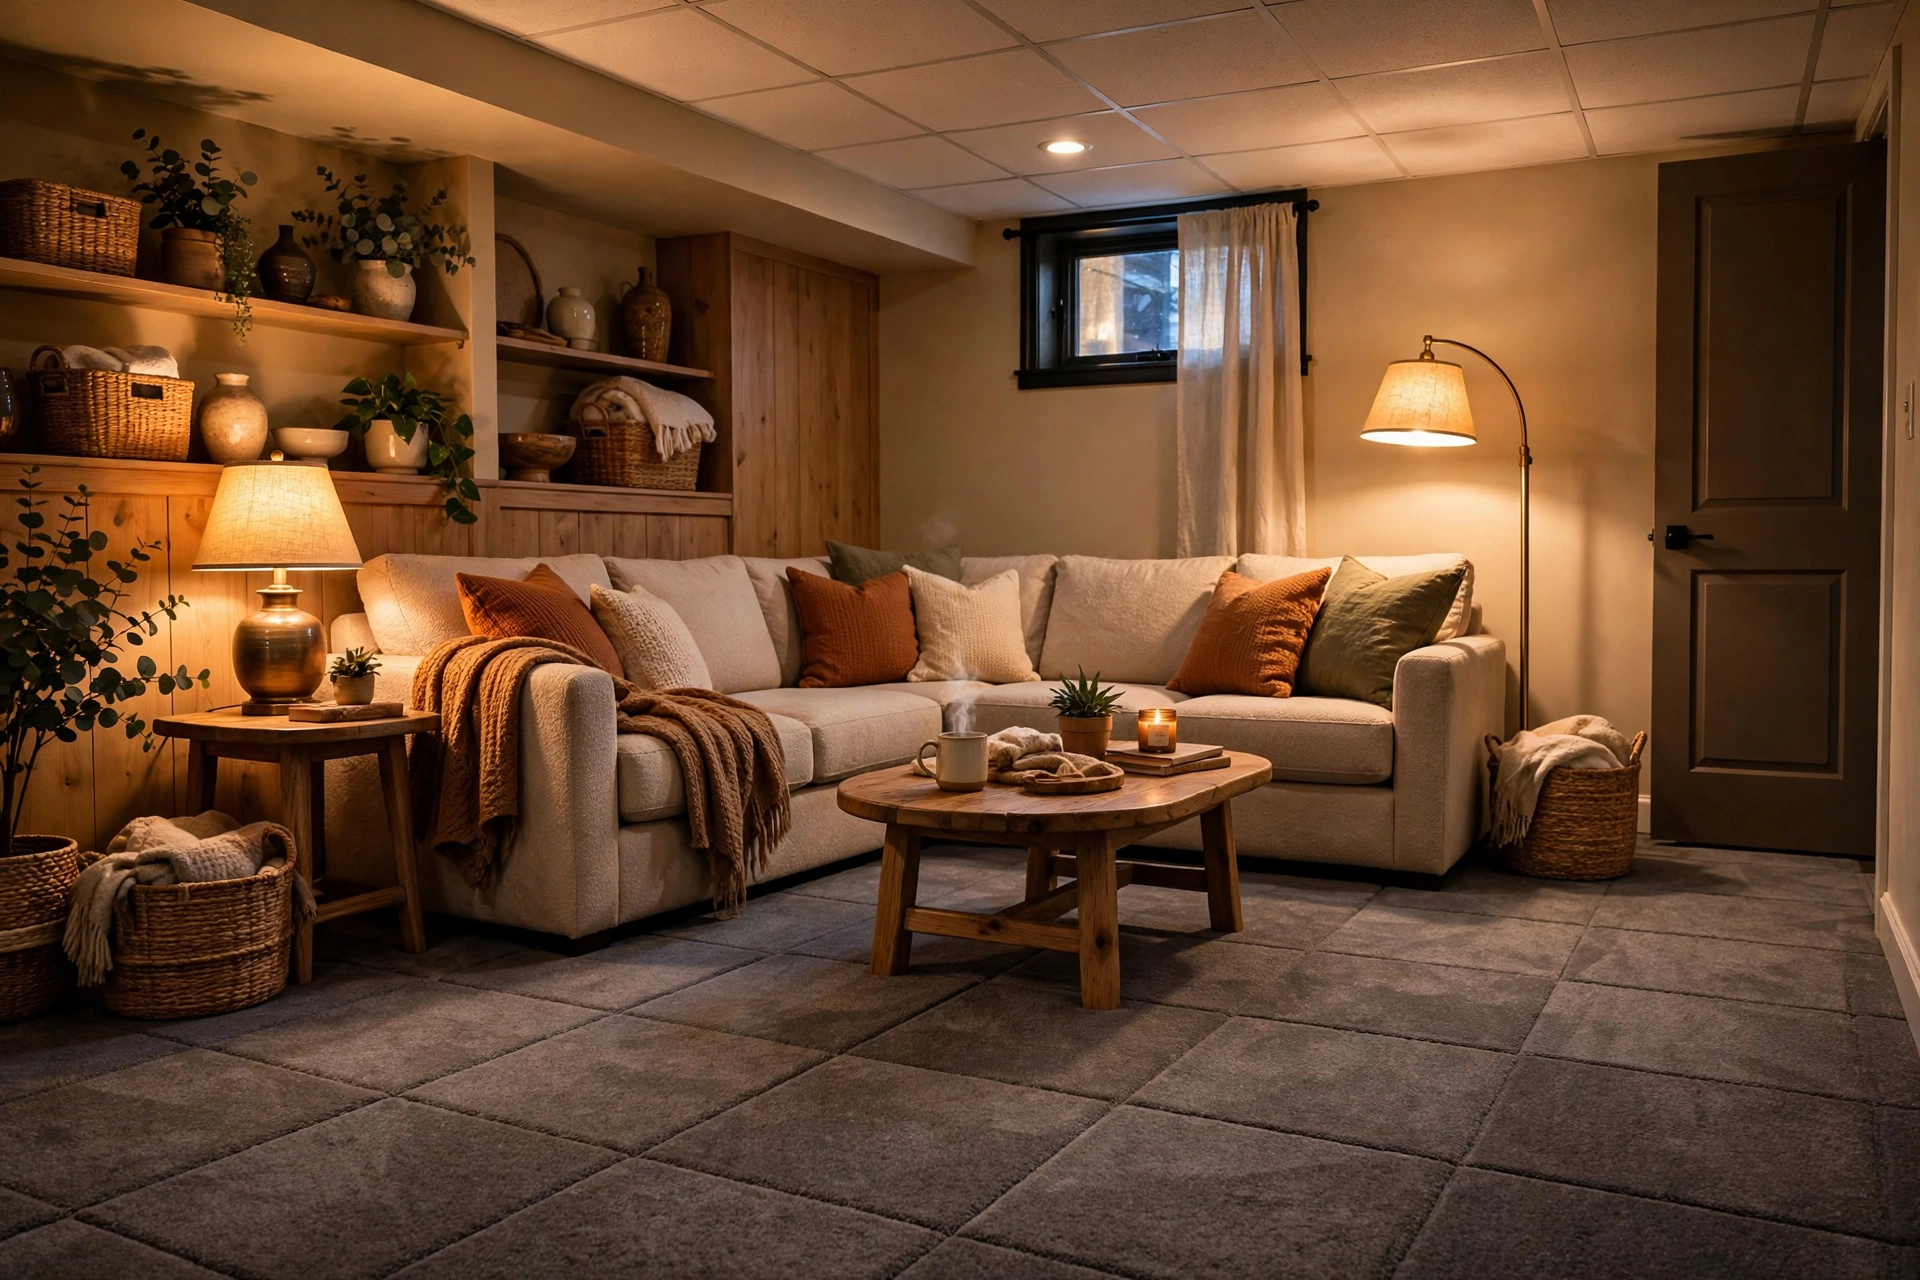
Carpet tiles bring warmth and softness to a basement floor, which makes them a good choice for family rooms, playrooms and home cinemas where comfort matters more than toughness. Because they come as individual squares, a stained or worn tile can be lifted and replaced without redoing the whole room.
Carpet tiles suit basements better than wall-to-wall carpet: if a small area gets wet, only those tiles need attention. Choose tiles with a moisture-resistant backing where possible, and keep them away from regularly wet spots such as beside a laundry sink. A dry slab is still essential, because carpet over damp concrete can smell musty and hide mould.
Cleaning is straightforward: vacuum regularly, treat spills promptly, and replace worn tiles one at a time. The trade-off is that carpet tiles trap dust more than hard floors, so allergy sufferers may prefer a hard surface. For a dry, well-ventilated cosy room, though, they are one of the most comfortable finishes available.
Epoxy-Style Coatings and Painted Floors
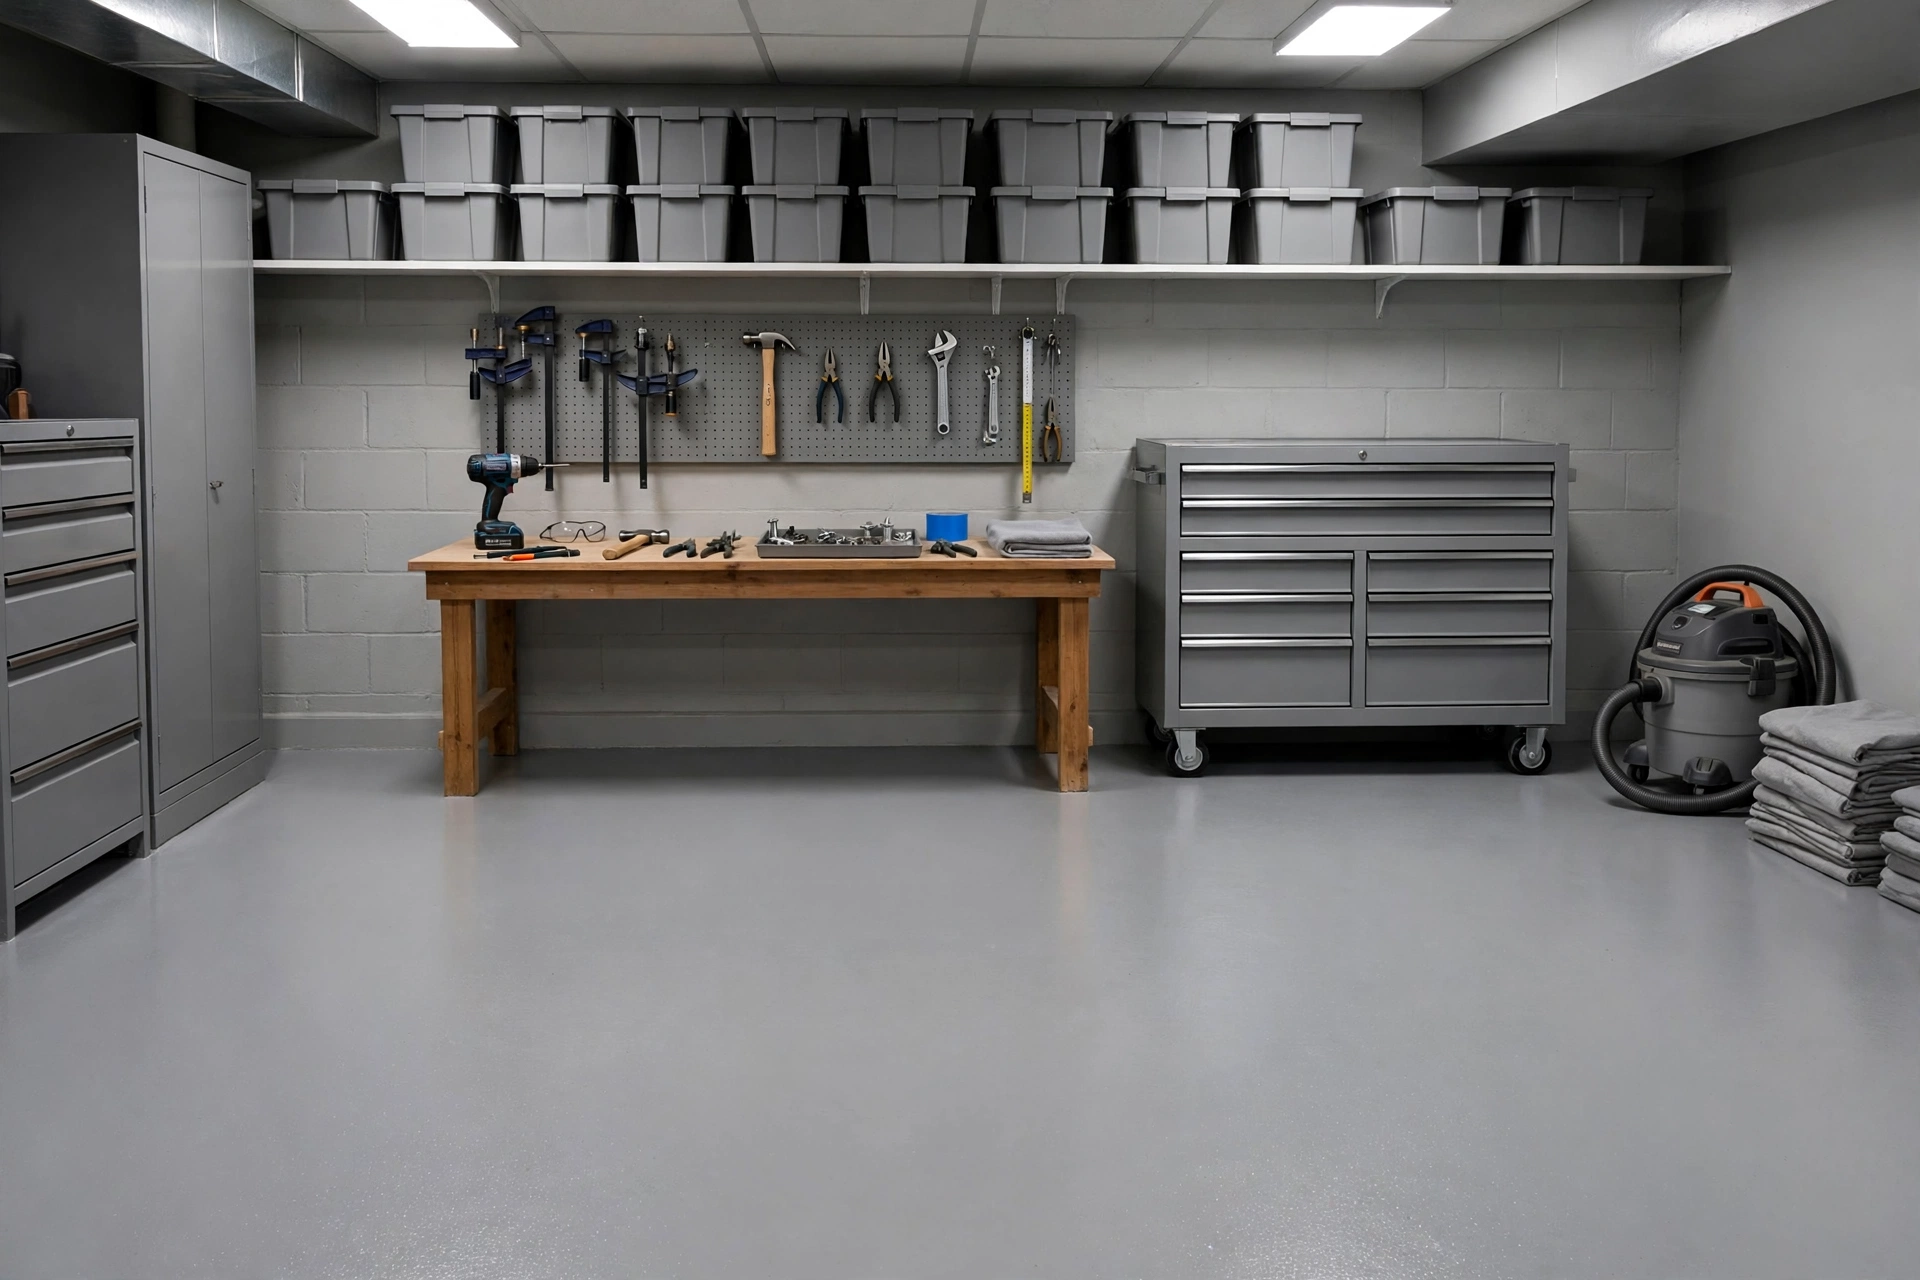
Epoxy-style coatings and floor paints give a basement floor a smooth, tough and easy-to-clean surface, which suits workshops, gyms and utility rooms where spills and heavy use are expected. A coating bonds to the slab itself, so there are no joints or seams for dirt and damp to collect in.
Preparation matters more for coatings than for almost any other finish. The slab must be clean, dry and slightly roughened so the coating grips, and any damp problem must be solved first, because coatings can bubble or peel over damp. Good ventilation is needed while curing, and curing time must be respected before heavy use returns.
The result is a hard, stain-resistant floor that is easy to sweep and mop, and a light colour can brighten a dark basement. The downside is comfort: like sealed concrete, a coated floor is hard and cool, and can be slippery when wet unless a slip-resistant finish is used. For a working basement, though, it is practical and long-lasting.
Subfloor Options: When You Need a Layer Underneath
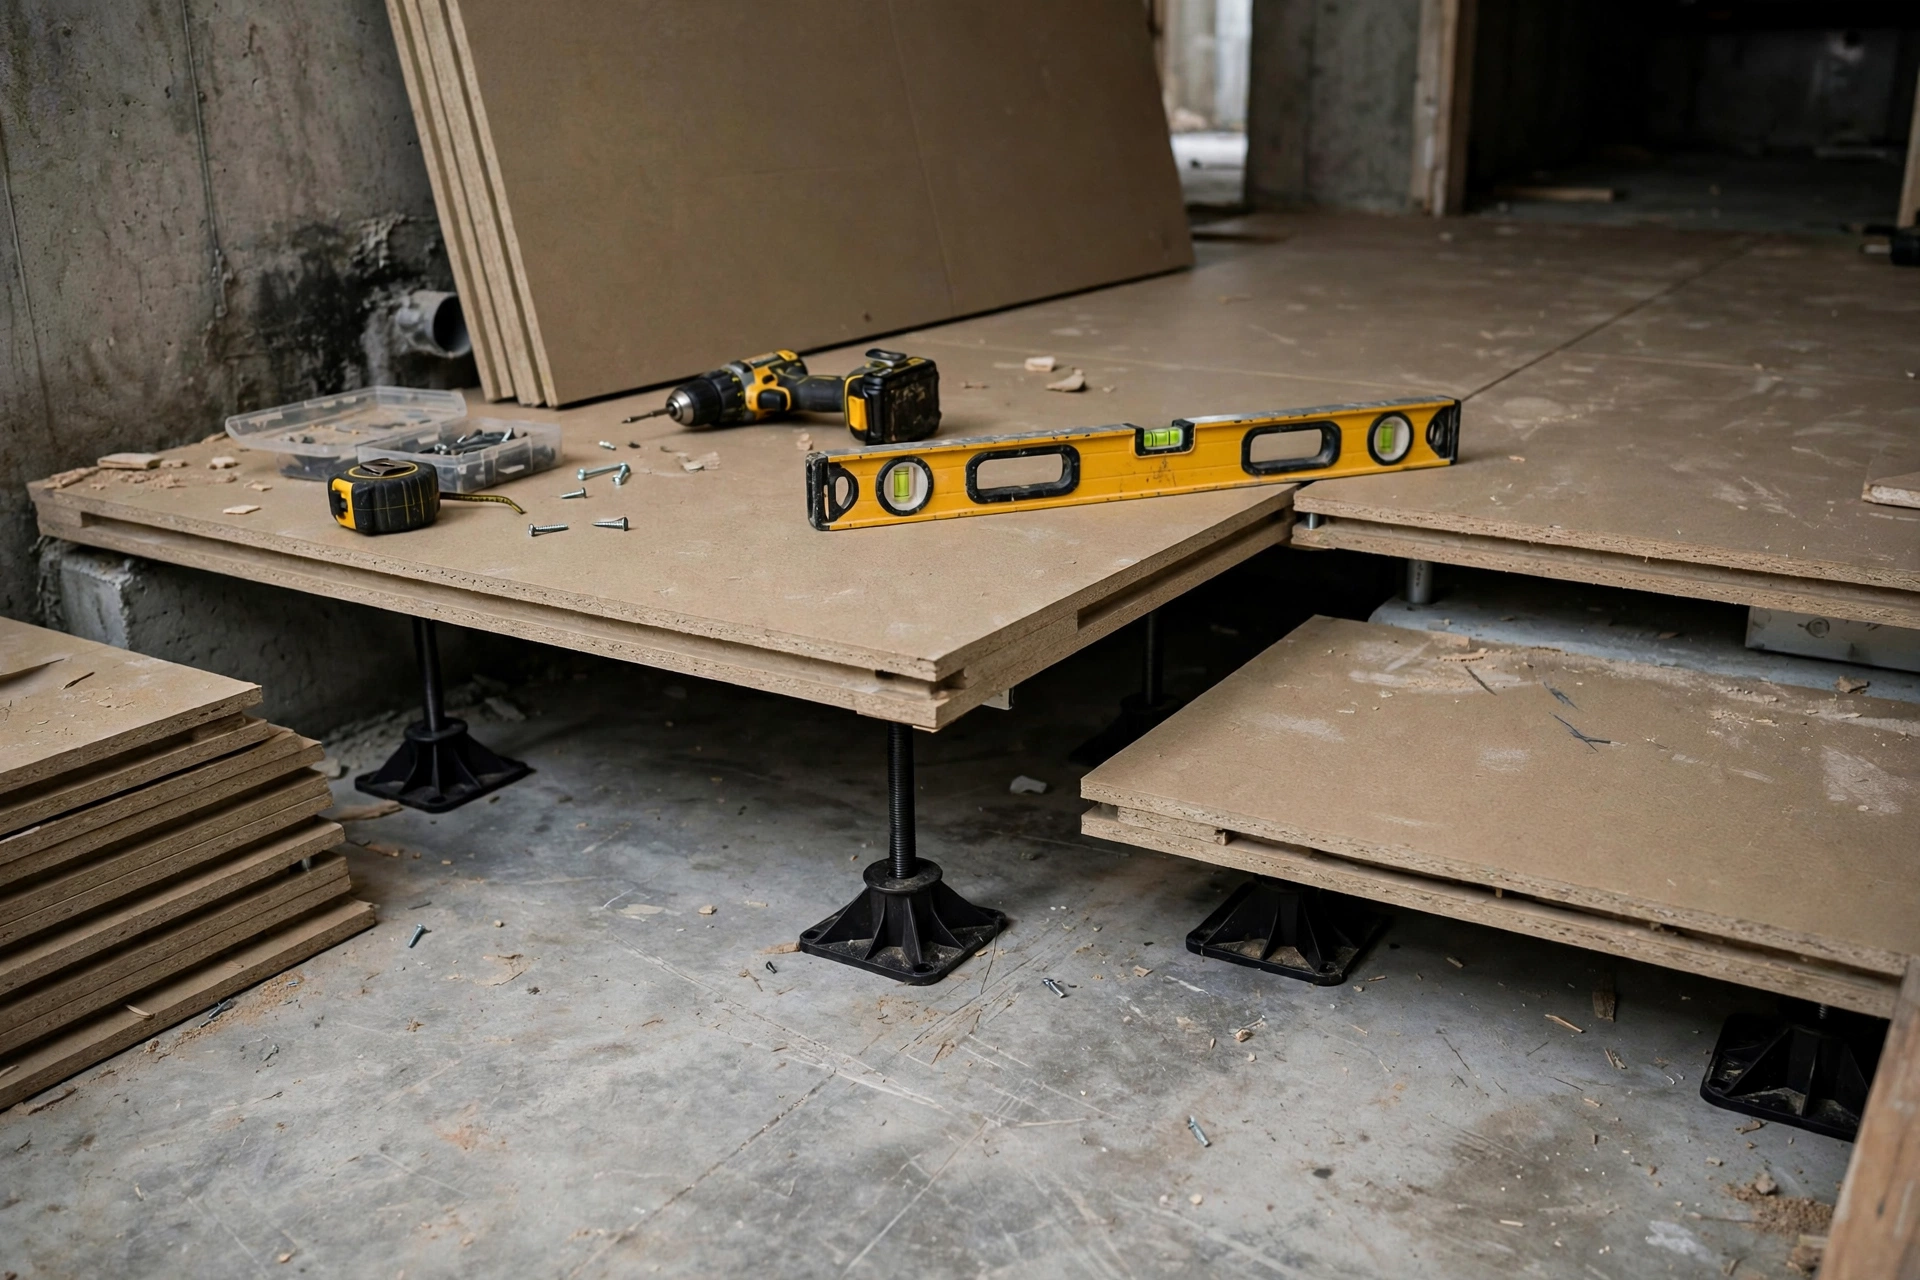
A subfloor is an extra layer laid between the concrete slab and the finished floor, and it is worth considering when a basement floor feels cold, slightly uneven or at risk from minor damp. A subfloor can add warmth, create a flatter base, and give a small air gap that helps the finished floor cope with a slab.
Common subfloor approaches include rigid panels made for basements, dimpled membranes with boards over them, and simple underlay for floating floors. Each adds height, so door clearances, bottom stair steps and ceiling height all need checking first. A subfloor also adds cost and work, so it should solve a real problem rather than being added out of habit.
Not every basement needs a subfloor: a dry, flat utility-room slab may need none, while a family room over a cold slab may benefit greatly. Ask: is the floor cold enough to bother you, is the slab uneven enough to show through, and is there a small damp risk a membrane would help with? If all three answers are no, a direct-laid floor is simpler and cheaper.
Cleaning and Caring for a Basement Floor
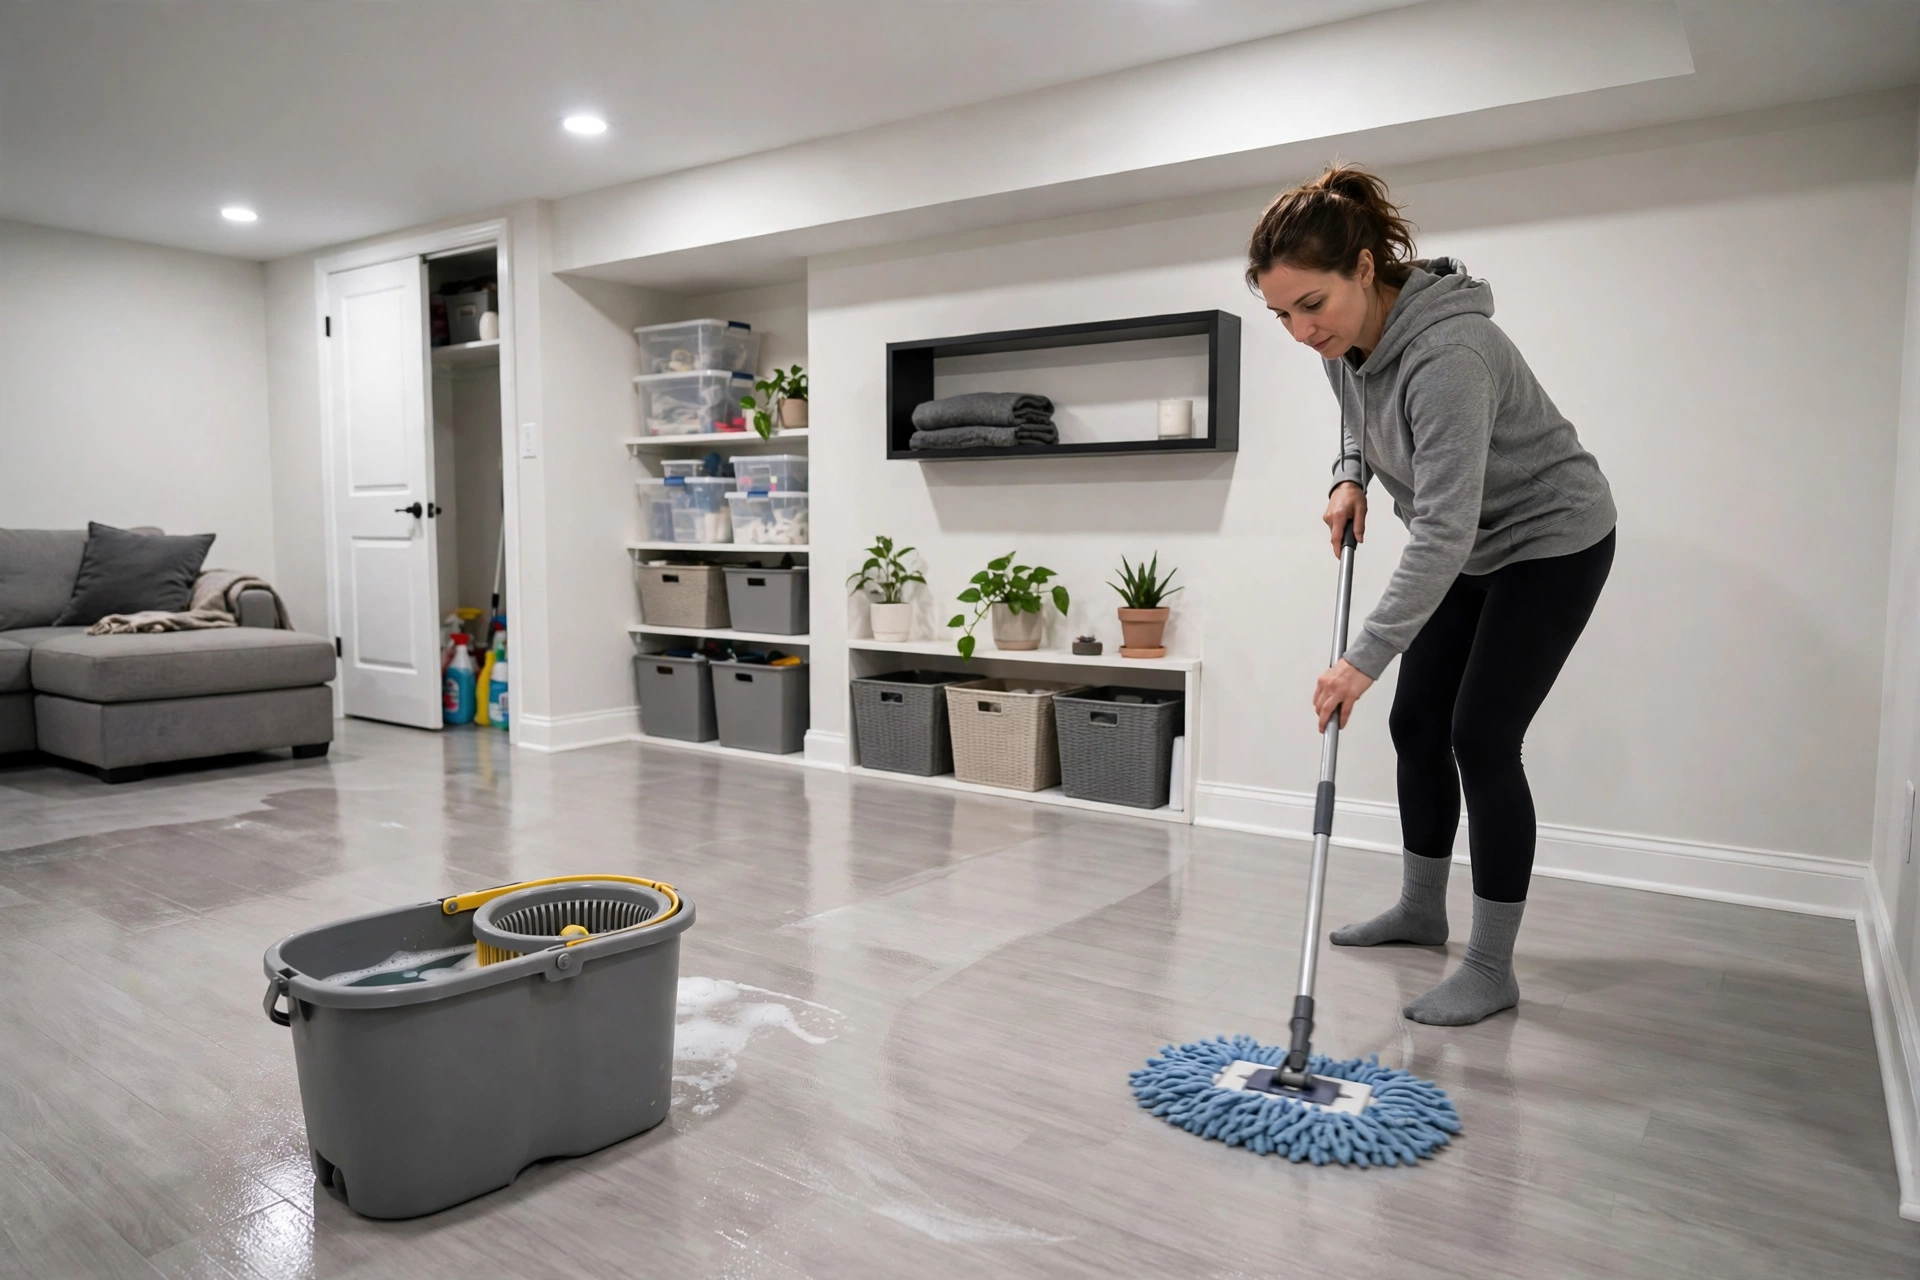
Caring for a basement floor starts with regular sweeping or vacuuming, prompt cleaning of spills, and keeping damp under control, because dirt and moisture cause more damage than daily foot traffic. A simple routine, matched to the floor type, keeps a basement floor looking good and helps it last.
Hard floors such as vinyl, tiles and coatings need sweeping and damp mopping with a suitable cleaner, avoiding harsh chemicals and soaking wet mops. Carpet tiles need vacuuming and quick spot cleaning, with worn tiles replaced singly. Sealed and coated floors benefit from resealing when wear shows, following the maker’s guidance.
Damp control is part of floor care in a basement. Keep the room ventilated, deal with leaks promptly, and check corners for damp marks. A dehumidifier can help with humidity, but it does not replace fixing a water source. With regular cleaning and a dry room, most basement floors need little more than routine attention.
What Affects the Cost of a Basement Floor
The cost of finishing a basement floor depends mainly on room size, slab condition, floor type chosen, and whether the work is done yourself or hired out. A simple sealed floor in a small, sound room sits at the easy end, while a large room needing levelling and professional laying sits at the harder end.
Slab condition is often the hidden cost. A flat, dry slab needs little preparation, while a cracked, uneven or damp slab needs repair, levelling or damp work first. Floor type matters too: loose-laid vinyl or carpet tiles are simpler to fit than tiles or coatings, which need more skill and curing time. Room size affects materials directly, since every extra square metre needs more flooring or coating.
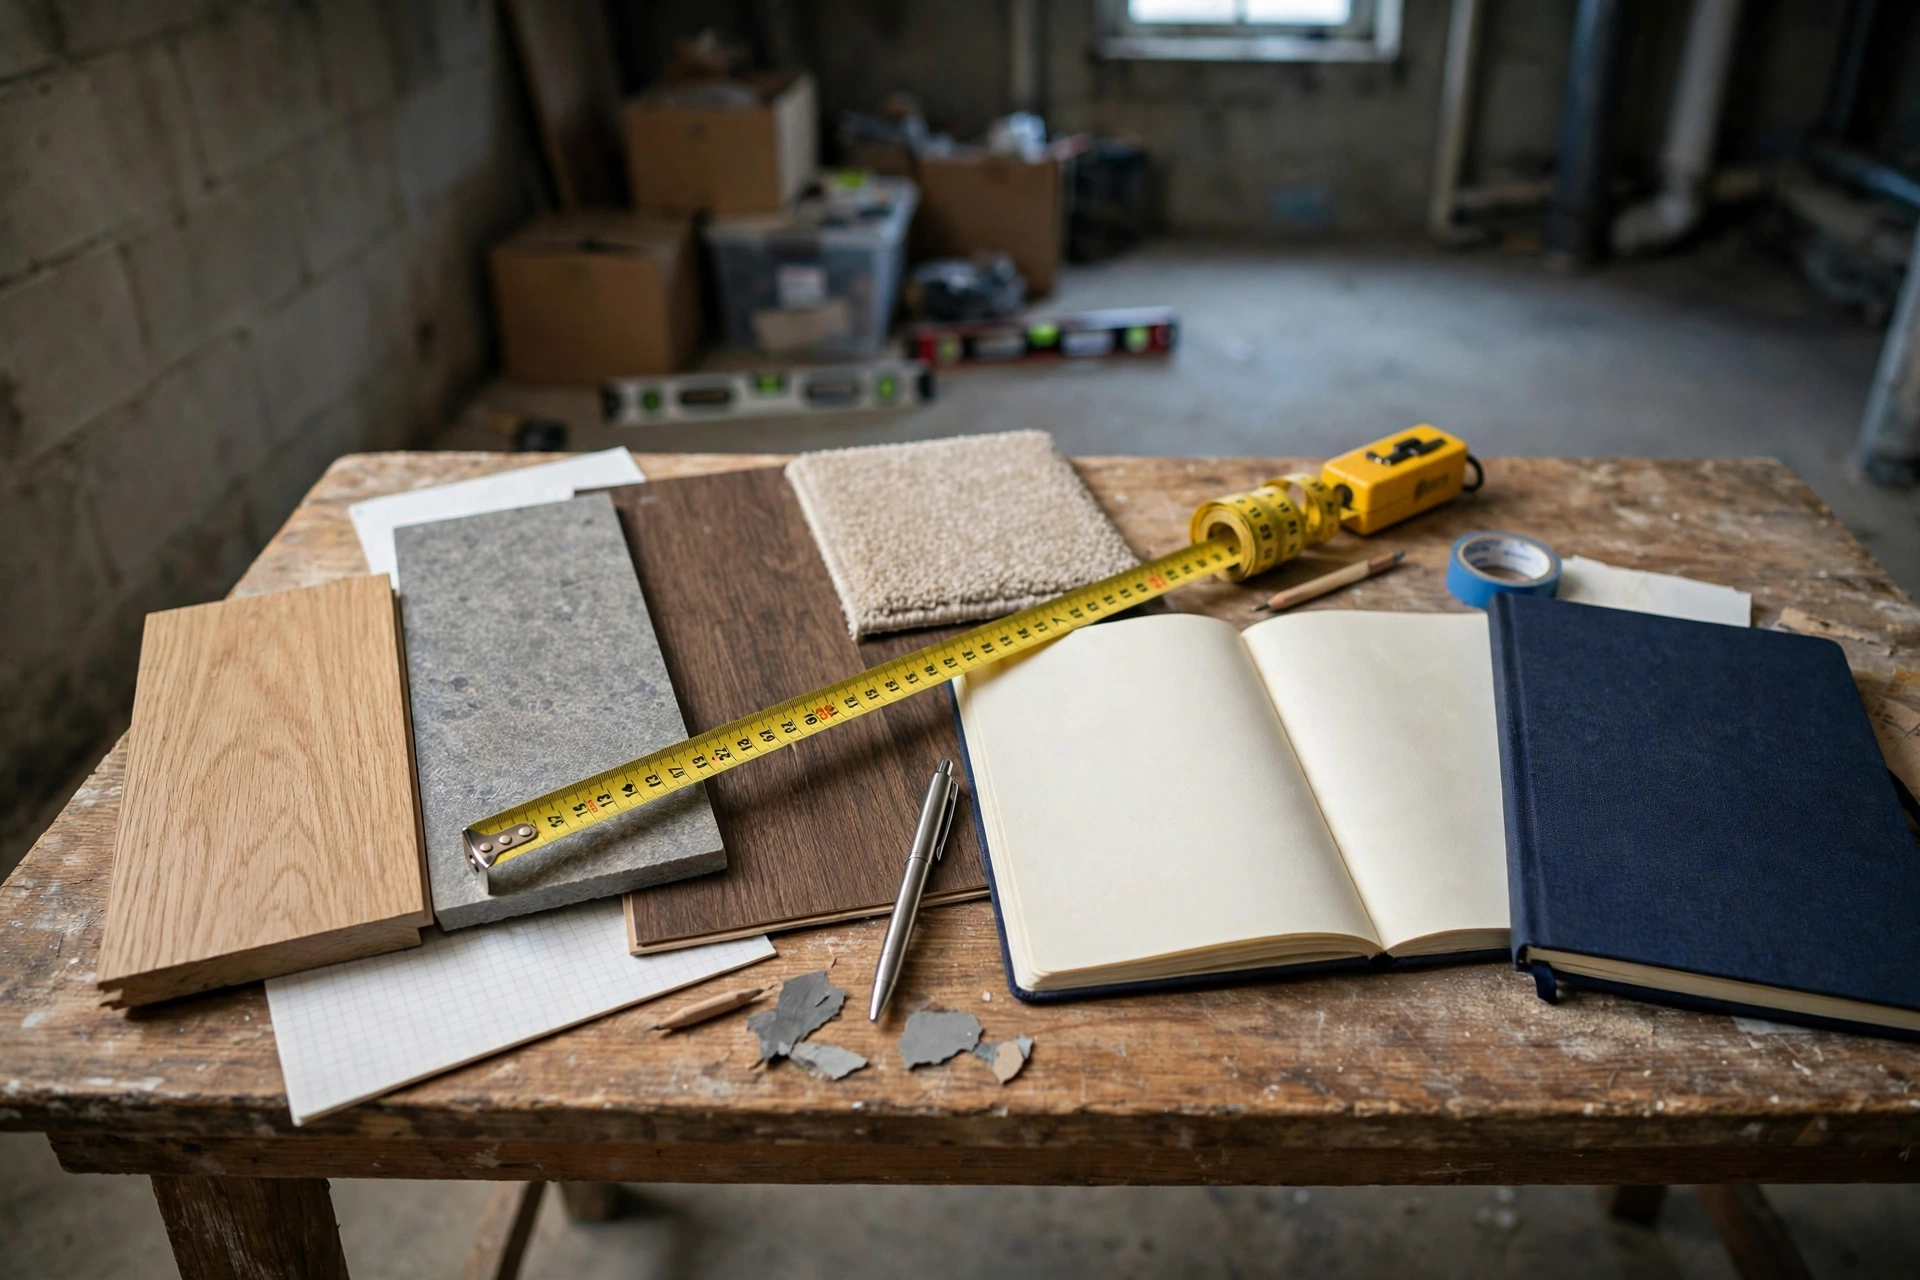
Getting a clear picture before starting avoids surprises. Measure the room carefully, note the slab’s condition honestly, and decide which parts you will do yourself and which need a professional. Allowing for preparation and finishing extras such as trims and thresholds gives a realistic sense of the job before flooring is bought.
| Floor option | Best for | Watch out for |
|---|---|---|
| Sealed concrete | Workshops, utility and storage rooms | Hard and cool underfoot |
| Vinyl planks | Family rooms, offices, playrooms | Needs a flat, dry slab |
| Tiles | Laundry rooms, bathrooms, entrances | Cold, hard, needs skilled laying |
| Carpet tiles | Cosy family rooms, playrooms, cinemas | Needs a dry slab, traps dust |
| Epoxy-style coating | Workshops, gyms, utility rooms | Needs thorough preparation and curing |
| Subfloor + finish | Cold or slightly uneven slabs | Adds height and cost |
Common Mistakes That Ruin a Basement Floor
The most common basement floor mistake is laying flooring over a damp slab without testing, because trapped moisture can lift, bubble or smell musty within months. Other frequent mistakes include skipping levelling, choosing a floor that does not suit the room, and rushing curing or drying times for adhesives and coatings.
Another mistake is ignoring height changes. A new floor plus a subfloor can raise the level enough to catch doors, change the bottom stair step, or reduce headroom, and these are much harder to fix after laying. Covering air vents, access panels or drainage points with flooring also creates trouble later.
A final trap is choosing on looks alone. A beautiful wood floor that cannot cope with basement damp, or soft carpet beside a laundry sink, will disappoint no matter how good it looks on day one. Match the floor to damp, use and cleaning first, let appearance follow, and the result will still look good years later.
Conclusion
Finishing a basement floor comes down to this order: test for moisture, prepare and level the slab, choose a floor that suits the room, and care for it afterwards. Each step protects the next; skipping one means redoing work later. With that order followed, a basement floor can be dry, comfortable and durable.
Start with the slab in front of you, not the floor in a photograph. Check damp honestly, fix what needs fixing, and pick a finish for how the room will really be used. The right floor makes the whole basement feel like part of the home, and done in the right order, it is a job worth doing once and doing well.
Frequently Asked Questions
Can you lay flooring straight onto basement concrete?
You can, but only if the slab is dry, clean, flat and sound. Test for moisture first, repair cracks, and level dips, because flooring laid on a damp or uneven slab can lift, bubble or fail early.
What is the best flooring for a damp basement?
No flooring fixes ongoing damp, so the damp source must be dealt with first. After that, moisture-tolerant options such as tiles, vinyl planks rated for basements, or a sealed or coated slab cope best with occasional damp.
Do I need a subfloor in my basement?
Not always. A subfloor helps when the slab is cold, slightly uneven, or at minor damp risk, but a dry, flat slab may need none. Check warmth, flatness and door clearances before adding height and cost.
Is vinyl plank flooring good for basements?
Yes, when it is rated for below-ground rooms and laid on a dry, flat slab. Vinyl planks resist occasional damp better than real wood, feel warm underfoot, and allow single planks to be replaced if damaged.
How do I keep a basement floor dry after finishing?
Keep the room ventilated, fix leaks promptly, and check corners for damp marks. A dehumidifier can help with humidity, but it does not replace fixing gutters, drainage or a plumbing leak.
Disclaimer: This article is for general information only. It does not replace professional advice for damp problems, structural issues, drainage, or electrical work in a basement. Flooring products and methods vary, so always follow the manufacturer’s instructions for the products you use, check local rules where they apply, and consult a qualified professional for damp, structural or safety concerns. No guest posting, paid promotion or advertising is involved in this article.