A humidifier is a simple device that adds moisture to the air, making your home more comfortable—especially during dry seasons or in air-conditioned environments. It can help ease dry skin, reduce irritation in the throat, and even improve sleep quality. However, like any appliance that uses water, it needs regular care to work properly.
Understanding how to clean a humidifier is important for both your health and the performance of the device. When a humidifier is clean, it releases fresh, safe moisture into the air. But if it’s not cleaned regularly, it can become a breeding ground for bacteria, mold, and mineral deposits. Instead of improving air quality, a dirty humidifier can actually make it worse.
If cleaning is ignored, you may notice unpleasant odors, white dust settling on surfaces, or even allergy-like symptoms. Over time, buildup inside the unit can also reduce its efficiency and shorten its lifespan. That’s why learning the right way to clean a humidifier is not just helpful—it’s essential.
Quick Step-by-Step Cleaning Guide
| Step | What to Do | Time Needed | Purpose |
| 1 | Unplug & disassemble the humidifier | 2 minutes | Safety and access to all parts |
| 2 | Soak tank with white vinegar | 20–30 minutes | Remove mineral buildup |
| 3 | Clean base with vinegar | 15–20 minutes | Break down scale in base |
| 4 | Gently scrub with soft brush | 5–10 minutes | Remove stuck residue |
| 5 | Disinfect (bleach or hydrogen peroxide) | 15–20 minutes | Kill bacteria and mold |
| 6 | Rinse thoroughly with clean water | 5 minutes | Remove any chemical residue |
| 7 | Air dry completely before reassembly | 30–60 minutes | Prevent mold growth |
How Often You Should Clean Your Humidifier
One of the most common questions people ask is how often they should clean their humidifier. The answer depends on how frequently you use it and the type of water you put in it.
For everyday use, a quick daily routine is recommended. This includes emptying the water tank, rinsing it with clean water, and letting it dry. This simple habit helps prevent stagnant water, which is a common source of bacteria.
A deeper clean should be done at least once a week. This is when you remove mineral buildup and disinfect the unit. If you use your humidifier heavily or live in an area with hard water, you may need to clean it more often.
Other factors also play a role. For example, using tap water can lead to faster mineral buildup, while distilled water reduces it. The environment matters too—dusty or humid spaces may require more frequent cleaning. Paying attention to these details helps you maintain a clean and safe humidifier.
What You’ll Need Before You Start
Before you begin cleaning your humidifier, it’s helpful to gather everything you need. This makes the process smoother and ensures you don’t miss any important steps.
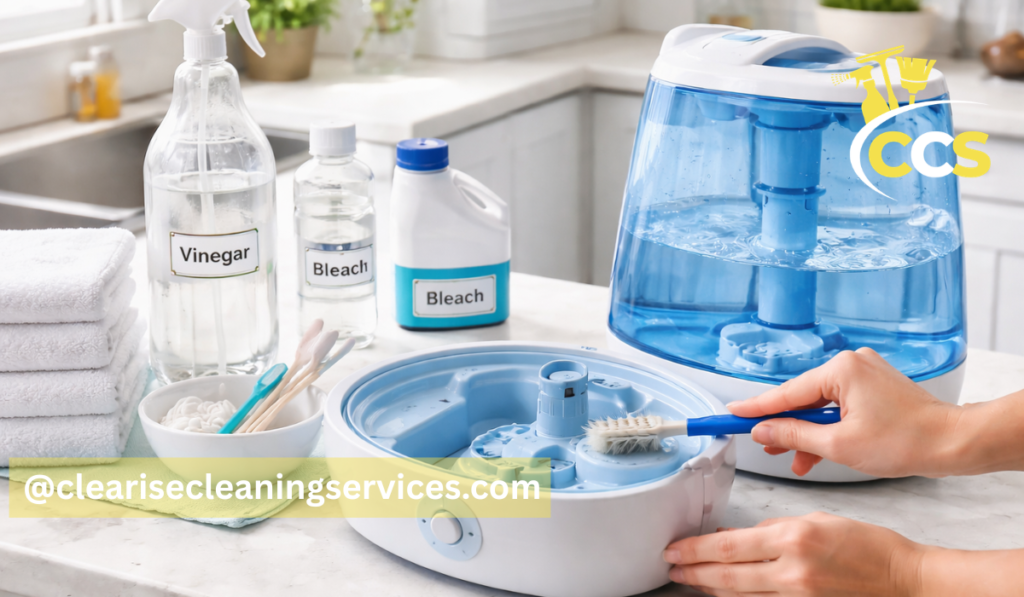
Most of the time, you’ll only need simple household items. White vinegar is commonly used because it breaks down mineral deposits effectively. Clean water is essential for rinsing, and a soft brush or old toothbrush helps scrub away buildup without damaging the unit.
For disinfecting, you can use either a small amount of bleach mixed with water or hydrogen peroxide. Both options are effective, but they should be used carefully and never mixed together.
Safety is also important. Always unplug the humidifier before cleaning to avoid electrical risks. It’s also a good idea to work in a well-ventilated area, especially when using disinfecting solutions. Taking a few minutes to prepare properly can make the entire cleaning process easier and safer.
Step-by-Step Guide to Cleaning a Humidifier
Learning how to clean a humidifier properly becomes much easier when you follow a clear, step-by-step approach. This ensures that every part of the device is cleaned thoroughly.
Start by unplugging the unit and taking it apart. Remove the water tank and any detachable components, such as filters or caps. This allows you to reach all the areas where buildup can occur.
Next, focus on the water tank. Fill it with white vinegar or a mixture of vinegar and water, and let it sit for about 20 to 30 minutes. This helps loosen mineral deposits that may have formed inside. After soaking, use a soft brush to gently scrub the surfaces.
The base of the humidifier also needs attention. Pour a small amount of vinegar into the base, especially over areas that come into contact with water. Let it sit for a while, then clean it carefully. Be gentle around delicate parts like heating elements or ultrasonic plates.
Once the mineral buildup is removed, it’s time to disinfect. You can use a diluted bleach solution or hydrogen peroxide. Swish the solution around inside the tank and let it sit for about 15 to 20 minutes. This step helps kill bacteria and mold.
After disinfecting, rinse all parts thoroughly with clean water. Make sure there is no remaining smell from the cleaning solutions. Finally, allow all components to air dry completely before putting the humidifier back together. Proper drying is important to prevent moisture from causing new growth.
Best Natural vs Chemical Cleaning Methods
When it comes to cleaning a humidifier, you have both natural and chemical options. Each method has its own benefits, and choosing the right one depends on your needs.
White vinegar is one of the most popular natural cleaning solutions. It’s effective at removing mineral deposits and is safe for regular use. It’s also affordable and easy to find, making it a convenient choice for weekly cleaning.
For deeper cleaning, especially when you want to disinfect, chemical solutions like bleach or hydrogen peroxide can be useful. These are stronger and help eliminate bacteria and mold more effectively. However, they need to be handled carefully and always diluted properly.
The advantage of natural methods is that they are gentle and safe for frequent use. Chemical methods, on the other hand, provide a deeper level of sanitation but should be used less often.
In most cases, a combination works best. Use vinegar regularly to keep mineral buildup under control, and use a disinfecting solution occasionally to ensure the humidifier stays hygienic.
Cleaning Methods
| Method | Best For | Pros | Cons |
| Vinegar | Mineral buildup | Natural, safe, cheap | Doesn’t fully disinfect |
| Bleach Solution | Deep disinfection | Kills germs effectively | Strong smell, needs caution |
| Hydrogen Peroxide | Alternative disinfectant | Safer than bleach | Slightly less powerful |
Common Mistakes to Avoid When Cleaning a Humidifier
Even when people know how to clean a humidifier, they sometimes make simple mistakes that can reduce the effectiveness of the process.
One of the most serious mistakes is mixing cleaning agents, especially vinegar and bleach. This creates harmful fumes that can be dangerous. Always use these solutions separately and rinse thoroughly between steps.
Another common issue is not rinsing the humidifier properly. Any leftover cleaning solution can affect the air quality when the device is used again. Taking the time to rinse multiple times is important.
Using harsh tools or strong chemicals can also cause damage. Scratching the surfaces inside the humidifier can create spaces where bacteria can grow. It’s always better to use soft brushes and gentle cleaning methods.
Finally, many people forget to clean hard-to-reach areas. These spots can collect buildup over time, so it’s important to disassemble the unit and clean every part carefully.
Daily Maintenance Tips to Keep Your Humidifier Clean Longer
Keeping your humidifier clean doesn’t always require a full deep clean. Simple daily habits can make a big difference and reduce the need for frequent intensive cleaning.
After each use, empty the water tank and rinse it with fresh water. Let it dry completely before refilling. This prevents water from sitting inside the unit, which can lead to bacterial growth.
Wiping down the exterior and checking for any visible buildup also helps. These small steps only take a few minutes but can significantly extend the cleanliness of your humidifier.
Maintaining proper airflow around the device and placing it in a clean area can also reduce dust and contamination. Consistency is key—when daily maintenance becomes a habit, keeping the humidifier clean becomes much easier overall.
How Water Type Affects Cleaning and Performance
The type of water you use plays a major role in how often you need to clean your humidifier. Tap water contains minerals that can build up inside the unit over time.
This buildup can lead to what many people call “white dust,” which may settle on furniture and surfaces around your home. It can also reduce the efficiency of the humidifier and make cleaning more difficult.
Using distilled or demineralized water is a better option. It contains fewer minerals, which means less buildup inside the device. This not only makes cleaning easier but also helps maintain better air quality.
While distilled water may require a bit more effort to obtain, it can save time in the long run by reducing how often deep cleaning is needed.
Filter Care and Replacement Guidelines
If your humidifier uses a filter, it’s important to take proper care of it. Filters help trap impurities and improve the quality of the moisture released into the air.
Most filters need to be replaced every 30 to 60 days, depending on usage. Over time, they can become clogged or discolored, which affects performance.
Signs that your filter needs replacing include reduced mist output, unusual odors, or visible buildup. Ignoring these signs can lead to poor air quality and strain on the device.
It’s also important not to clean filters with harsh chemicals unless the manufacturer specifically recommends it. In many cases, replacing the filter is more effective than trying to clean it.
How to Store Your Humidifier Safely
When the season changes and you no longer need your humidifier, proper storage becomes important. Storing it incorrectly can lead to mold growth and unpleasant odors.
Before storing, give the humidifier a thorough deep clean. Make sure all parts are completely dry, as even a small amount of moisture can cause problems over time.
Disassemble the unit and store it in a cool, dry place. Avoid sealing it in airtight containers if there’s any chance of trapped moisture.
Taking these steps ensures that your humidifier will be ready to use again without any issues when you need it next.
Conclusion: A Simple Routine for Cleaner Air and Better Health
Learning how to clean a humidifier doesn’t have to be complicated. With a simple routine that includes daily rinsing and weekly deep cleaning, you can keep your device in good condition and your indoor air fresh.
Regular cleaning helps prevent bacteria, mold, and mineral buildup, while also improving the performance and lifespan of your humidifier. Small habits, like using the right water and allowing the unit to dry properly, can make a big difference over time.
By staying consistent and following these steps, you can enjoy the full benefits of your humidifier while maintaining a healthier home environment.
FAQs (People Also Ask)
How Often Should I Clean My Humidifier?
You should rinse it daily and deep clean it at least once a week to prevent bacteria and mineral buildup.
Can I Clean A Humidifier With Just Water?
No, water alone won’t remove minerals or kill bacteria. You need vinegar or a disinfecting solution for proper cleaning.
Is Vinegar Enough To Clean A Humidifier?
Vinegar is great for removing buildup, but you should occasionally use a disinfectant like hydrogen peroxide to kill germs.
What Happens If I Don’t Clean My Humidifier?
It can spread bacteria, mold, and white dust into the air, which may affect your health and reduce air quality.
Can I Use Tap Water In My Humidifier?
Yes, but it can cause mineral buildup. Using distilled water helps keep the humidifier cleaner for longer.
Disclaimer: This article is for informational purposes only. Always follow the manufacturer’s instructions for your specific humidifier model and handle cleaning solutions with care.
Thanks for visiting Clearise Cleaning Services! Discover more helpful tips and expert cleaning insights by exploring our related categories.