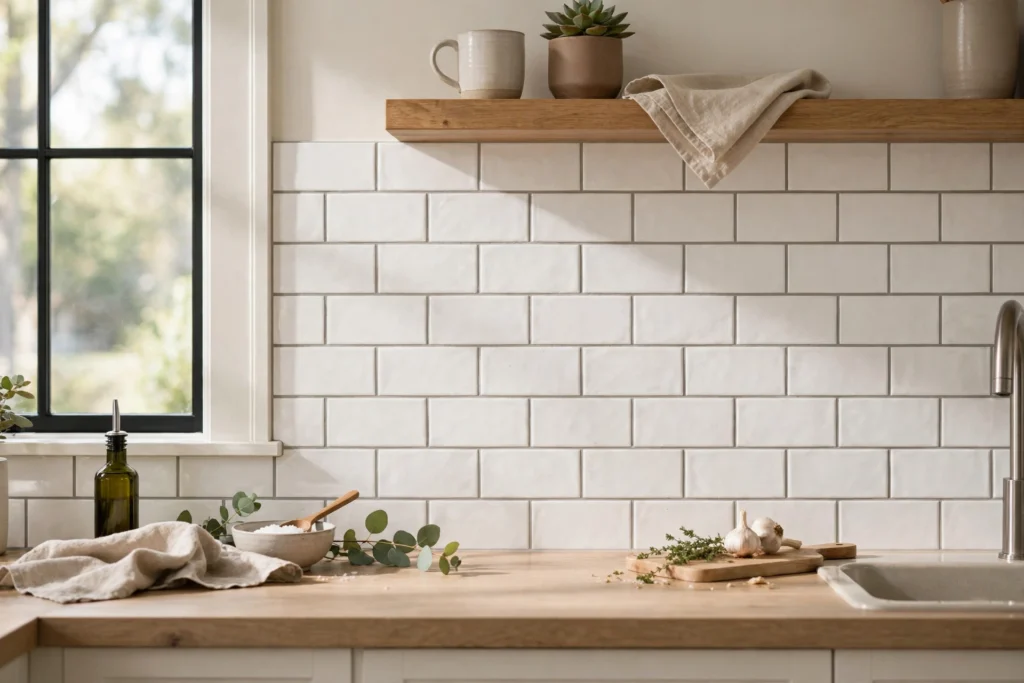
A do it yourself backsplash – kitchen is the tiled strip of wall between the worktop and the wall cabinets, and it protects that wall from cooking splashes, steam and everyday marks. It is also one of the most visible parts of a kitchen, so a neat backsplash can change how the whole room looks, even when nothing else changes.
This guide explains a do it yourself backsplash for a kitchen in plain language. It covers planning, measuring, choosing tiles and adhesive, tools, wall preparation, layout, installation, cutting around outlets, grouting and sealing, mistakes to avoid, and when to hire a professional.
The Short Answer: Is a DIY Kitchen Backsplash Doable?
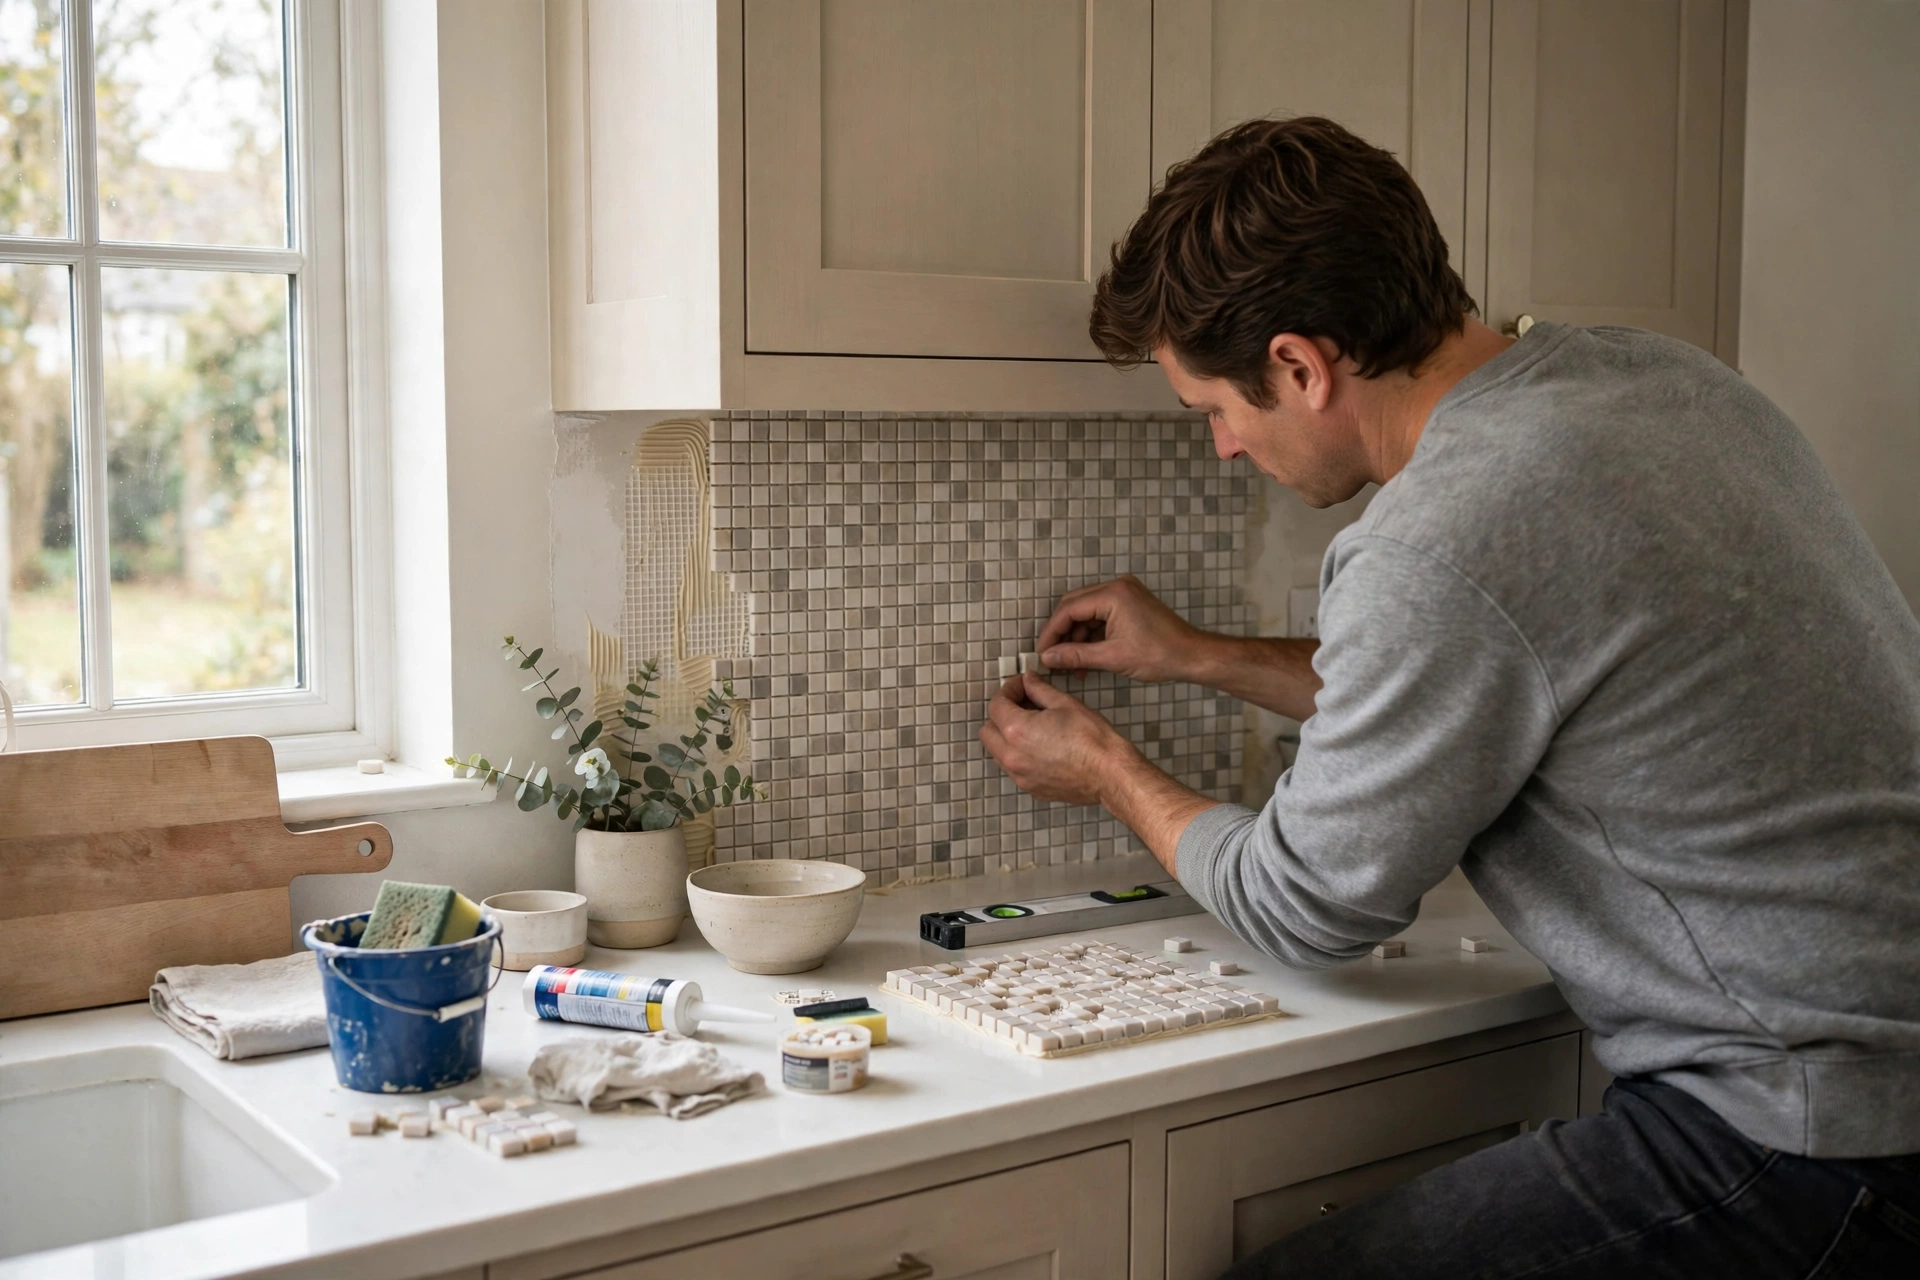
Yes, a do it yourself backsplash – kitchen is one of the most doable tiling jobs for a careful beginner, because the area is small, the wall is usually flat, and most of the work is slow, repeated fitting rather than heavy building work. If you can measure carefully, work patiently and follow the product labels, you can get a neat result.
That answer comes with an honest condition. A backsplash is doable when the wall is sound, the tiles are a simple shape, and the layout is straightforward. A large area, an uneven wall, a complex pattern, or many outlets makes the job harder, and a professional tiler may then be the better choice.
Planning Your Kitchen Backsplash
Planning a kitchen backsplash means deciding where the tiles will start and stop, which areas they will cover, and how the finished wall will look with the worktop, cabinets and cooker. A little planning before buying saves wasted tiles, awkward cuts and a layout that looks unbalanced once it is on the wall.
Start by looking at the wall as a whole. Most backsplashes run behind the worktop, often up to the underside of the wall cabinets, and sometimes higher behind the cooker. Decide whether the tiles will run the full length of the worktop or stop at a natural edge, such as a cabinet end or a corner.
Colour and finish deserve the same early thought. A light, glossy tile brightens a small kitchen, while a darker tile can become a feature but shows splashes more clearly. Take samples home and look at them in your own kitchen light before committing.
Measuring the Area Correctly
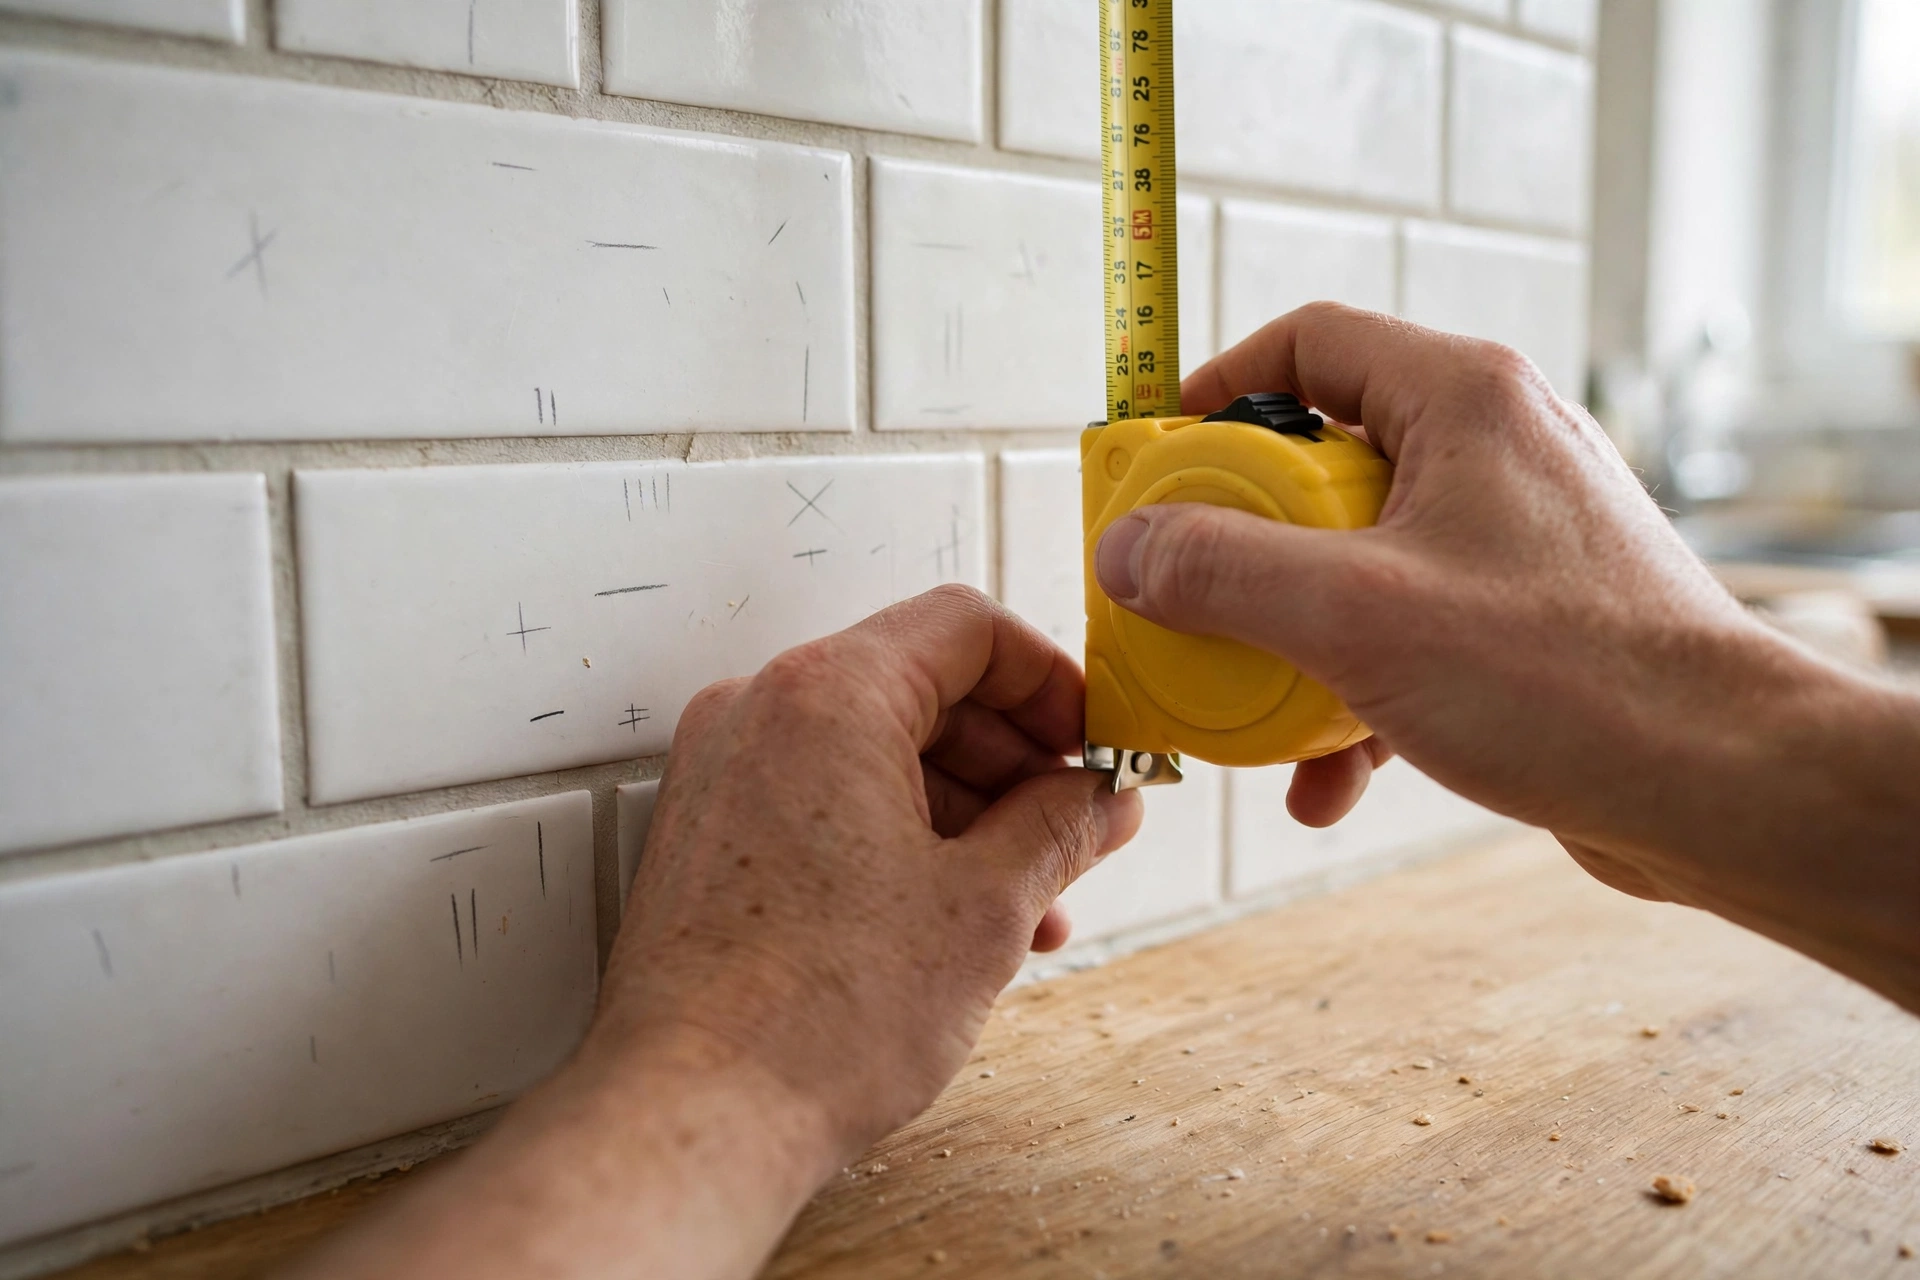
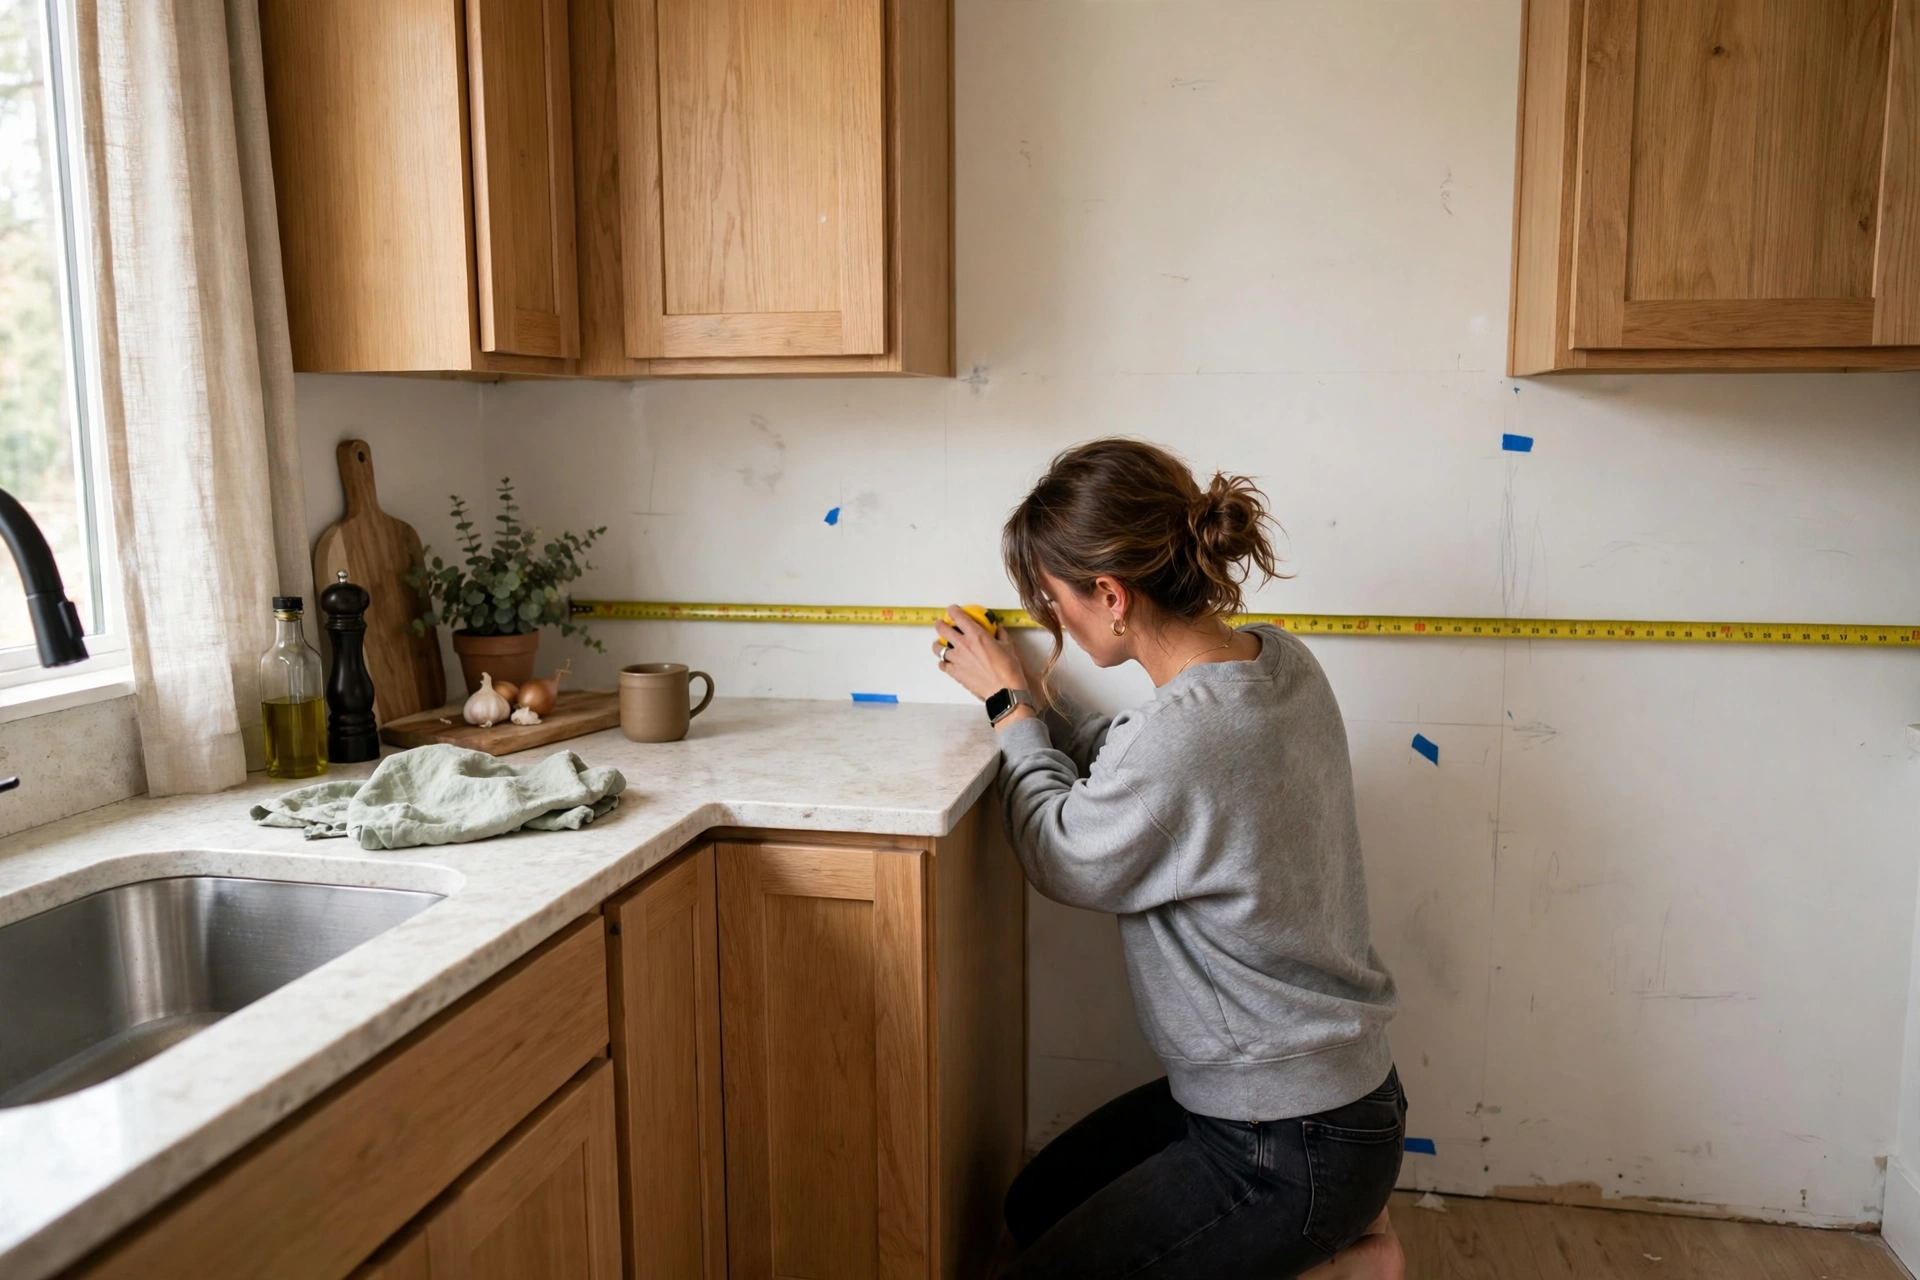
Measuring a kitchen backsplash correctly means measuring each separate wall section, working out its area, and adding a sensible allowance for cuts and breakages, because a backsplash is rarely one neat rectangle. Outlets, windows, corners and the cooker all break the wall into smaller shapes that must be measured one by one.
Measure the width and height of each section in inches or centimetres, and write the numbers down with a small sketch of the wall, marking where the outlets, switches and cooker sit. Multiply width by height for each section and add the sections together to get the total area. Then add an allowance for cutting waste, because tiles at edges, corners and around outlets are cut and some will break. A patterned layout needs a larger allowance than a straight one, so ask your supplier how much extra to allow.
Do not guess the area from a single wall measurement, and do not order exactly the calculated amount. Running out of tiles halfway through is frustrating, because a later batch may differ slightly in shade. Measure twice, order with an allowance, and keep a few spare tiles for repairs.
Choosing the Right Tile
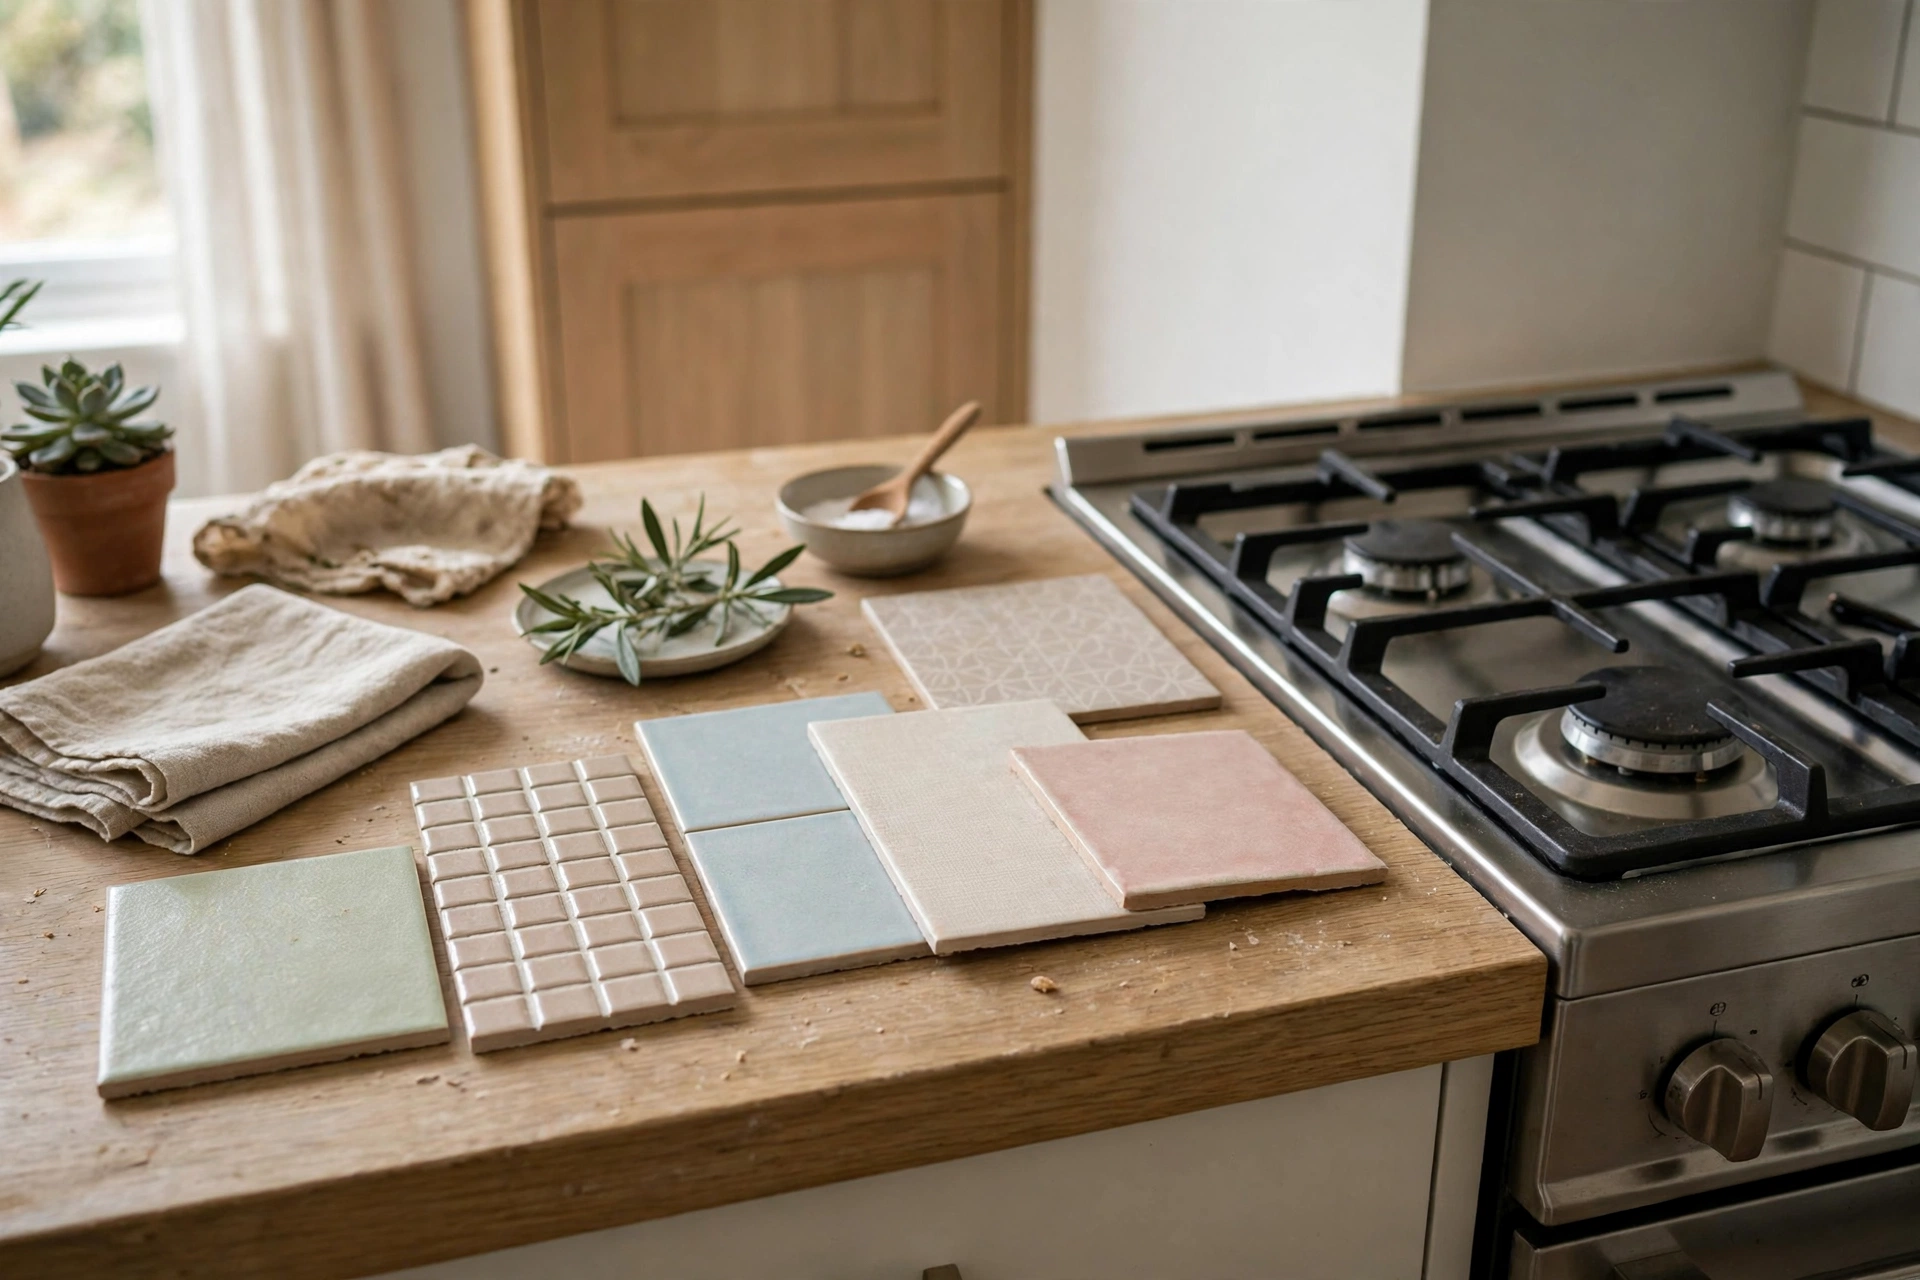
Choosing the right tile for a kitchen backsplash means matching the tile to the wall, the cooking area and the amount of cleaning it will face, rather than picking the prettiest sample in the shop. A kitchen backsplash must cope with heat, steam, grease and daily wiping, so the tile needs a smooth, washable surface.
Ceramic tiles are popular for a first backsplash, because they are easy to cut, widely available and come in many colours and sizes. Porcelain tiles are denser and harder, suiting heavy wear, though they are harder to cut and usually cost more. Glass tiles look bright, but show adhesive and grout more easily and need careful fixing, so they are less forgiving for a beginner.
Size matters too. Small and medium tiles are easier to fit around outlets and corners than very large tiles, which need a perfectly flat wall. A glazed surface is easier to wipe clean than an unglazed one, which matters behind a cooker. Check that your tile is sold as a wall tile suitable for kitchen use, and read the maker’s guidance before buying.
Adhesive, Grout and Sealant Choices
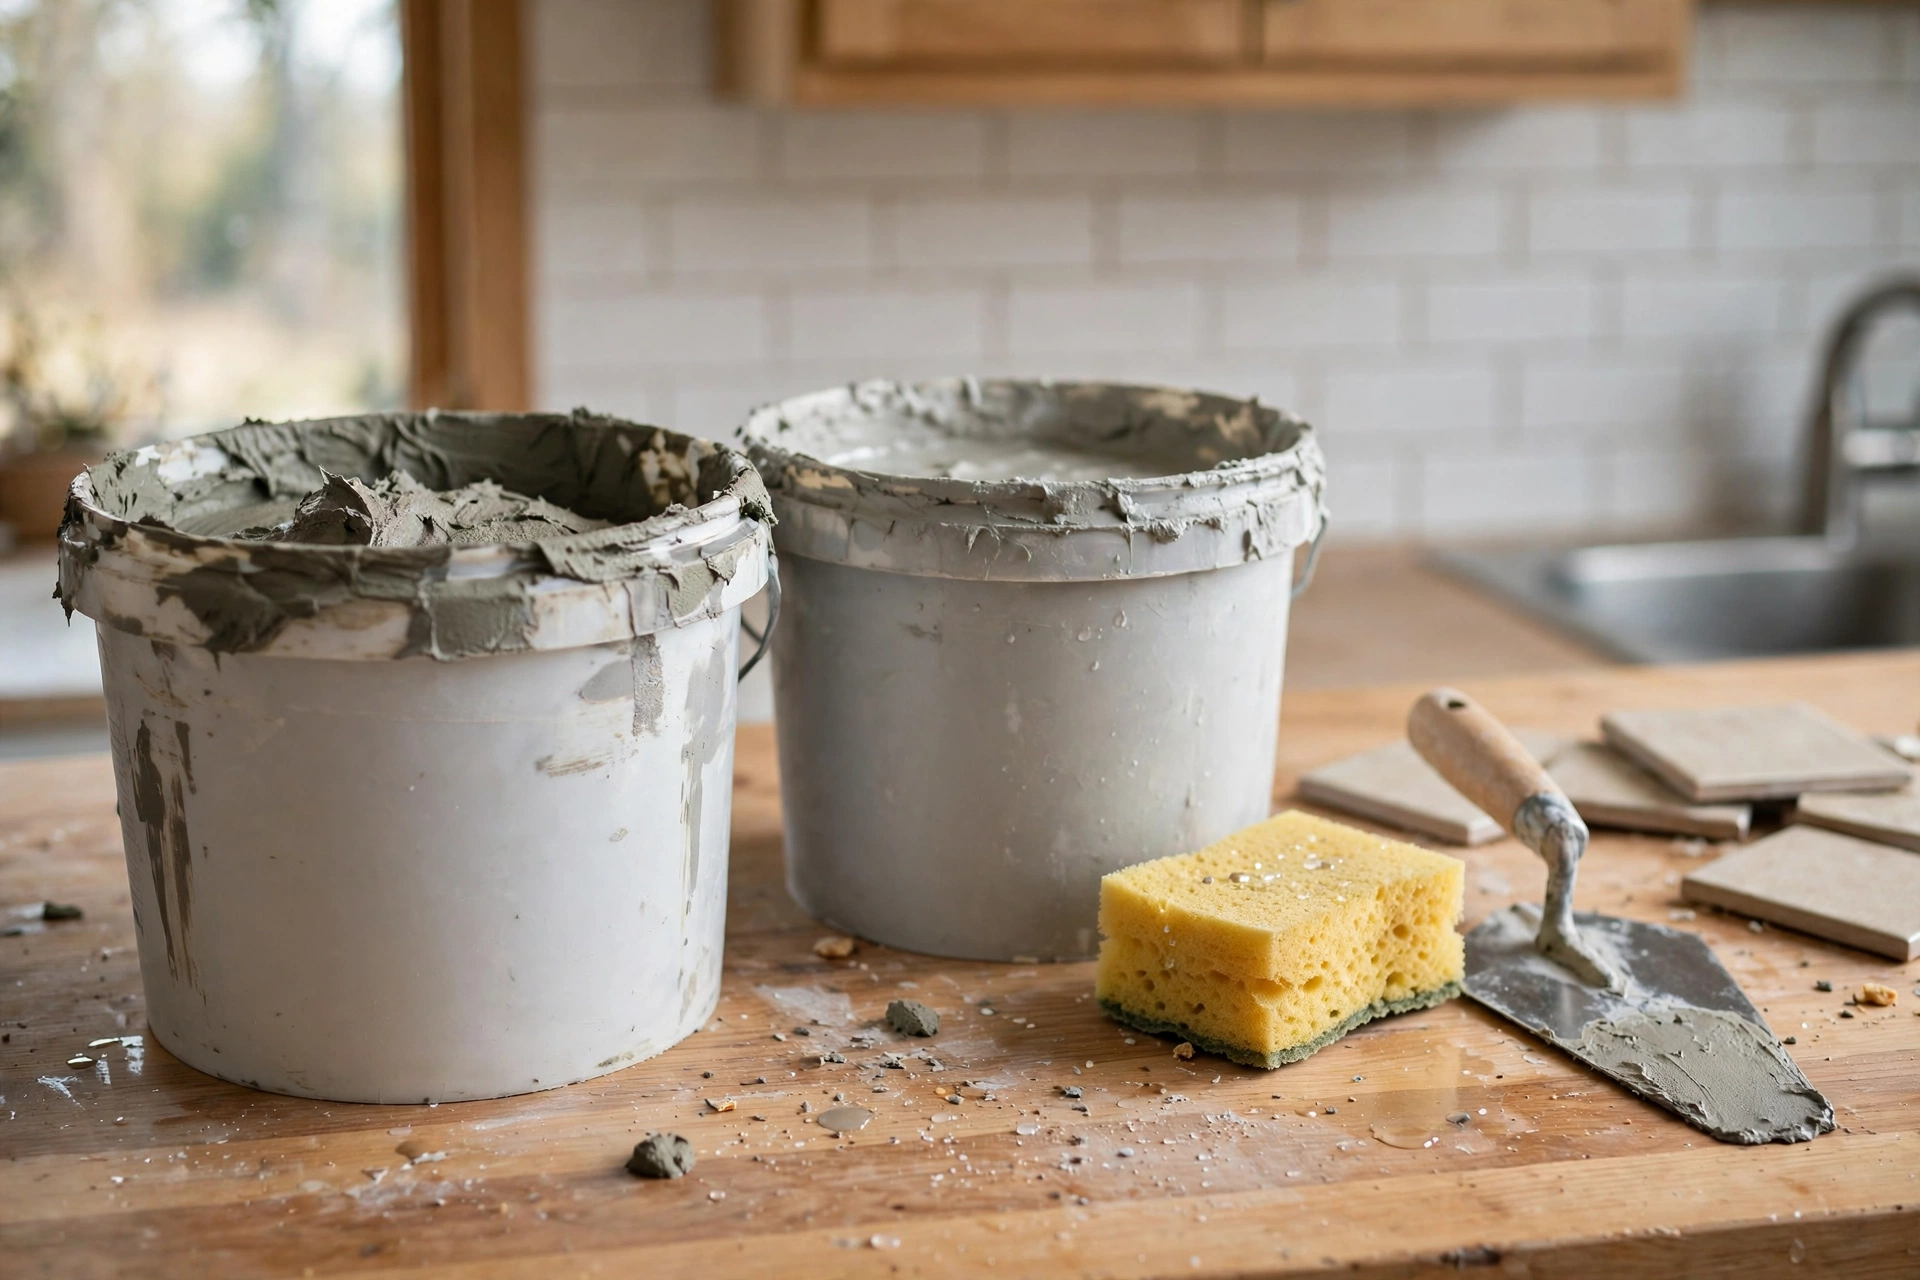
Adhesive, grout and sealant are the three materials that hold a backsplash together and keep it looking good, and choosing the wrong one is a common cause of tiles that fail or grout that stains. Adhesive sticks the tile to the wall, grout fills the joints between tiles, and sealant protects grout and edges from moisture and staining.
The table below compares the main choices in simple terms. It is a starting guide, not a substitute for the product label, because products vary by maker and by wall type, and the label for your wall and tile should always be followed.
| Material | Common choice for a backsplash | What to watch |
|---|---|---|
| Tile adhesive | Ready-mixed adhesive for wall tiles | Check it suits your tile and wall type |
| Grout | Standard grout, or grout made for kitchens | Colour changes the look; darker grout hides stains |
| Grout sealant | Sealant for grout in wet or splash areas | Does not make grout stain-proof |
| Edge sealant | Flexible sealant where tiles meet worktop | Allows slight movement without cracking |
Ready-mixed adhesive suits many kitchen backsplashes, because it is simple to use and made for wall tiles, but it is not right for every tile or wall, so check the label. Grout colour deserves care: white grout shows cooking marks, while mid-grey grout is more forgiving. Sealant is worth considering behind a cooker or sink, though it slows staining rather than preventing it entirely.
Tools and Materials You Will Need
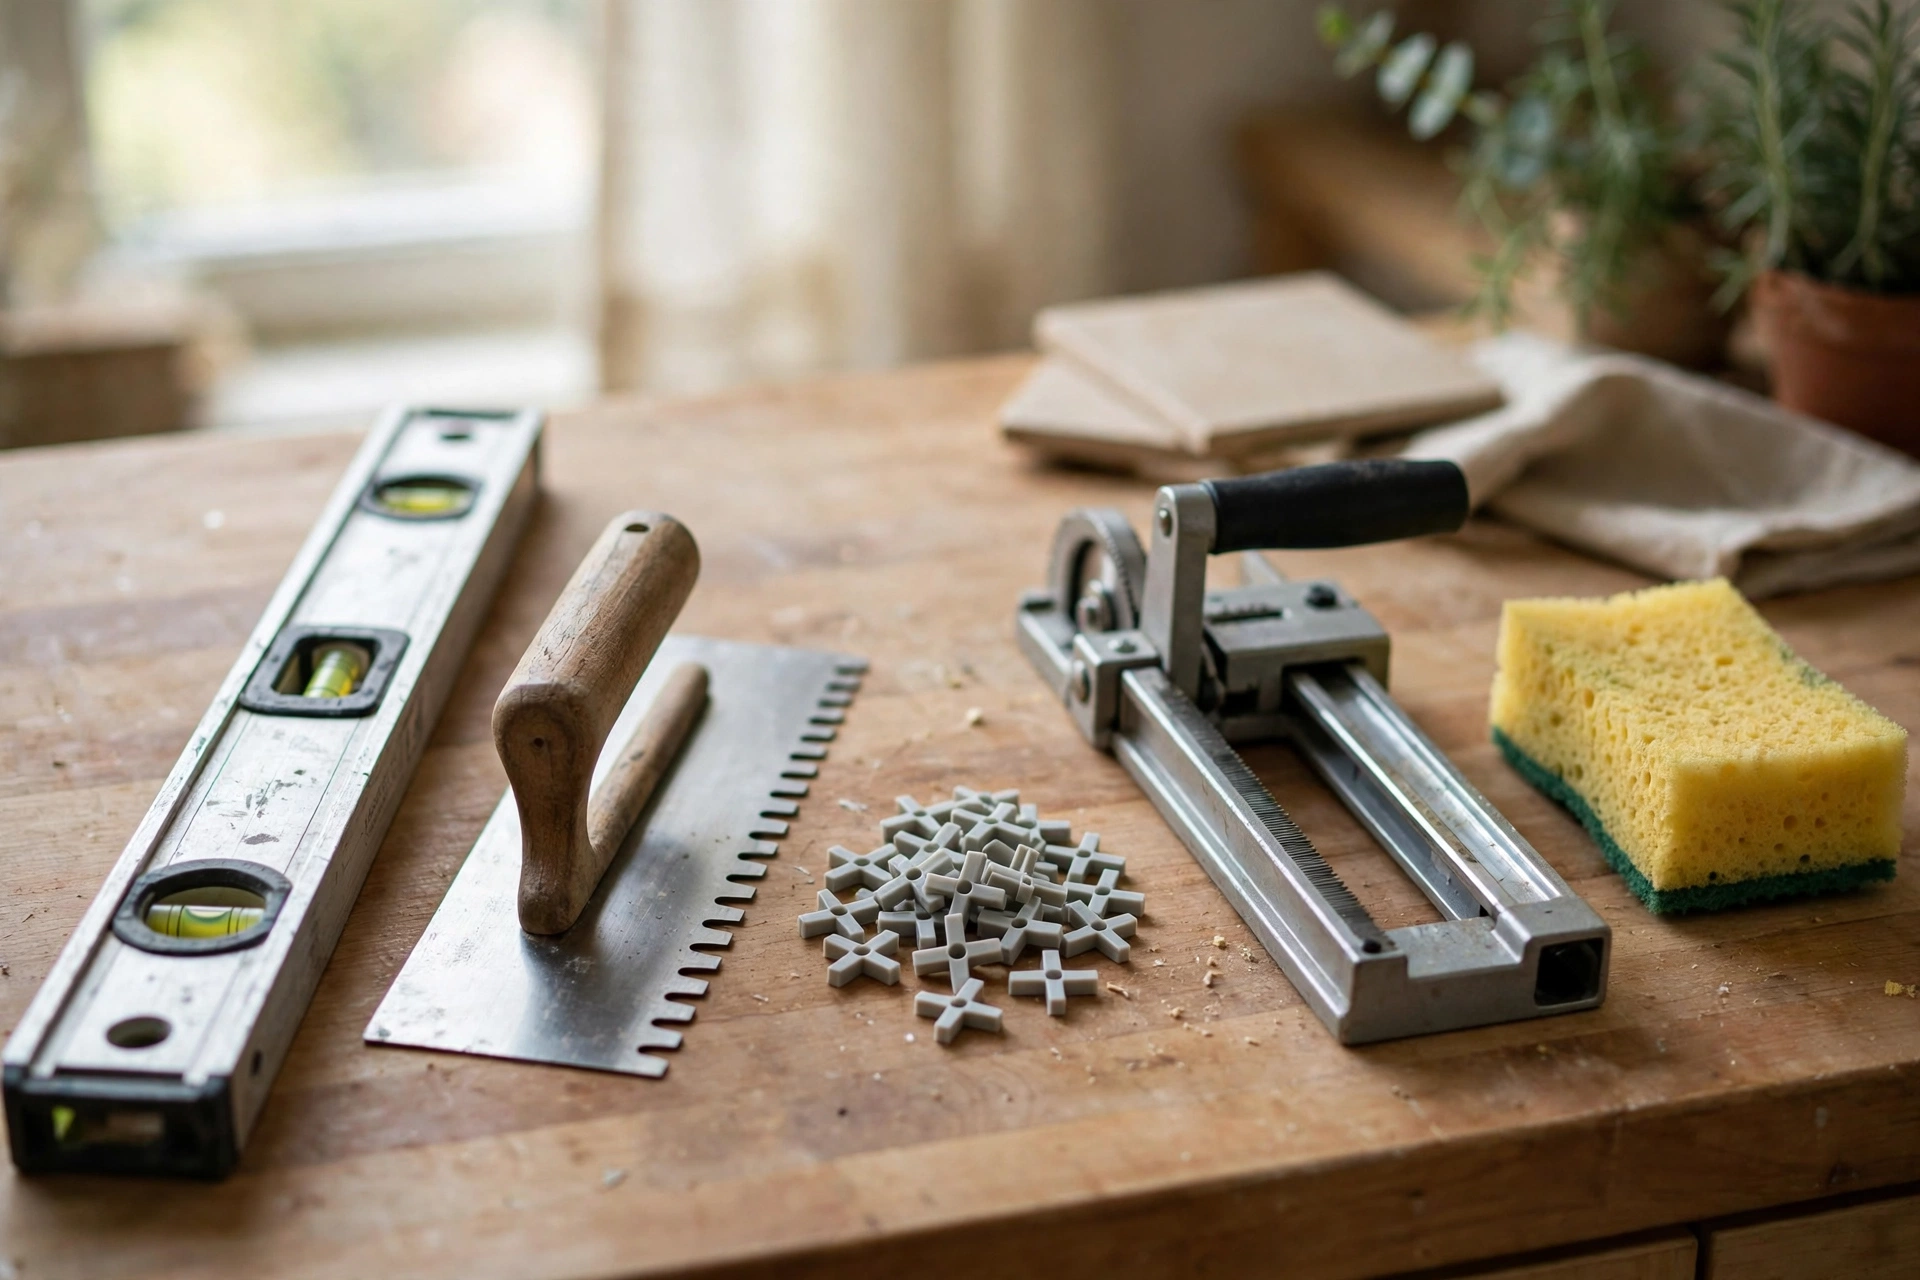
A do it yourself kitchen backsplash needs a modest set of tools and materials, and having them ready before you start is half the job, because tiling stops and starts badly once adhesive is mixed or spread. Most of the tools are simple hand tools, and many can be borrowed rather than bought for a single small job.
You will need a tape measure, a pencil, a spirit level, a notched trowel, tile spacers, a tile cutter, a grout float, sponges and clean buckets, and safety glasses and gloves. You will also need the tiles, adhesive, grout, sealant if you plan to use it, and trim pieces for exposed edges. A damp cloth and clean water are needed throughout, for wiping tiles and cleaning tools before adhesive and grout set.
Do not start tiling until everything is on hand, including spare tiles and spacers. A missing tool halfway through means adhesive drying while you search for it, and a rushed job shows in uneven joints. Lay tools out, protect the worktop and floor, and keep the room clear so you can step back and check the layout.
Preparing the Wall
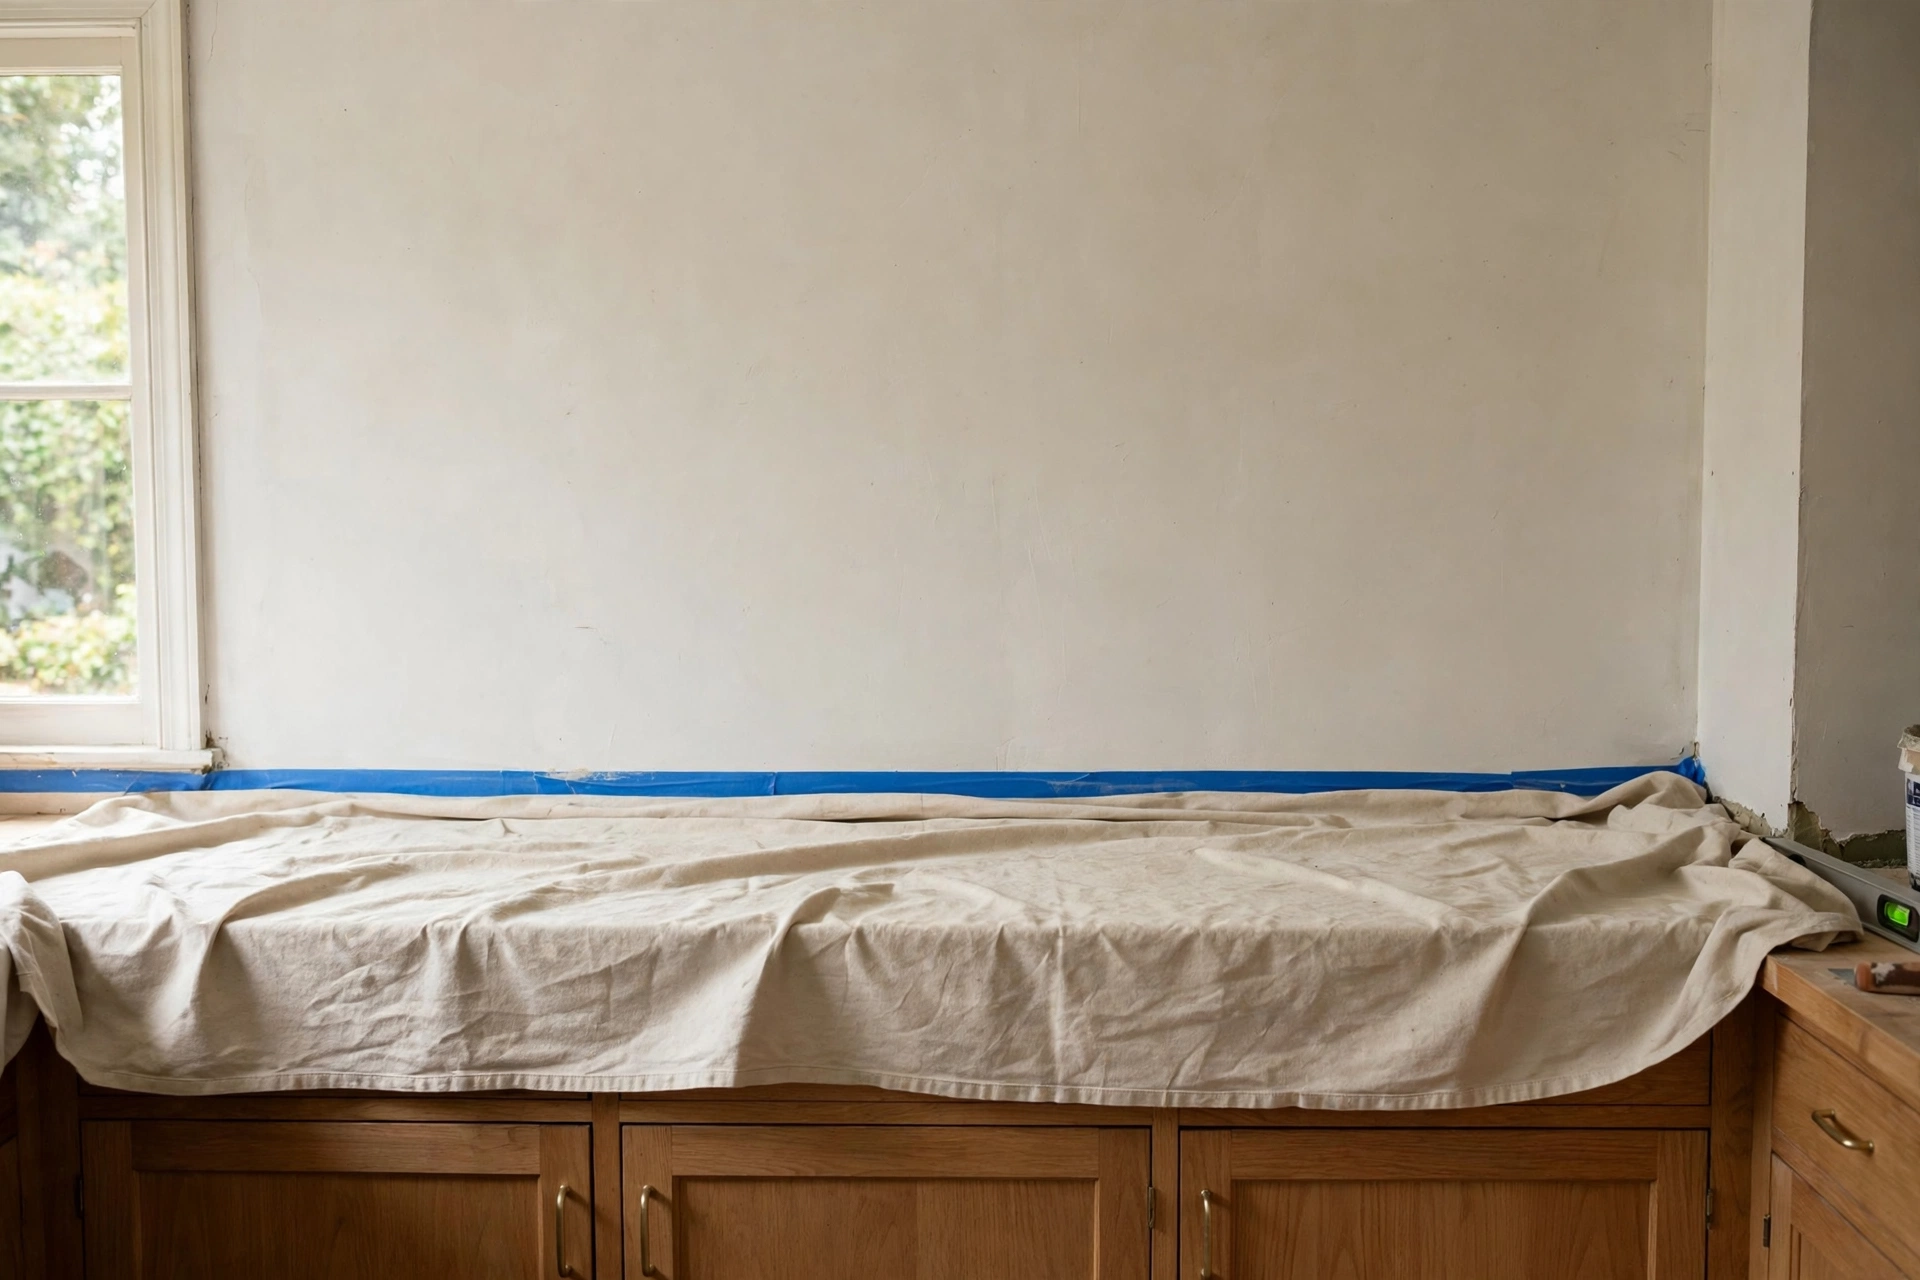
Preparing the wall for a kitchen backsplash means making it clean, dry, flat and sound, because tiles stuck to a dirty or loose surface will not stay put, however good the adhesive is. Preparation takes time, but it is what separates a backsplash that lasts from one that loosens within months.
Start by removing anything on the wall, such as old splashback panels, hooks or loose paint, and clean off grease, especially behind the cooker, since grease stops adhesive gripping properly. Fill small holes and cracks, let the filler dry, and sand it smooth. Check the wall with a spirit level: a wall that bows or dips will show as uneven tiles, and large unevenness should be levelled or discussed with a professional before tiling starts.
Remove outlet covers only after switching the power off at the breaker for that circuit, and keep the power off while working around outlets. Do not work on live wiring, and if anything about the wiring looks damaged or unclear, stop and get a qualified electrician. Once the wall is clean, dry and level, it is ready for layout planning.
Planning the Layout
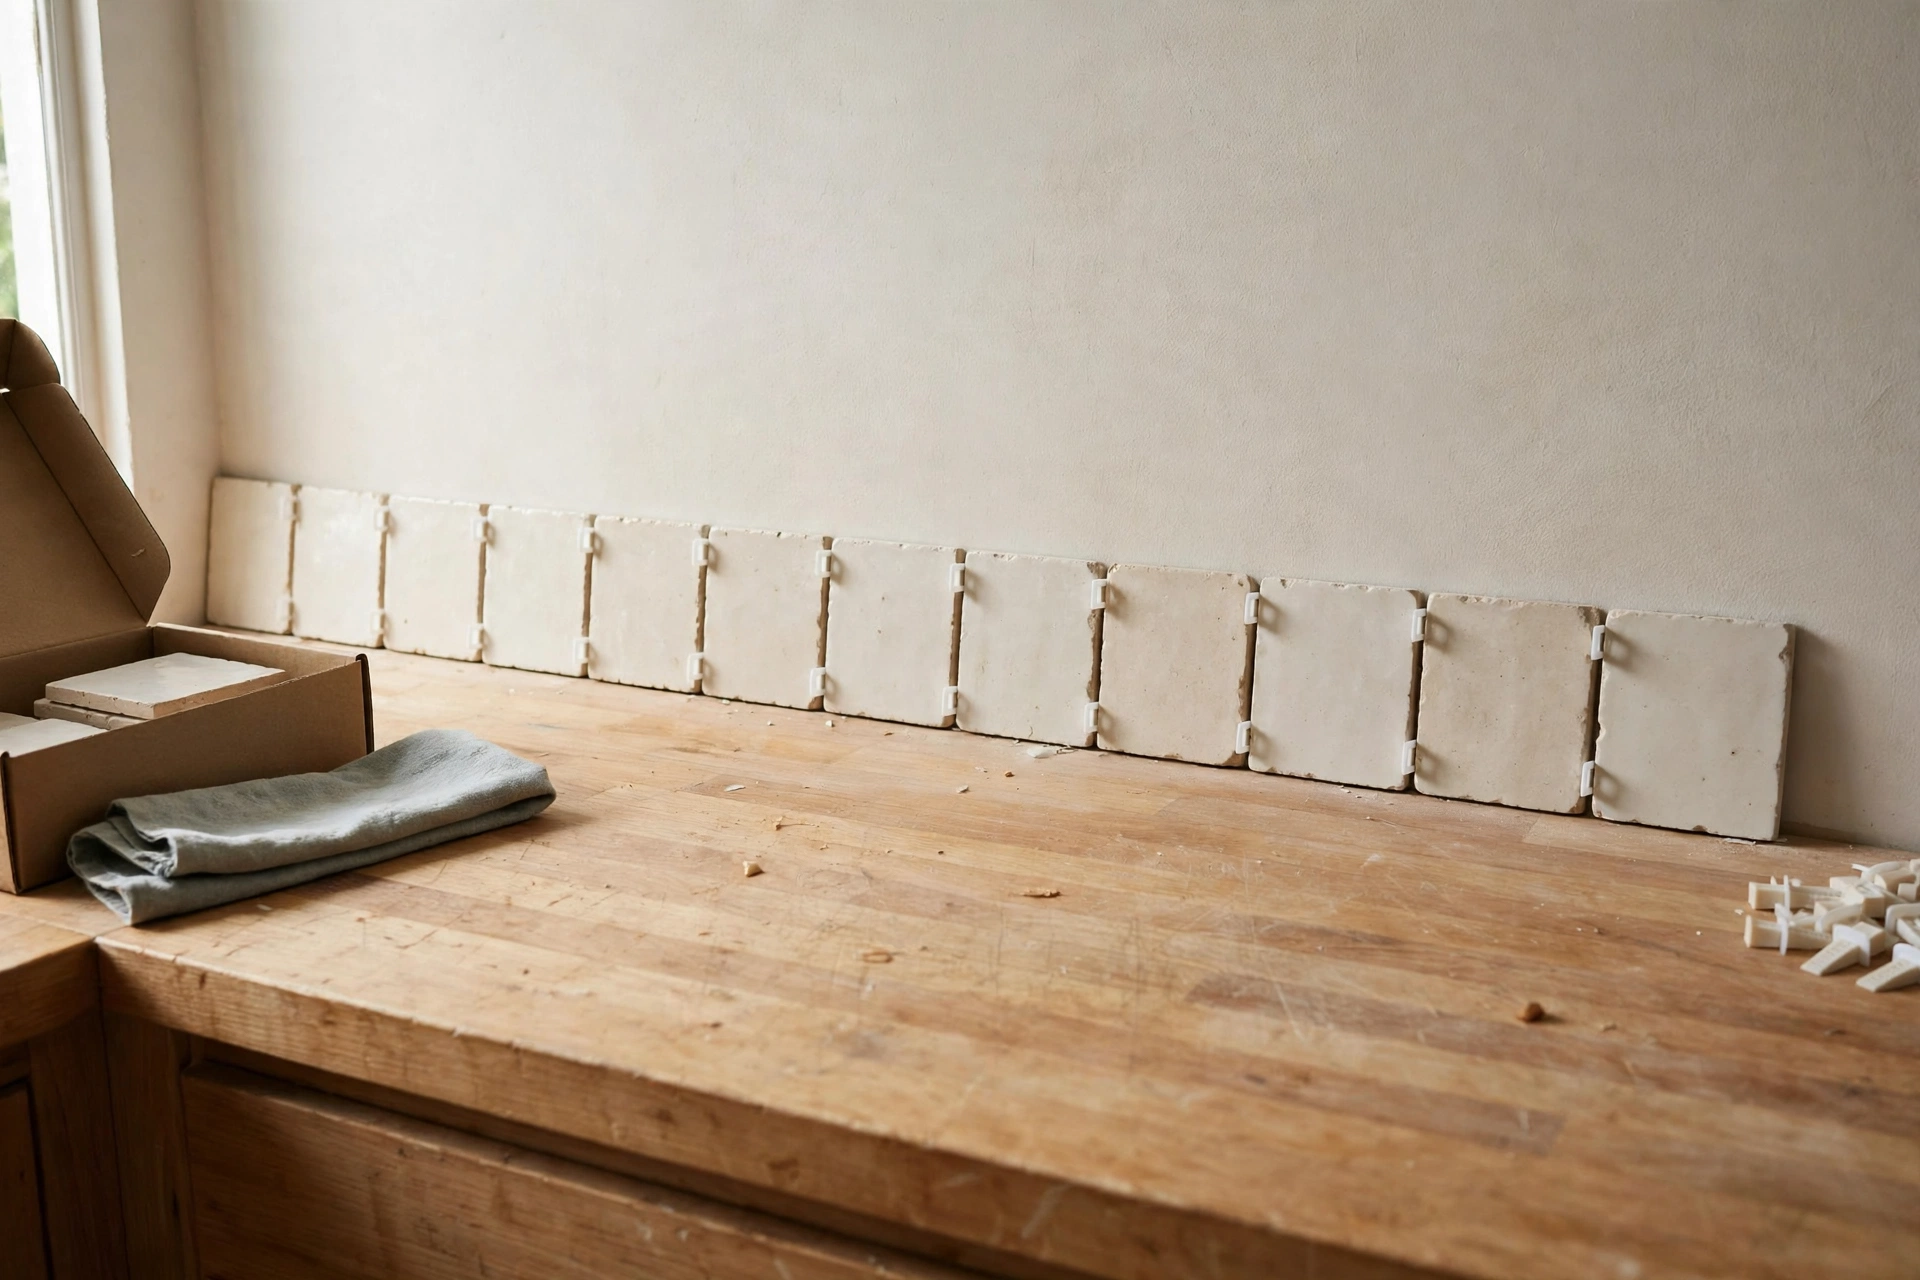
Planning the layout of a kitchen backsplash means working out where the tiles will fall before any adhesive is spread, so the finished wall looks balanced and does not end with thin, awkward slivers at edges and corners. A little dry laying first prevents the most common visual mistake in a backsplash.
Lay a row of tiles along the worktop without adhesive, using spacers, and see where the cuts fall at each end, around outlets and at corners. If one end would need a very narrow sliver, shift the whole row slightly so the cuts at both ends are more even, or start from the centre of the main wall and work outwards. Mark a level horizontal line on the wall as a guide for the first row, since worktops are not always perfectly level.
Plan the vertical layout the same way, especially if tiles run up to the cabinets. Work out how many full rows fit, and whether the top row will be full or cut, since a thin cut hidden under a cabinet is less noticeable than one in the middle of the wall. Once the layout looks balanced in a dry run, you are ready to tile.
Installing the Tiles Step by Step
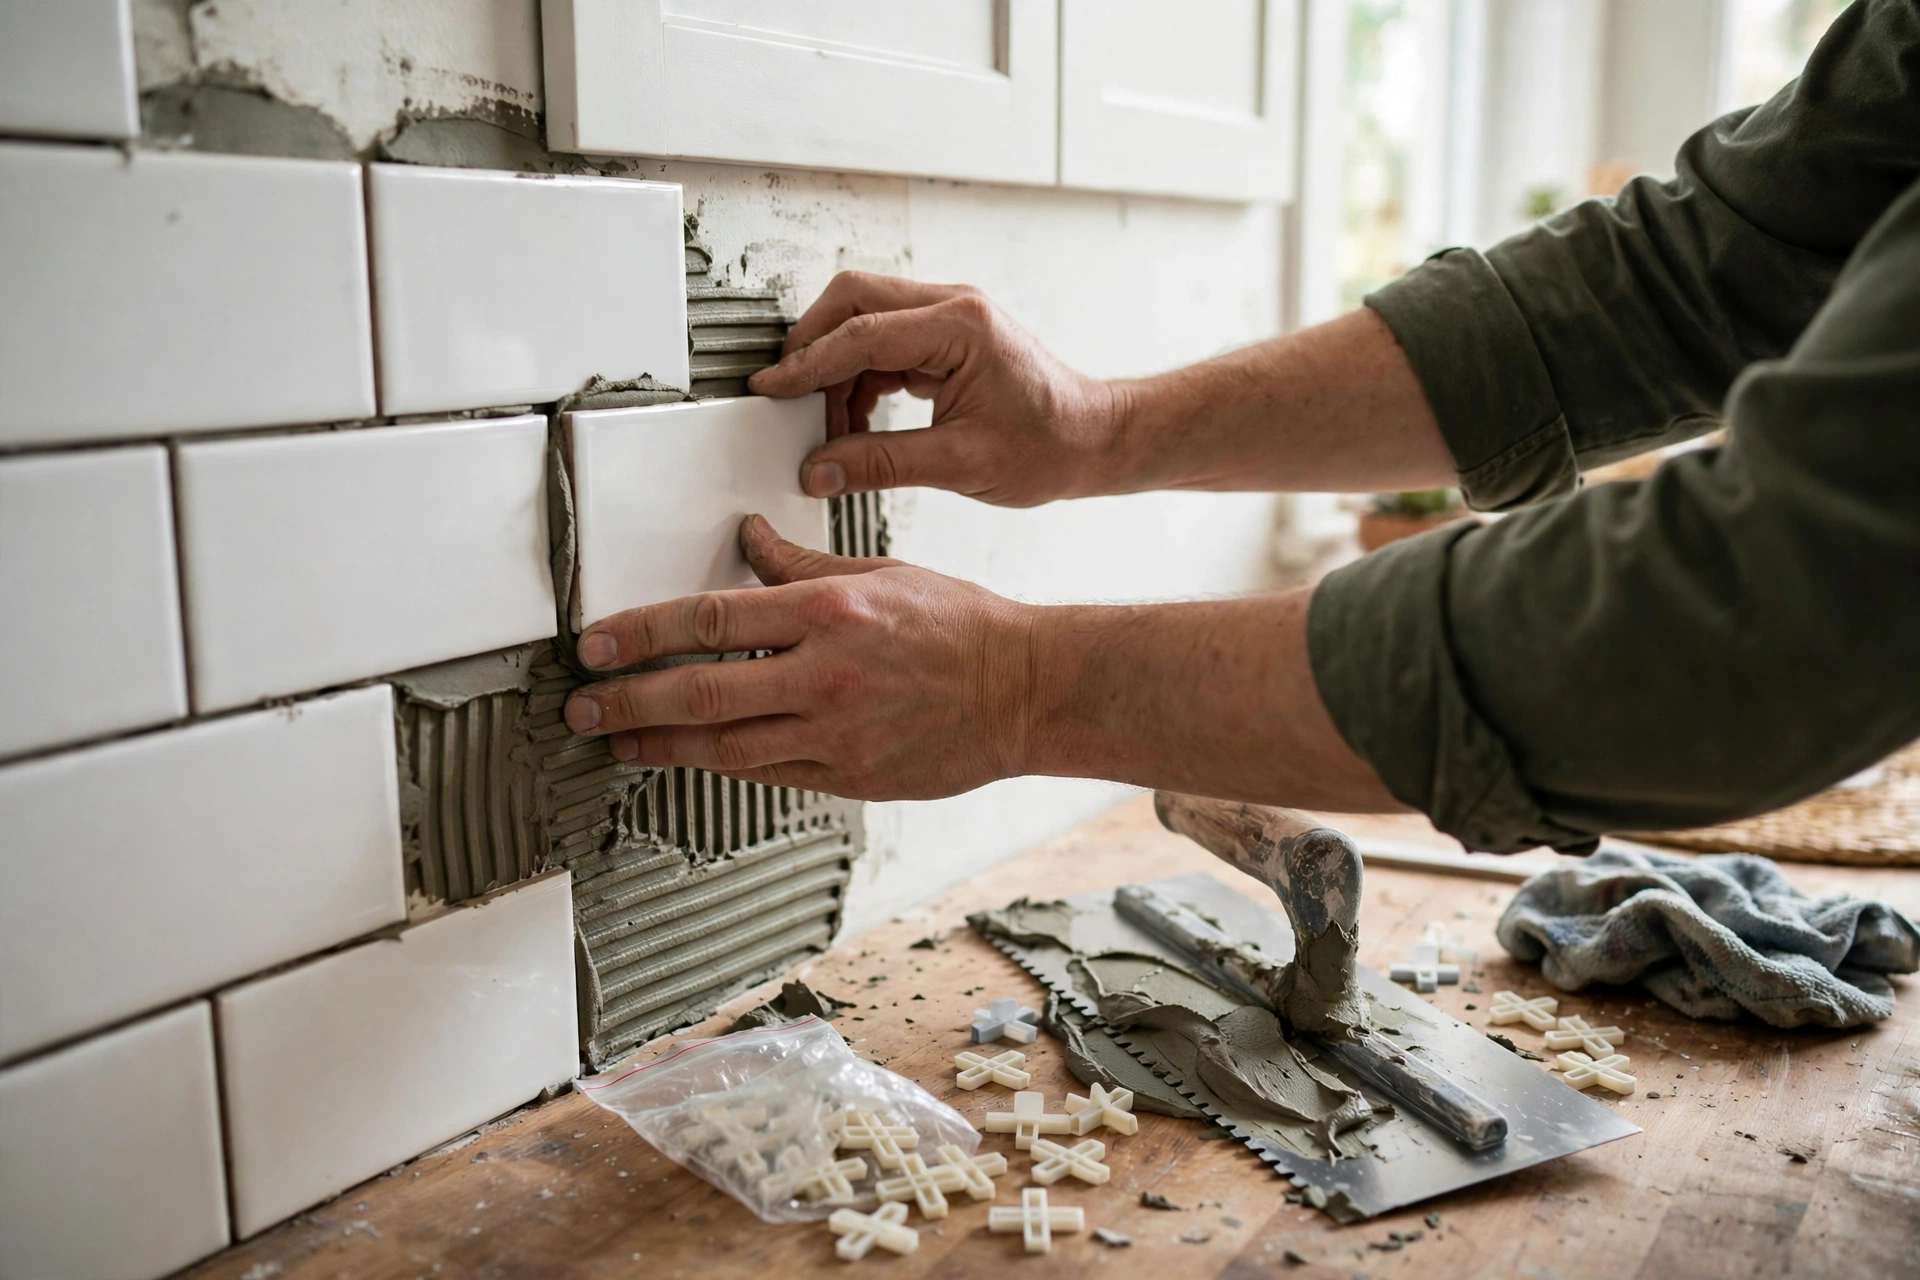
Installing kitchen backsplash tiles step by step means working in small sections, spreading adhesive evenly, placing each tile firmly, and checking level and spacing as you go, rather than rushing to cover the wall. Slow, steady work gives a far neater result than speed, and it leaves time to fix a tile before the adhesive sets.
Follow these steps in order, and always follow the adhesive and grout labels for your own products:
- Mark a level line for the first row and protect the worktop and floor.
- Spread adhesive on a small section of wall with a notched trowel, holding it at a steady angle.
- Press the first tile firmly into the adhesive, then place spacers and fit the next tile beside it.
- Check the row with a spirit level after every few tiles, and adjust any tile that sits proud or low.
- Work in small sections across the wall, cutting edge and outlet tiles as you reach them.
- Let the adhesive set fully, following the time given on the product label, before grouting.
Step back often and look at the wall from across the room, because a row that looks straight up close can drift over a longer run. If a tile is wrong, lift and reset it while the adhesive is still workable, rather than hoping grout will hide it, because grout highlights uneven joints.
Cutting Tiles Around Outlets and Edges
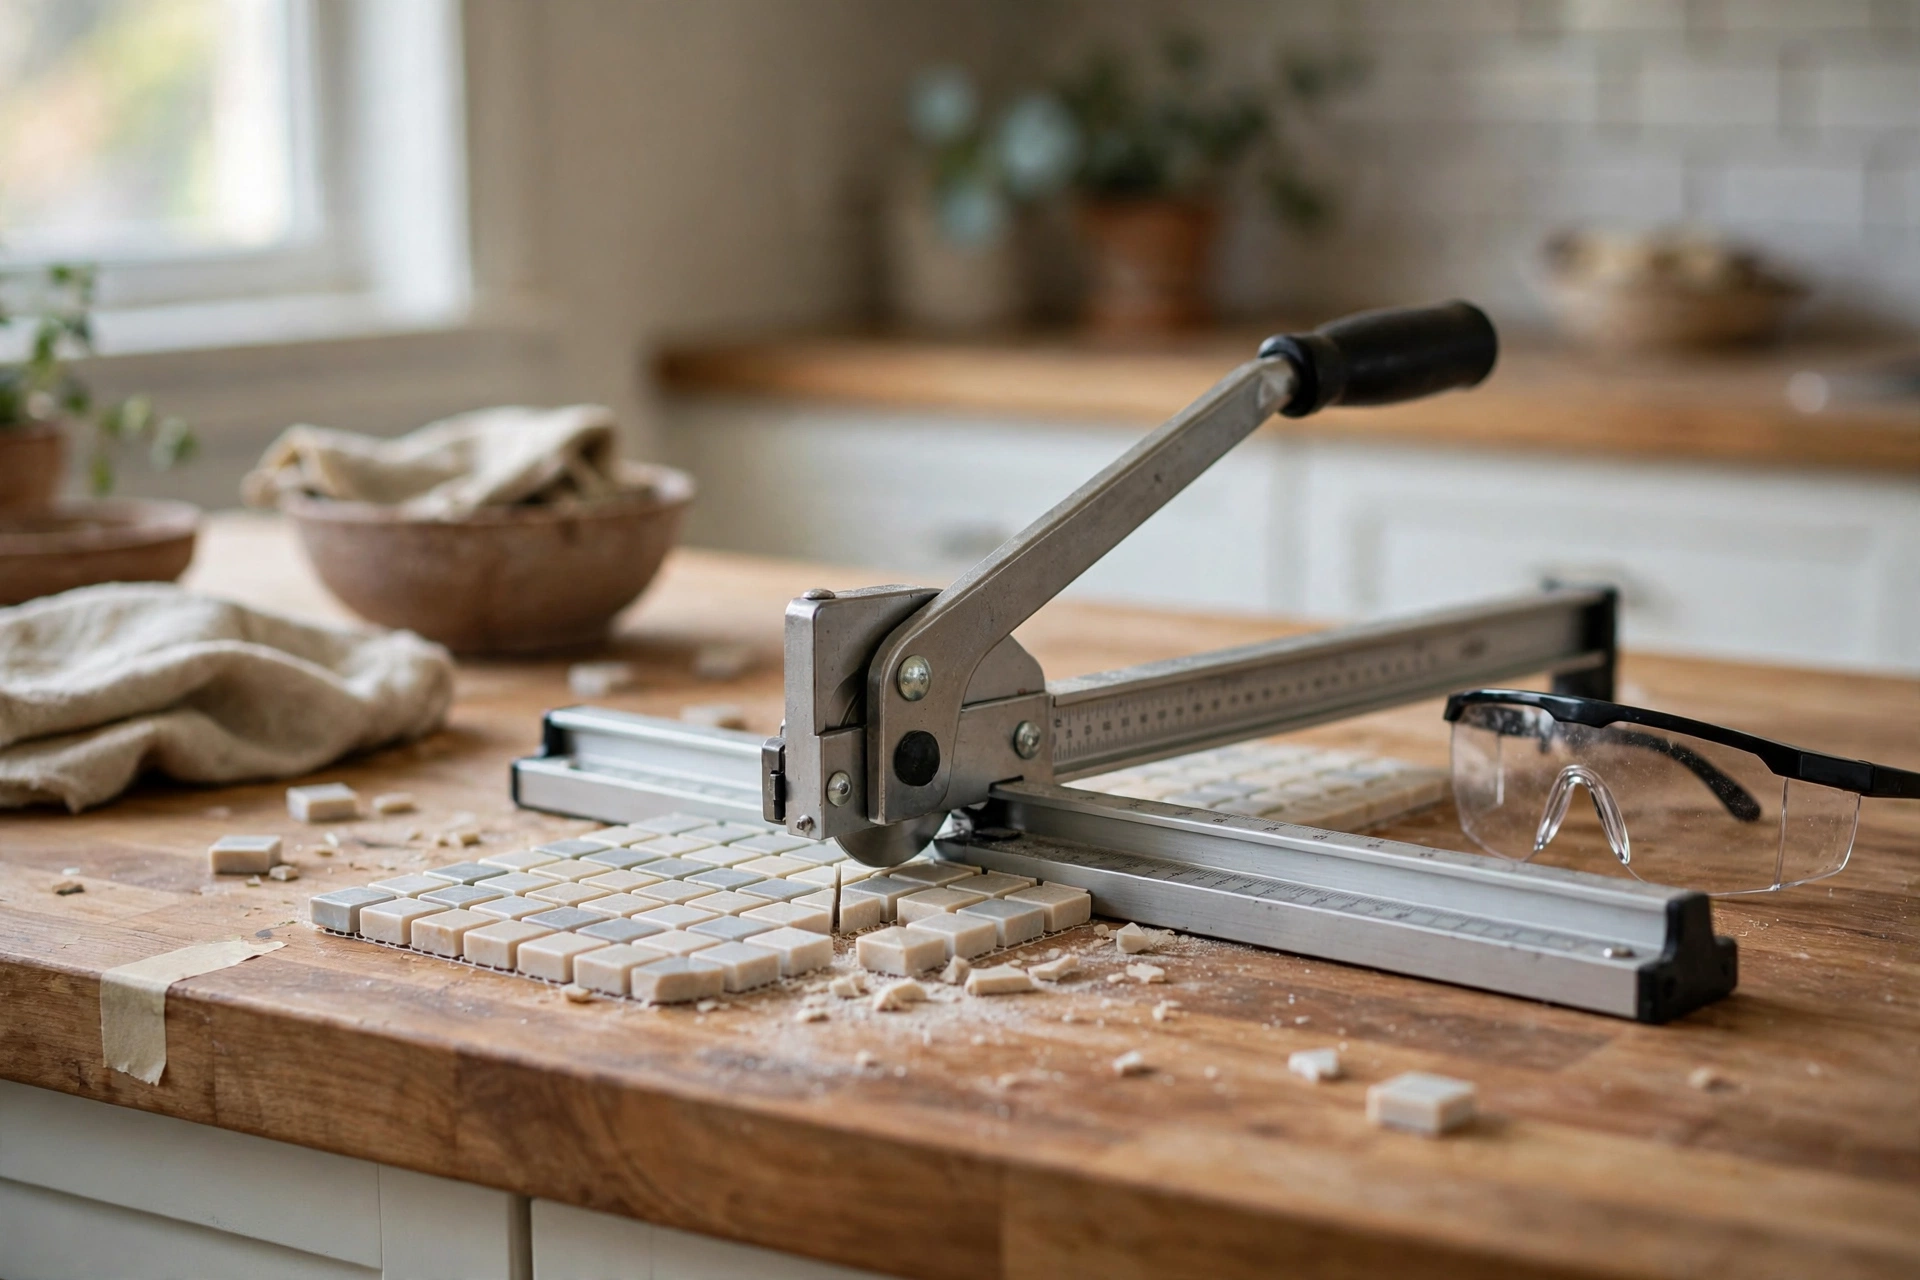
Cutting tiles around outlets and edges is the fiddliest part of a kitchen backsplash, because outlets, switches and corners rarely line up neatly with tile joints, and a badly cut tile stands out. Patience and careful measuring matter more here than speed, and a few spare tiles make the job far less stressful.
Measure each cut from the tiles already fitted, not from the wall alone, and mark the tile clearly before cutting, allowing for the grout joint on each side. A straight cut suits most edge tiles, while an outlet usually needs a notch or hole, which takes more care and a suitable cutter. Cut slowly, wear safety glasses and gloves, and keep fingers clear of the cutting edge, since cut tile edges are sharp.
For outlets, switch the power off at the breaker before removing covers or fitting tiles around them, and keep it off until tiles and covers are back in place. Do not touch wiring, and do not work on a live circuit. If wiring or an outlet box does not sit neatly with the new tiles, stop and ask a qualified electrician.
Grouting and Sealing
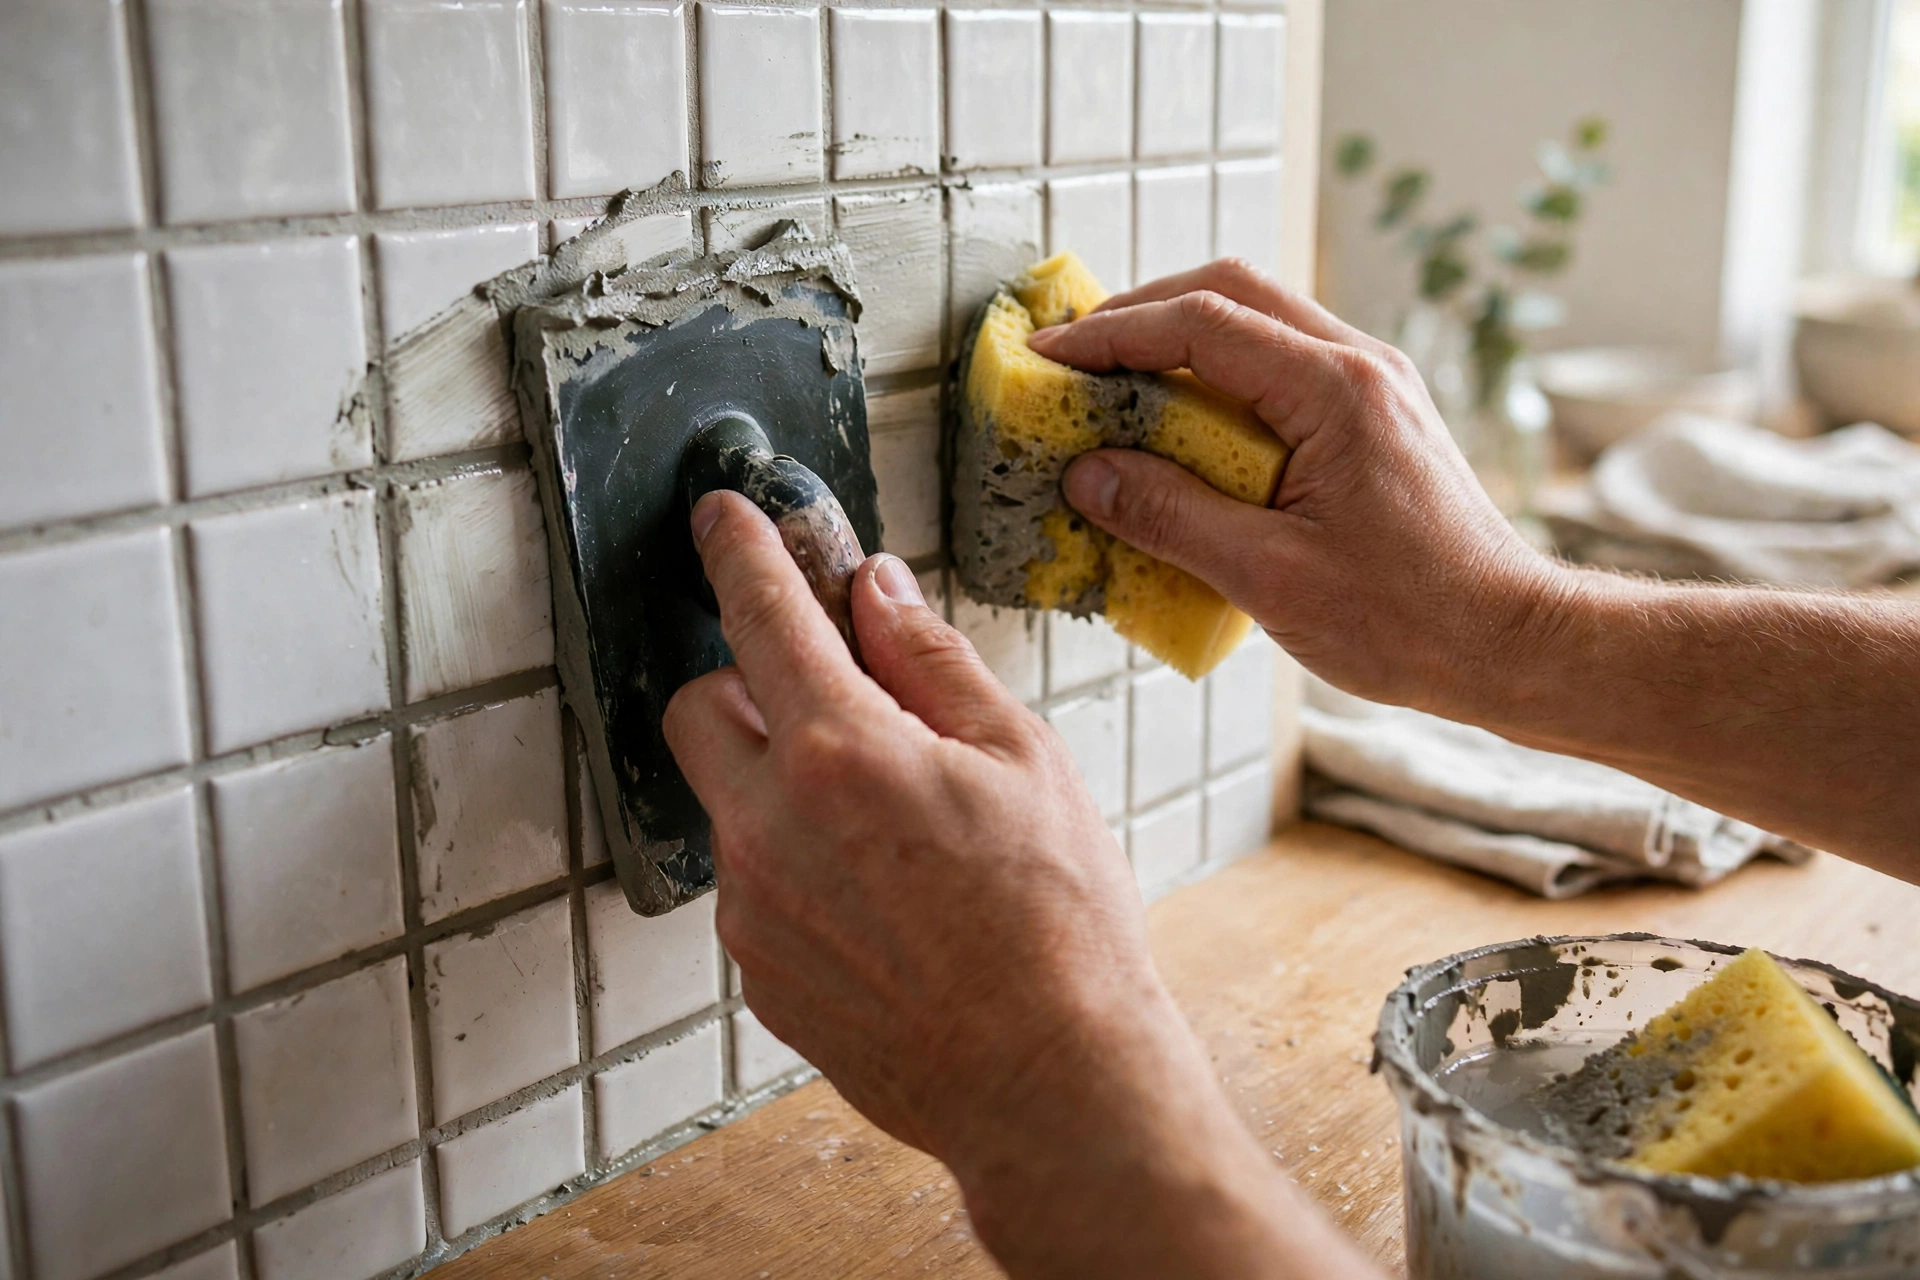
Grouting a kitchen backsplash means filling the joints between tiles, and sealing means protecting those joints and the edges from moisture and staining, so the finished wall stays clean and the tiles stay supported. Grouting is the stage where a careful job starts to look finished, and rushing it can spoil good tiling.
Wait until the adhesive has set fully, following the product label, then remove the spacers and check that no adhesive is sitting in the joints. Mix or prepare the grout as directed, press it into the joints with a grout float, and wipe tiles with a damp sponge, rinsing often, so grout does not dry on the tile surface. Work in small sections, because grout dried on a tile face is hard to remove.
Sealing comes after the grout has cured, again following the product label. A grout sealant can slow staining behind a cooker or sink, though it does not make grout stain-proof, and flexible sealant where tiles meet the worktop allows slight movement without cracking. Keep the backsplash dry while sealant cures.
Common Mistakes and When to Hire a Professional
The most common mistake with a do it yourself kitchen backsplash is starting without measuring or planning the layout, so the tiles end with thin slivers at edges, uneven rows, or outlets that cut awkwardly through the middle of a tile. A little planning, measuring and dry laying first prevents this and gives a balanced wall.
Other mistakes are easy to make too. Tiling over a greasy, uneven or damaged wall leads to tiles that loosen, while the wrong adhesive causes the same problem. Spreading adhesive over too large an area lets it dry before tiles are placed, and grouting before adhesive has set can shift tiles.
Hire a professional when the wall is badly uneven or damaged, when the layout is complex, when plumbing or electrical work is involved, or when the area is large. A tiler brings experience, proper cutting tools and a guarantee, and the cost is often less than redoing a failed backsplash.
Conclusion
A do it yourself kitchen backsplash is a rewarding first tiling project when the wall is sound, the layout is planned and the work is done slowly. Measure each wall section, choose a washable wall tile, use the adhesive and grout suited to your tile and wall, and follow the product labels at every stage.
Plan the layout before spreading adhesive, cut carefully around outlets with the power off, grout in small sections and seal where splashes are worst. Done that way, a kitchen backsplash protects the wall, brightens the room and lasts for years.
Frequently Asked Questions
Is a kitchen backsplash a good first DIY tiling job?
Yes, a kitchen backsplash is a good first tiling job for a careful beginner, because the area is small, the wall is usually flat, and the work is slow, repeated fitting rather than heavy building work.
How much extra tile should I buy for a backsplash?
Buy extra tiles beyond the measured area for cuts and breakages, with a larger allowance for patterned layouts, and ask your supplier how much extra suits your chosen pattern and tile size.
What tile is best for a kitchen backsplash?
A smooth, glazed ceramic wall tile is a good first choice for most kitchens, because it is easy to cut, easy to wipe clean, and widely available in many colours and sizes.
Do I need to turn the power off for outlet tiles?
Yes, switch the power off at the breaker before removing outlet covers or tiling around outlets, keep it off until covers are replaced, and get a qualified electrician for any wiring work.
When should I hire a professional for a backsplash?
Hire a professional for badly uneven or damaged walls, complex patterns, large areas, or any job involving plumbing or electrical work, since the finish and safety matter more than saving on labour.
Disclaimer: This article is provided for general information only. It is not professional tiling, building, or electrical advice, and it does not promote any brand, product, or service. Tile types, adhesives, grouts and suitability vary by product, region and wall, so always follow the guidance on the specific products you buy and seek qualified professional advice before tiling, especially around electrical outlets, damaged walls, or wet areas.
Thanks for visiting Clearise Cleaning Services! Discover more helpful tips and expert cleaning insights by exploring our related categories.