The reality of the dust problem
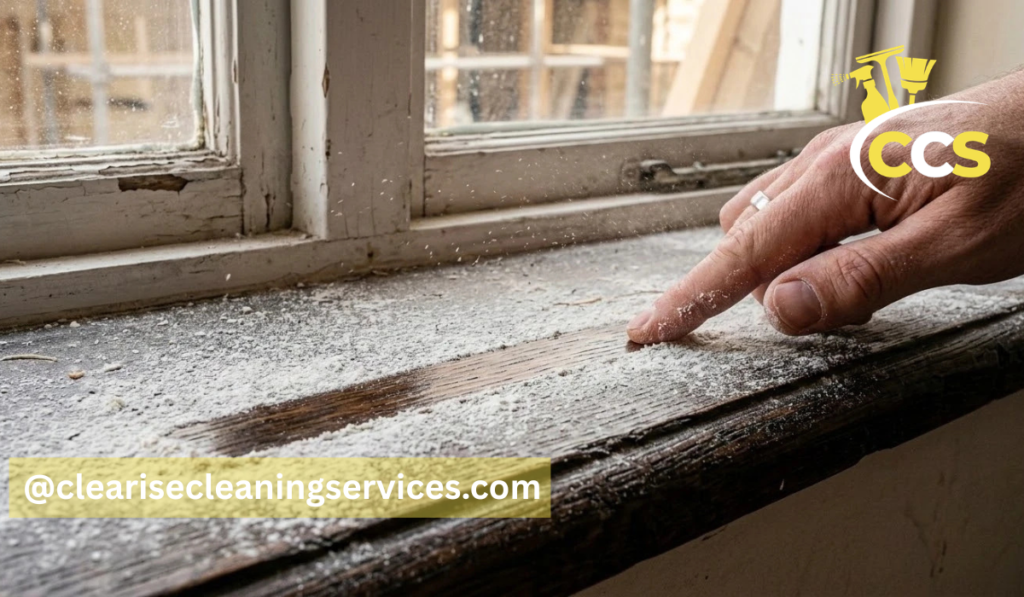
Anyone who has walked onto a site after the builders pack up knows the feeling. You run a finger along a supposedly clean windowsill and come away with a thick coat of white powder. Construction dust is insidious and behaves completely differently to regular household fluff. We are talking about microscopic particles of plasterboard, brick dust, timber fibres and silica that hang in the air and settle into every conceivable gap in a property.
Managing this requires a highly systematic approach rather than just a quick whip around with a standard vacuum cleaner. If you leave it in the ducting or wall cavities, it will continue to plague the house for months. Homeowners often underestimate just how far fine particulate can travel. Even if the renovation was strictly isolated to the back half of the house, the dust will inevitably find its way into the front bedrooms. It rides on air currents and sticks to work boots. Acknowledging the actual scale of the cleanup is the first step to beating it.
Air management and sealing
Before you even think about wiping down surfaces, you need to look at the air itself. Airborne particulate is your biggest enemy. If you start sweeping or blasting air around with a standard broom, you just keep the dust in suspension. It will float around while you work and settle right back where it started overnight.
We always try to establish negative air pressure during the build to extract dust at the source. Post-build cleanup still requires proper ventilation management. Open the windows to get a strong cross breeze going if the weather allows.
If you have access to them, run commercial air scrubbers equipped with HEPA filtration. The primary goal is to flush out the suspended particles before they decide to land on the freshly painted skirting boards. Keep internal doors closed to rooms you’ve already cleaned so you don’t accidentally contaminate finished zones.
The right equipment for extraction
Domestic vacuums will easily give up if you use them on builder’s dust. The ultra fine particles easily bypass standard domestic filters. They blow straight out the exhaust port and settle right back onto your floors. Worse still, fine plaster dust will burn out a standard domestic vacuum motor in a matter of hours. You absolutely need an industrial vacuum with a certified HEPA filter.
Make sure you use the appropriate brush heads so you avoid scratching new timber or polished concrete floors. A wide hard floor attachment with genuine horsehair bristles works best.
Site managers overseeing whole home remodeling in Seattle face the same extraction challenges we encounter on major residential builds in Australia, proving that fine particulate respects no borders and always demands heavy duty, commercial grade extraction equipment to handle safely.
Tackling hidden traps
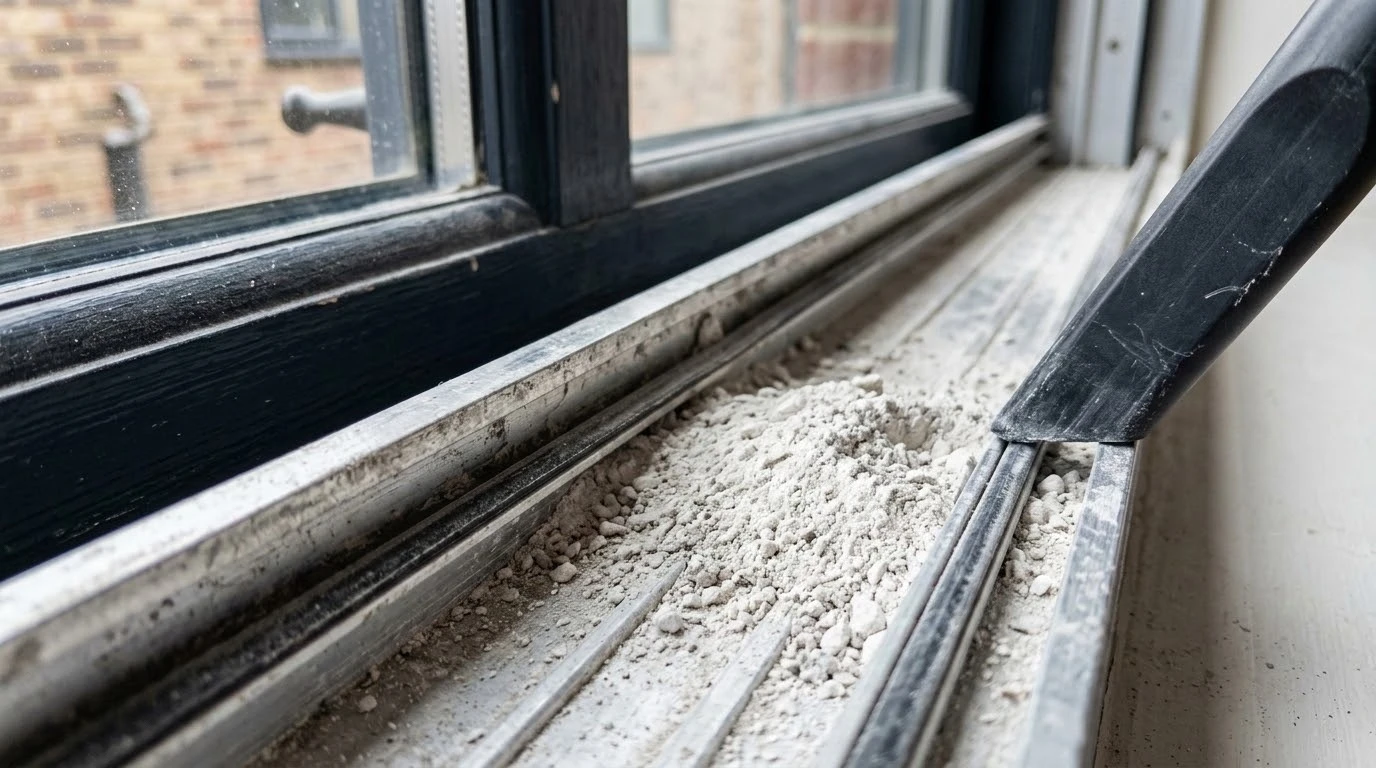
Most people focus entirely on the main floors and kitchen benchtops. The real problem areas are the ones you don’t look at directly. Think about the tops of doors, the inside ledges of cabinetry, ceiling fan blades and the tracks of sliding windows. Window tracks are notorious. If you don’t vacuum them out thoroughly before opening and closing the windows, the grit gets caught in the rollers. You end up permanently damaging the sliding mechanisms.
Recessed downlights are another common trap. Dust sits inside the rim, dropping a fine shower of particles onto the floor every time someone slams a heavy door.
The type of work done matters. For example, if you had plumbing renovations, expect dense masonry dust that can easily clog your air conditioning and ceiling vents. Before turning on your HVAC system, make sure to clean the filters and wipe out the return air boxes to avoid spreading dust throughout your home.
Wet wiping versus dry dusting
Never dry dust after a major renovation. Using a feather duster or a dry rag just pushes the problem back into the air. You need to trap the dirt effectively. Get a massive stack of clean microfibre cloths. Work methodically from the ceiling down to the floor. Do the cornices, the picture rails, the walls, and finally the skirting boards.
A lot of people try to use paper towels for this stage. Don’t waste your time. Paper towels break apart on rough surfaces and leave their own lint behind, adding to the mess.
Dampen your microfibre cloths slightly with water or a heavily diluted sugar soap solution. You don’t want the cloth dripping wet. A wet cloth just turns plaster dust into a sloppy mud that smears horribly across your fresh paintwork. Fold the cloth into quarters. Wipe a section, turn the cloth to a clean face and wipe the next bit. Once all sides are dirty, throw it in the wash pile and grab a fresh one. Don’t just keep rinsing the same cloth in a bucket of water. All that does is turn your bucket into a thick slurry of liquid plaster which you then wipe straight back onto the walls.
Managing soft furnishings and carpets
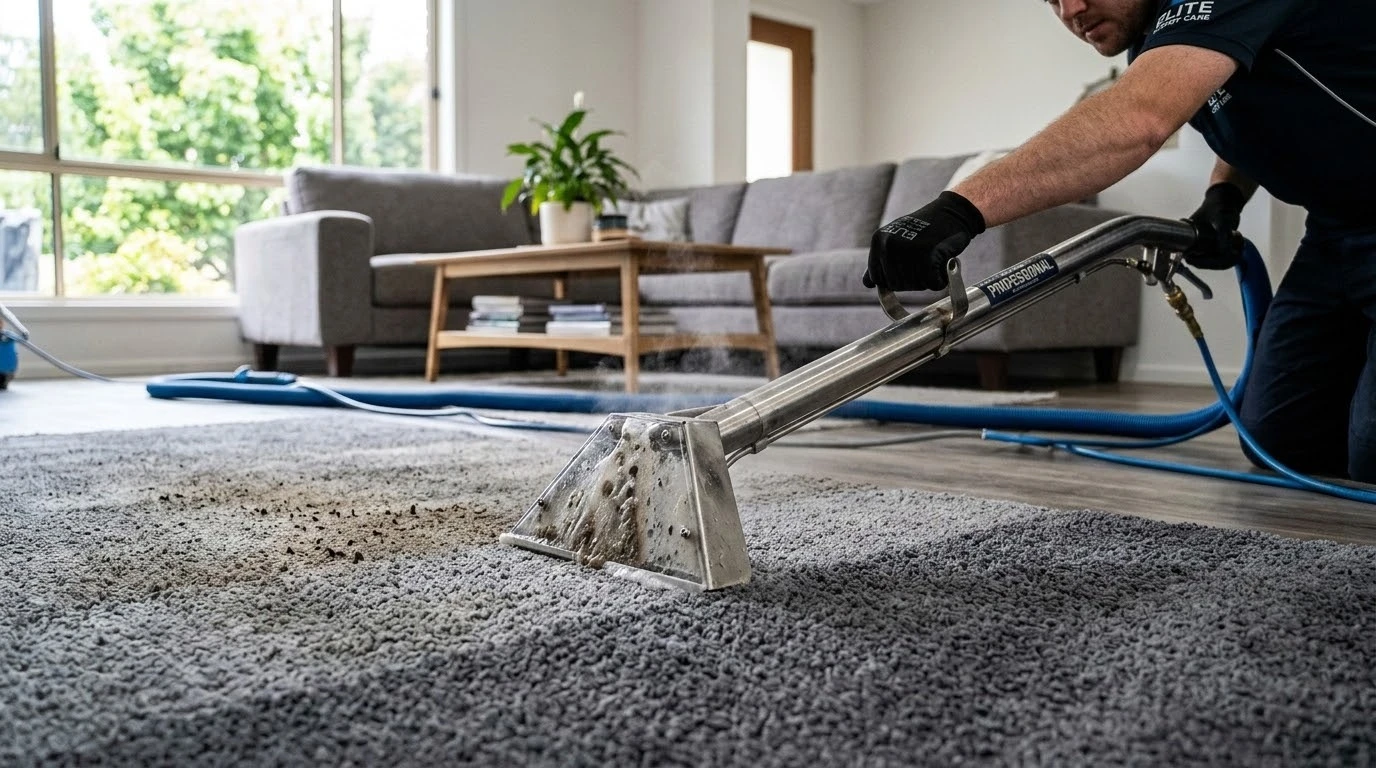
Hard surfaces are tedious to clean but at least they wipe down cleanly. Soft furnishings and carpets absorb construction dust like a giant sponge. If carpets were left unprotected during the build, vacuuming alone won’t be enough. The silica and grit work their way down to the carpet underlay. Every time someone walks on the carpet, that grit grinds against the fibres and ruins them.
You will need a professional hot water extraction clean for heavily impacted carpets. For curtains and fabric blinds, use the upholstery attachment on your HEPA vacuum and run it over every square inch. Take your time. Moving the wand too fast won’t give the vacuum enough time to pull the dust out of the tightly woven fabric.
Final stages and realistic expectations
No matter how thorough you are on day one, you will find more dust on day three. The ultra fine particles can stay suspended in the air for up to 48 hours before finally dropping. Your first deep clean gets the bulk of the mess out of the property. You then need to wait a couple of days and do a secondary pass.
This second pass is usually much lighter. A damp mop on the hard floors and a final wipe of the horizontal surfaces usually does the trick. Set the expectation early that dust removal is a phased process. It takes time, patience and the right gear to actually finish a house off properly so it is completely ready for handover. Skipping steps just means you will be wiping down benchtops every single day for the next six months.
Thanks for visiting Clearise Cleaning Services! Discover more helpful tips and expert cleaning insights by exploring our related categories.