
Laminate flooring is usually installed as a floating floor: planks lock together over underlayment, rather than being glued or nailed down. This guide explains how is laminate flooring installed, stage by stage, so you can judge the job and spot good work.
The process looks simple in a short video, but the result depends on preparation before the first plank goes down. A clean, level subfloor, the right underlayment, a planned layout and a small gap around the edges all matter more than speed, giving the floor room to move gently without buckling or opening at the joints.
This article follows the job in order: tools, measuring, preparation, acclimation, layout, laying, cutting, fitting around obstacles, finishing trims, and common mistakes. Where products differ, the manufacturer’s instructions for your planks come first, because locking systems, underlayment needs and gap sizes vary.
What Laminate Installation Actually Involves
Laminate flooring installation usually means laying click-lock planks as a floating floor over an underlayment, with a small expansion gap around every wall and fixed object. The planks join to each other, not to the subfloor, so the finished floor can expand and contract slightly as a single surface without lifting or buckling.
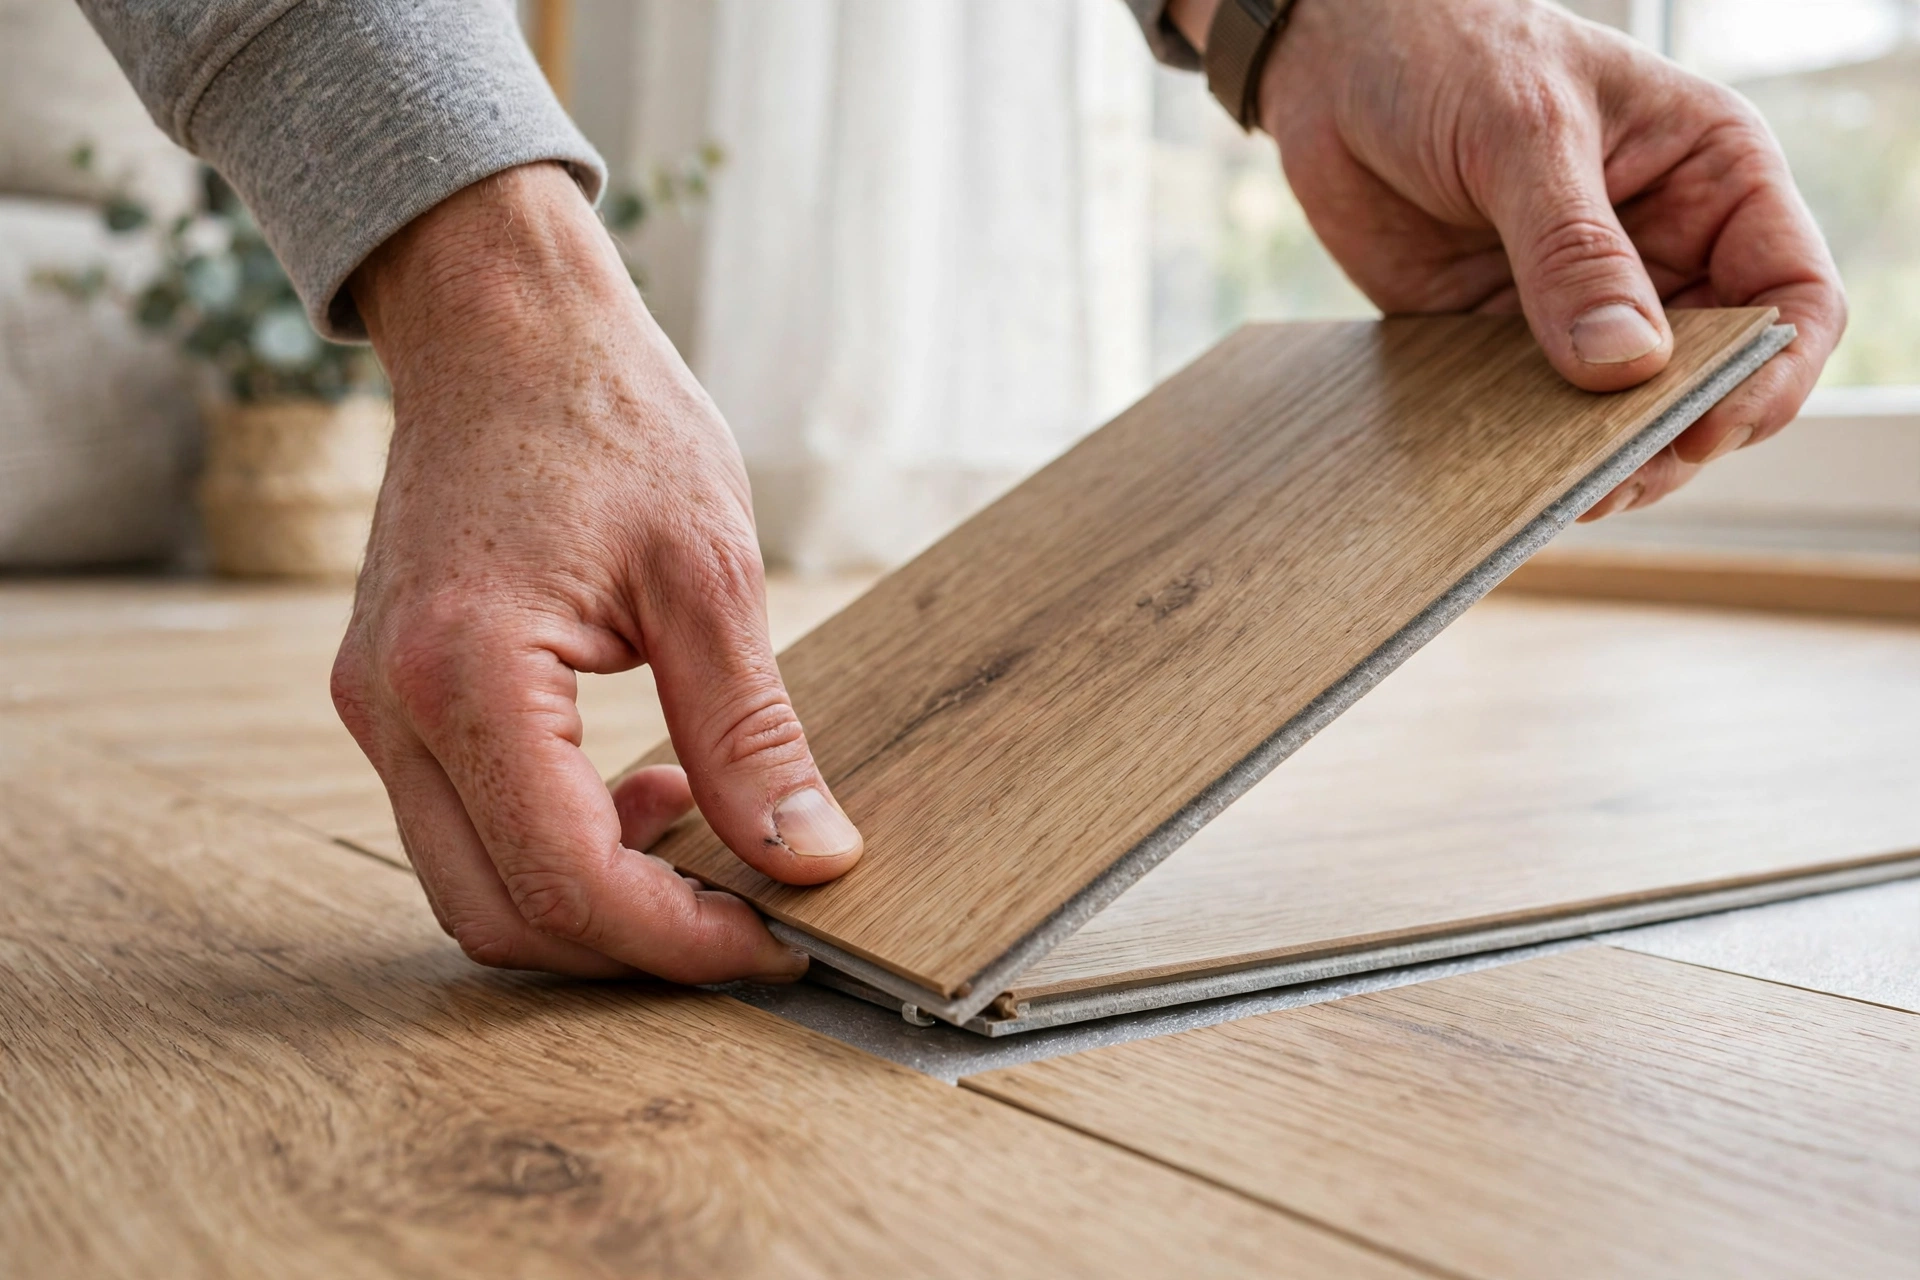
Each plank has a shaped click profile that angles into the neighbouring plank and locks when lowered flat. Once a row is joined, the next row clicks into it along its long edge. No adhesive is needed for most modern floating systems, which is why they suit DIY projects, though specialist products may use glue, so check your product first.
This also explains why trims are fixed to the wall rather than to the floor. Skirting and beading cover the expansion gap, but they must not pin the floor down, or it cannot move and may buckle. Transitions between rooms work the same way.
| Installation approach | How it works | Best suited to | Main thing to watch |
|---|---|---|---|
| Floating click-lock | Planks lock to each other over underlayment, not fixed to the subfloor | Most homes and DIY projects | Keep the expansion gap clear at every edge |
| Glue-down laminate | Planks are bonded to a prepared subfloor with adhesive | Specialist products or commercial settings | Adhesive type and drying time must match the product |
| Planks with attached underlayment | Padding is already fixed to the back of each plank | Quicker jobs on suitable subfloors | Check whether an extra moisture barrier is still needed |
Tools and Materials You Will Need
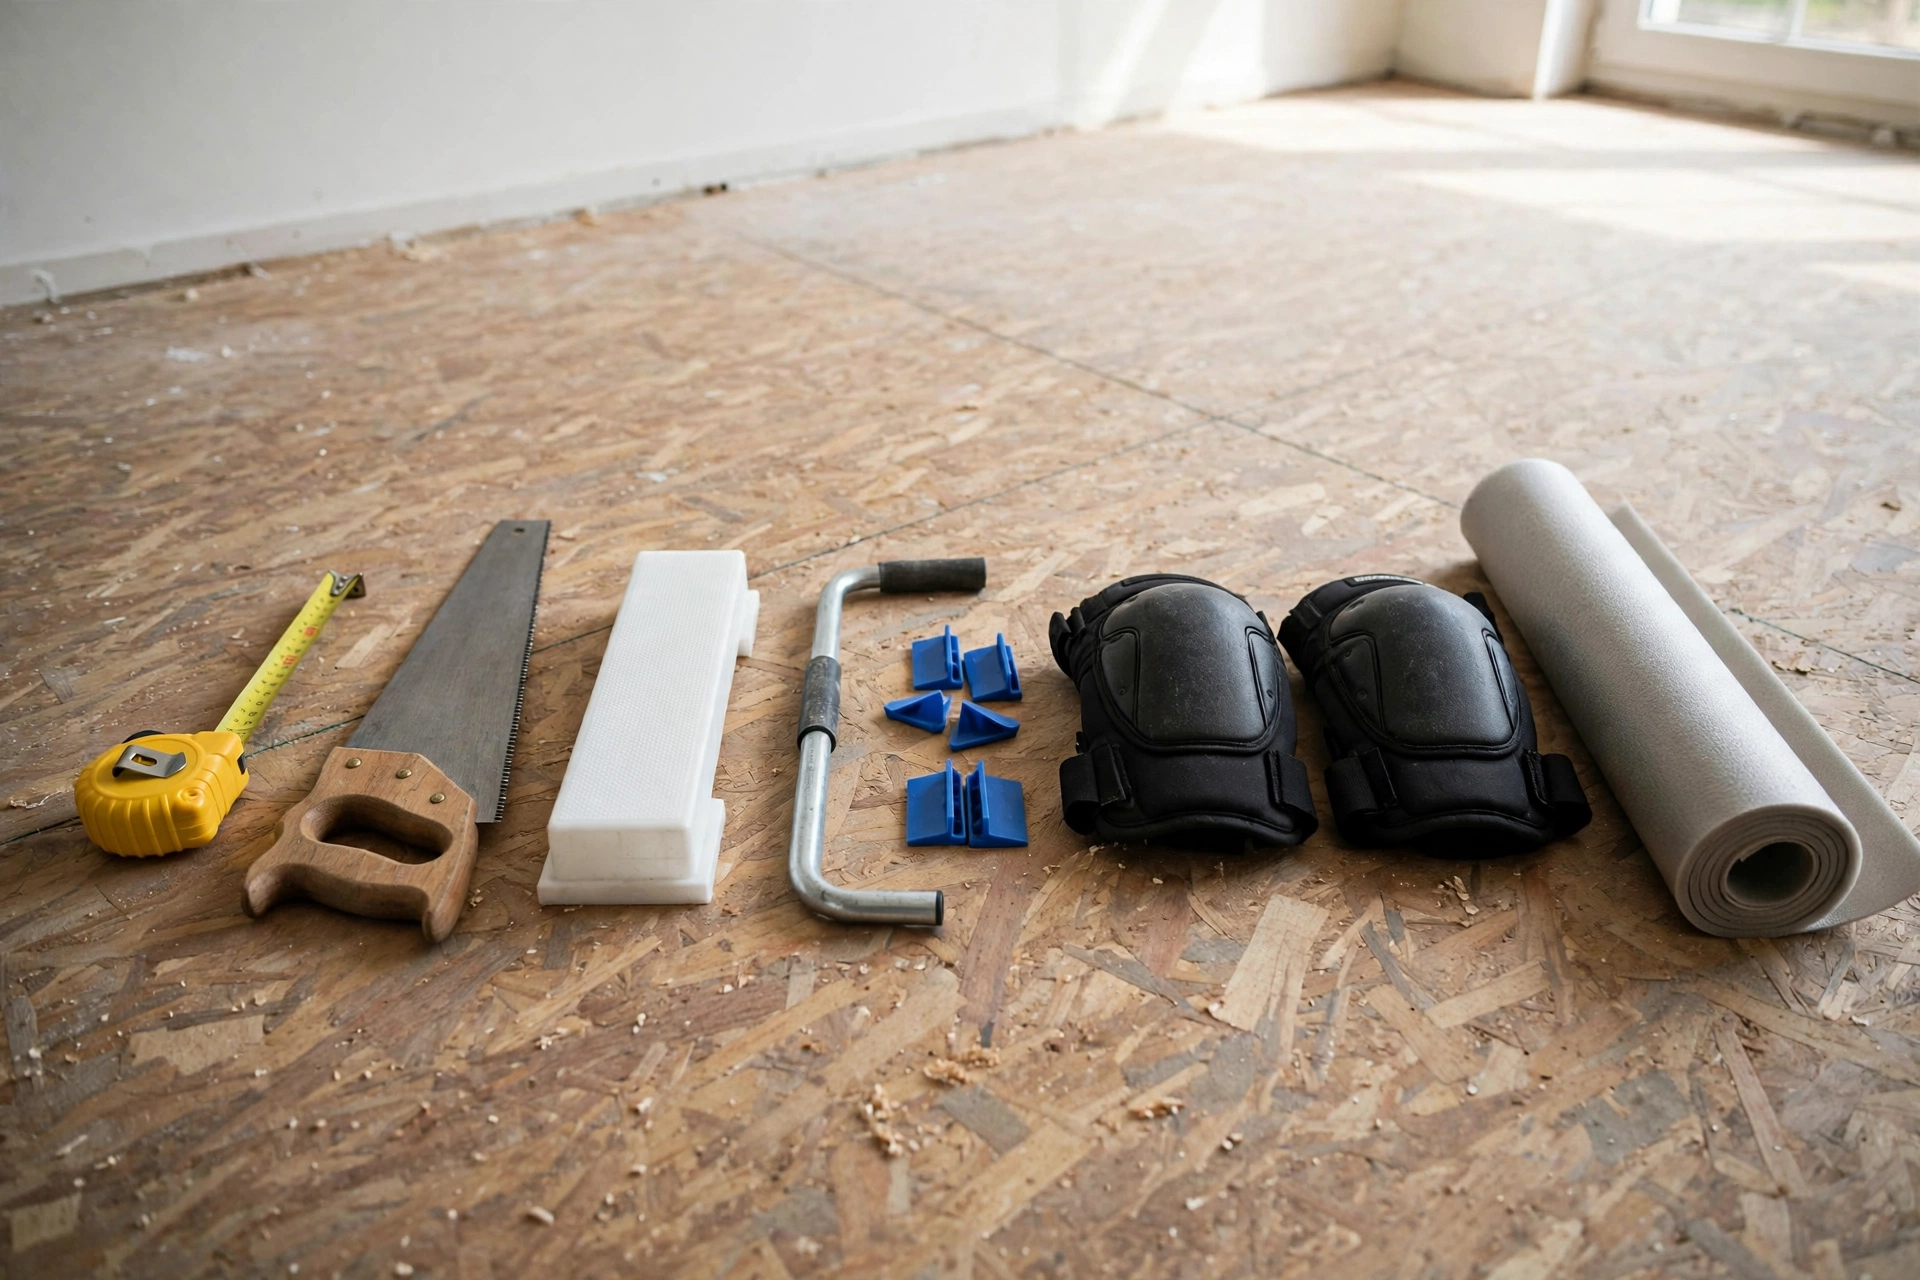
You will need a tape measure, a pencil, spacers, a tapping block, a pull bar, a saw, a utility knife, knee pads and the underlayment your product requires. A rubber mallet, a straight edge, a jigsaw for shaped cuts, safety glasses and dust protection complete the usual kit for a straightforward room.
Gather everything before you open the first box. Stopping halfway through a row to hunt for a tool is how joints get forced or left half-closed. Check that your saw blade suits laminate, because a dull blade can chip the surface, and keep a vacuum nearby, since dust under a plank can stop it sitting flat.
Do not use a hammer directly on a plank edge. A tapping block spreads the force and protects the lock, and a pull bar does the same job beside a wall where a block will not fit. Spacers hold the expansion gap steady while you work, and come out only when the floor is complete.
Measuring the Room and Planning Your Order
Measure the length and width of the room, work out its area, and plan for extra planks for cutting waste, damaged boards and spares for future repairs. Measuring twice and sketching the room shape, including doorways and alcoves, avoids running short near the end of the job.
Measure the longest wall and widest point, then measure awkward corners separately rather than guessing them. For a rectangular room, multiply length by width; split irregular rooms into rectangles and add the areas. Extra material depends on room shape and product guidance, so allow more for rooms with many cuts.
Also think about plank direction at this stage. Planks often run along the longest wall or towards the main light, but choose a direction that gives a balanced first and last row. If the last row would be a very narrow strip, adjust the starting position so both outer rows are a sensible width.

Preparing the Room and the Subfloor
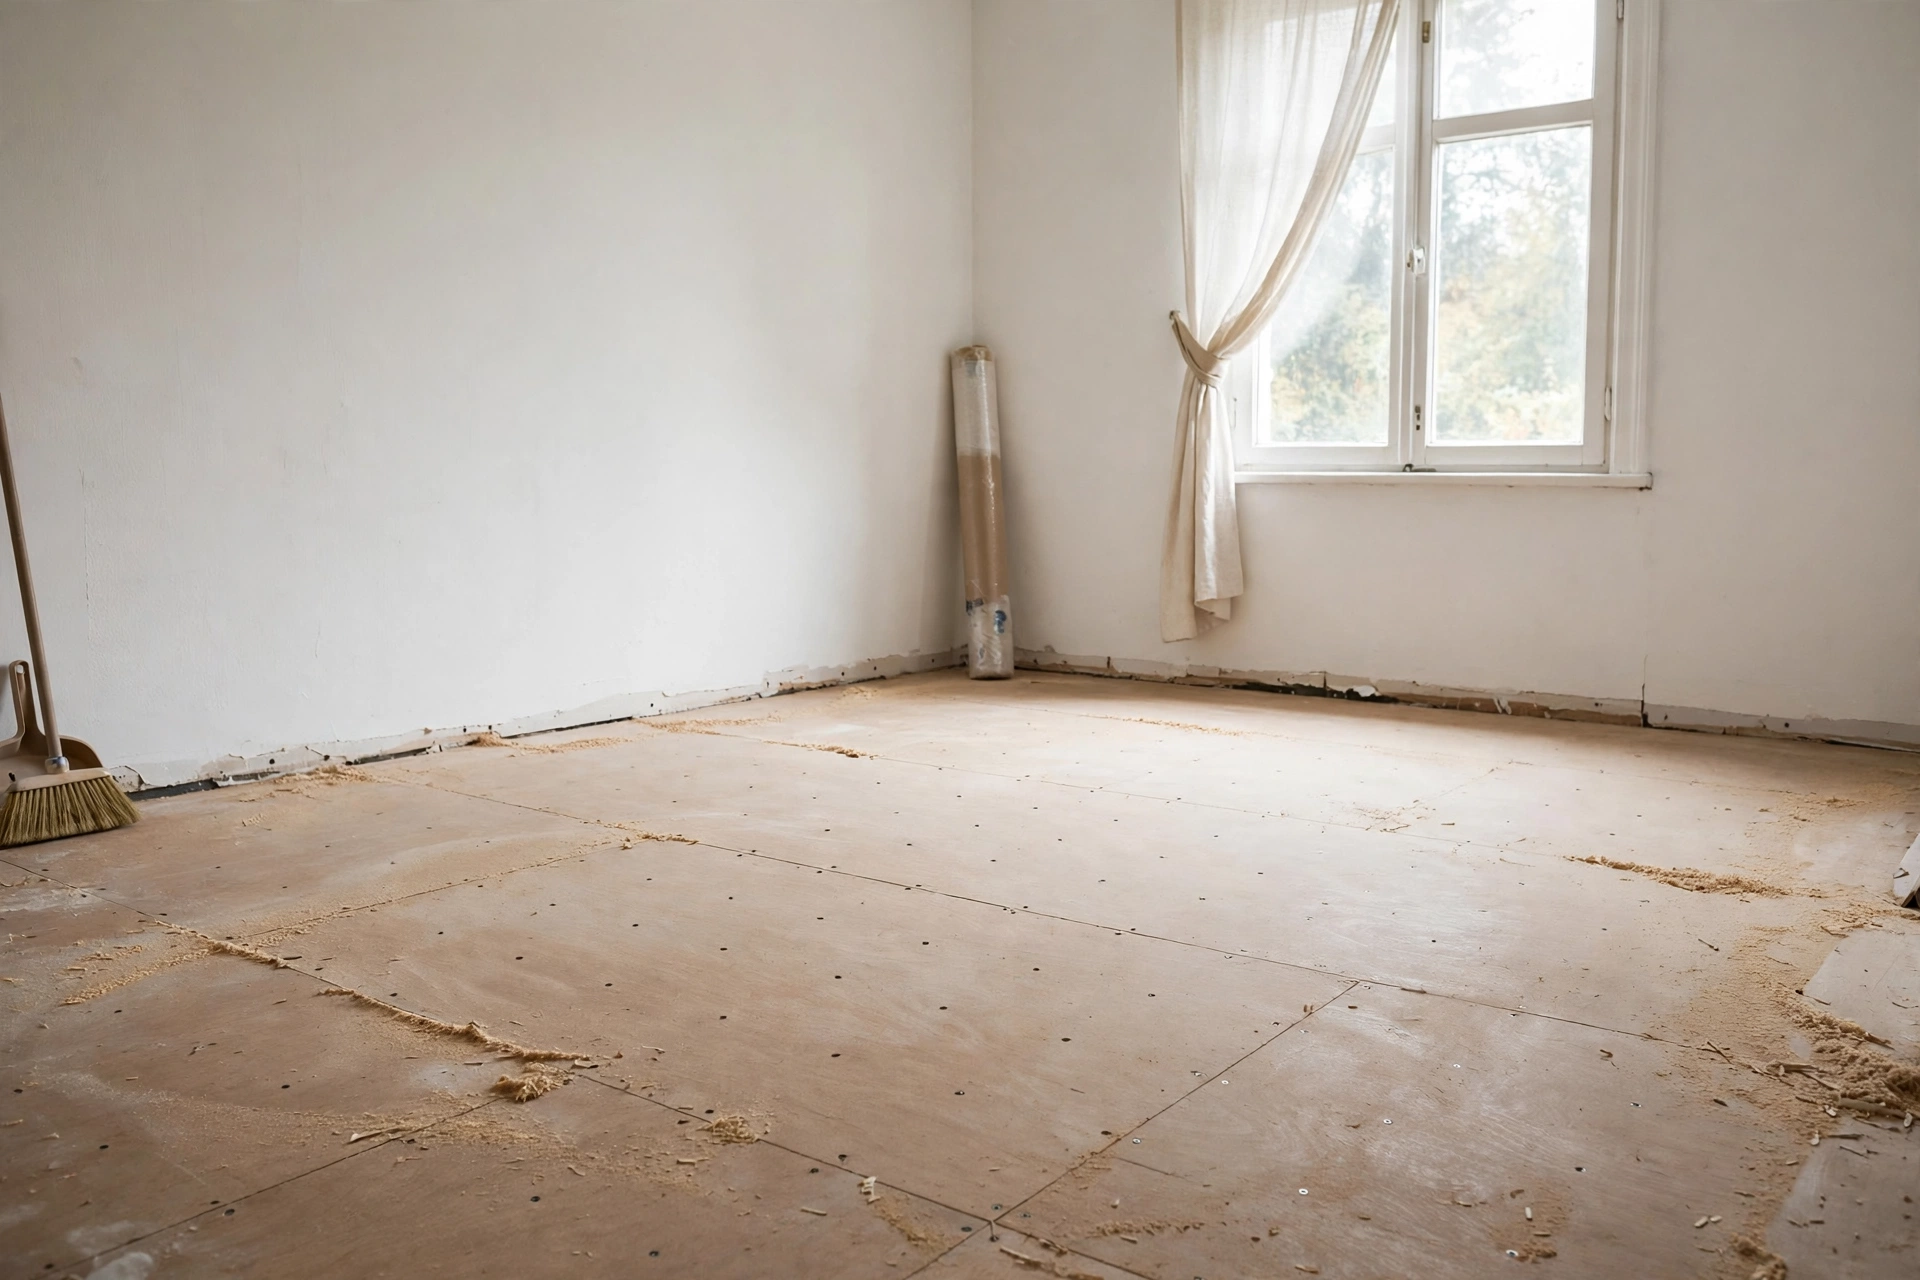
Prepare the room by removing old flooring where required, clearing furniture, cleaning the subfloor thoroughly, and checking that it is dry, level and firm. A laminate floor follows the shape of what lies beneath it, so bumps, loose boards or grit left under the underlayment can show up later as movement or noise.
Take up carpet, gripper rods and staples, and remove loose or damaged sections of the old floor. Sweep and vacuum carefully, because small debris can lift a plank and stop its lock closing. For timber subfloors, fix loose boards, squeaks and raised nails first. For concrete, check it is dry and clean, and deal with damp at its source rather than covering it up.
Level matters too. Dips or high spots can make planks flex and stress the joints over time. Small uneven areas can often be dealt with using a suitable levelling product, but larger problems should be sorted first. Check the tolerance in your product instructions and measure the floor rather than judging it by eye.
Letting Planks Acclimatise and Laying Underlayment
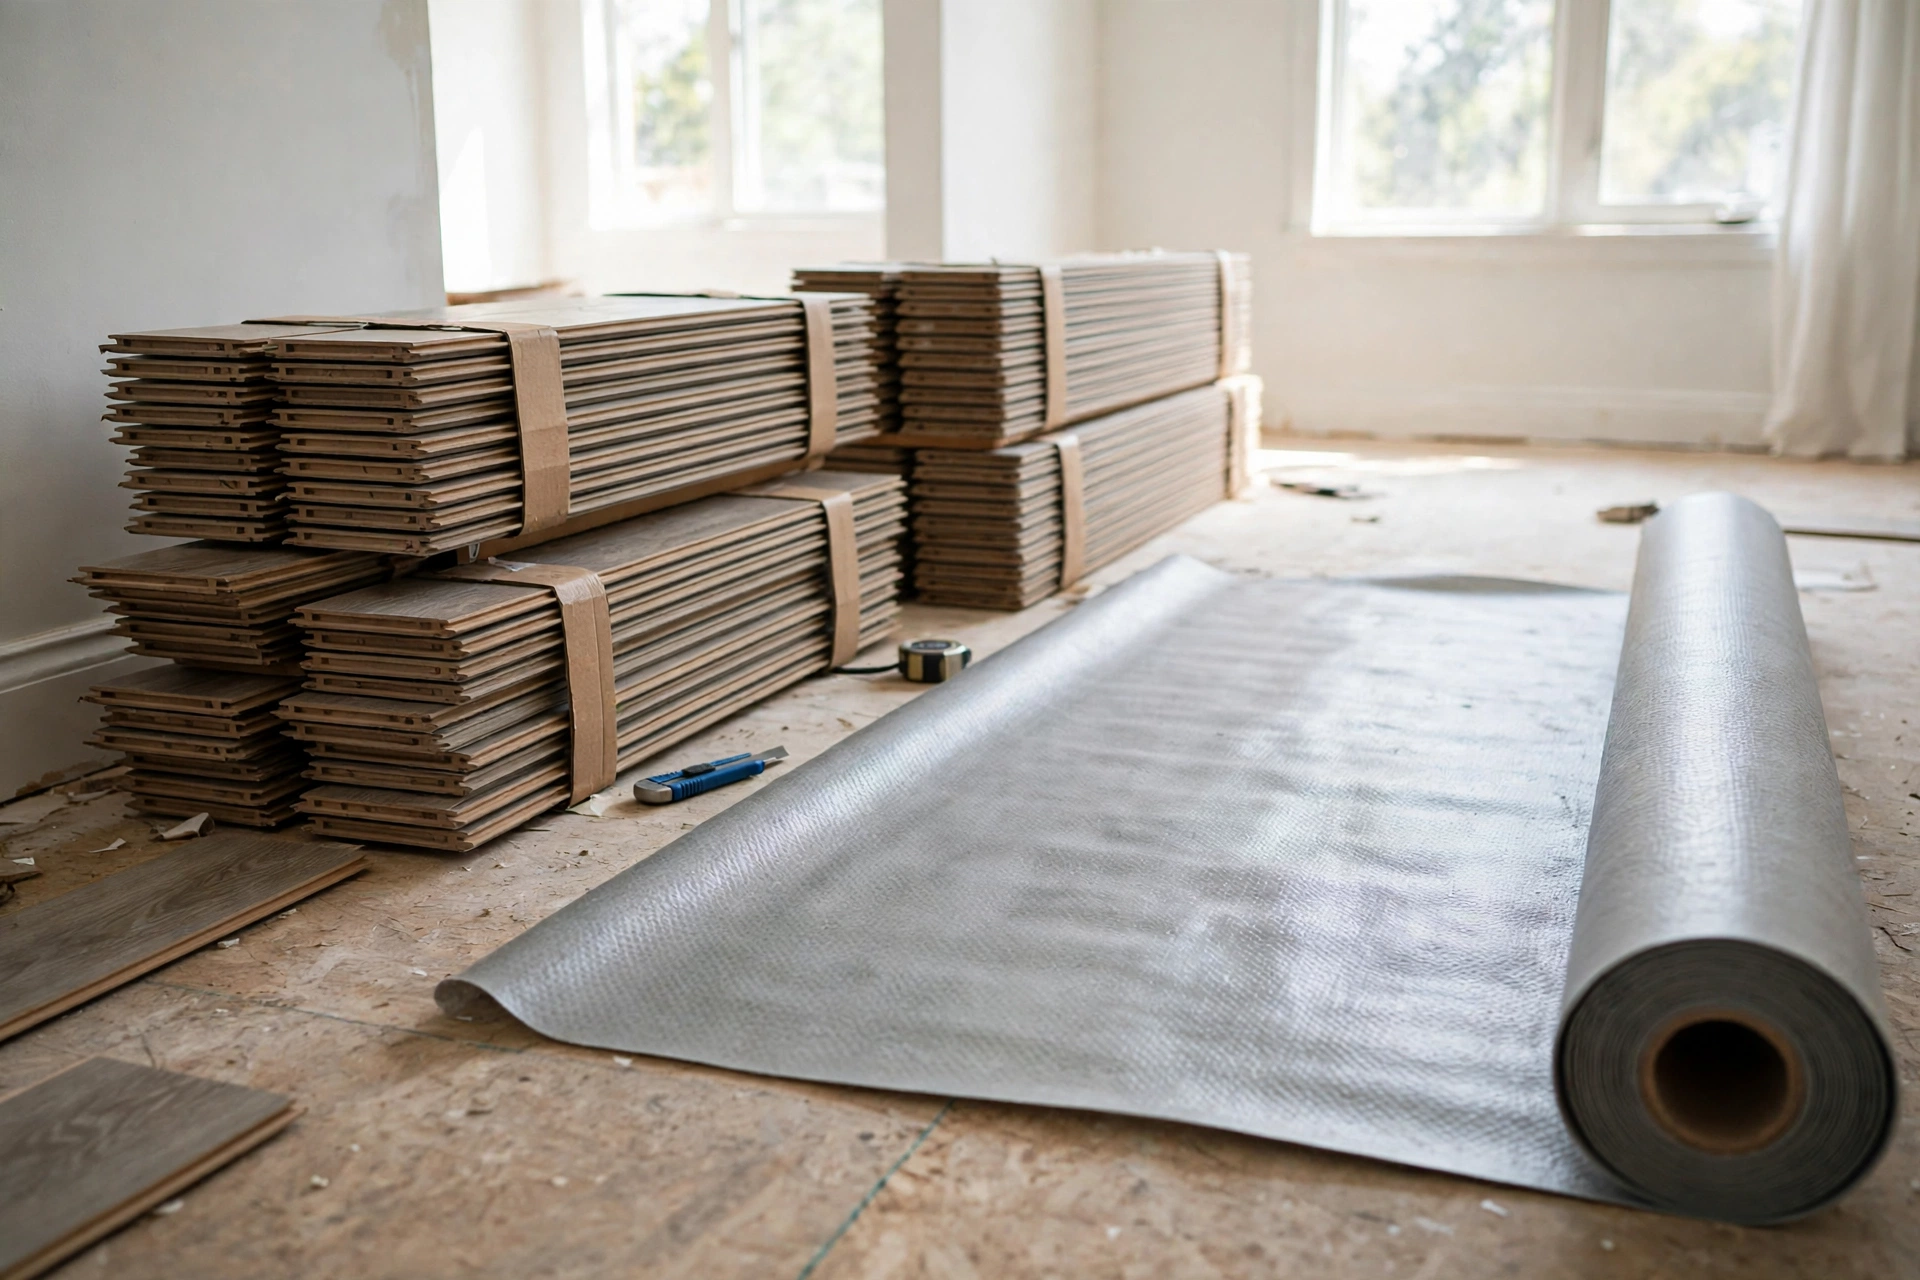
Let the unopened or opened planks rest in the room where they will be laid, for the period stated in the manufacturer’s instructions, then roll out underlayment in the direction of the planks. This settling time helps the planks adjust to the room’s temperature and humidity before they are locked together.
Acclimation is easy to skip and hard to undo. Planks stored in a cold garage or hot vehicle may change size slightly once in a lived-in room, and that movement is easier to manage before fitting. Keep the room at normal living conditions, stack boxes flat, and do not lean them against a radiator.
Underlayment sits between subfloor and planks. It cushions the floor, reduces sound, and can add a moisture barrier, especially over concrete. Some planks come with it attached, when an extra layer may not be needed, though a separate moisture barrier may still be required. Roll it out one section at a time, butt edges together without overlapping, and tape seams as instructed.
Planning the Layout and Stagger Pattern
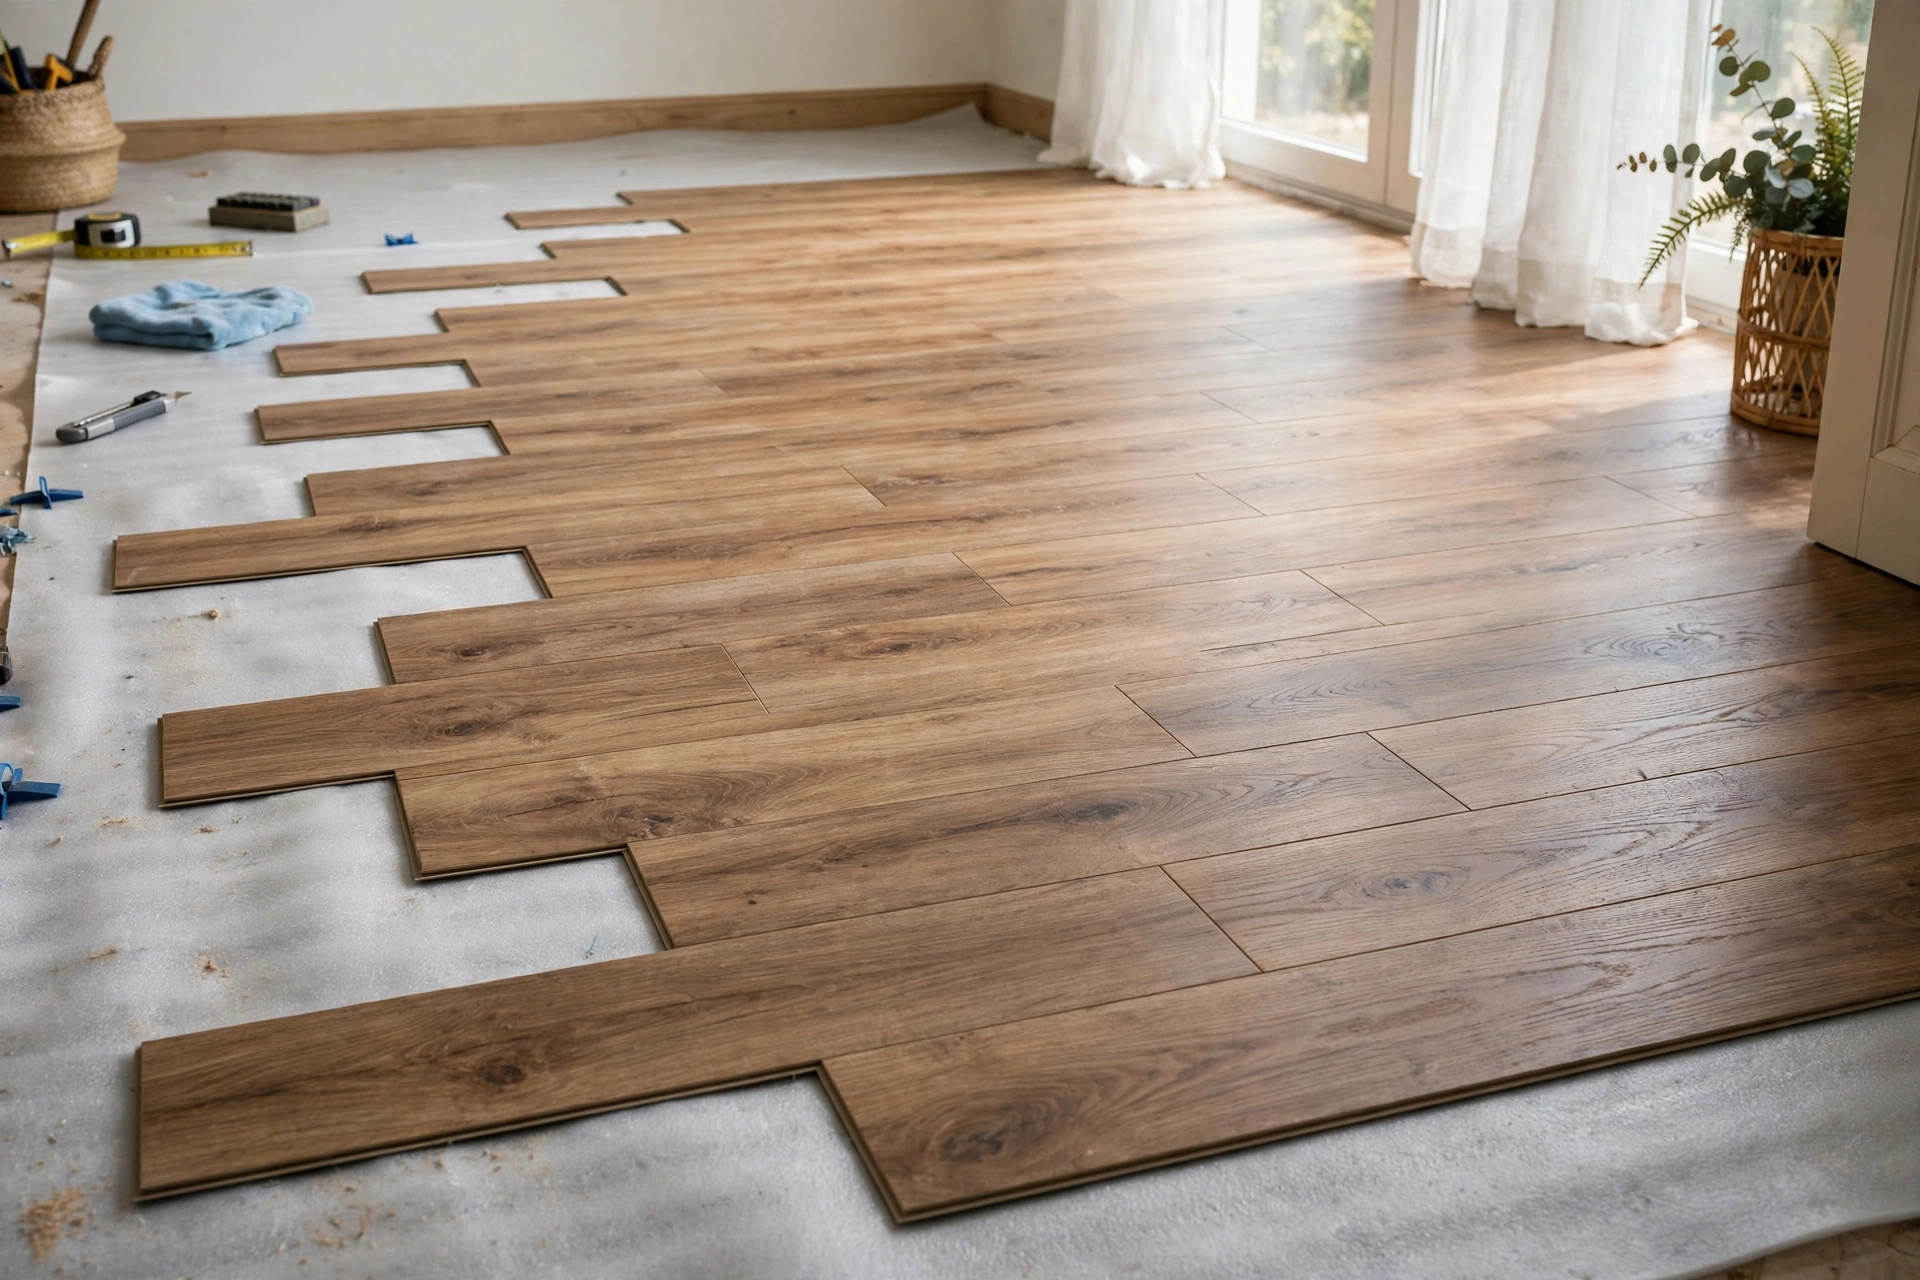
Plan the layout so the plank joints are staggered between rows, the pattern looks random rather than stepped, and no row starts or ends with a very short piece. A good layout is worked out before fitting, not discovered halfway across the room.
Staggering means the short end joints in one row do not line up with those in the row next to it. Guides commonly recommend offsetting end joints by at least six inches between neighbouring rows, and many products ask for a larger offset, so follow your own product’s figure. A useful habit is to start a new row with the offcut from the end of the previous row, provided it is long enough, which naturally staggers the joints and reduces waste.
Avoid a repeating stair-step pattern, where each row starts a little further along than the last, because it draws the eye and looks artificial. Mix boards from several boxes as you go so shade variation spreads evenly. Finally, check the last row’s width: if it would be too narrow to lock properly, trim the first row so both outer rows share the width.
Laying the First Rows
Lay the first row along the longest straight wall, tongue side facing the wall, with spacers holding the expansion gap, then click each following plank into the end of the last one. The first two rows set the line for the whole floor, so take time to get them straight, fully locked and properly spaced.
A clear step-by-step order helps:
- Place spacers along the starting wall to hold the expansion gap.
- Lay the first plank with its tongue side towards the wall, cutting the tongue off if the product instructions say so.
- Angle the next plank into the end of the first plank and lower it until the joint clicks shut.
- Continue to the end of the row, cutting the last plank to fit while keeping the gap at the end.
- Start the second row with a suitable offcut so the end joints are staggered.
- Angle the long edge of each new plank into the previous row, then lower it flat to lock the joint.
- Tap joints gently closed with a tapping block, never by striking the plank directly.
- Check each row for gaps, straightness and level before moving on.
Keep the spacers in place as you go. If a joint will not close, check for debris, a damaged edge or a plank that is not angled correctly, rather than forcing it. A forced joint may look closed at first and open later.
Cutting Planks to Fit
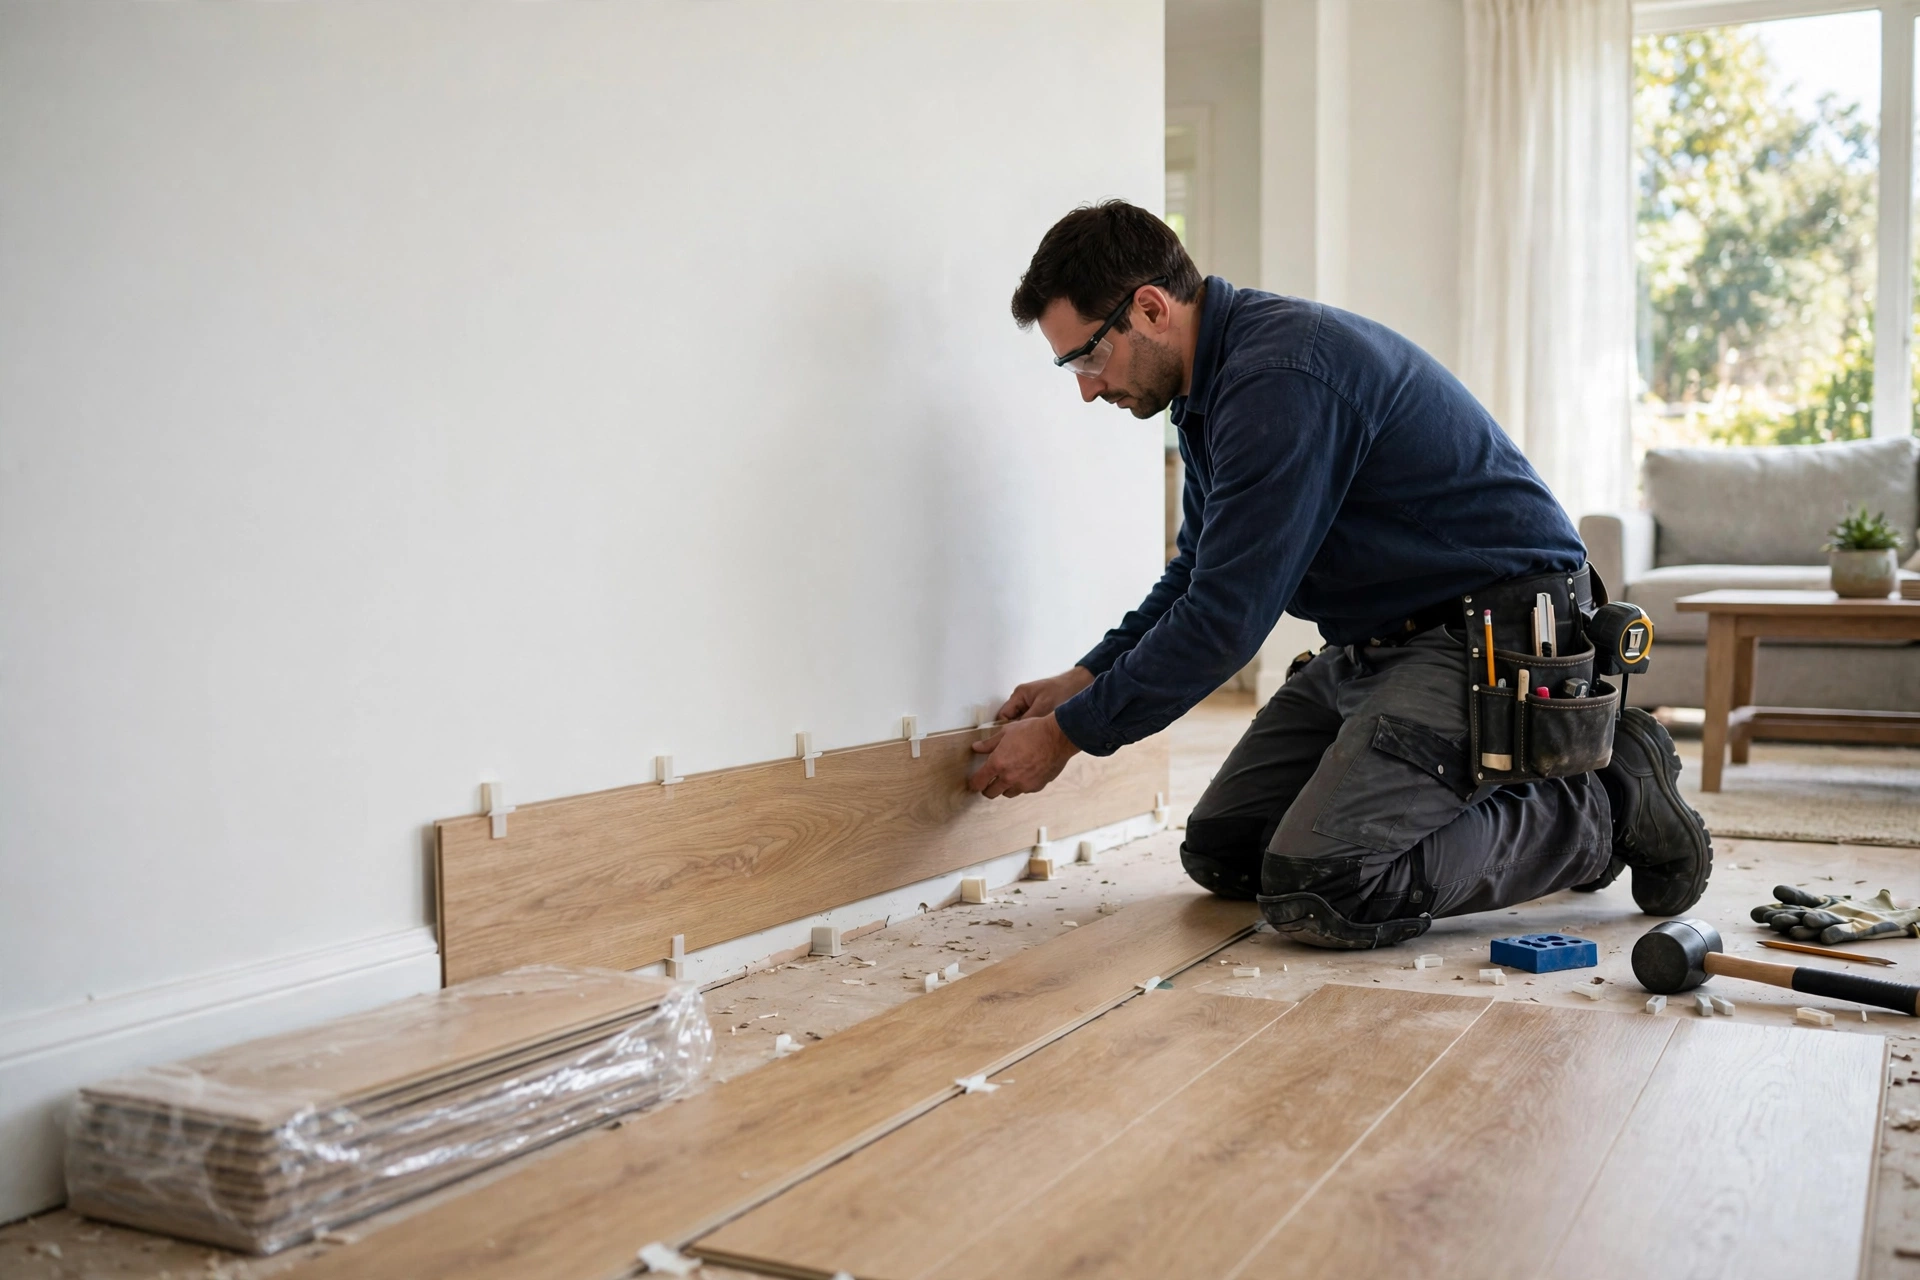
Cut planks by measuring the space carefully, marking the cut line, allowing for the expansion gap, and using a saw that suits the cut. Straight cuts across a plank are the most common, while shaped cuts are needed around door frames, pipes and other fixed features.
Measure the gap at both ends of the space, because walls are rarely perfectly straight, and use the smaller measurement so the plank does not end up too long. Mark the cut clearly on the plank, and support the plank well while cutting so it does not flex or chip. For a handsaw, cutting with the decorative face up often gives a cleaner edge, while a power saw may need the face down, so check the guidance for your tool and product.
Safety matters more than speed here. Wear safety glasses, keep hands clear of the blade, and cut in a ventilated space where possible, since cutting laminate creates fine dust. Keep offcuts long enough to start a later row, and discard short or damaged pieces.

Fitting Around Doors, Pipes and Stairs
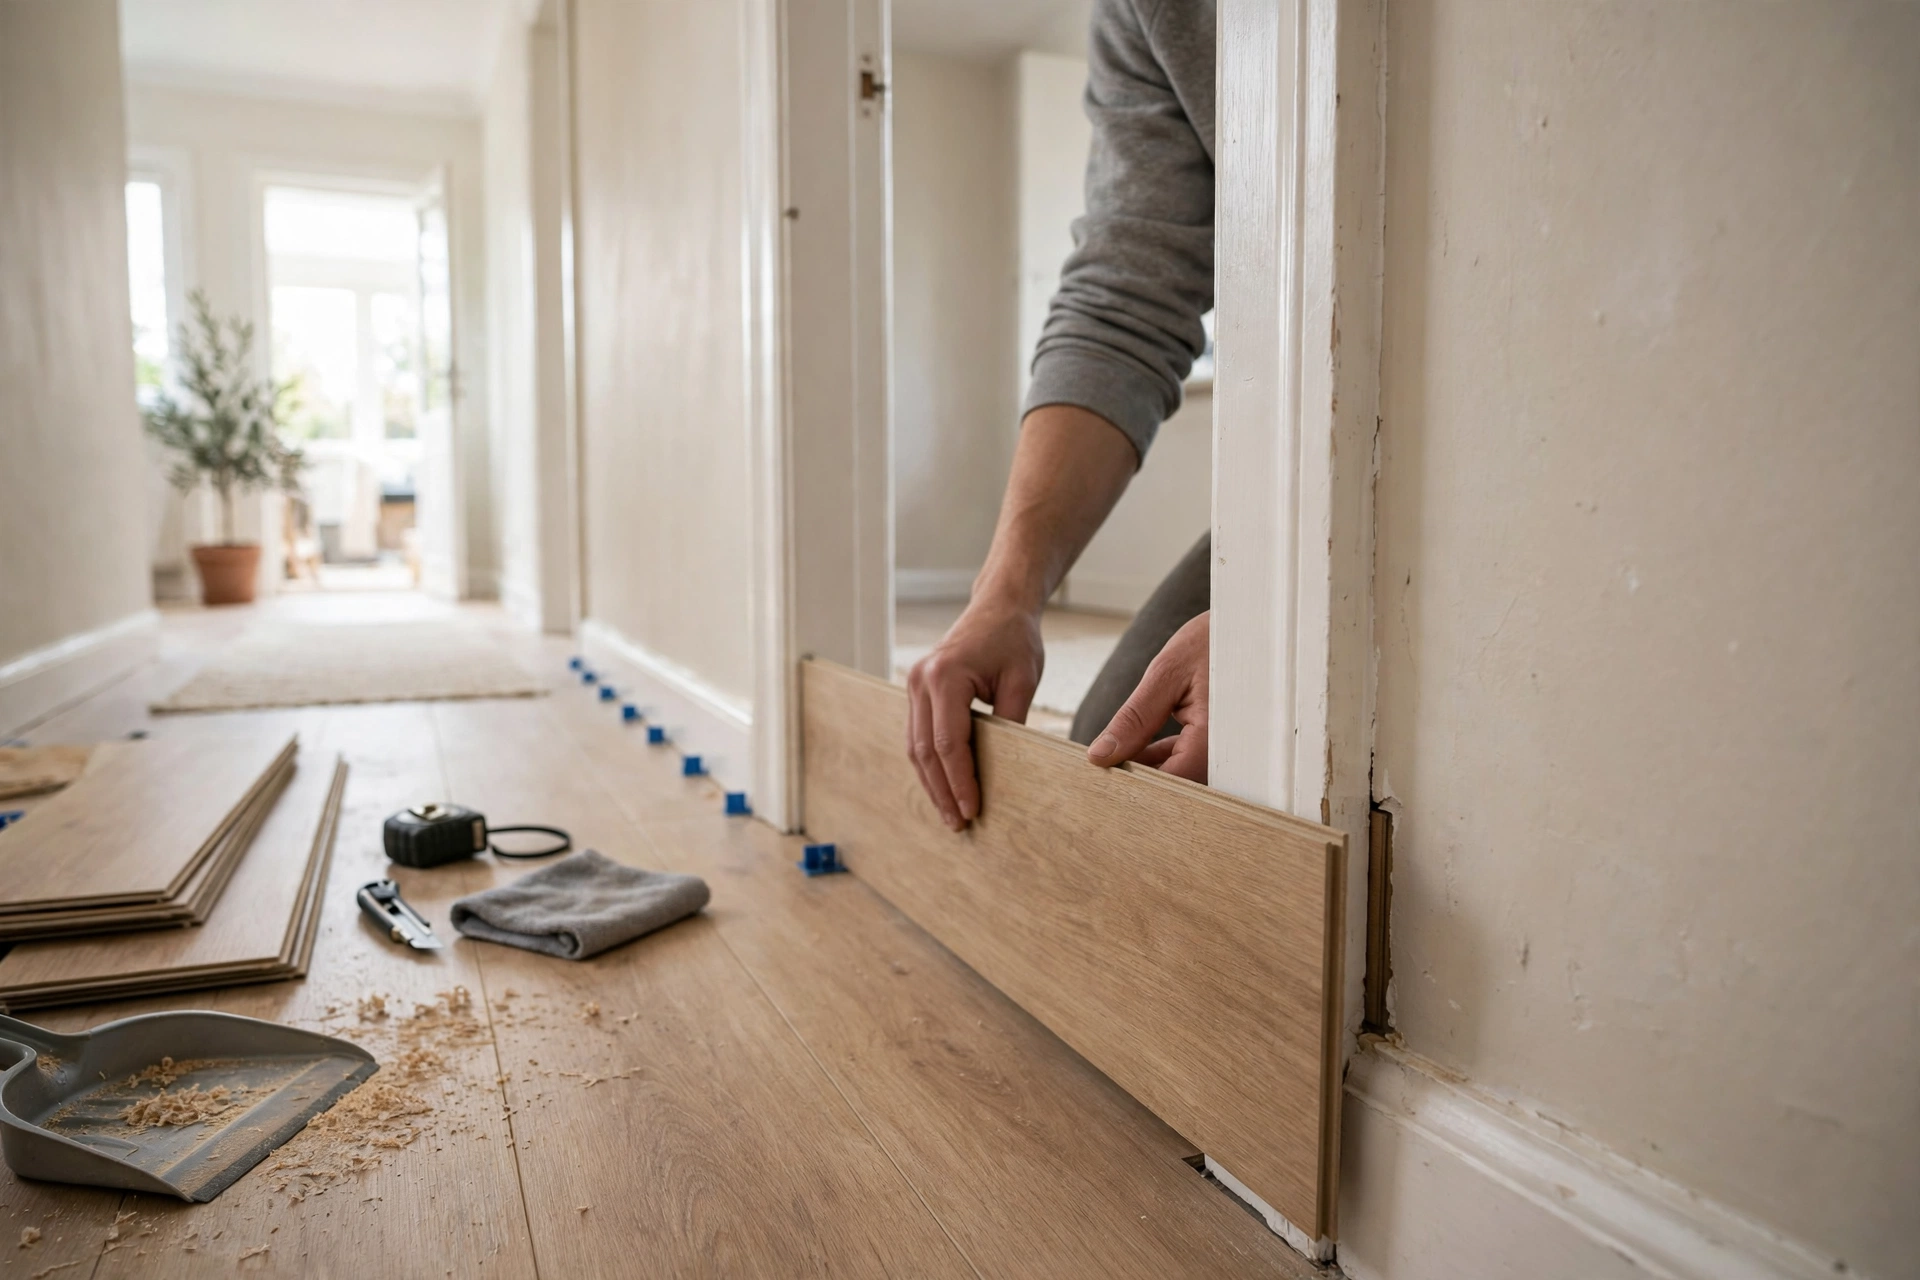
Fit around doors by trimming the door frame or architrave where needed so the plank slides underneath, cut pipe holes slightly larger than the pipe, and treat stairs as a separate job with the correct nosing. These details take patience, but they are what make a finished floor look professional rather than improvised.
For a door frame, undercut the frame so the plank fits beneath it, hiding the expansion gap rather than cutting a visible notch. Test the fit with an offcut first. For pipes, drill a hole slightly larger than the pipe, cut a wedge to the plank edge, fit the plank around the pipe, glue the wedge back, and cover the gap with a pipe collar.
Stairs need extra care. Laminate on stairs usually requires matching stair nosing and a fixing method suited to steps, and each riser and tread must be measured individually. If stairs are uneven or structurally uncertain, get professional advice before you begin.
Finishing the Last Row and Adding Trims
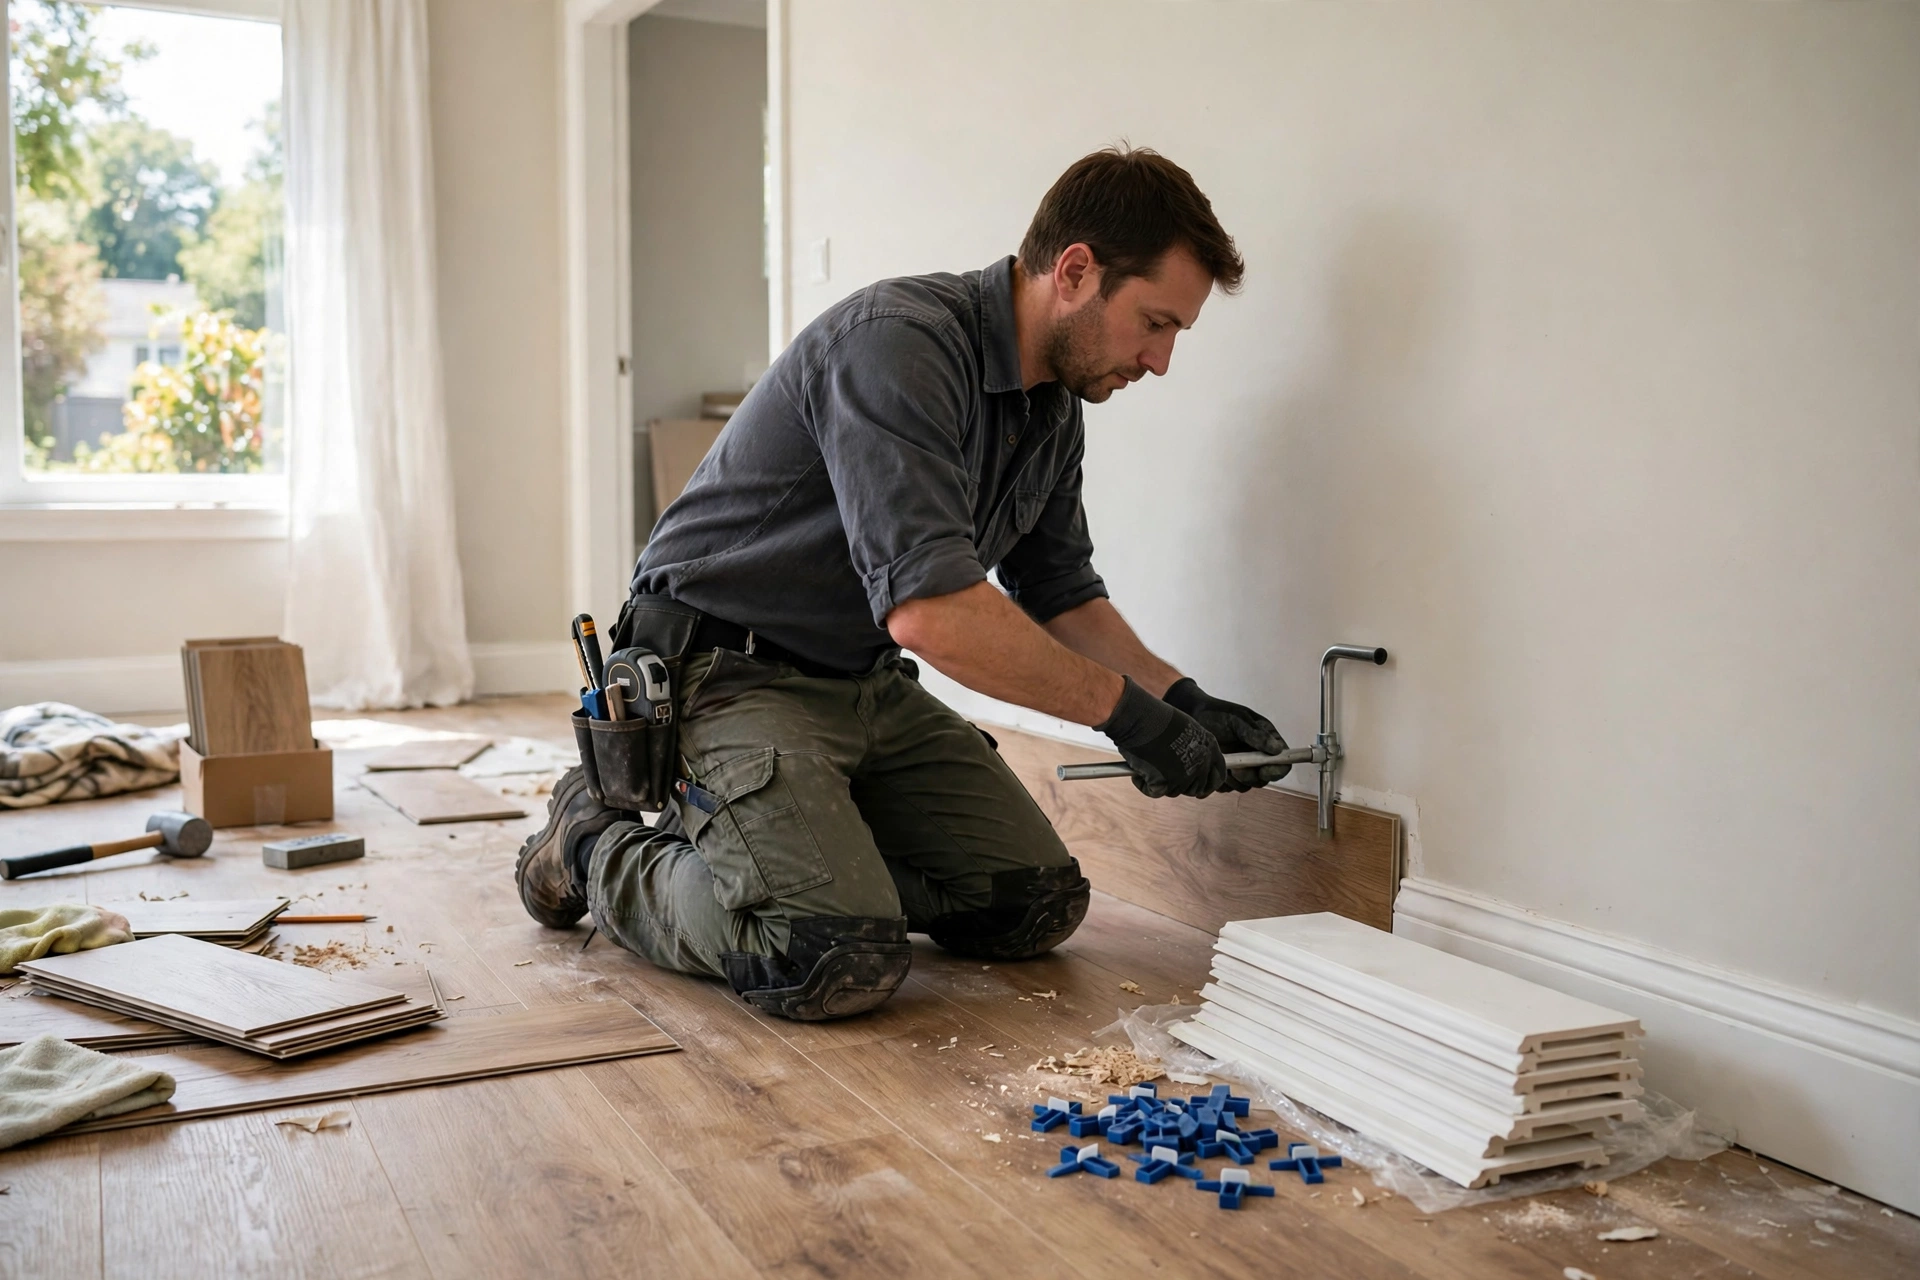
Finish the last row by measuring and cutting planks lengthwise to fit, pulling them tight with a pull bar, removing all spacers, and fixing skirting or beading to the wall to cover the expansion gap. The last row is often the tightest part of the job, so work slowly and check each joint before moving on.
Measure the width at several points, as the gap may vary, and cut planks to the smallest width that still fits with the gap in place. A pull bar draws each plank firmly into the previous row. Once complete, remove every spacer and check none is trapped under a trim.
Fix skirting or quarter-round beading to the wall, not to the floor, so the floating floor can still move. Add transition strips where laminate meets another floor type, and check door clearances, since a new floor can raise the finished height and a door may need trimming.
Common Fitting Mistakes to Avoid
The most common fitting mistakes are skipping subfloor preparation, forgetting the expansion gap, lining up end joints, forcing damaged locks, and fixing trims to the floor. Each of these is easy to prevent, but each can cause buckling, gaps or noise once the floor is in daily use.
- Skipping acclimation, so planks move after fitting and joints open.
- Laying over a dirty or uneven subfloor, so planks rock or squeak.
- Pushing planks tight against walls and fixed objects, leaving no room to expand.
- Repeating the same stagger pattern, which looks unnatural and weakens the layout.
- Using a damaged plank and hoping the lock will hold, instead of setting it aside.
- Nailing skirting into the floor, which pins the floating floor in place.
- Rushing the first rows, so the whole floor drifts out of line.
If you notice a problem while laying, it is usually cheaper to lift a few planks and correct it than to finish the room and hope it settles. Keep spare planks aside, because a future repair is simpler when matching boards are already in the house.

When to Hire a Professional
Hire a professional when the subfloor is badly uneven or damp, the room has complex stairs or many awkward shapes, the product warranty requires professional fitting, or you are unsure about moisture, levelling or structural issues. A good installer brings experience, specialist cutting tools and an eye for layout that can save both time and material.
Professional fitting also makes sense for large open-plan areas, where keeping long rows straight is harder, and for jobs with a firm deadline. Ask what is included, such as subfloor preparation, underlayment, trims and old-floor removal, so you can compare like with like.
Even if you hire someone, this guide still helps: check spacers are used, joints staggered, trims fixed to the wall, and spacers removed at the end.

Conclusion
Installing laminate flooring is a sequence of careful stages rather than a single skill. Measure well, prepare the subfloor, let planks settle, plan the layout, lay straight first rows, cut patiently, and finish with trims fixed to the wall.
If you follow the product instructions for your planks, keep the expansion gap clear, stagger the joints and avoid forcing damaged locks, you give the floor the best chance of performing well. For uneven, damp or complex jobs, professional help is a sensible choice rather than a failure. However you approach it, a well-fitted laminate floor should look natural, feel solid underfoot and stay that way with ordinary care.
Frequently Asked Questions
How long does laminate flooring installation usually take?
It depends on room size, shape and experience, but a straightforward room often takes a day for a DIY installer, while larger or more complex spaces take longer. Preparation and cutting take more time than laying the planks themselves.
Do I need underlayment for laminate flooring?
Most floating laminate floors need underlayment unless the planks already have it attached. Underlayment cushions the floor, reduces sound and may add a moisture barrier, especially over concrete, so check your product instructions first.
How much expansion gap should laminate flooring have?
Leave the expansion gap specified in your product instructions around all walls and fixed objects. Published guides commonly describe a gap of about one quarter to three eighths of an inch, but your product’s figure takes priority.
Can laminate flooring be installed over an existing floor?
Sometimes, if the existing floor is flat, firm, dry and suitable, and the product instructions allow it. Carpet, damaged floors and uneven surfaces are usually not suitable bases, so check the subfloor condition and product guidance carefully.
Should skirting boards be fixed to the floor or the wall?
Skirting boards and beading should be fixed to the wall, not to the floor. Fixing them to the floor would pin down a floating floor and stop it expanding and contracting naturally.
Disclaimer
This article is provided for general information only. It explains how laminate flooring is commonly installed and does not replace the manufacturer’s instructions for your specific product, local building rules, or professional advice for your home. If your subfloor is damp, uneven or structurally uncertain, or you are unsure about any step, seek qualified professional help before starting work. This site does not offer guest posting, paid promotion or advertising through this article.