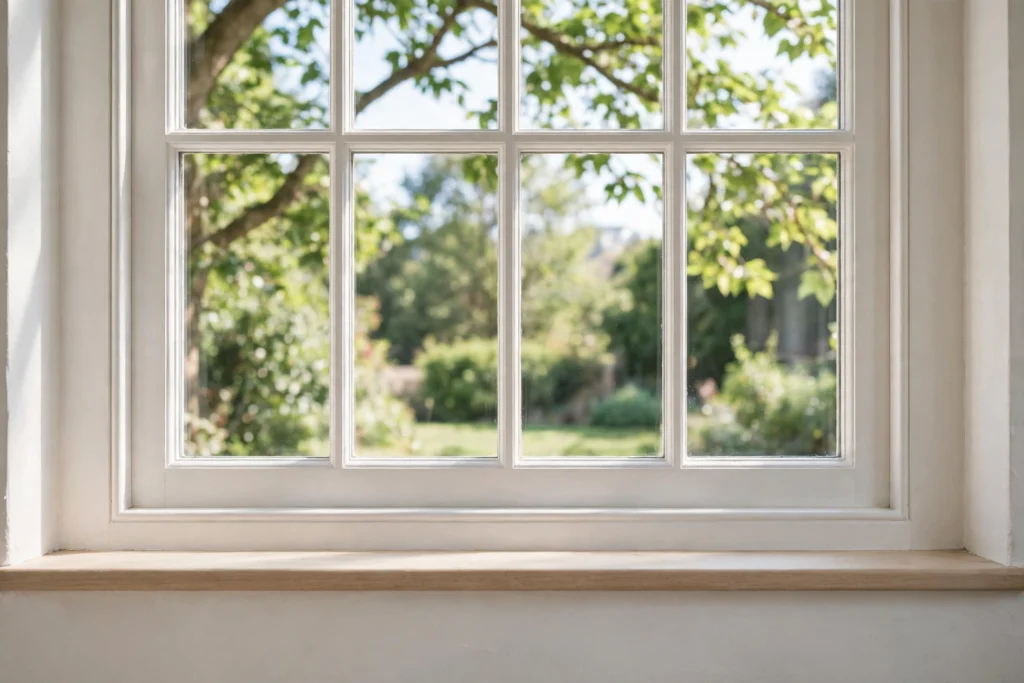
To clean windows well means to remove dry dirt from frames and tracks first, wash the glass evenly with a small amount of suitable cleaner, remove the liquid with a clean squeegee or cloth, and dry only the edges. Most streaks come from residue, dirty tools, or liquid left to dry on the glass.
Windows collect dust from inside, pollen and rain marks from outside, fingerprints at hand height, and cooking film in kitchens. A quick spray and paper towel wipe can make a small pane look better, but it often moves dirt around and leaves lint. Larger panes need a steadier method.
This guide covers the whole job, from frames and screens to the final edge detail: the squeegee method, a no-squeegee method for small windows, hard water spots, and when to leave high or outside glass to someone with the right equipment. Safety comes first throughout.
What Makes Windows Look Streaky?
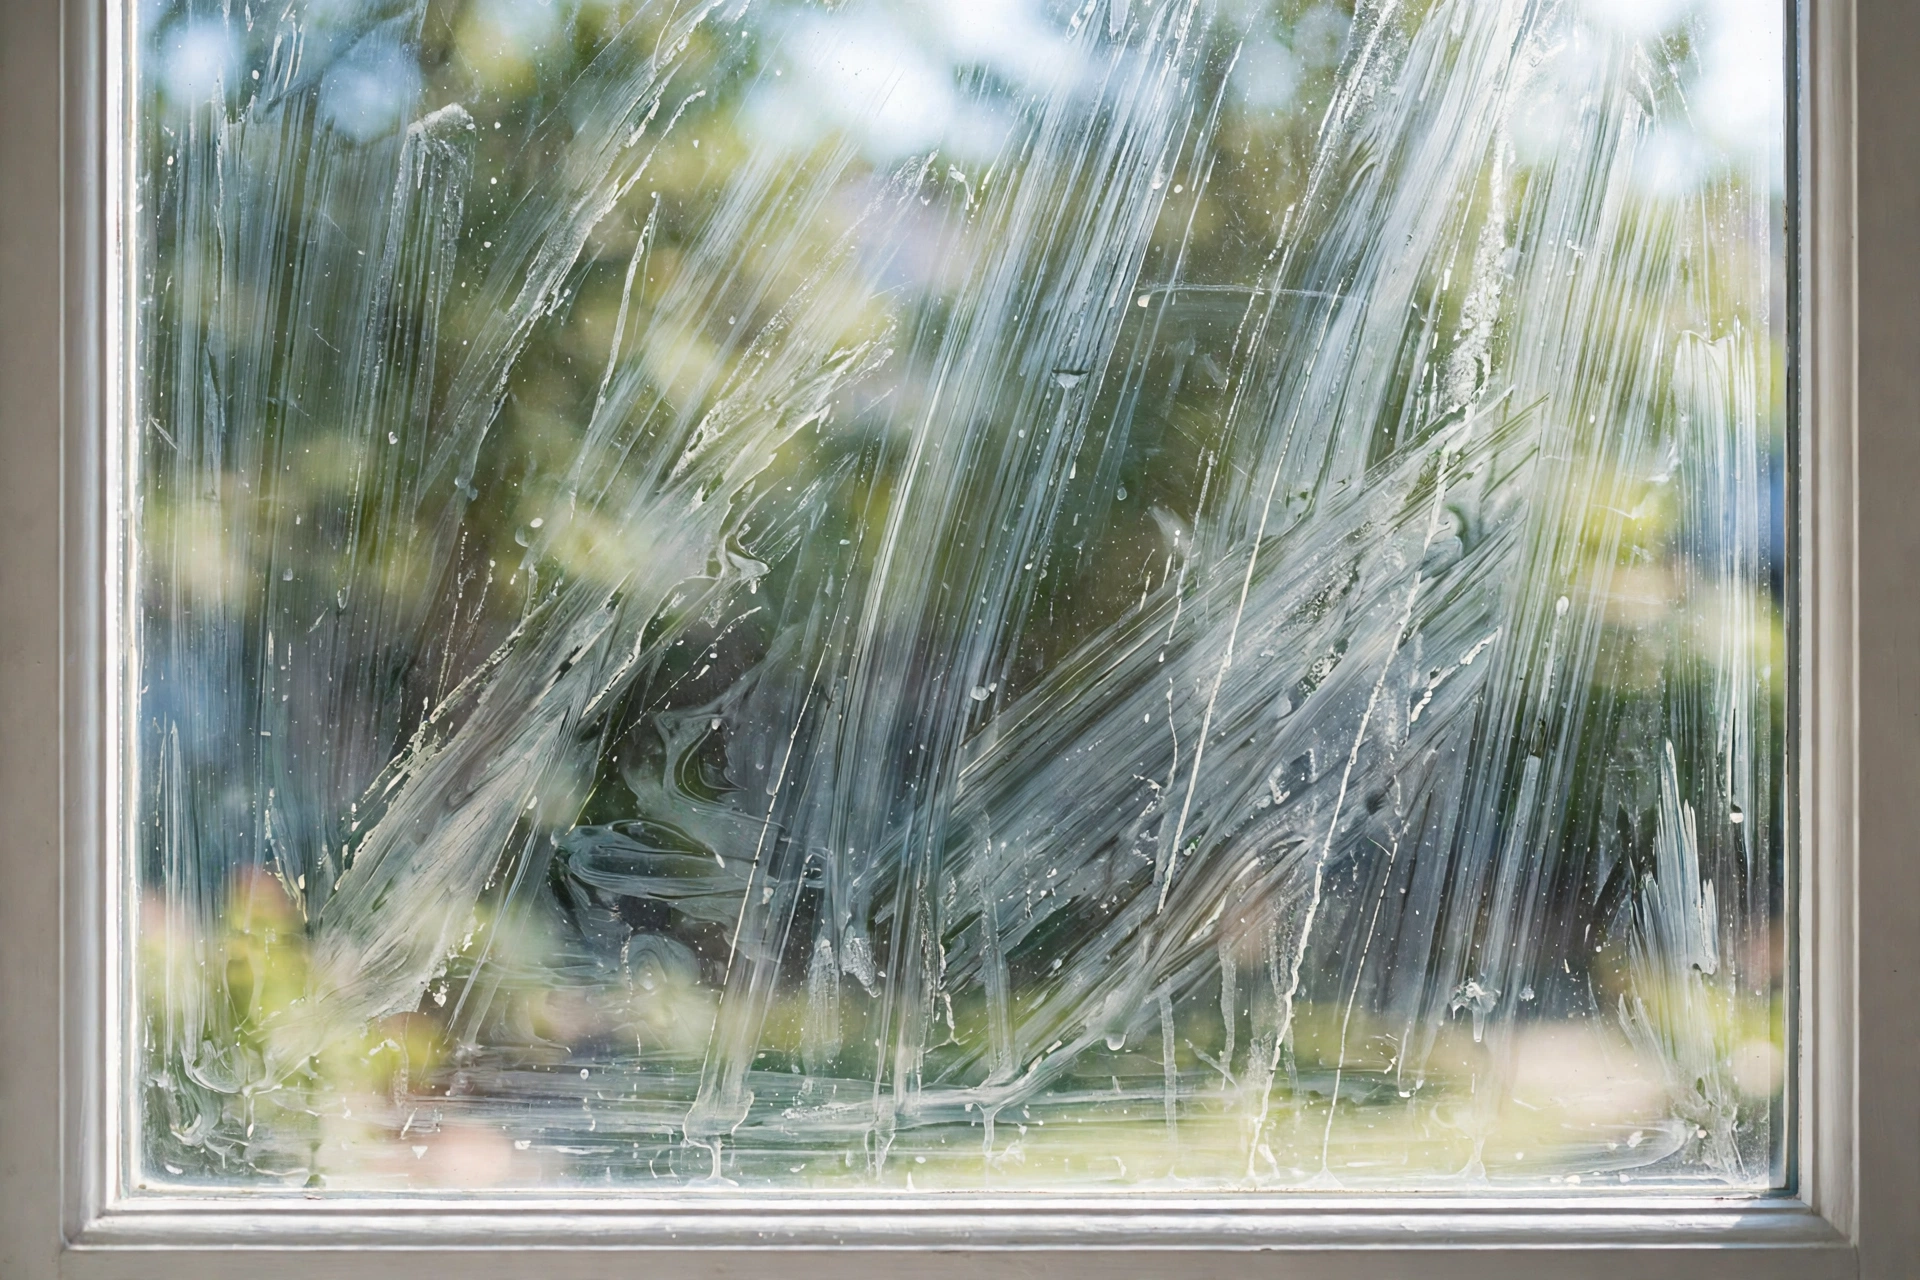
Windows look streaky mainly because of residue left on the glass, dirty or worn tools, water drying before it is removed, or dirt washing back from frames and tracks. Finding the cause matters, because each cause needs a different fix, and washing the same pane again with the same dirty cloth rarely helps.
Too much detergent is a common cause. A small amount of dish soap in clean water is usually enough; excess soap leaves a film that dries in streaks and attracts dust. Hard tap water can also leave mineral spots when it dries, especially in sunny weather. Direct sun is another problem, because it dries the solution before the squeegee can remove it, leaving soap and mineral marks behind.
Dirty tools cause streaks too. A nicked squeegee blade, a linty cloth, or dirty bucket water will transfer marks back onto clean glass. Frames and tracks matter as well: wash glass first and dusty water from frames can run back onto the pane.
Gather the Right Window Cleaning Tools
To clean windows well, gather a bucket, a window scrubber or sponge, a squeegee with a sharp rubber blade, microfibre cloths, a small amount of dish soap, clean water, and drop cloths for floors and sills. Good tools matter more than strong products, because a clean blade and a lint-free cloth do most of the finishing work.
A squeegee is the key tool for larger panes. Check the rubber blade before you start: it should be smooth, without nicks or cracks, and it should flex slightly against the glass. A worn blade leaves lines and needs replacing. A scrubber or sponge spreads the solution evenly and loosens dirt, while microfibre cloths are best for wiping the blade and detailing edges without leaving lint.
For solution, plain clean water with a very small amount of dish soap is a reliable starting point for most home windows. Avoid paper towels for finishing, because they can shed fibres and leave marks that show in sunlight. Lay drop cloths under inside windows to catch drips, and keep a dry cloth ready for the blade and edges. If your tap water is very hard, distilled water can reduce mineral spots on the final rinse.
- Bucket, clean water, and a small amount of dish soap
- Window scrubber or sponge, squeegee with a sharp blade
- Microfibre cloths: one for the blade, one for edges
- Drop cloths, a step stool only if stable and safe, gloves if needed
- Distilled water as an option for hard-water areas

Clean Frames, Tracks, and Screens First
To clean windows properly, clean frames, tracks, and screens before washing the glass, because dirt from those parts can wash back onto a clean pane. Start dry, then wash, and let everything dry before you move to the glass itself.
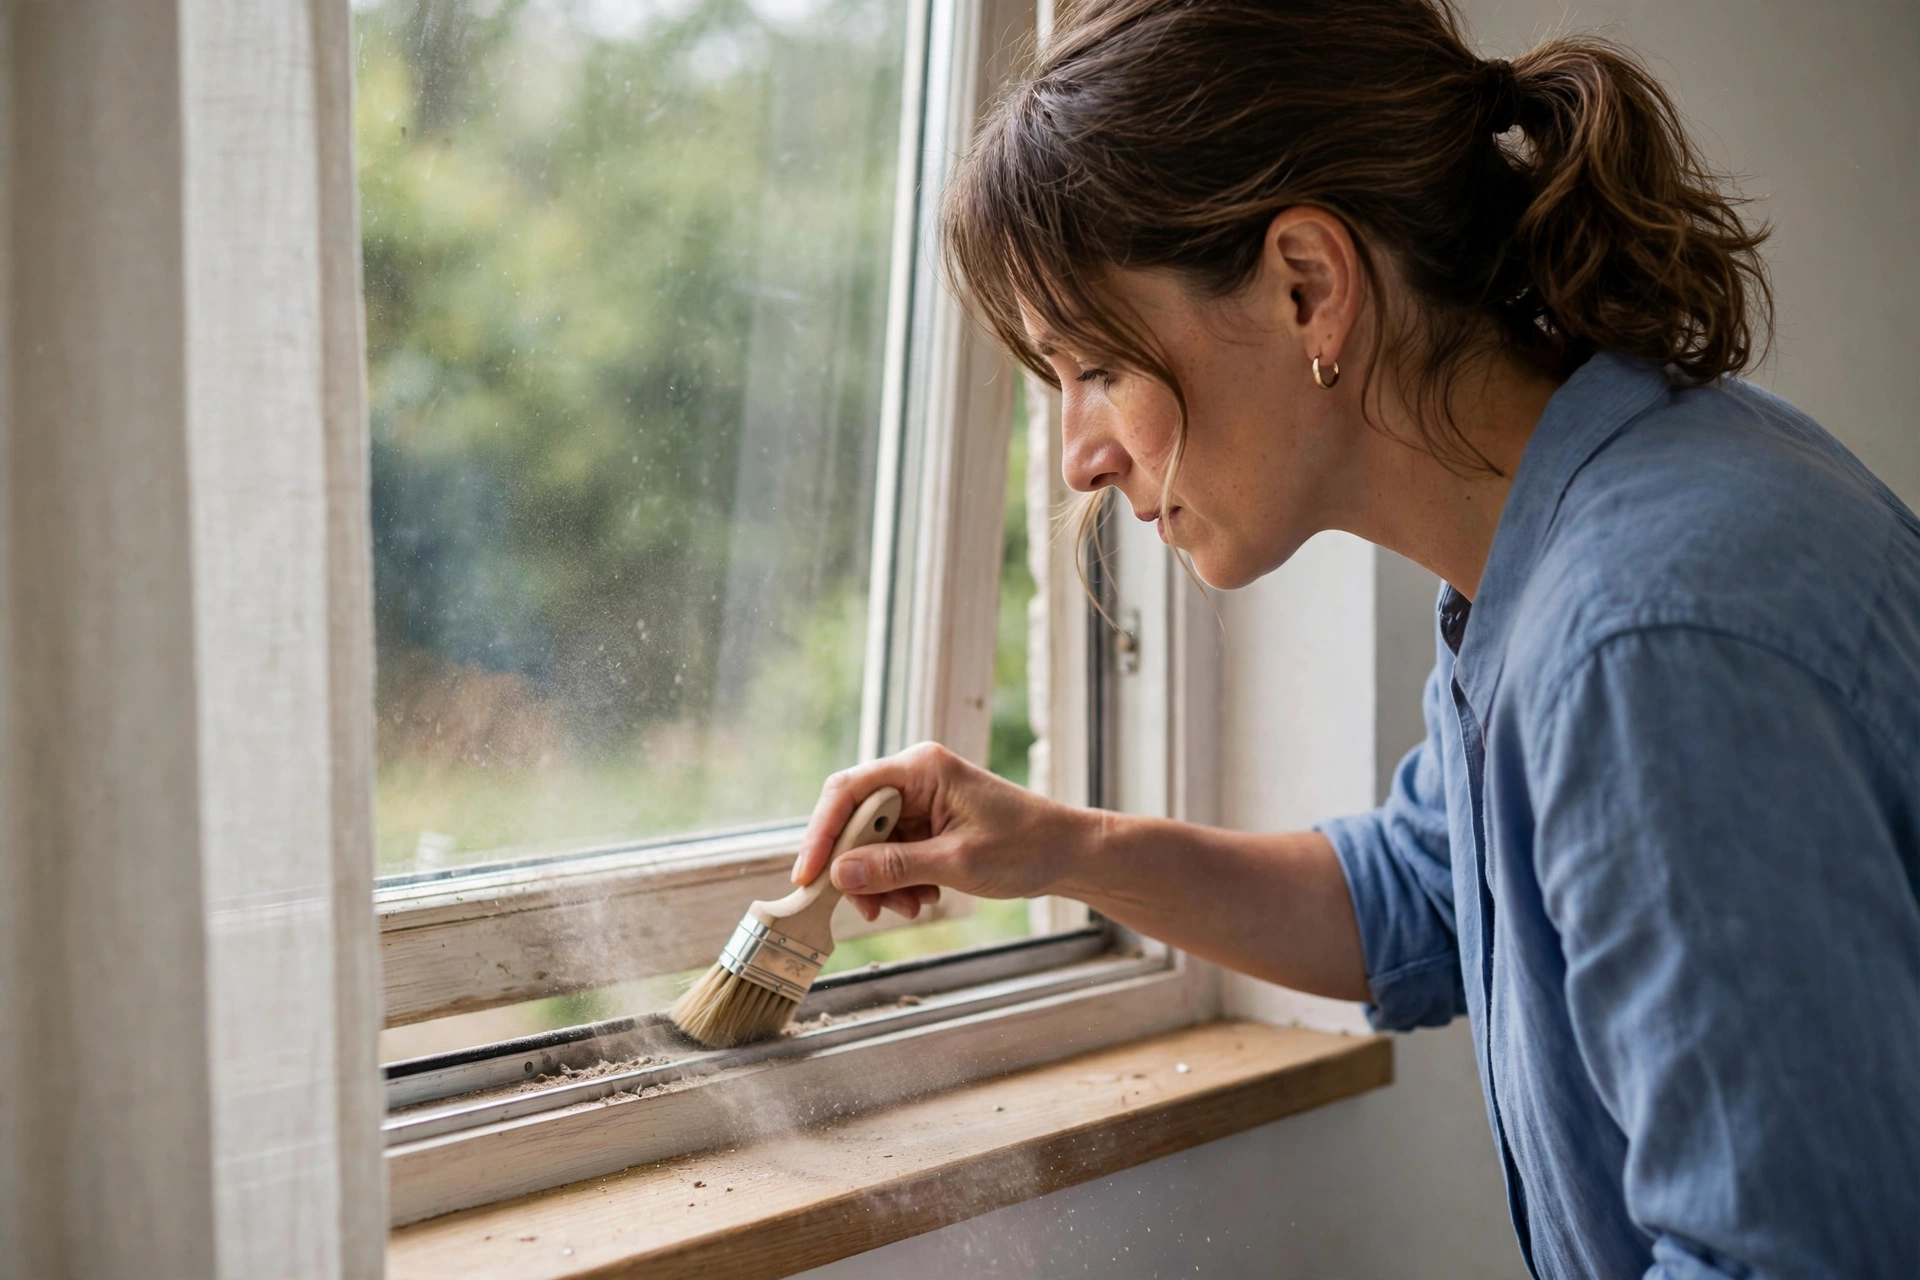
Begin by brushing or vacuuming loose dust from frames, tracks, and sills. Use a small brush or crevice tool for tracks, where grit collects and can scratch if dragged across glass. Wipe frames with a damp cloth and a small amount of suitable cleaner, following the frame maker’s guidance for wood, vinyl, or metal. Rinse and dry the frames so dirty water does not drip later.
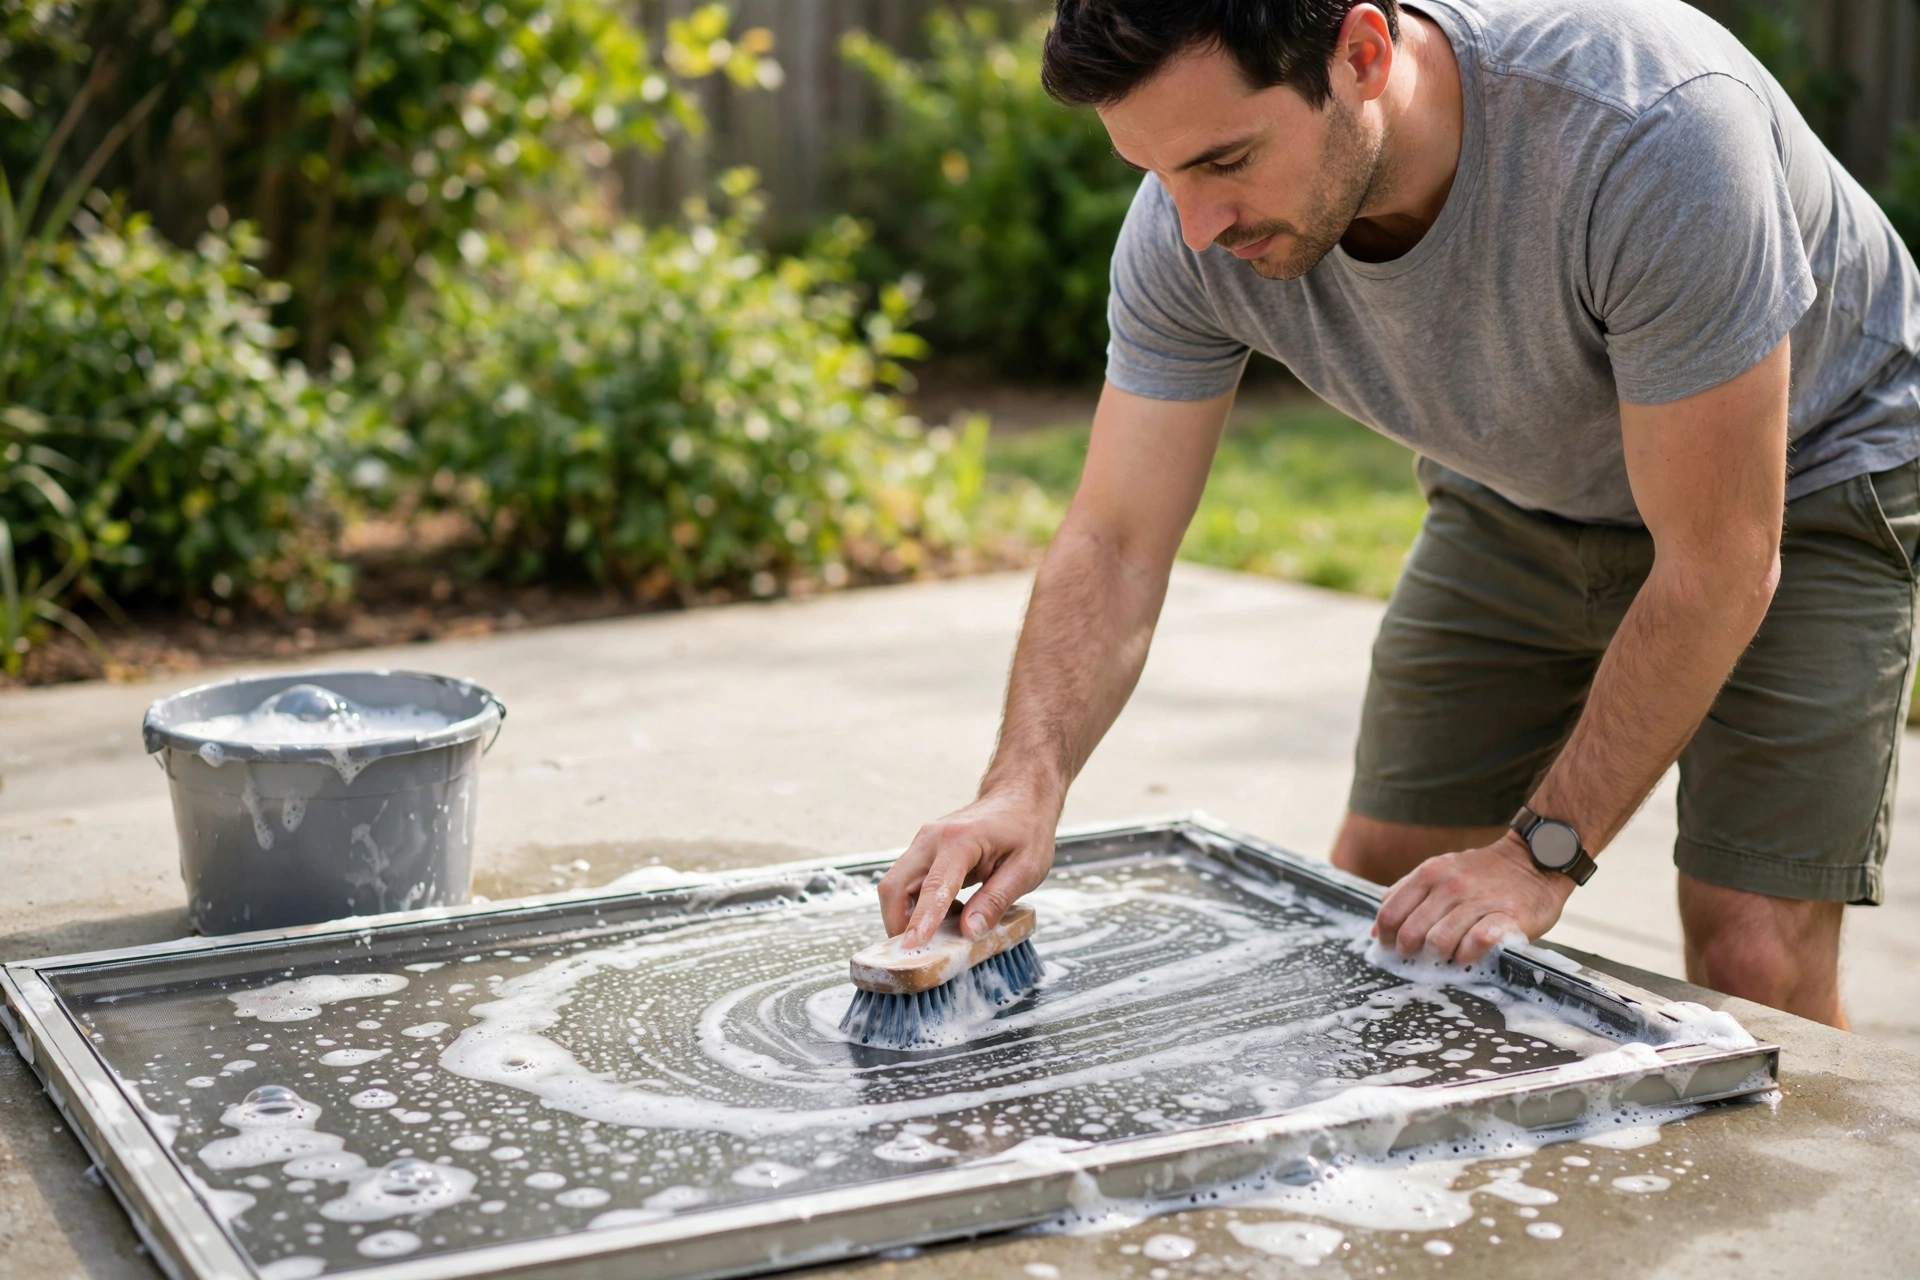
Screens need care too. Remove them only if you can do so safely and refit them easily. Brush both sides lightly, wash with warm soapy water if the maker allows it, rinse, and let them dry fully before refitting. A clean screen lets more light in and keeps dust from blowing back onto clean glass. If a screen is torn or hard to remove, clean it in place with a damp cloth and leave refitting to a later, safer time.
Wash the Glass in the Right Order
To wash window glass in the right order, remove dry grit first, wash the pane evenly from top to bottom, keep the glass wet until the squeegee removes the solution, and finish by drying only the edges. This order separates dirt removal from finishing, which is why it gives clearer results than spraying and wiping in one step.
Start with the top of the pane and work downward, so drips fall onto glass you have not finished yet. Wet the whole pane with the scrubber, using enough solution to loosen dirt but not so much that it floods the sill. Pay attention to corners, where dirt and cobwebs collect, and to the bottom edge, where grime often sits.
Keep the glass wet while you work. If a section starts to dry in sun or wind, rewet it before squeegeeing, because dried solution leaves marks. Work one pane at a time, rather than washing a whole wall of windows and then returning to squeegee them. That simple habit — wash, squeegee, detail, then move on — prevents most of the streaks that come from solution drying on the glass.

Master the Squeegee Technique
To master the squeegee technique, create a dry edge at the top of the glass, place the blade on that edge, pull it straight down in one smooth stroke, wipe the blade dry after every pass, and overlap each pass slightly. Smooth, even pressure matters more than speed, and the blade should hug the glass without skipping.
Start by wiping a dry strip across the top edge with a microfibre cloth. Place the squeegee blade horizontally on that dry strip, then pull straight down to the bottom in one continuous motion. Wipe the blade with a dry cloth after the pass, then place it back at the top, overlapping the previous stroke by a small amount, and pull down again. Repeat until the pane is covered.
For wide panes, use the same straight pulls in sections. Beginners usually get better results with straight pulls, because the pattern is easier to control. If the blade skips, check for a nicked blade, too much pressure, or a pane that is too dry.

Clean Windows Without a Squeegee
To clean windows without a squeegee, wash the pane evenly, wipe it with a clean microfibre cloth in straight lines, and finish with a second dry microfibre cloth for edges and any remaining marks. This method works well for small panes, mirrors, and inside windows, where a squeegee may be awkward.
Spray or wipe a small amount of suitable glass cleaner, or a mild soapy solution, onto the pane, and spread it evenly with a damp microfibre cloth. Wipe in straight, overlapping lines rather than circles, which can spread dirt in arcs. Then take a second, dry microfibre cloth and wipe the pane again, paying attention to edges and corners.
Change cloths when they become damp or dirty, because a wet cloth leaves marks instead of removing them. For best results, use one cloth for washing and a separate dry cloth for finishing, and keep both clean. If marks remain, check whether they are inside or outside by using different stroke directions on each side, as explained later. A no-squeegee method is slower on large panes, but it is a good, safe choice for small or inside glass.

Handle Hard Water Spots and Stubborn Marks
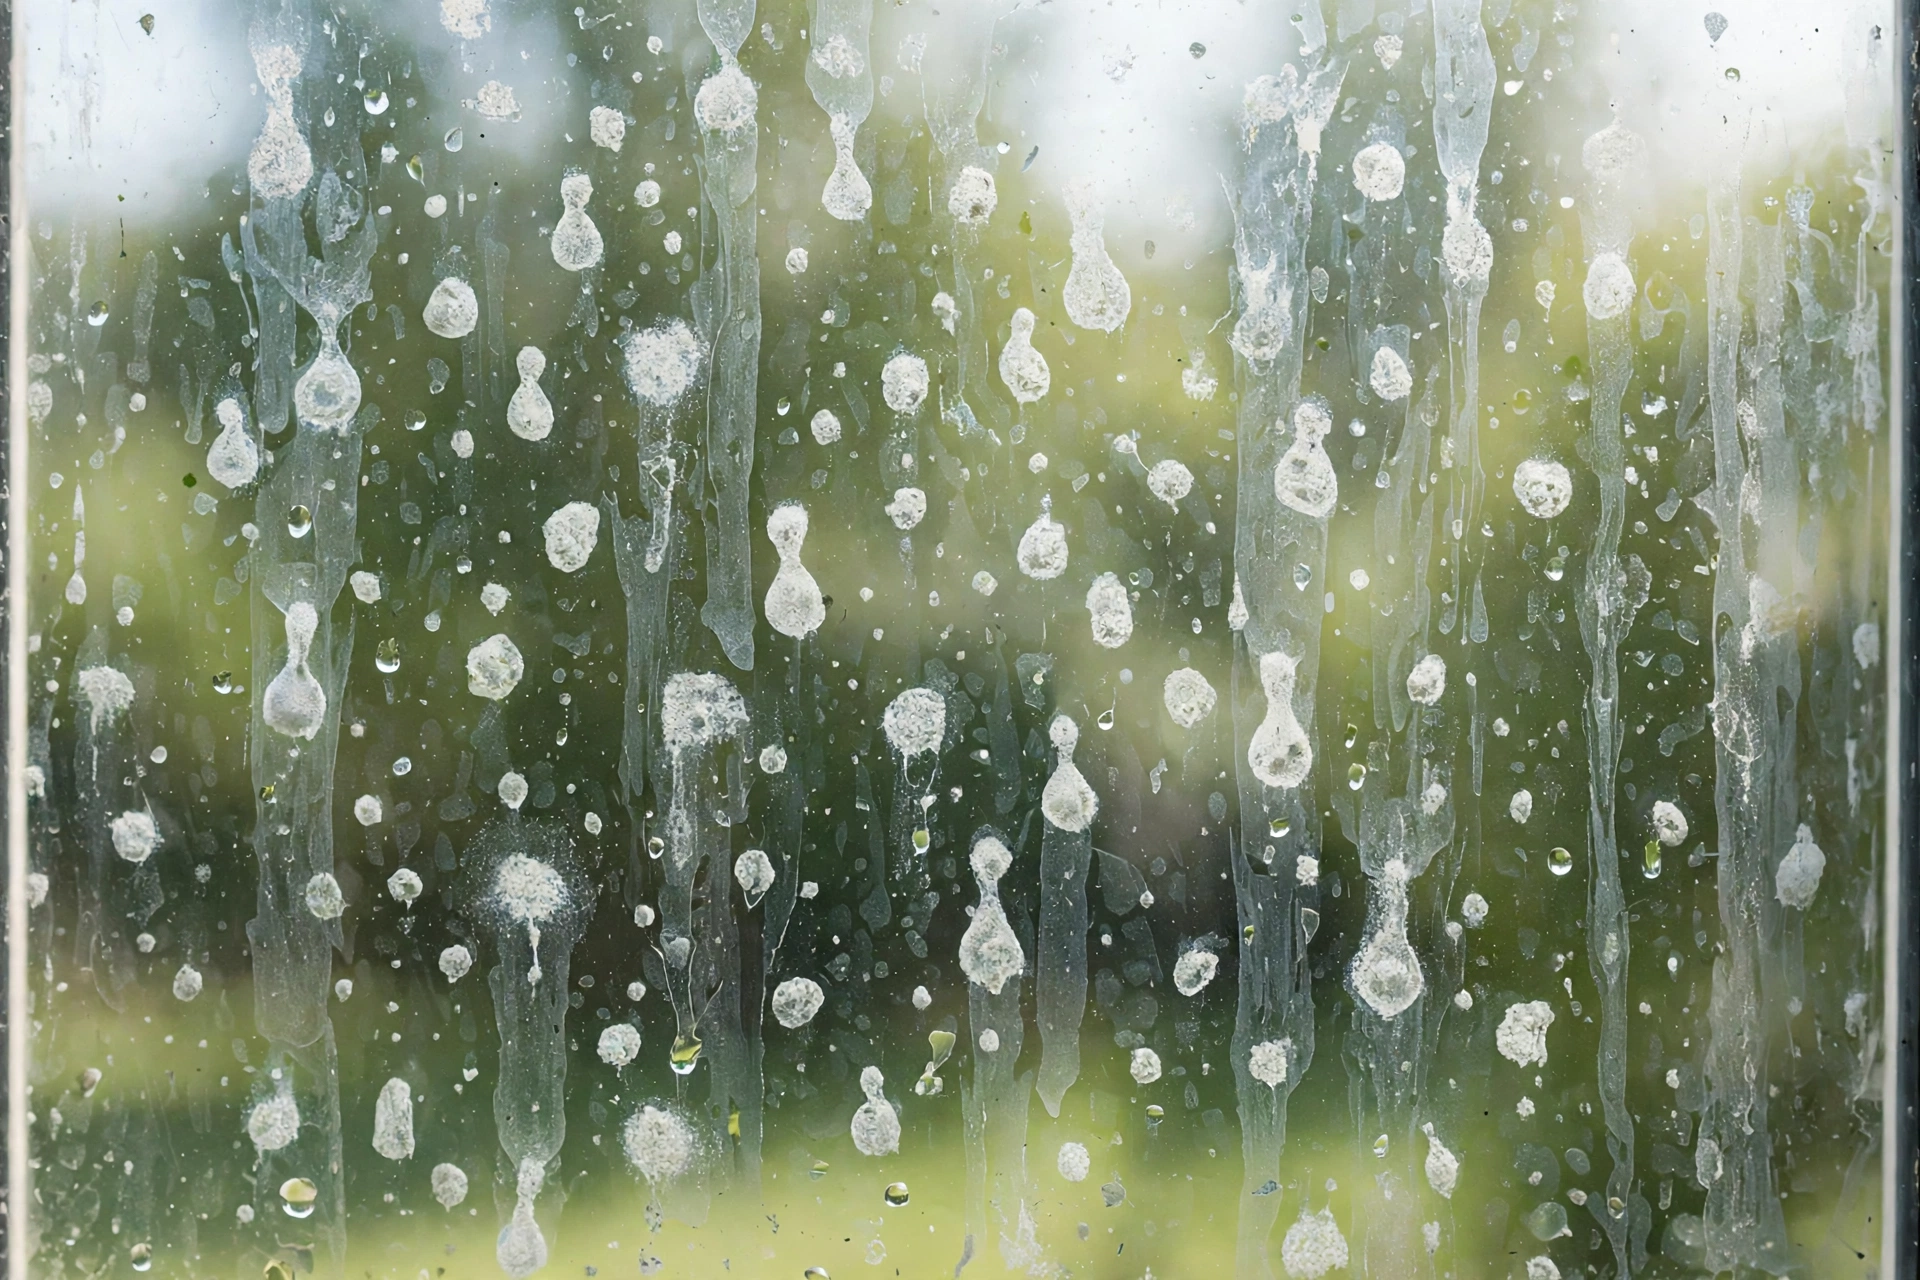
To handle hard water spots on glass, first wash the pane normally, then treat the spots gently with a cleaner made for mineral deposits, following the label, and rinse well. Hard water spots are mineral residue left when water dries, and they need a different approach from ordinary dirt.
After a normal wash, look at the pane in daylight. If spots remain in the shape of water drops, they are likely mineral deposits. Apply a mineral-removing product only as the label directs, test it in a small area first, and do not use abrasive pads on coated or tinted glass unless the maker says they are safe. Rinse thoroughly, because leftover product can leave its own film.
Other marks need different care. Sticker residue can often be softened with warm soapy water and lifted gently. Scratches, chips, and damaged coatings are not cleaning problems, and scrubbing them harder can make them worse. If a mark does not improve after a gentle, label-approved treatment, seek specialist advice.
| Mark on glass | Likely cause | First safe step |
|---|---|---|
| Light streaks | Soap residue or dirty blade | Rewash with less soap, clean blade |
| Drop-shaped spots | Hard water minerals | Mineral cleaner, label directions, rinse |
| Hazy film | Cooking grease or old cleaner | Warm soapy wash, rinse well |
| Sticky patch | Sticker or tape residue | Warm soapy water, lift gently |
| Scratch or chip | Physical damage | Do not scrub; seek specialist advice |
Clean Inside Windows Safely
To clean inside windows safely, protect floors and sills with drop cloths, use only a small amount of solution, keep electrical outlets and fittings dry, and work from a stable footing. Inside cleaning is usually easier than outside cleaning, but drips and slippery floors still need care.
Lay a drop cloth or old towel on the floor and sill before you start, and wring the scrubber well so solution does not run down the wall. Clean the frame and track first, then wash the pane, squeegee or wipe it, and detail the edges. Wipe the sill after you finish, so no dirty water sits on wood or paint.
Use vertical strokes on inside glass and horizontal strokes outside, or the other way round. That direction trick helps later: a vertical streak is likely inside, a horizontal streak likely outside. Keep cords and electronics away from drips, and do not stand on furniture to reach a high window.

Clean Outside and Hard-to-Reach Windows
To clean outside windows safely, work only on glass you can reach comfortably from the ground with a stable footing, clean on a cool or overcast day, and leave high, roofline, or awkwardly placed windows to properly equipped professionals. No streak-free result is worth a fall or an unsafe reach.
Outside glass usually has more dirt, including pollen, bird marks, and rain residue, so start with frames and tracks, then wash the pane thoroughly before squeegeeing. Work in shade or on a cloudy day when possible, because sun dries solution quickly and leaves marks. Keep the glass wet until the squeegee removes the solution, and detail edges with a dry cloth.
For ground-floor windows, a squeegee with a short extension pole can help, but only if you can control it safely and keep your footing steady. Do not lean out of windows, climb on roofs, or use ladders on uneven ground for cleaning. If a window is above a conservatory, over a stairwell, or otherwise hard to reach, note it for professional help. A professional with the right access equipment can clean it safely and often faster than a risky home attempt.

Clean Window Screens and Sills
To clean window screens and sills, brush off loose dust first, wash screens gently with warm soapy water if the maker allows it, rinse, dry fully, and wipe sills with a damp cloth. Clean screens improve light and airflow, and clean sills prevent dirt from washing back onto glass.
Remove screens only when you can refit them safely. Lay a screen flat, brush both sides, then wash with a soft brush or cloth and warm soapy water. Rinse with clean water and let the screen dry completely before refitting, because a damp screen can trap moisture against the frame. If a screen cannot be removed easily, clean it in place with a damp cloth and a gentle brush, taking care not to push dirt through the mesh.
Sills collect dust, dead insects, and water marks. Wipe them with a damp cloth after the glass is clean, and dry them so water does not sit on paint or wood. A clean sill makes the whole window look finished, not just the glass.
Avoid Common Window Cleaning Mistakes
To avoid common window cleaning mistakes, use less product than you think, keep tools clean, work in shade or on cloudy days, clean frames before glass, and do not use paper towels or abrasive pads for finishing. Most streaks come from one of these habits, not from a lack of effort.
Too much soap is the most common mistake, because it feels like more cleaner should mean cleaner glass. In practice, excess soap leaves residue that dries in streaks. A dirty bucket is another frequent problem: if the water is cloudy, it is carrying dirt back onto the pane, so change it often. A nicked squeegee blade, a linty cloth, and washing in direct sun all create marks that look like poor technique but are really tool or timing problems.
Other mistakes include cleaning glass before frames, which lets dirty water run back, and using newspaper or paper towels for finishing, which can shed fibres. Finally, do not ignore safety: reaching too far, standing on unstable furniture, or cleaning high glass without proper equipment creates risk that no clear pane justifies. Slow down, change the water, and check the blade before you blame the glass.

Keep Windows Clear Between Washes
To keep windows clear between washes, dust frames and sills regularly, wipe fingerprints promptly with a dry microfibre cloth, keep screens clean, and wash full panes only when dirt is visible. Light, regular care prevents heavy buildup and makes each full wash faster.
A quick weekly wipe of sills and low panes, especially in kitchens and children’s rooms, removes fingerprints before they harden. Shake or brush doormats and clean screens seasonally, so less dust blows onto glass. In pollen season, a light rinse or wipe of outside ground-floor panes can help, but only when you can reach them safely.
Seasonal full washes — for example, in spring and autumn — suit many homes, with extra washes for kitchen windows or panes near busy roads. Note which windows get dirty fastest, and clean those more often.

Conclusion
Streak-free windows come from a simple sequence, not a secret product: clean frames first, wash evenly with a little cleaner, remove the liquid with a clean squeegee or cloth, and dry only the edges. Work in shade, change dirty water, and leave high or unsafe glass to professionals.
FAQs
How often should I clean my windows?
Most homes benefit from a full window clean twice a year, in spring and autumn, with more frequent cleaning for kitchen windows or panes near busy roads. Wipe fingerprints and sills more often in between.
Why do my windows streak even after cleaning?
Streaks usually come from too much soap, a dirty or nicked squeegee blade, dirty water, or solution drying in direct sun. Rewash with less soap, a clean blade, fresh water, and in shade or on a cloudy day.
Can I clean windows in direct sunlight?
It is best to avoid direct sunlight, because heat dries the solution before you can remove it, leaving soap and mineral marks. Choose a cool, overcast time, or clean the shaded side of the house first.
What is the best homemade window cleaning solution?
A small amount of dish soap in clean water works well for most home windows. If your tap water is hard, distilled water can reduce mineral spots. Avoid strong or unlabelled mixtures on coated or tinted glass.
How do I know if a streak is inside or outside?
Use vertical strokes on one side of the glass and horizontal strokes on the other side. If a remaining streak runs vertically, it is likely inside; if it runs horizontally, it is likely outside.
Disclaimer: This article is for general information only and does not provide professional window cleaning, glazing, or safety advice. Always follow the instructions for your windows, coatings, and cleaning products, test cleaners in a small area first, keep products away from children and pets, and do not attempt high, roofline, or otherwise unsafe windows without proper equipment and training. Clearise Cleaning Services does not offer guest posting, paid promotion, or advertising through this article.