Installing drywall on a ceiling means fixing flat gypsum panels to the joists overhead, then taping and finishing the joints so the ceiling looks smooth and ready for paint. It is heavier and more awkward than drywalling a wall, because every panel must be held up while it is fixed, and gravity works against you throughout.
This guide explains how to install drywall on the ceiling in plain language. It covers planning and safety, tools, measuring, joist preparation, lifting panels, fastening, cutting around lights and vents, taping and finishing, and the mistakes to avoid. It also explains when a professional is the better choice, because ceiling work is one job where honest self-assessment matters more than enthusiasm.
The Short Answer: Can You Install Drywall on the Ceiling Yourself?
Yes, a careful homeowner can install drywall on the ceiling, but only with at least one strong helper, the right lifting support, and a sound, level joist structure to fix into. A ceiling panel is large, heavy and awkward overhead, so working alone, or onto weak or uneven joists, turns a manageable job into a risky one.
The job suits a small, flat ceiling in a room with good access and no complicated wiring or ducting in the way. It is less suited to very high ceilings, large open areas, or ceilings where the joists are damaged, sagging or uneven. If any of those apply, getting a professional quote first is sensible, even if you later decide to do the work yourself.
Planning and Safety First
Planning and safety come before any panel is lifted, because ceiling work combines heavy lifting, overhead work and dust, and each of those needs its own preparation. Start by checking the room: clear the floor, protect it, make sure you have room to move a panel flat, and plan how panels will come into the room.
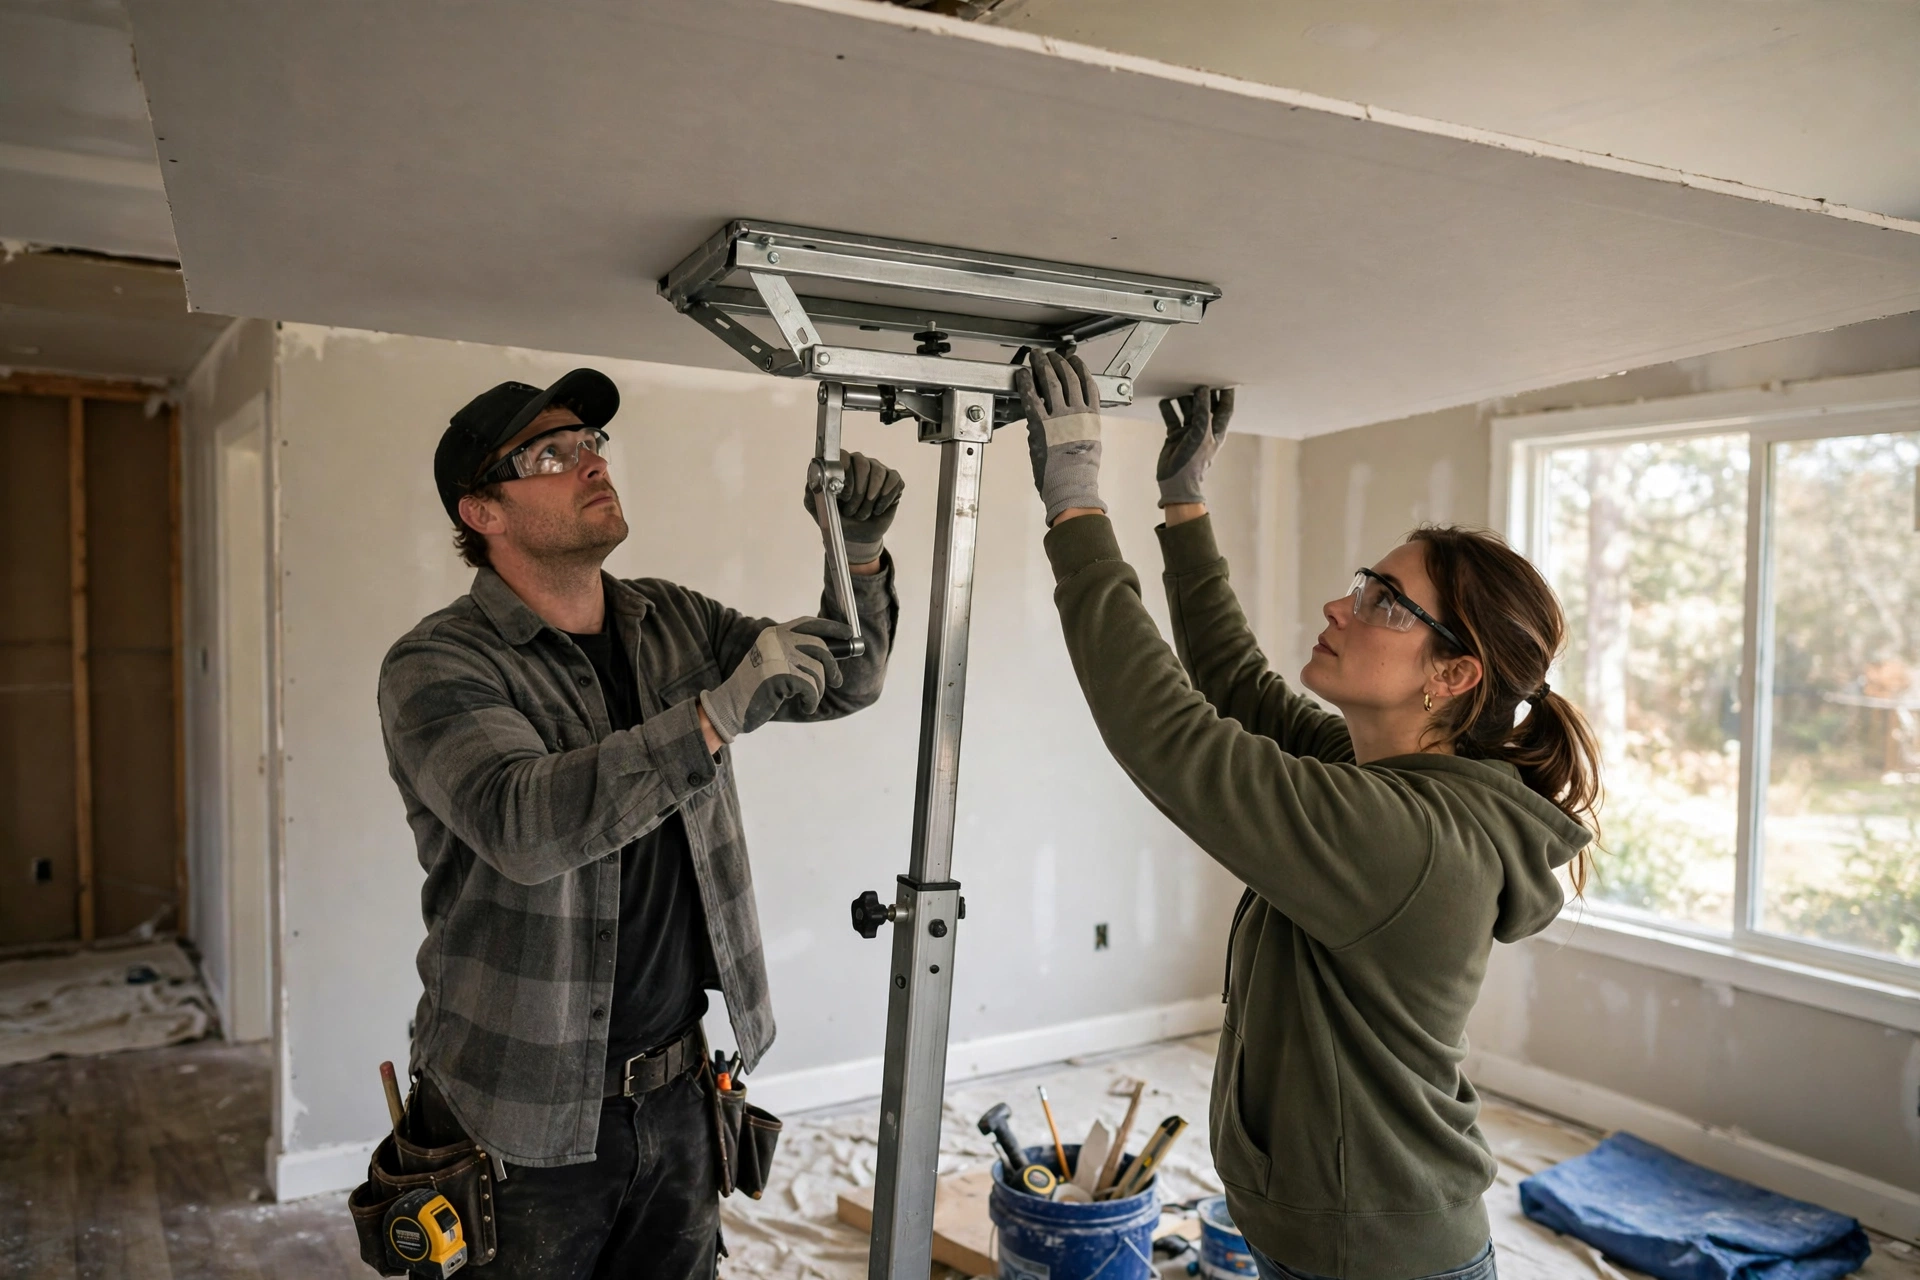
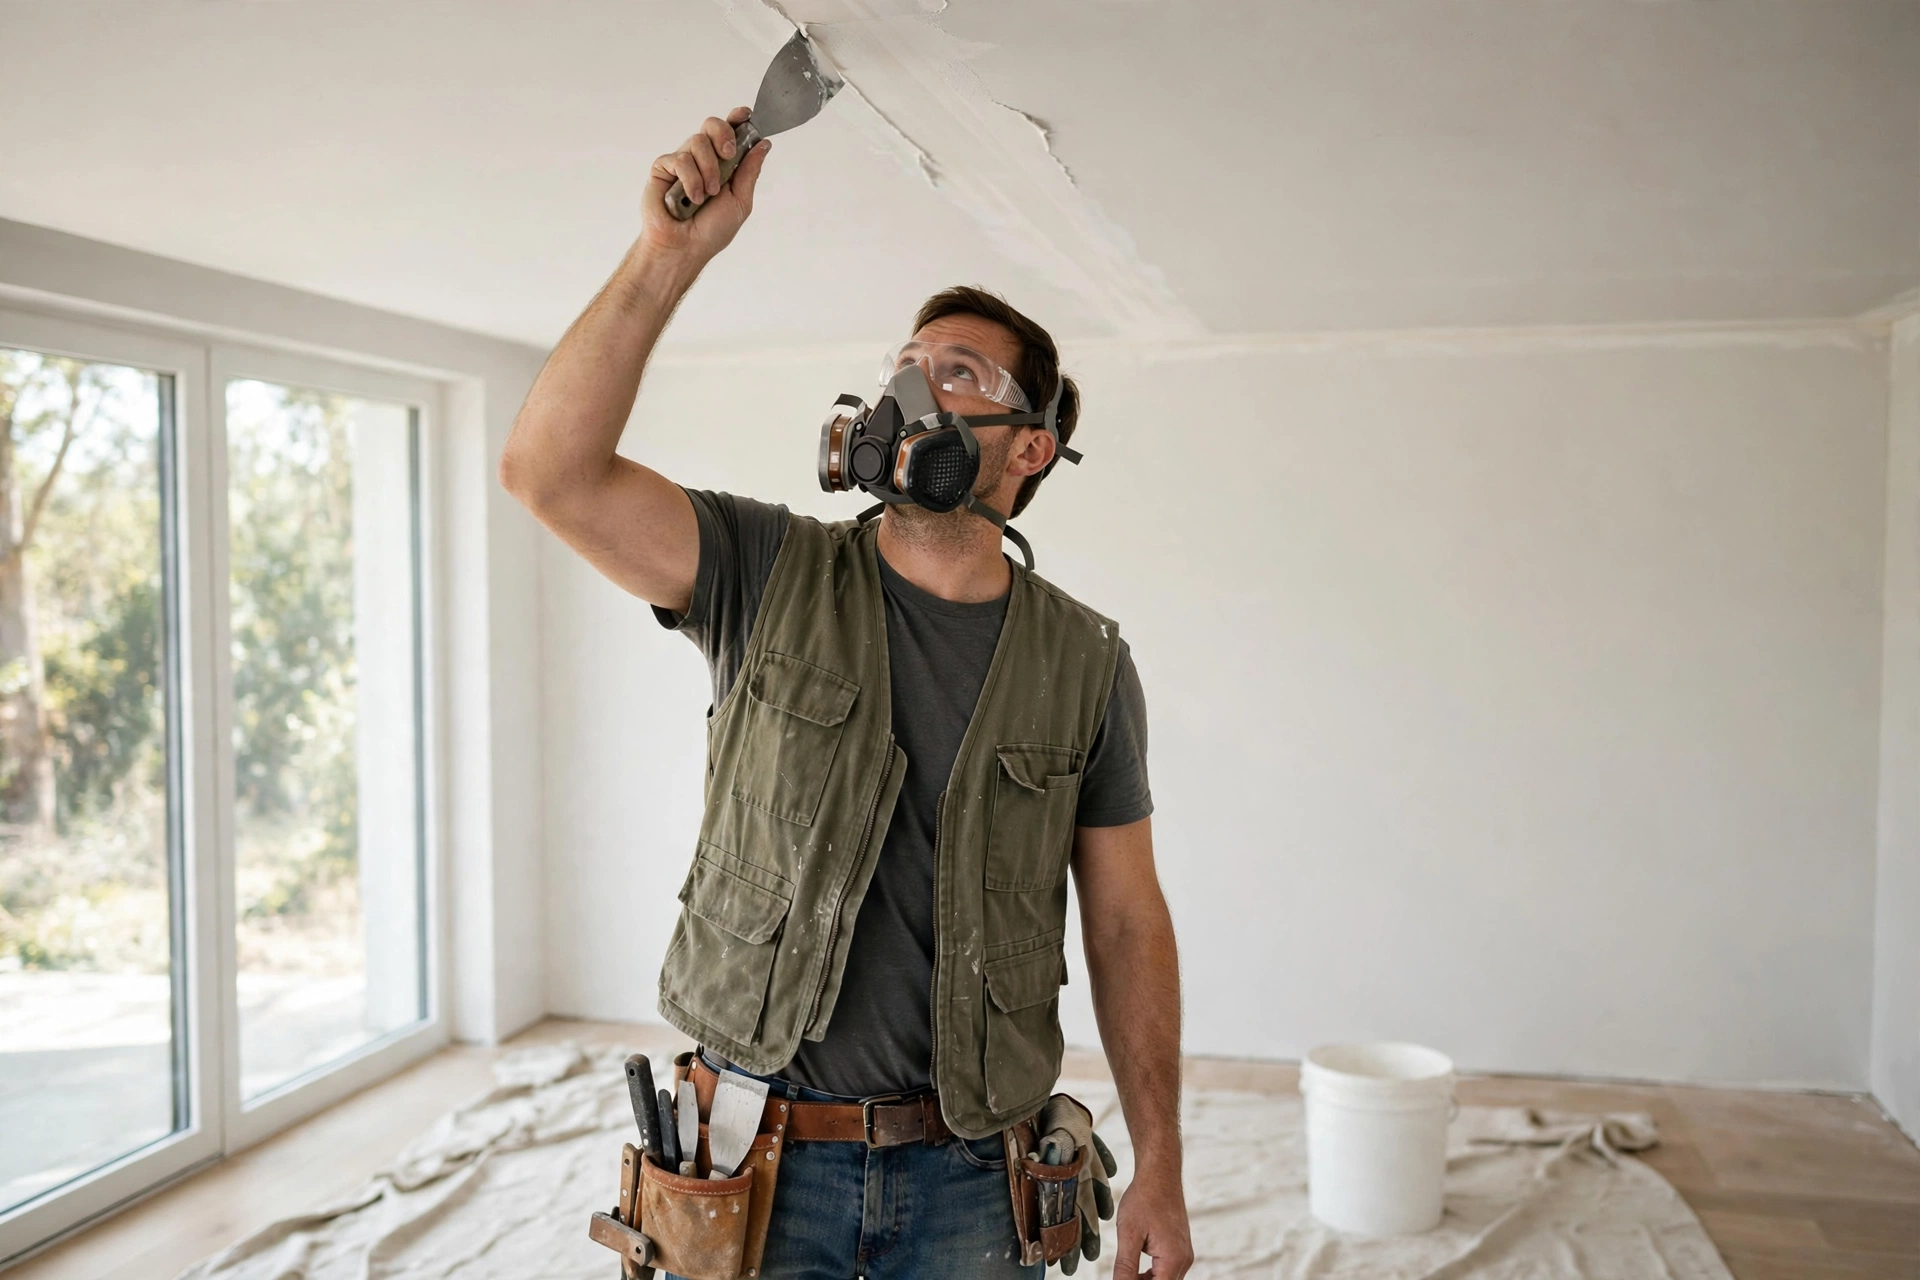
Safety basics matter throughout. Wear eye protection and a dust mask, since cutting and sanding drywall creates fine dust that falls downward onto your face. Wear gloves when handling cut panels, because cut gypsum edges can be rough. Never work under a panel that is only held by one person, and never stand on an unstable surface to reach the ceiling. A stable platform, a helper, and a panel lift or sturdy T-braces are not optional extras; they are what make the job safe.

Tools and Materials You Will Need
Ceiling drywall work needs a modest set of tools, plus a way to hold panels overhead, and having everything ready before you start is essential, because a panel half-held overhead is no time to search for a missing tool. Most of the tools are ordinary hand and power tools, and a panel lift can often be hired rather than bought.
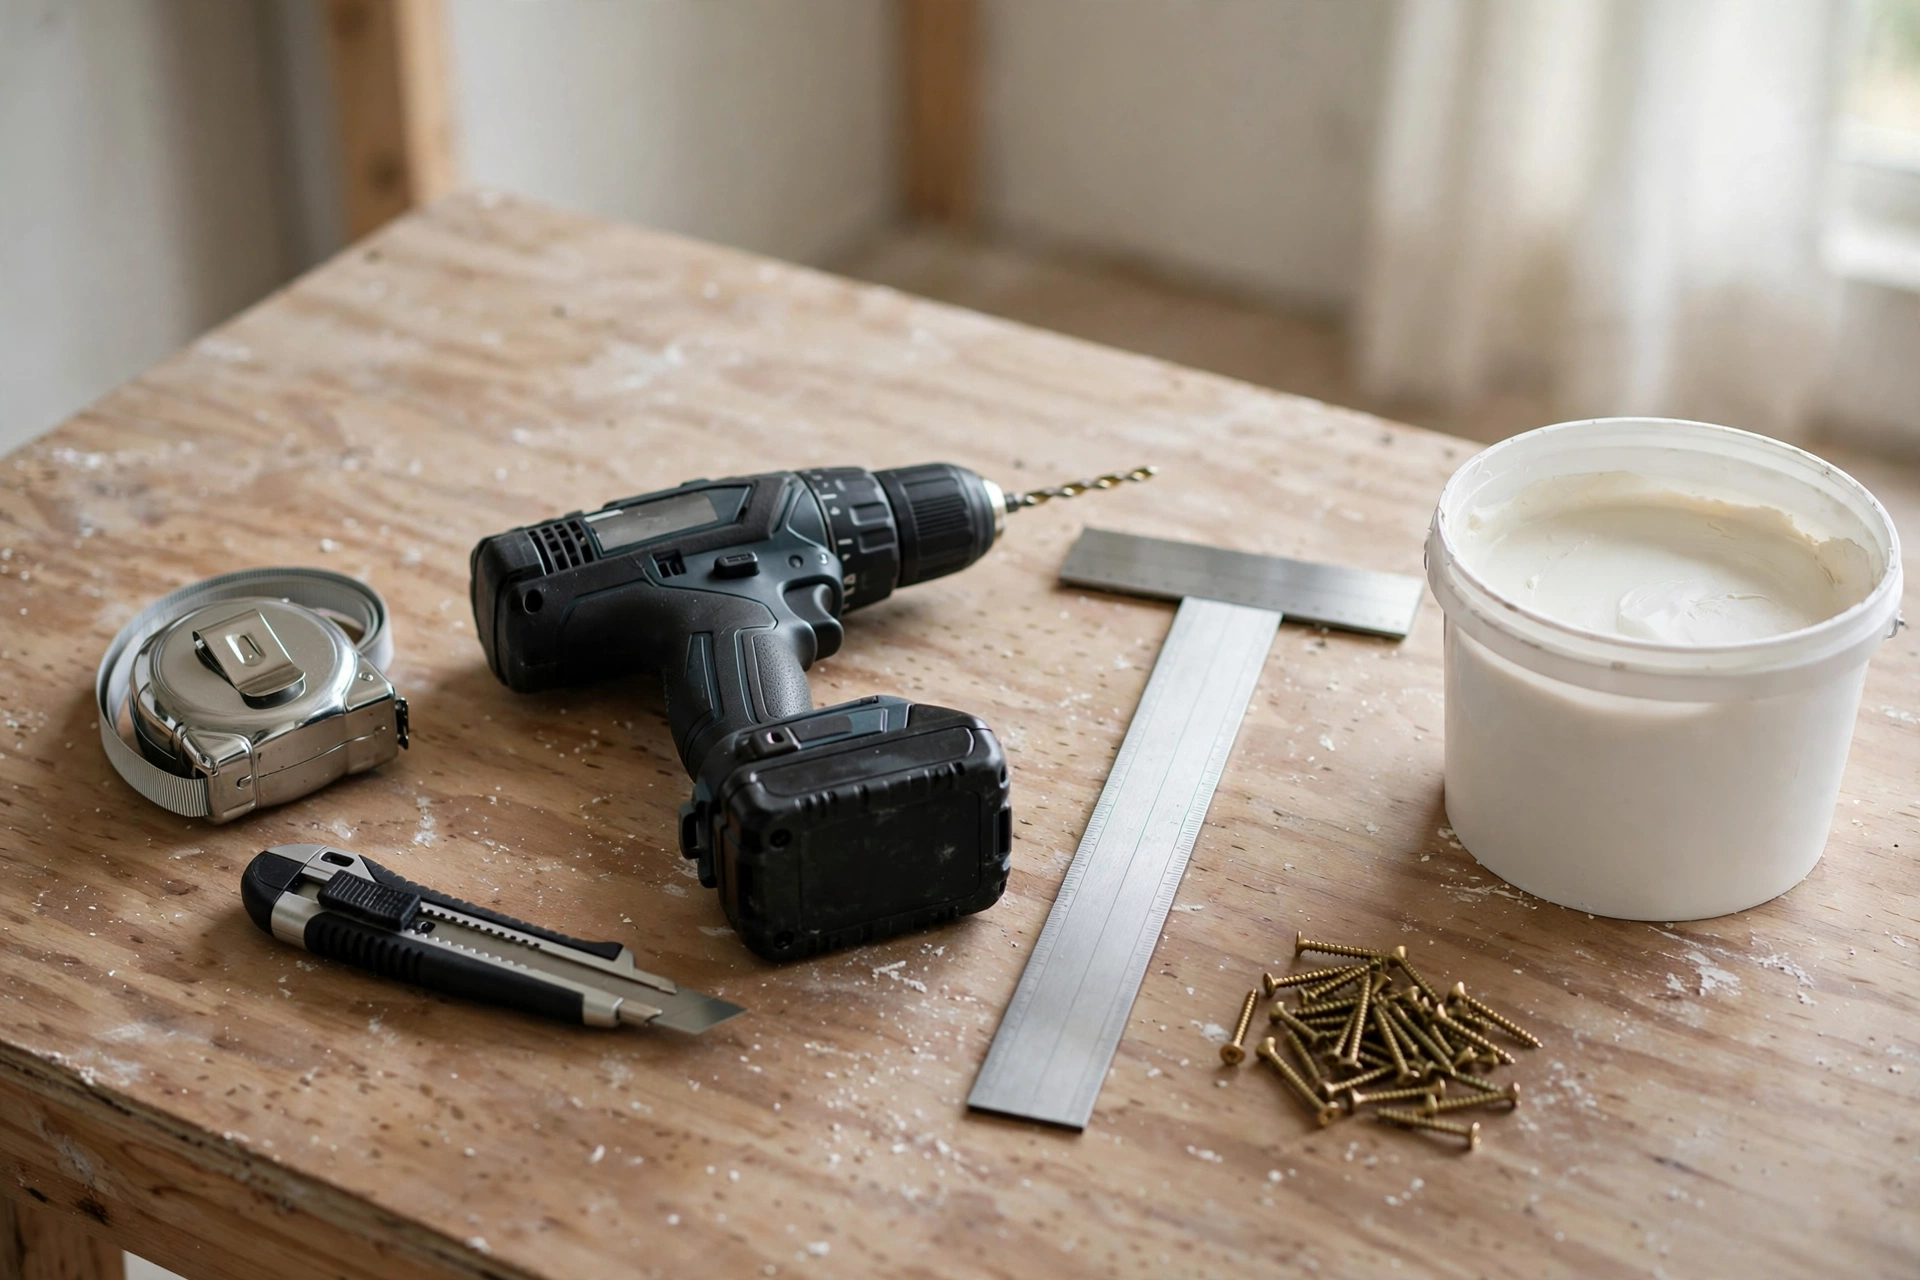
You will need a tape measure, a pencil, a chalk line, a spirit level, a utility knife, a drywall saw, a drill or screw gun, a T-square, and a step platform or scaffold boards on stable supports. For materials, you need drywall panels, suitable drywall screws, joint tape, joint compound, and corner or edge trim where needed. A panel lift, or a pair of sturdy T-braces made for the ceiling height, is needed to hold each panel in place while it is fastened. Keep spare screws, a spare blade, and cleaning materials on hand, and keep the room clear so you can step back and check alignment.
Measuring and Planning the Panel Layout
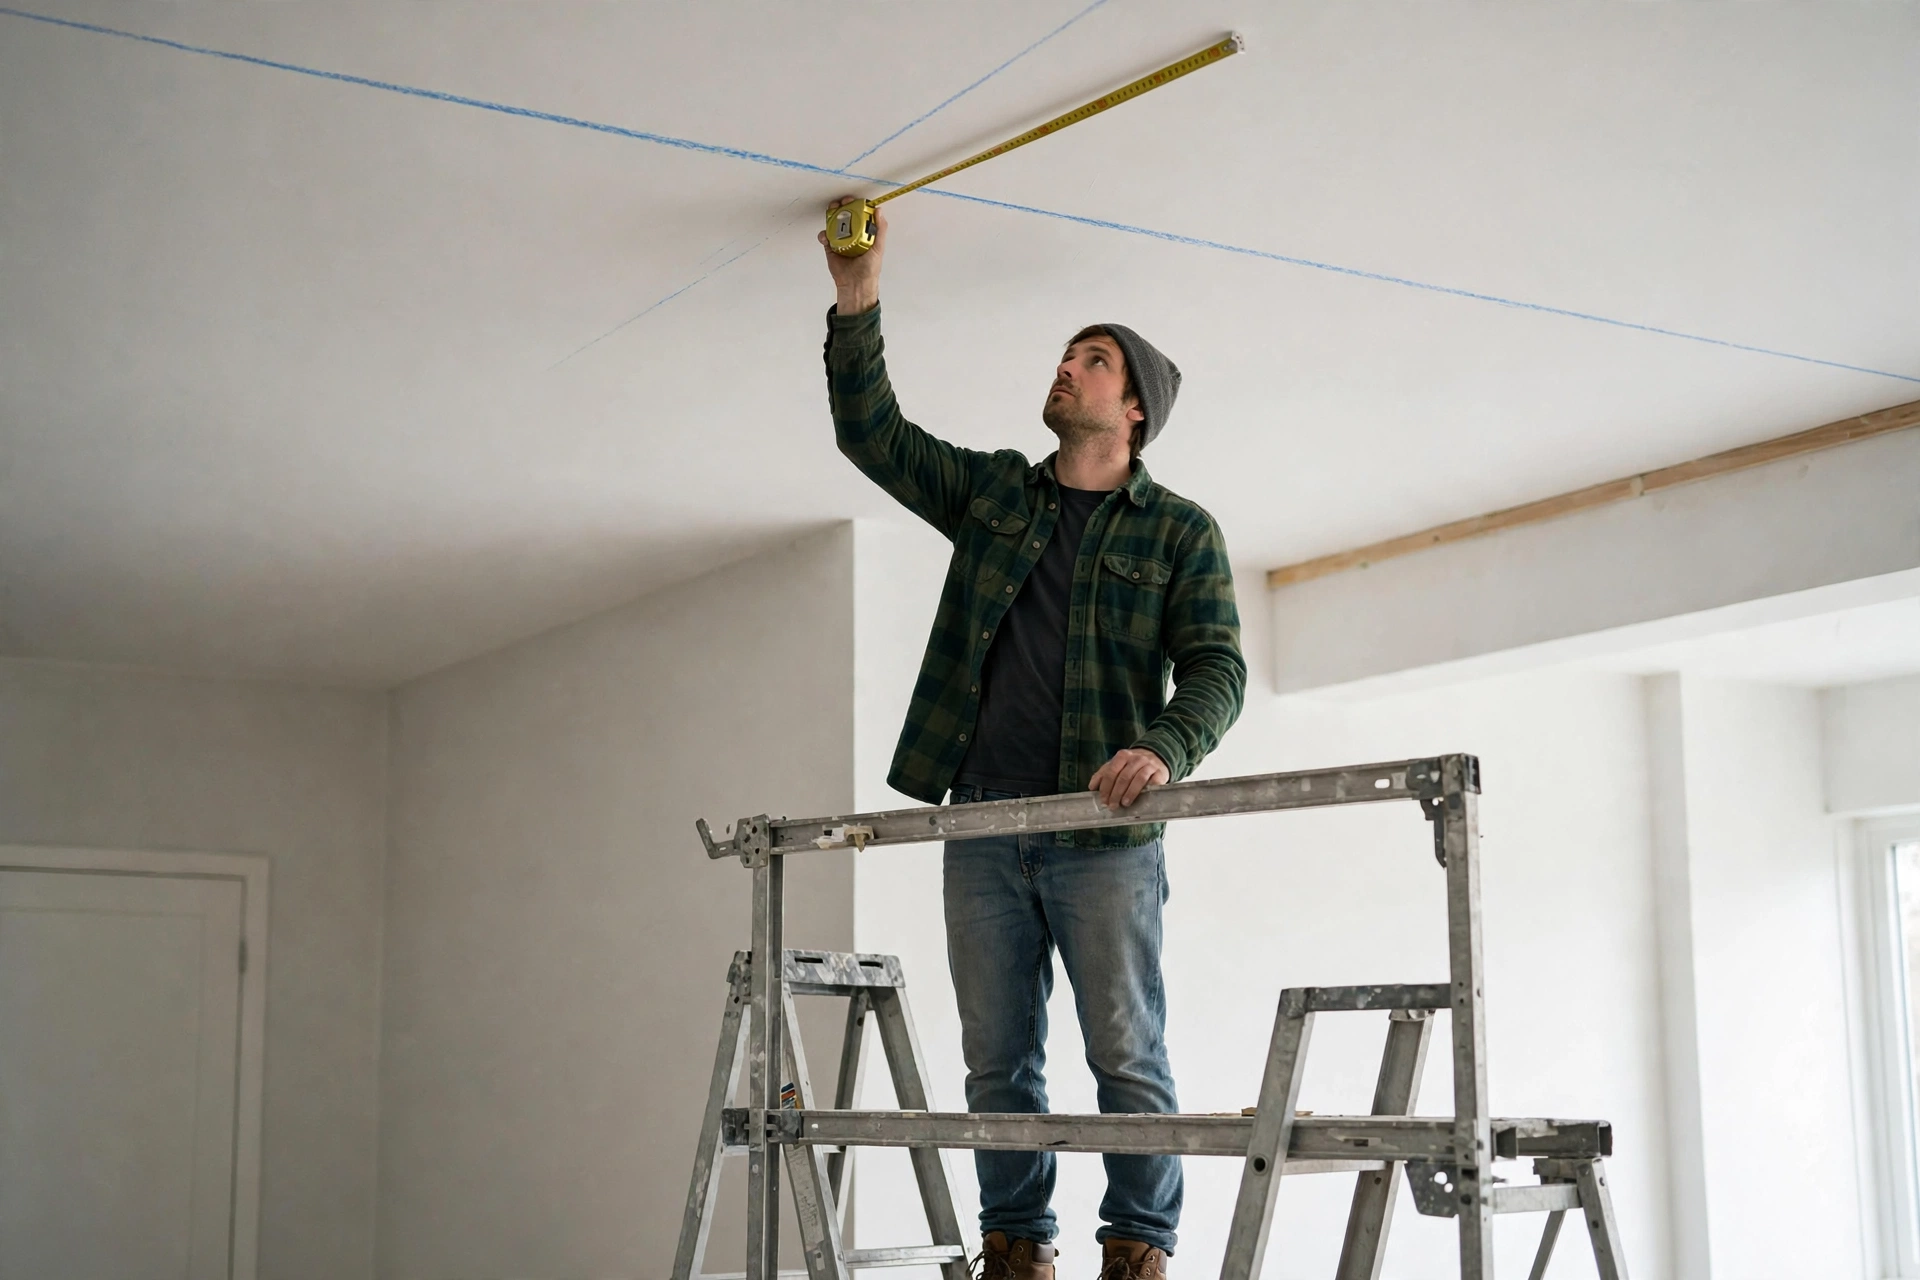
Measuring and planning the panel layout means working out how many panels the ceiling needs, which way they should run, and where the joints will fall, before any panel is cut or lifted. A ceiling planned on paper first is far easier to install, because awkward cuts at the last row are avoided.
Measure the ceiling length and width, note the joist direction, and sketch the layout. Panels usually run across the joists, so each panel end lands on a joist, and joints are staggered between rows, like brickwork, so no long joint runs across the whole ceiling. Check for lights, vents and other fixtures, and mark their positions on the sketch, since each one needs a cut-out. Order a small allowance of extra panels for cuts and breakages, and plan the order of fitting, usually starting at one corner and working across the room, so each new panel has a straight edge to work from.
Preparing the Ceiling Joists
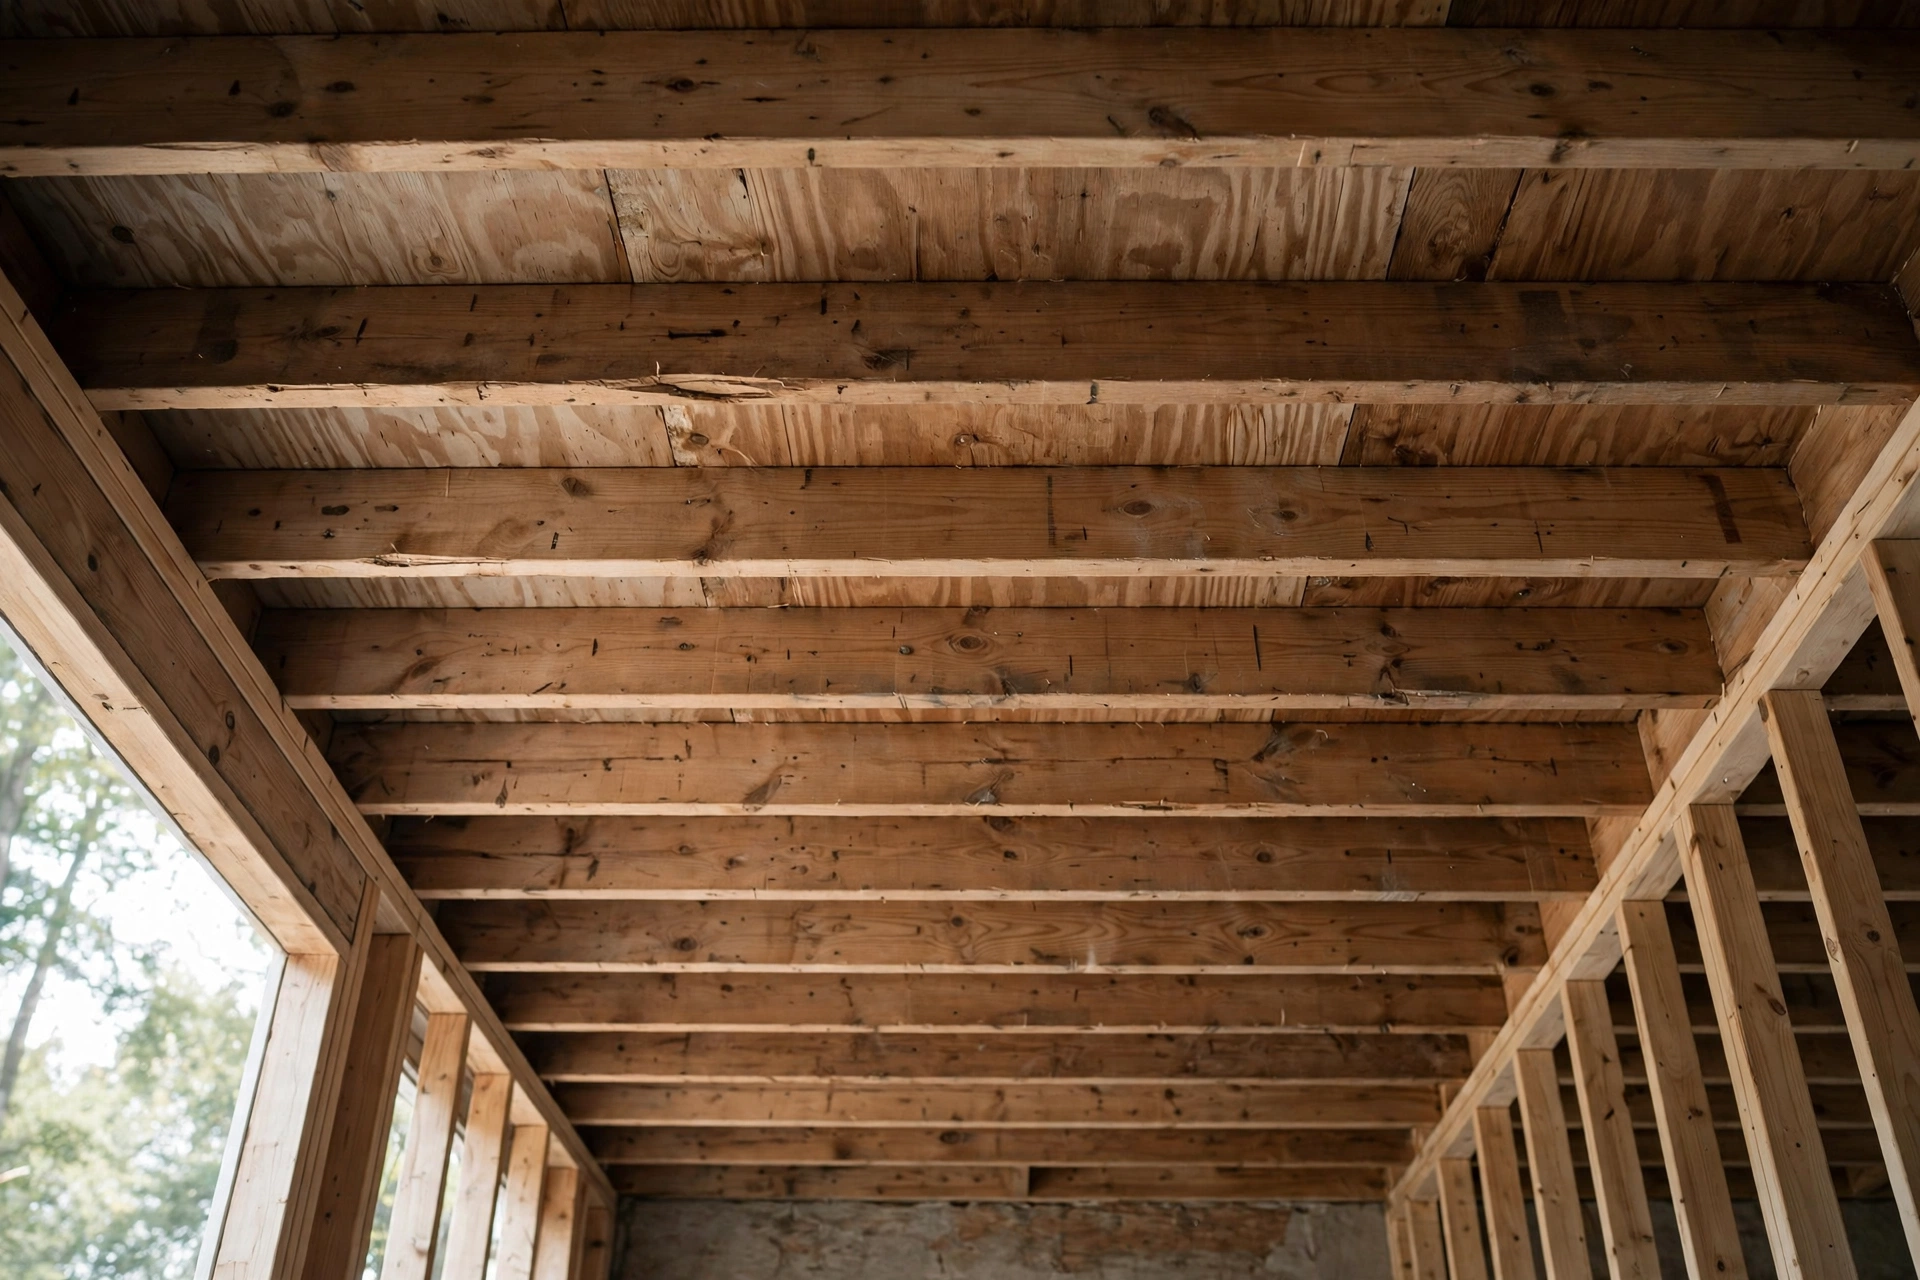
Preparing the ceiling joists means making sure the framing overhead is sound, level and ready to hold panels, because drywall fixed to weak or uneven joists will sag, crack or show wavy joints. This check is worth more than any other step, since it cannot be fixed easily once panels cover it.
Look along the joists for damage, rot, sagging or missing fixings, and check that joist spacing is even and suitable for the panel thickness you plan to use. If joists are uneven, the ceiling will be uneven too, so uneven joists may need levelling strips or professional advice before panels go up. Remove old fixings, nails or debris that would stop a panel sitting flat, and mark joist positions on the walls, so you can find them once a panel covers them. Check above the ceiling for wiring, pipes and ducts, and note where they run, so panels are not fastened into them.
Lifting and Holding Panels Overhead
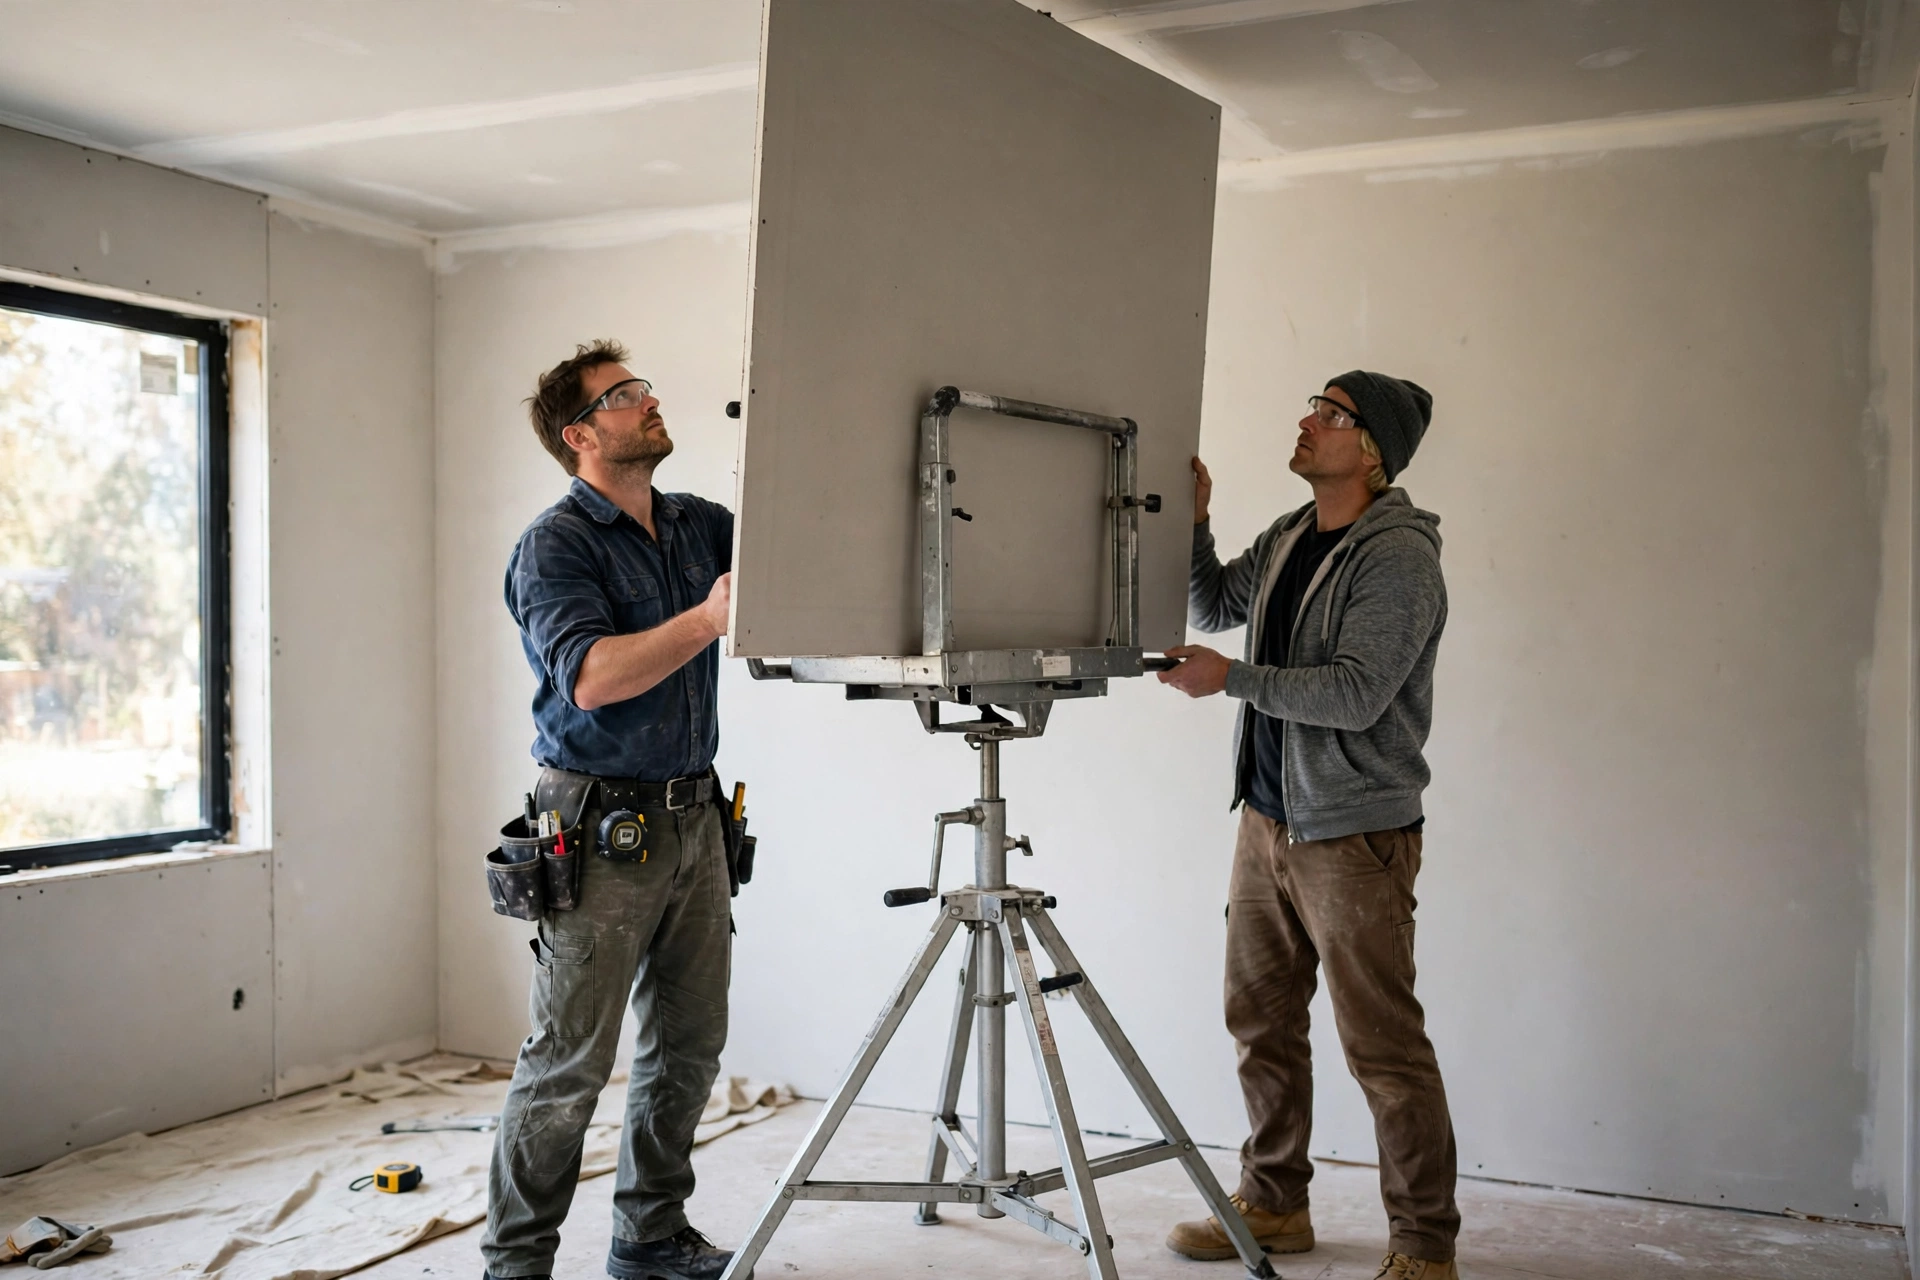
Lifting and holding a drywall panel overhead is the hardest physical part of ceiling work, because a full panel is large, heavy and flexible, and it must be held flat against the joists while it is fastened. This is the step that decides whether the job is safe, so it must never be rushed or improvised.
A panel lift is the safest option for most homeowners: it cradles the panel, raises it to the ceiling, and holds it steady while you fasten it. Without a lift, at least two strong people and sturdy T-braces are needed, with one person on each side of the panel, lifting together and holding it flat. Never try to hold a panel with one hand while fastening with the other, and never let a panel rest on its edge overhead. Lift slowly, keep the panel level, and check it is tight against the joists before any screw goes in, since a gap left now becomes a sagging joint later.
Fastening Ceiling Drywall Panels
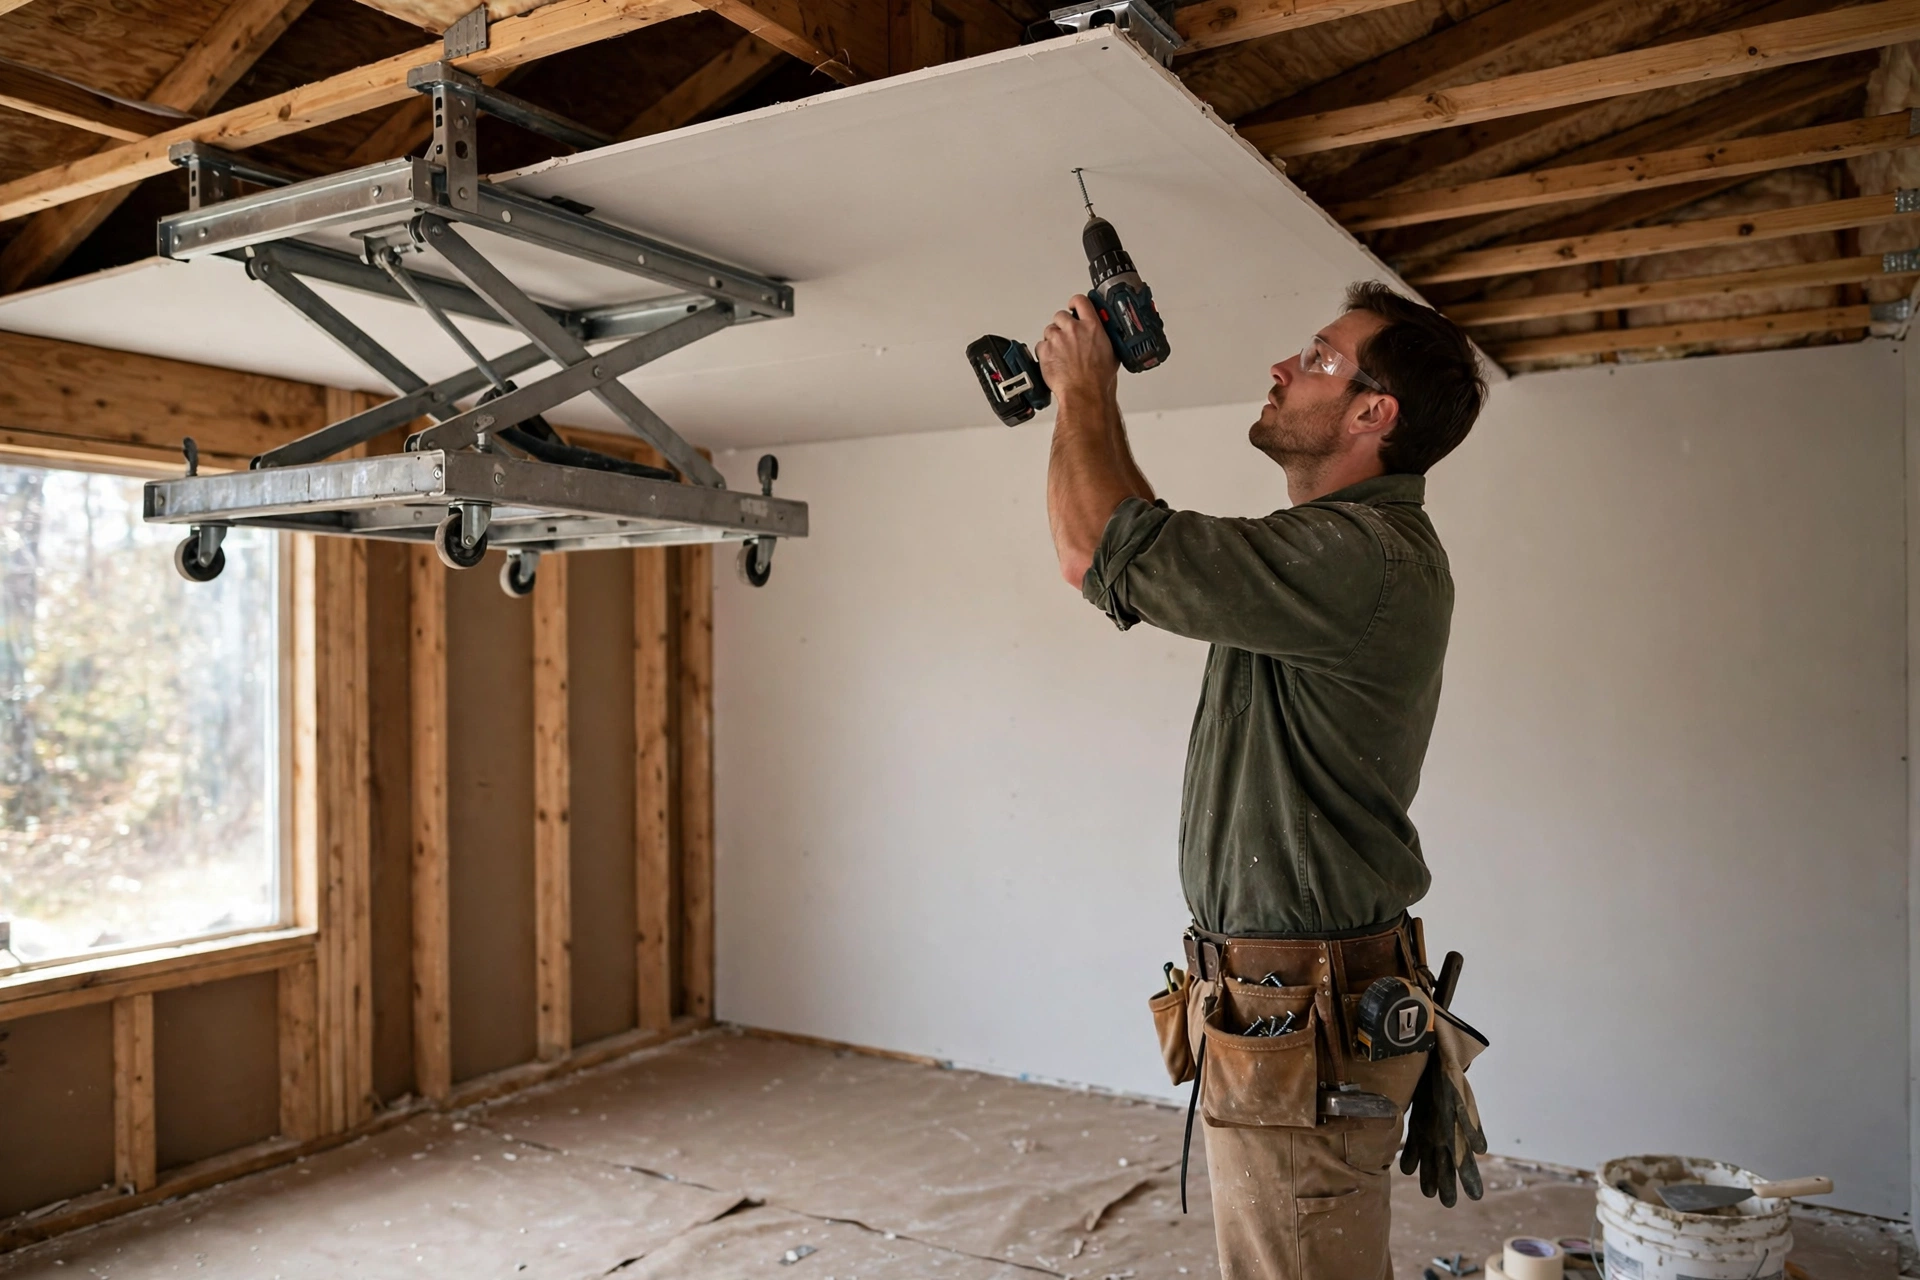
Fastening ceiling drywall panels means fixing each panel to the joists with screws, working from the centre of the panel outward, so the panel is pulled flat and evenly against the framing. Screws, rather than nails, are the usual choice for ceilings, because they hold better against gravity and are less likely to work loose over time.
Start by fastening the centre of the panel, then work outward along the joists, keeping screws in straight lines along each joist. Drive each screw just below the paper surface without breaking through it, since a screw driven too deep loses its grip, while one left proud will show through the finish. Keep panel edges tight together, with only a small gap, and make sure every panel end lands on a joist. If a screw misses a joist, remove it and try again in the right place, rather than leaving it in the panel.
Cutting Around Lights, Vents and Fixtures
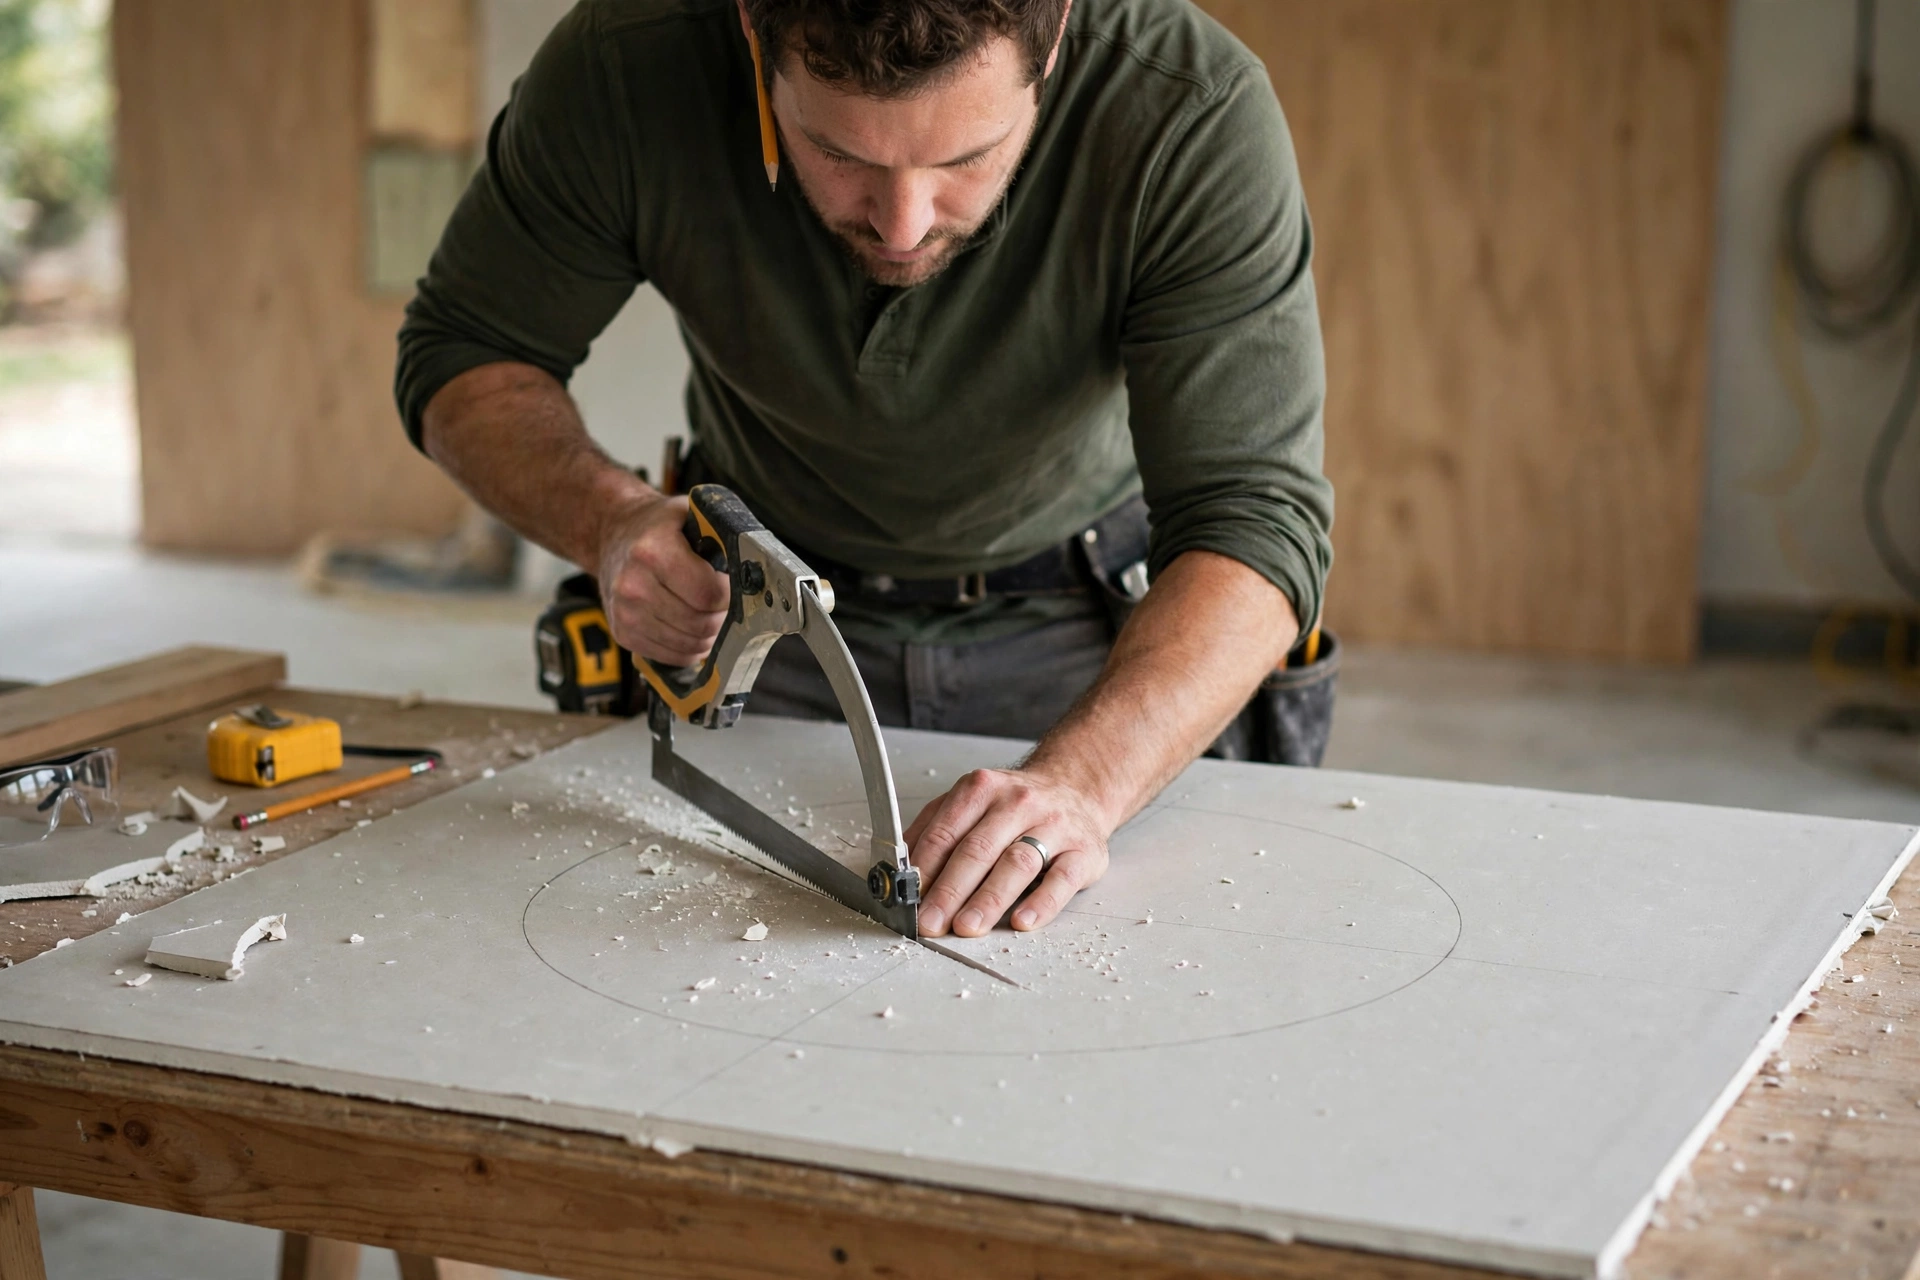
Cutting around lights, vents and fixtures means measuring each opening carefully and cutting it in the panel before the panel is lifted, because cutting overhead, around a live fitting, is difficult and unsafe. Measure from the panel edges and from fixed reference points, mark the opening on the panel, and cut it with a drywall saw.
For electrical fittings, switch the power off at the breaker for that circuit before removing covers or working near wiring, and keep it off until the panel is fixed and covers are replaced. Do not touch wiring, and do not work on a live circuit; if wiring, a fixture box or a vent duct does not sit neatly with the new panel, stop and ask a qualified electrician or tradesperson. For vents, check the duct position and size before cutting, and leave the duct undamaged. A cut that is slightly small can be trimmed, but a cut that is too large is hard to repair, so measure twice and cut once.
Taping and Finishing Ceiling Joints
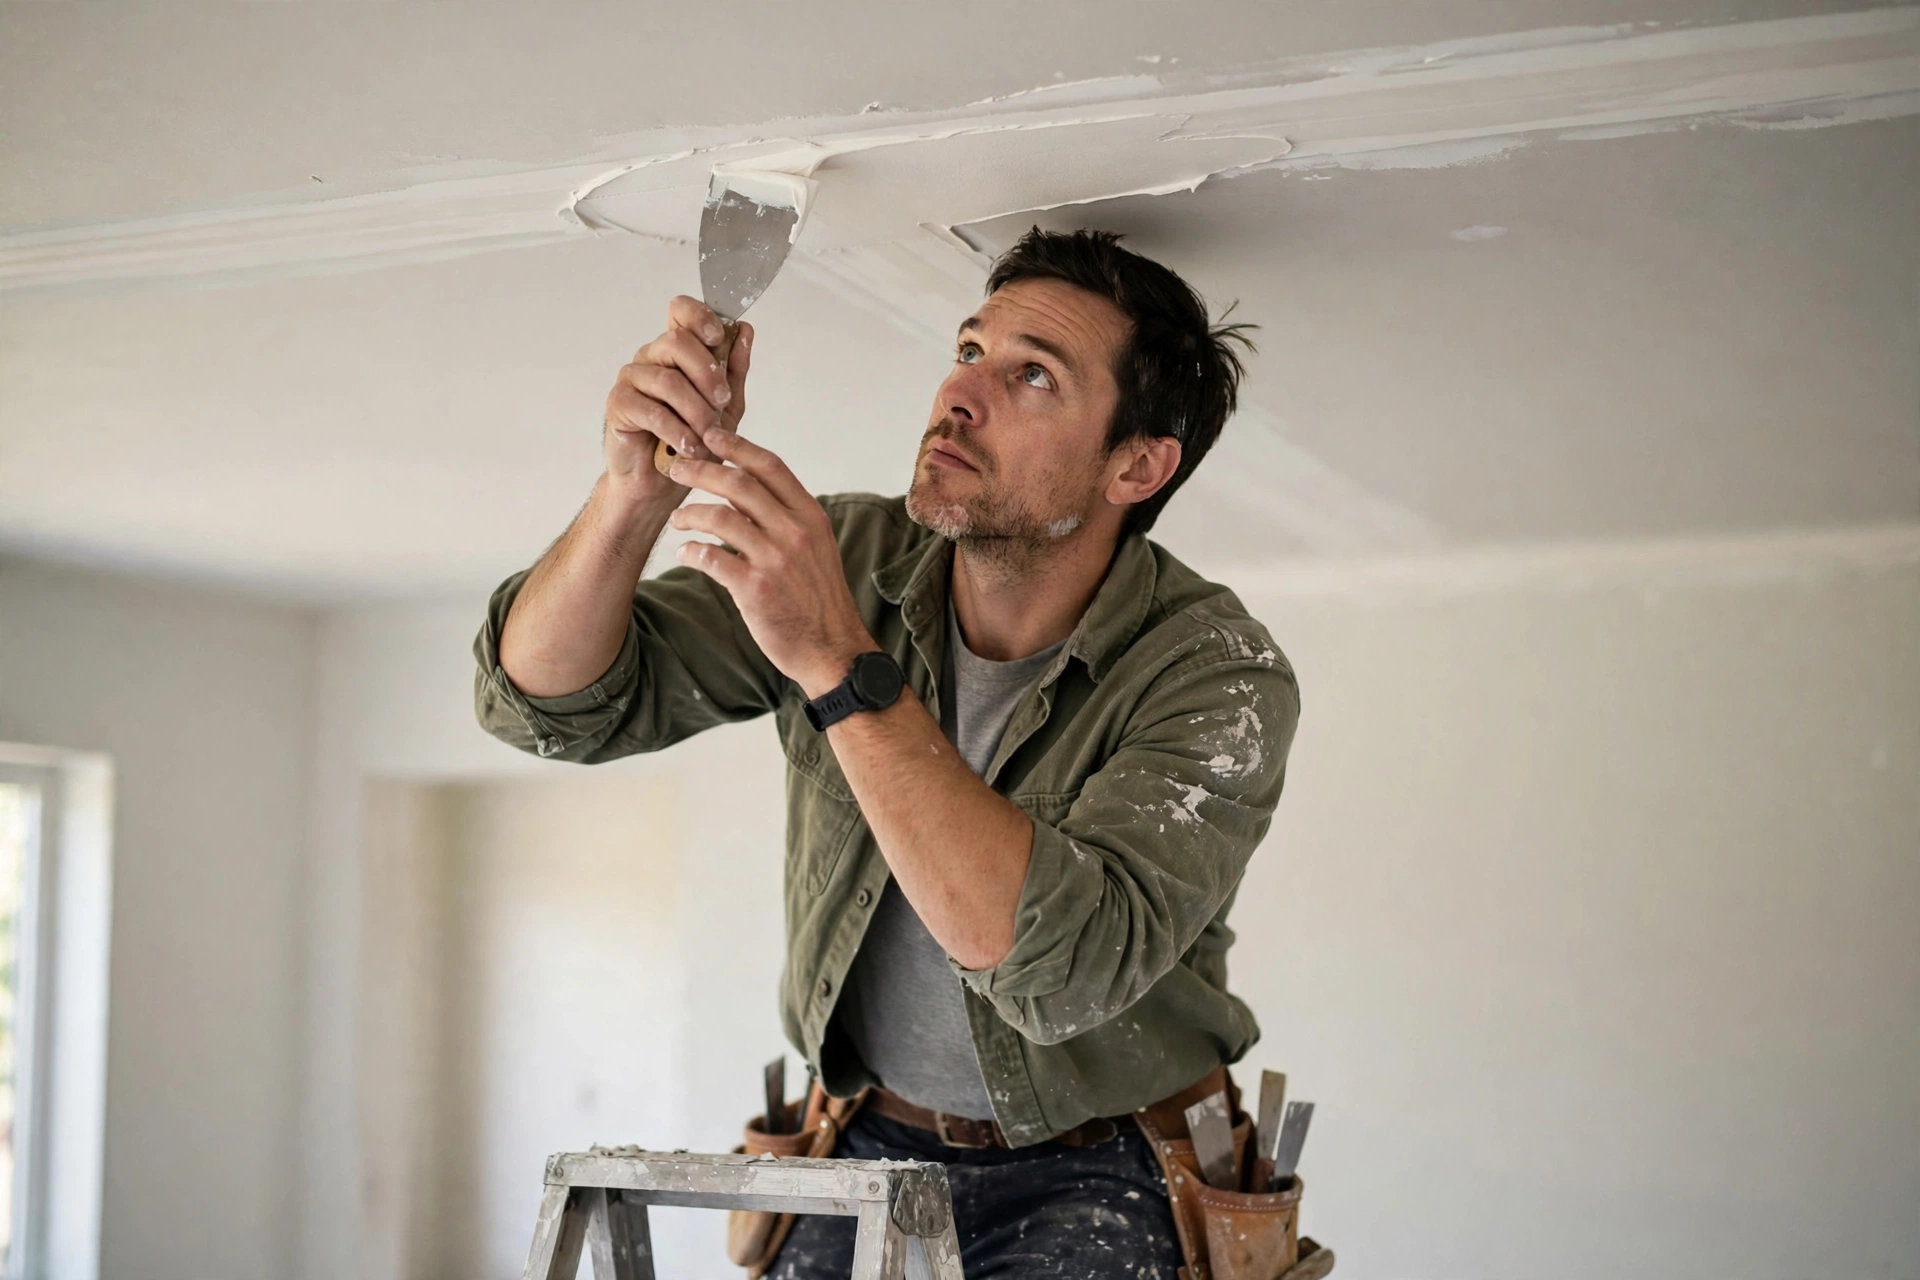
Taping and finishing ceiling joints means covering the seams between panels with joint tape and compound, in thin coats, so the ceiling looks like one smooth surface rather than a patchwork of panels. This stage takes patience, because each coat must dry before the next, and overhead work is tiring.
Apply a thin coat of compound along each joint, press paper or mesh tape into it, and smooth it flat, removing excess compound. Once dry, apply a second, wider coat, feathering its edges so the joint blends into the panel, and a third coat if needed for a smooth finish. Sand lightly between coats with a mask and eye protection, and check the ceiling in raking daylight, since ceiling flaws show most when light falls across the surface at an angle. Screw heads get the same treatment: a small dab of compound over each, sanded smooth when dry.
Ceiling Drywall vs Wall Drywall
Ceiling drywall and wall drywall use the same basic panel, but ceiling work differs in almost every practical way, because gravity, weight and access change the job. The table below compares the two, so you can see why a method that works on a wall cannot simply be copied overhead.
| Factor | Wall drywall | Ceiling drywall |
|---|---|---|
| Holding the panel | Panel leans on the wall | Panel must be held overhead |
| Help needed | Often one person | At least two people, or a lift |
| Panel weight | Manageable upright | Heavy and awkward overhead |
| Sag risk | Very low | Real, if joists or fixings are weak |
| Finishing | Easier, at eye level | Harder, overhead and tiring |
| Best panel thickness | Standard wall thickness | Often thicker, to resist sag |
Panel thickness deserves care: ceilings often suit a thicker panel than walls, because a thin panel can sag between joists over time, especially on wider joist spacing. Check the guidance for your joist spacing and panel type before buying, and do not assume the thinnest panel will do. Thicker panels are heavier, which makes lifting help even more important, so thickness and lifting support must be planned together.
Common Mistakes When Installing Ceiling Drywall
The most common mistake when installing ceiling drywall is lifting panels without proper support, so a panel sags, cracks or falls, or is fastened while still bowed away from the joists. A panel fixed with a gap behind it will never finish flat, and the joint will crack later, so support and flat contact matter from the first screw.
Other mistakes are easy to make too. Fastening into the wrong place, so screws miss joists, leaves panels loose and joints weak. Driving screws too deep breaks the paper and loses grip, while leaving them proud shows through the finish. Skipping layout planning leads to joints that do not land on joists and thin slivers at the last row. Rushing taping, with thick coats or poor drying time, gives a lumpy ceiling that shows in daylight. Slowing down, checking each panel before fastening, and letting coats dry properly avoids most of these problems.
When to Hire a Professional
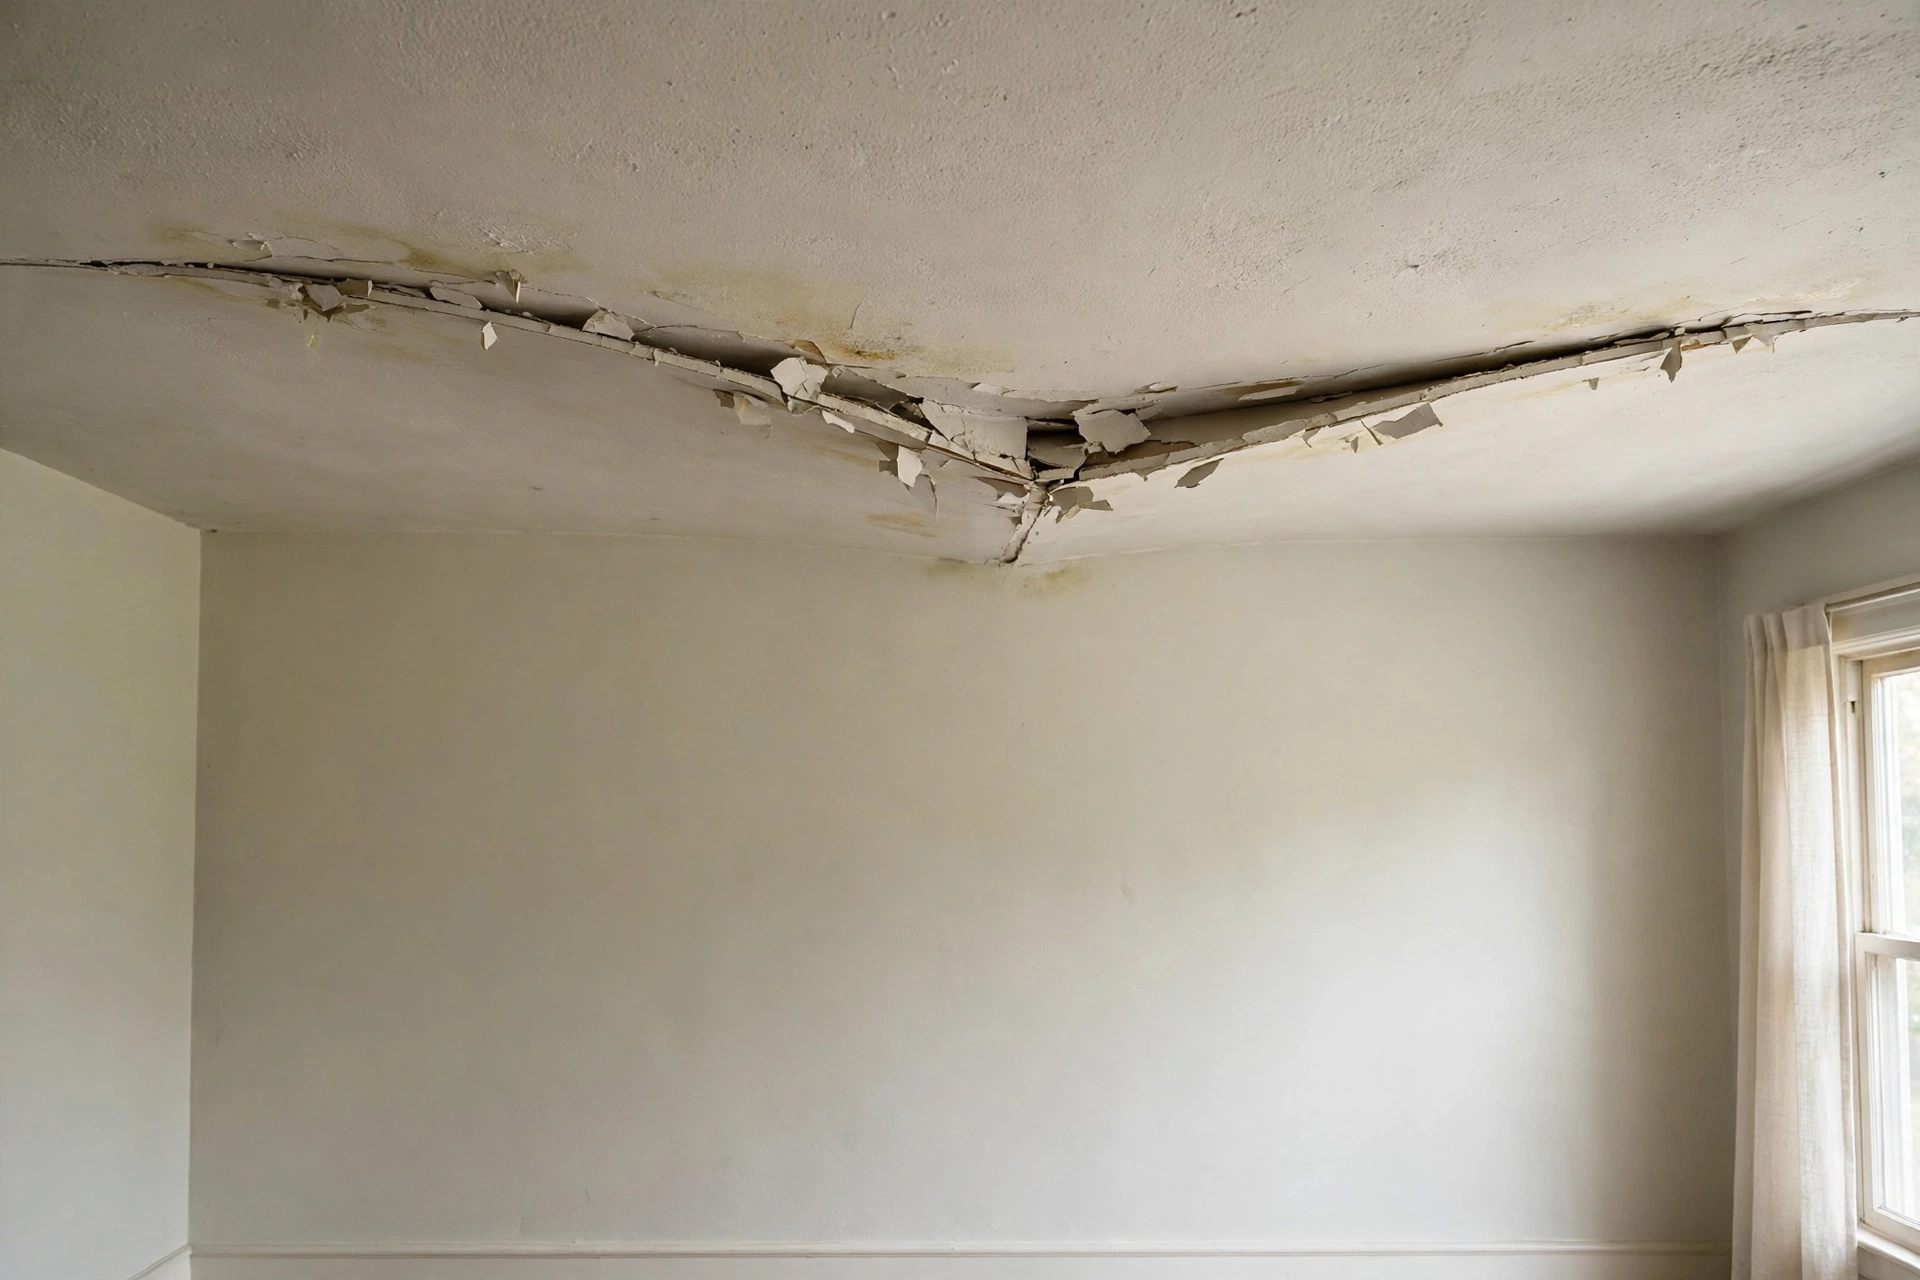
Hiring a professional for ceiling drywall is the right choice when the ceiling is high, large, uneven or damaged, or when wiring, plumbing or ducting makes the work complicated. A professional brings a panel lift, a team, and experience in levelling and finishing, and can spot joist or moisture problems a first-timer would miss.
Cost is a real consideration, but so is the cost of a failed ceiling: sagging panels, cracked joints, or a panel that must be taken down and refitted. A useful rule is to get a professional quote even if you plan to do the work yourself, so the decision is based on a real comparison. If the ceiling is over a stairwell, if joists are damaged, or if the room needs new wiring or ducting, the balance tips firmly towards hiring. A ceiling fitted well, by whoever fits it, will stay flat, smooth and crack-free for years.
Conclusion
How to install drywall on the ceiling comes down to a simple sequence: plan the layout, prepare sound and level joists, lift each panel with proper support, fasten it flat, cut carefully around fixtures with the power off, and finish the joints in thin coats.
Judge your ceiling honestly before starting, get help and a lift, and do not rush the finishing. Done that way, a drywall ceiling gives a clean, smooth surface ready for paint, and it will stay that way for years. If the ceiling is high, damaged or complicated, a professional is the wiser choice, and there is no shame in that decision.
Frequently Asked Questions
Can I install ceiling drywall by myself?
No, ceiling drywall needs at least two people or a panel lift, because a full panel is too large and heavy to hold flat overhead while fastening it safely.
What thickness of drywall is best for ceilings?
Ceilings often suit a thicker panel than walls to resist sagging, so check the guidance for your joist spacing and panel type before buying, rather than assuming the thinnest panel will do.
Do ceiling drywall joints need taping?
Yes, all ceiling joints must be taped and finished with joint compound in thin coats, so the ceiling looks smooth and the joints do not crack or show.
Should I turn the power off when cutting around lights?
Yes, switch the power off at the breaker before working near lights or outlets, keep it off until covers are replaced, and get a qualified electrician for any wiring work.
When should I hire a professional for a ceiling?
Hire a professional for high, large, uneven or damaged ceilings, stairwells, or any job involving wiring, plumbing or ducting, since safety and a flat finish matter most.
Disclaimer: This article is provided for general information only. It is not professional building, carpentry, or electrical advice, and it does not promote any brand, product, or service. Drywall types, joist spacing, fixings, and suitability vary by home, region, and product, so always follow the guidance on the specific products you buy and seek qualified professional advice before installing ceiling drywall, especially for damaged joists, high ceilings, or work near wiring.
Thanks for visiting Clearise Cleaning Services! Discover more helpful tips and expert cleaning insights by exploring our related categories.