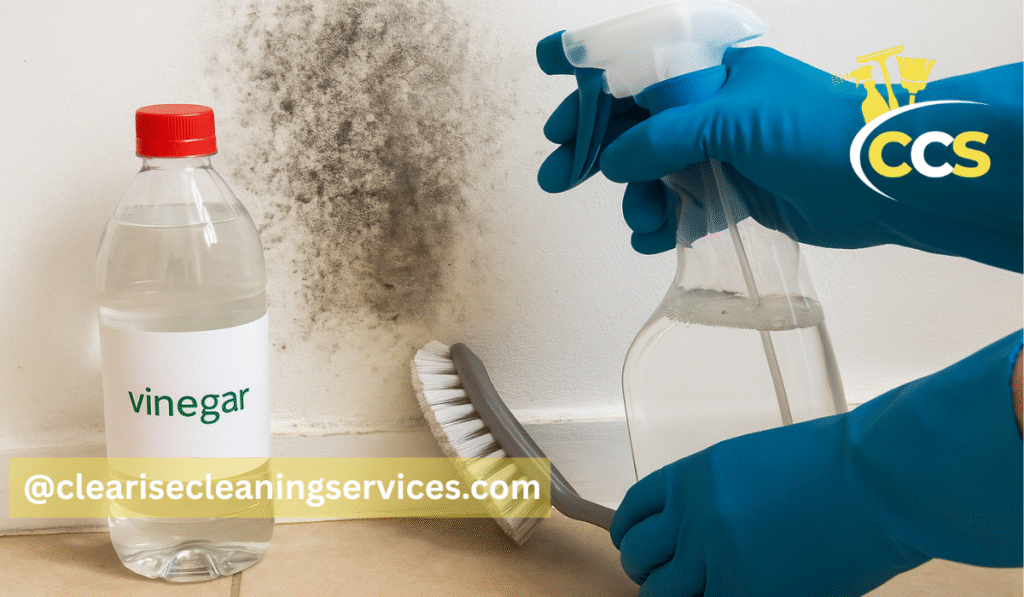
The best window cleaning tips are simple habits that save time and prevent streaks: wash on a cloudy day, clean frames first, use a clean squeegee blade, dry the edges, and check the glass from an angle before you finish. Small habits matter more than expensive products, because most streaks come from timing, residue, or dirty tools.
Windows seem simple to clean, yet many people end up with glass that looks worse after washing than before. The usual reasons are not a lack of effort. People wash in direct sun, use too much cleaner, reuse a dirty cloth, or forget the frames, so dirt runs back onto the pane they have just cleaned.
This article collects the tips that make the biggest difference, grouped by when to clean, what to use, and how to finish. It is not a full step-by-step guide; it is the shortcut version you can use alongside any method, including dish soap or a spray cleaner.
Tip 1: Choose the Right Day and Light
The best time to clean windows is on a cloudy, mild day, or in the shade, because cleaner that dries too fast leaves marks no matter how carefully you wash. Direct sun heats the glass, so water and cleaner evaporate before you can remove them, leaving streaks and spots.
If you must clean on a sunny day, work on the shaded side of the house first and follow the shade around the building. Early morning or late afternoon is often better than midday, when the sun is strongest. Avoid cleaning in very cold weather too, because water can freeze on outside glass and tools become hard to handle.
Light also matters for checking your work. Stand at an angle to the pane and look across it, rather than straight through it, because streaks show up best in angled light. Check each window before you move on, while a quick touch-up is still easy.
Tip 2: Use Fewer, Better Tools
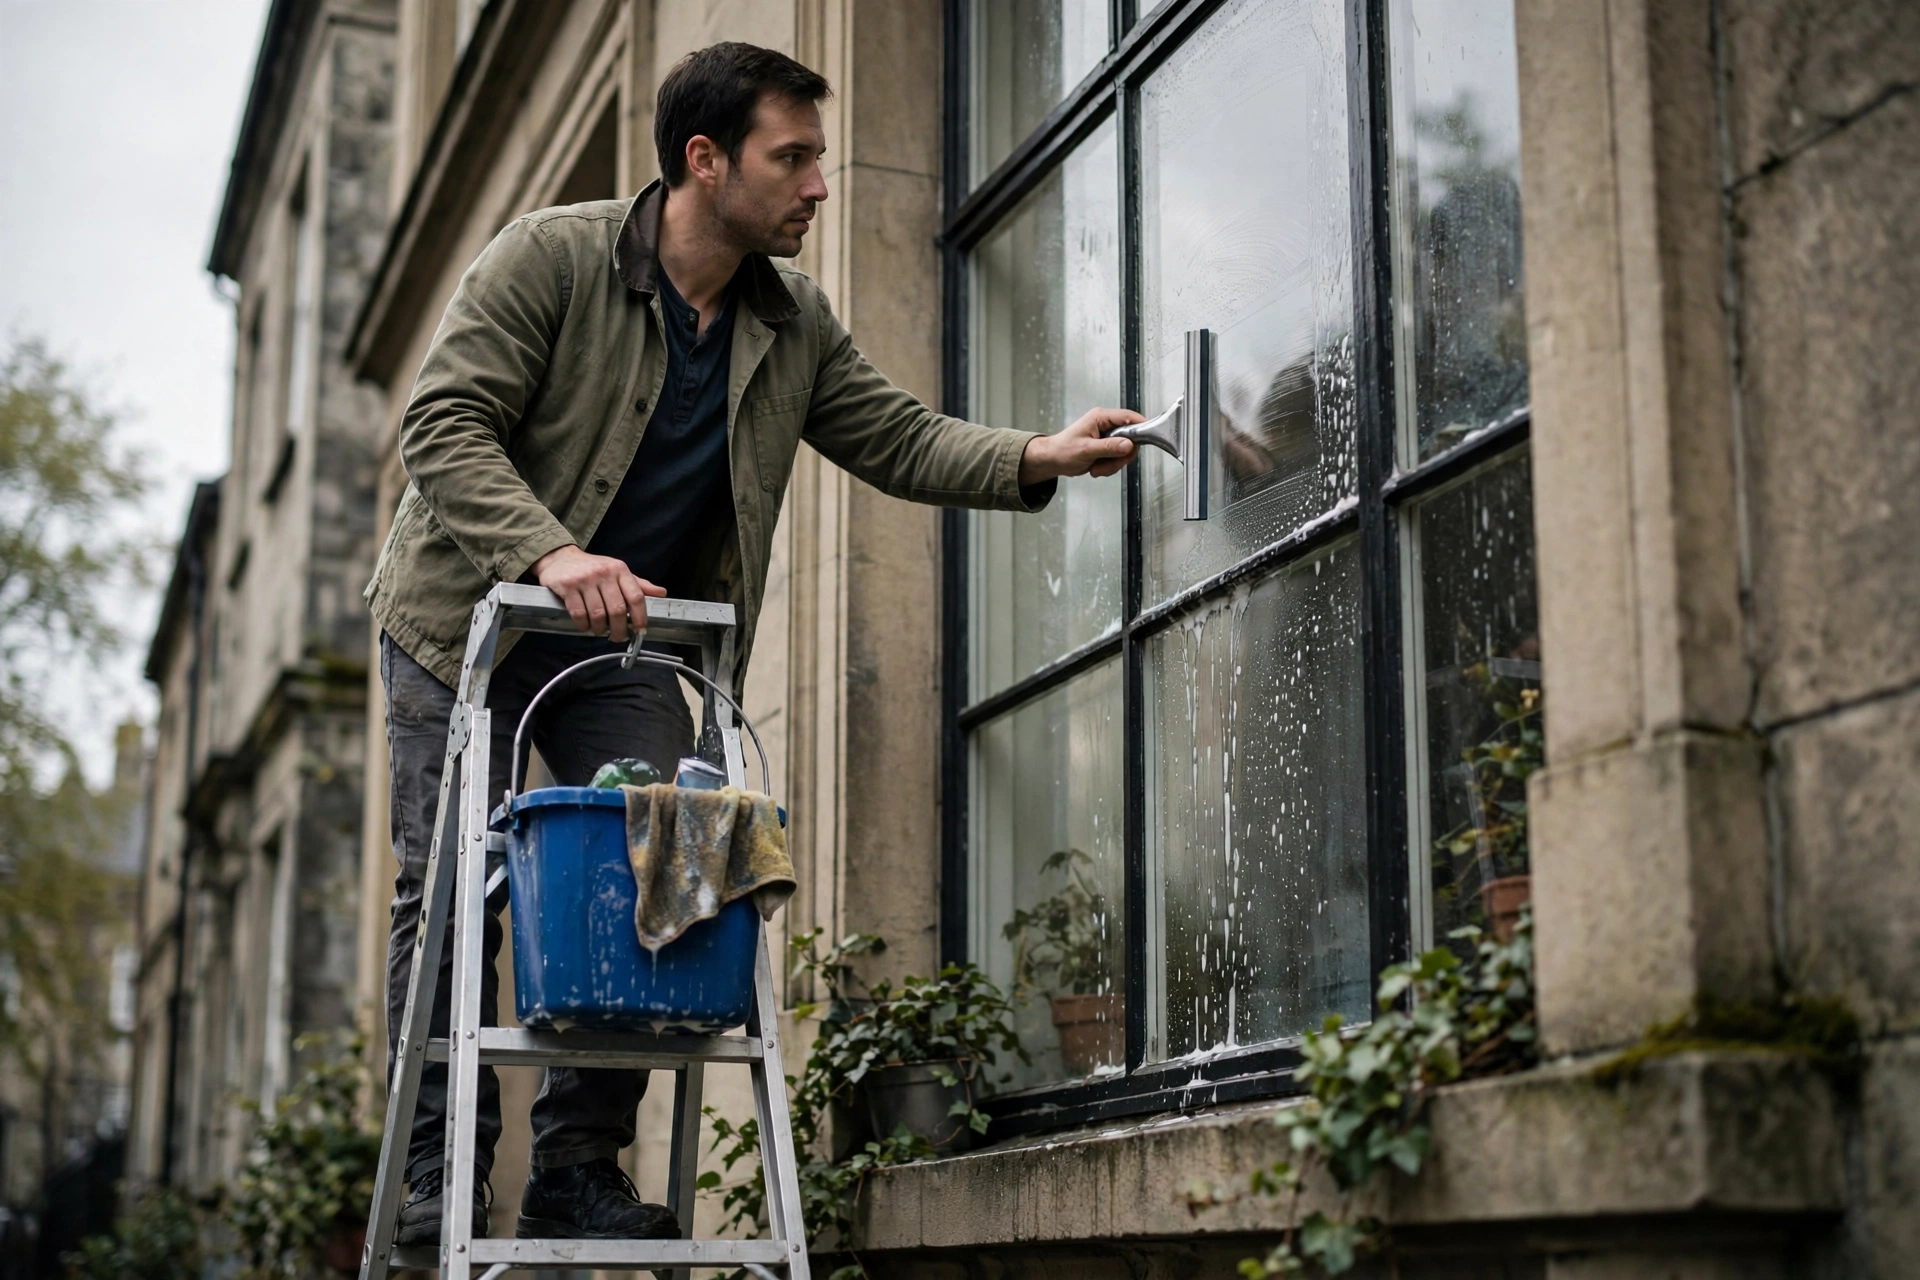
The best window cleaning tip for tools is to use fewer of them, but keep them clean: a bucket, a washer or microfibre cloth, a squeegee with a good blade, and dry cloths for edges. Extra gadgets rarely improve the result, while a worn blade or dirty cloth will ruin it.
Check the squeegee blade before you start. Run a finger lightly along the rubber and replace the blade if it feels nicked or stiff, because a damaged blade leaves lines on every pass. Keep a dry cloth ready to wipe the blade between strokes, so dirty water does not drag back onto the glass.
For small panes, a microfibre cloth is often enough, but use separate cloths for washing, rinsing, and drying. A single cloth that has already collected dirt will smear it back onto the next pane. Wash cloths after use and store them dry, so they do not smell or leave residue next time.
Tip 3: Always Clean Frames and Sills First
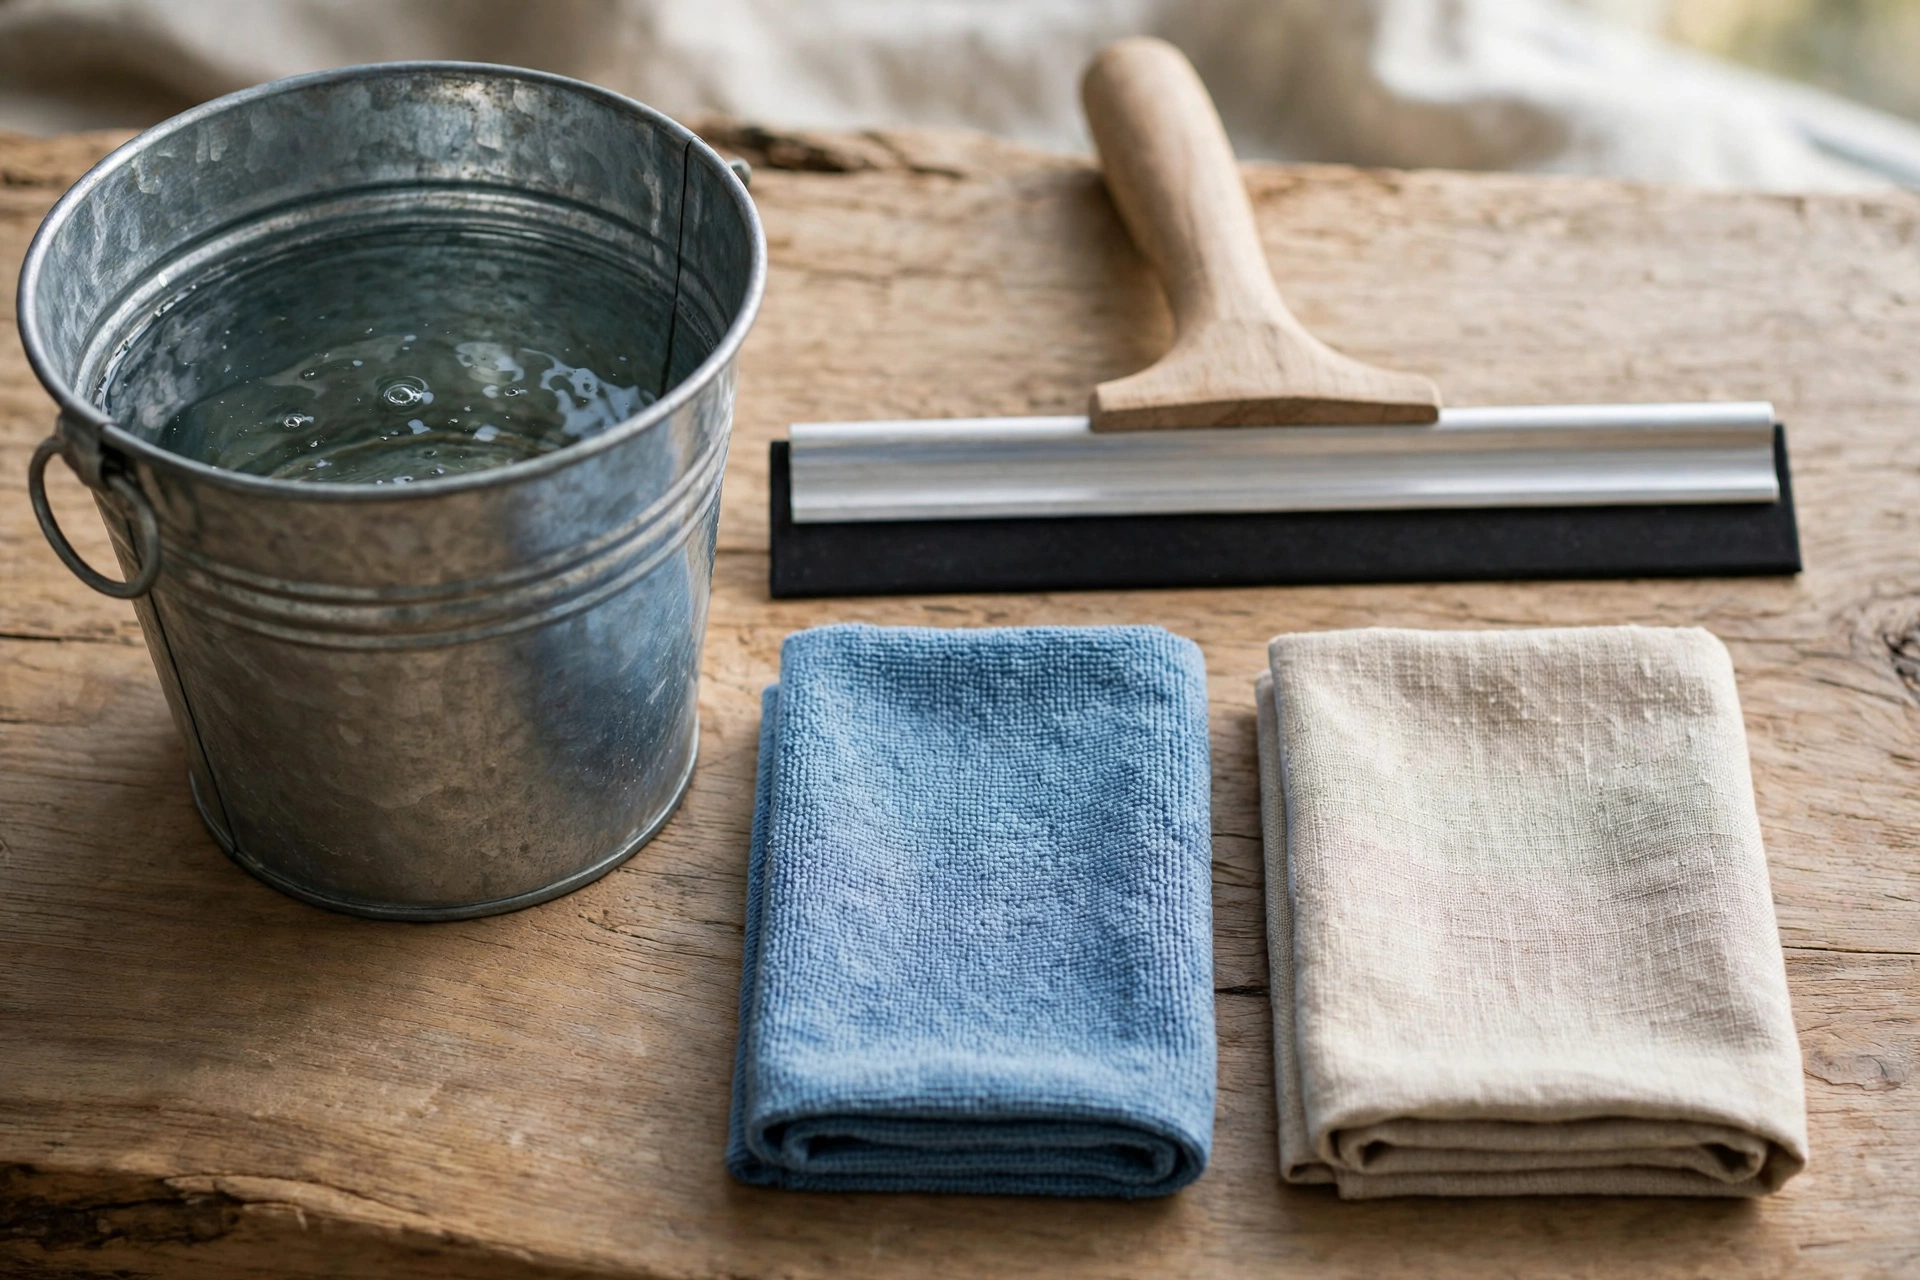
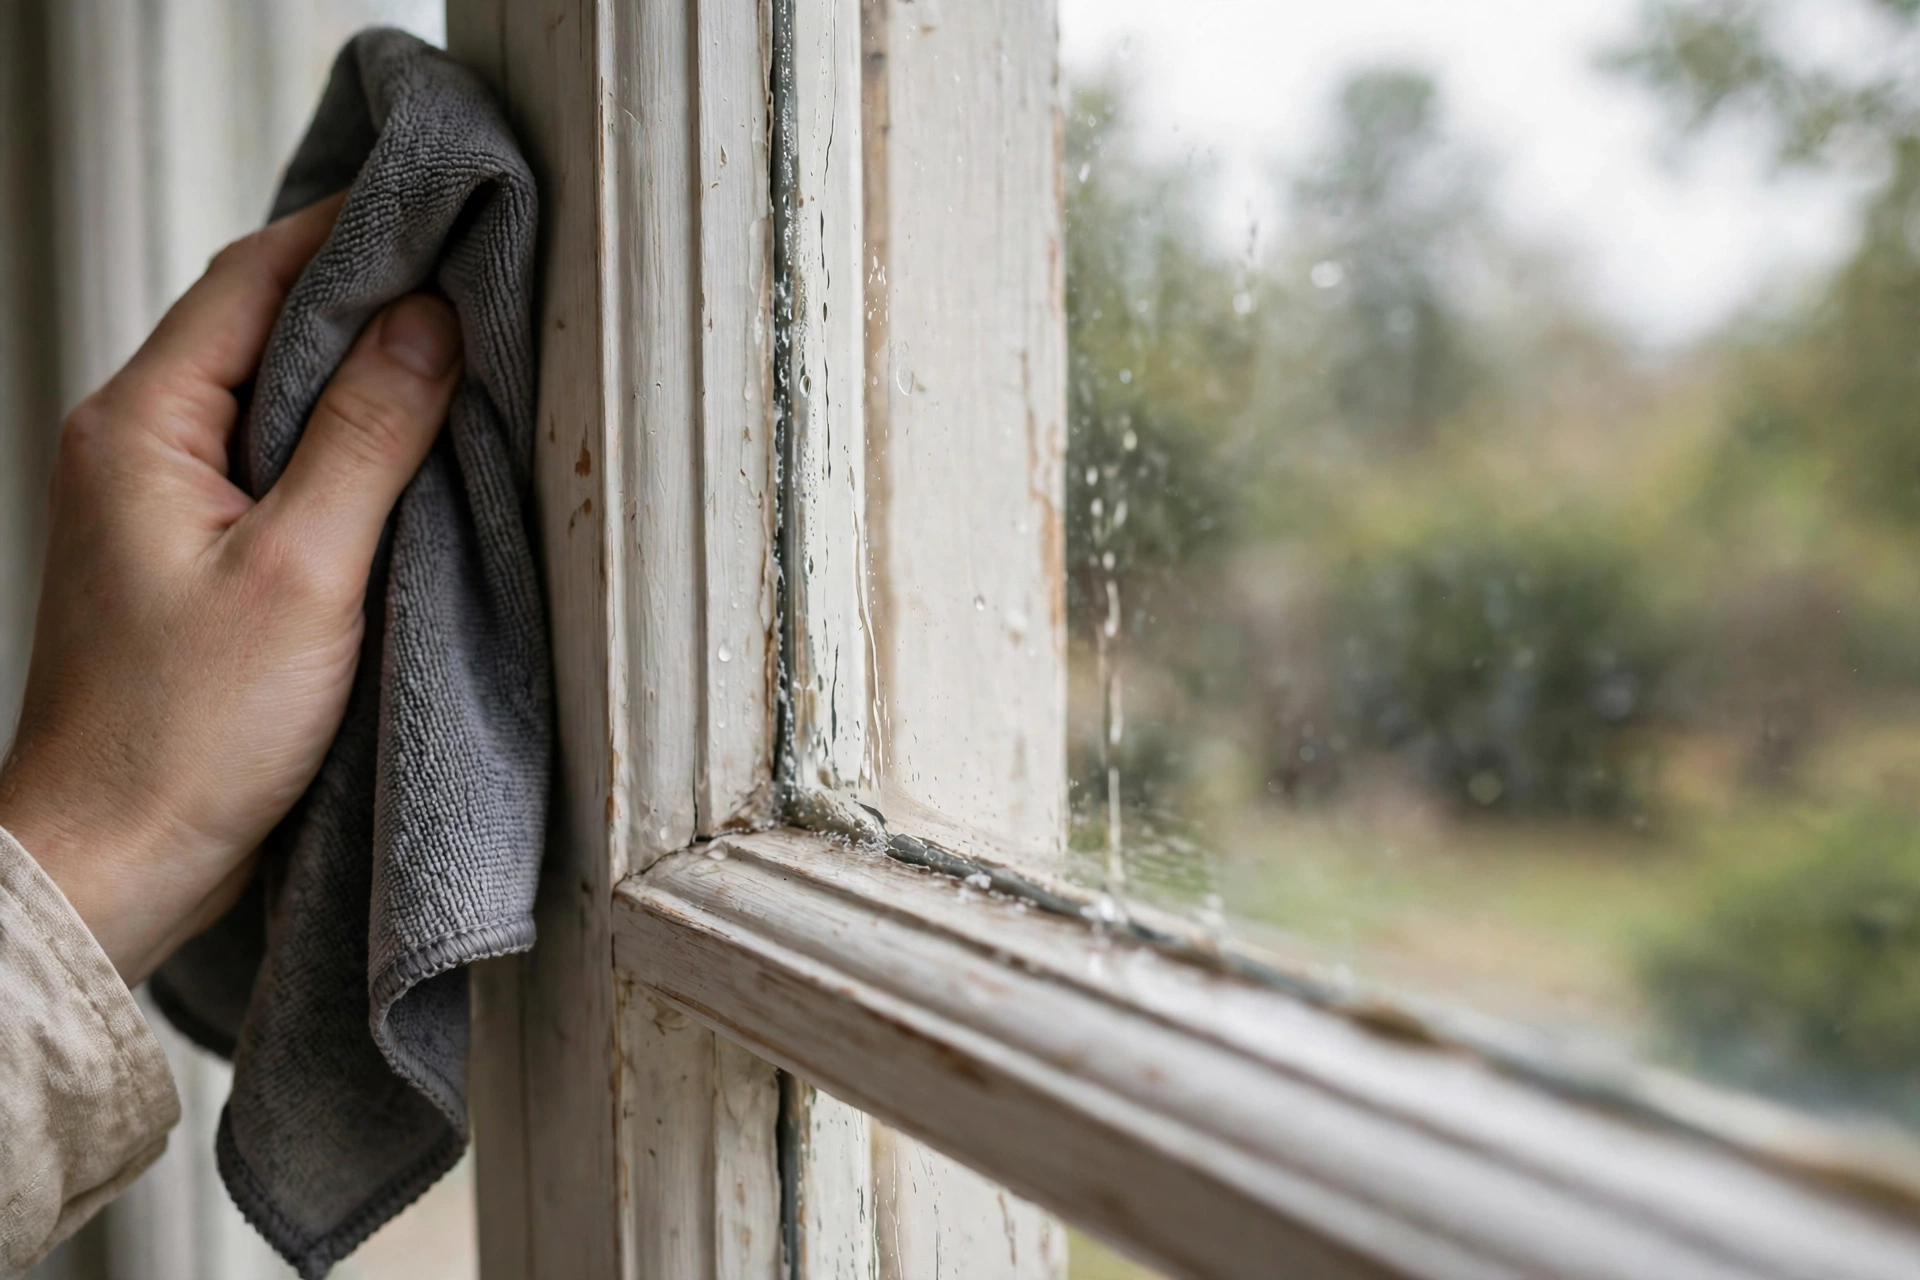
One of the most overlooked window cleaning tips is to clean frames, sills, and tracks before the glass, because dirt from those parts washes straight onto a clean pane if you leave them until last. A window looks unfinished if the glass is clear but the frame is dusty.
Wipe frames with a damp cloth, brush loose dirt from tracks, and clean the sill where water and dust collect. For vinyl or painted frames, warm soapy water is usually enough. For wood frames, use only a lightly damp cloth and dry promptly, following the maker’s guidance.
Pay attention to corners and hinges, where grime hides, and to the bottom of the frame, where water collects. Once frames are clean and dry, the glass wash that follows stays clean, and you will not need to redo a pane because a drip ran down from above.
Tip 4: Wash From Top to Bottom, In Sections
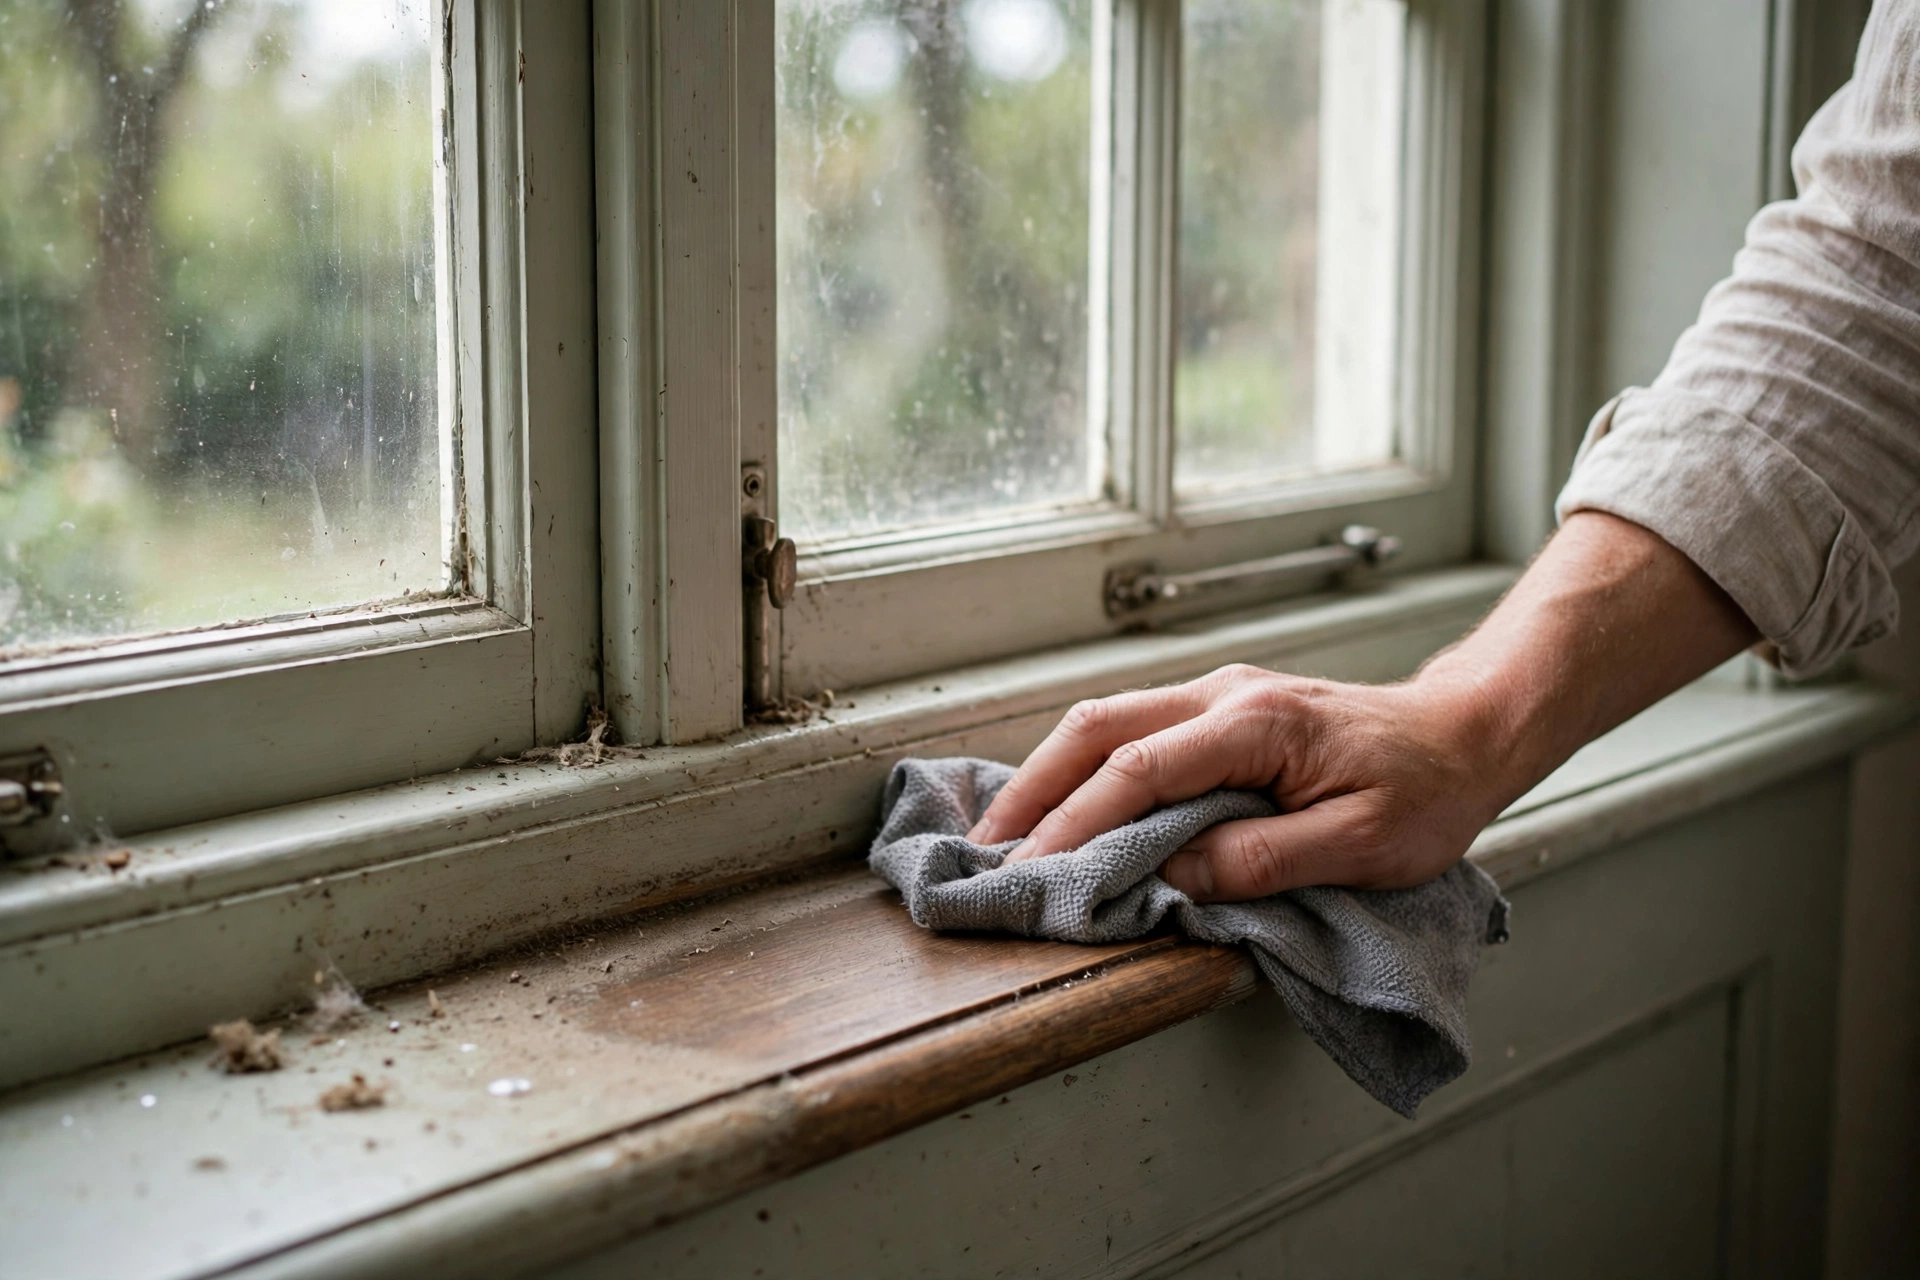
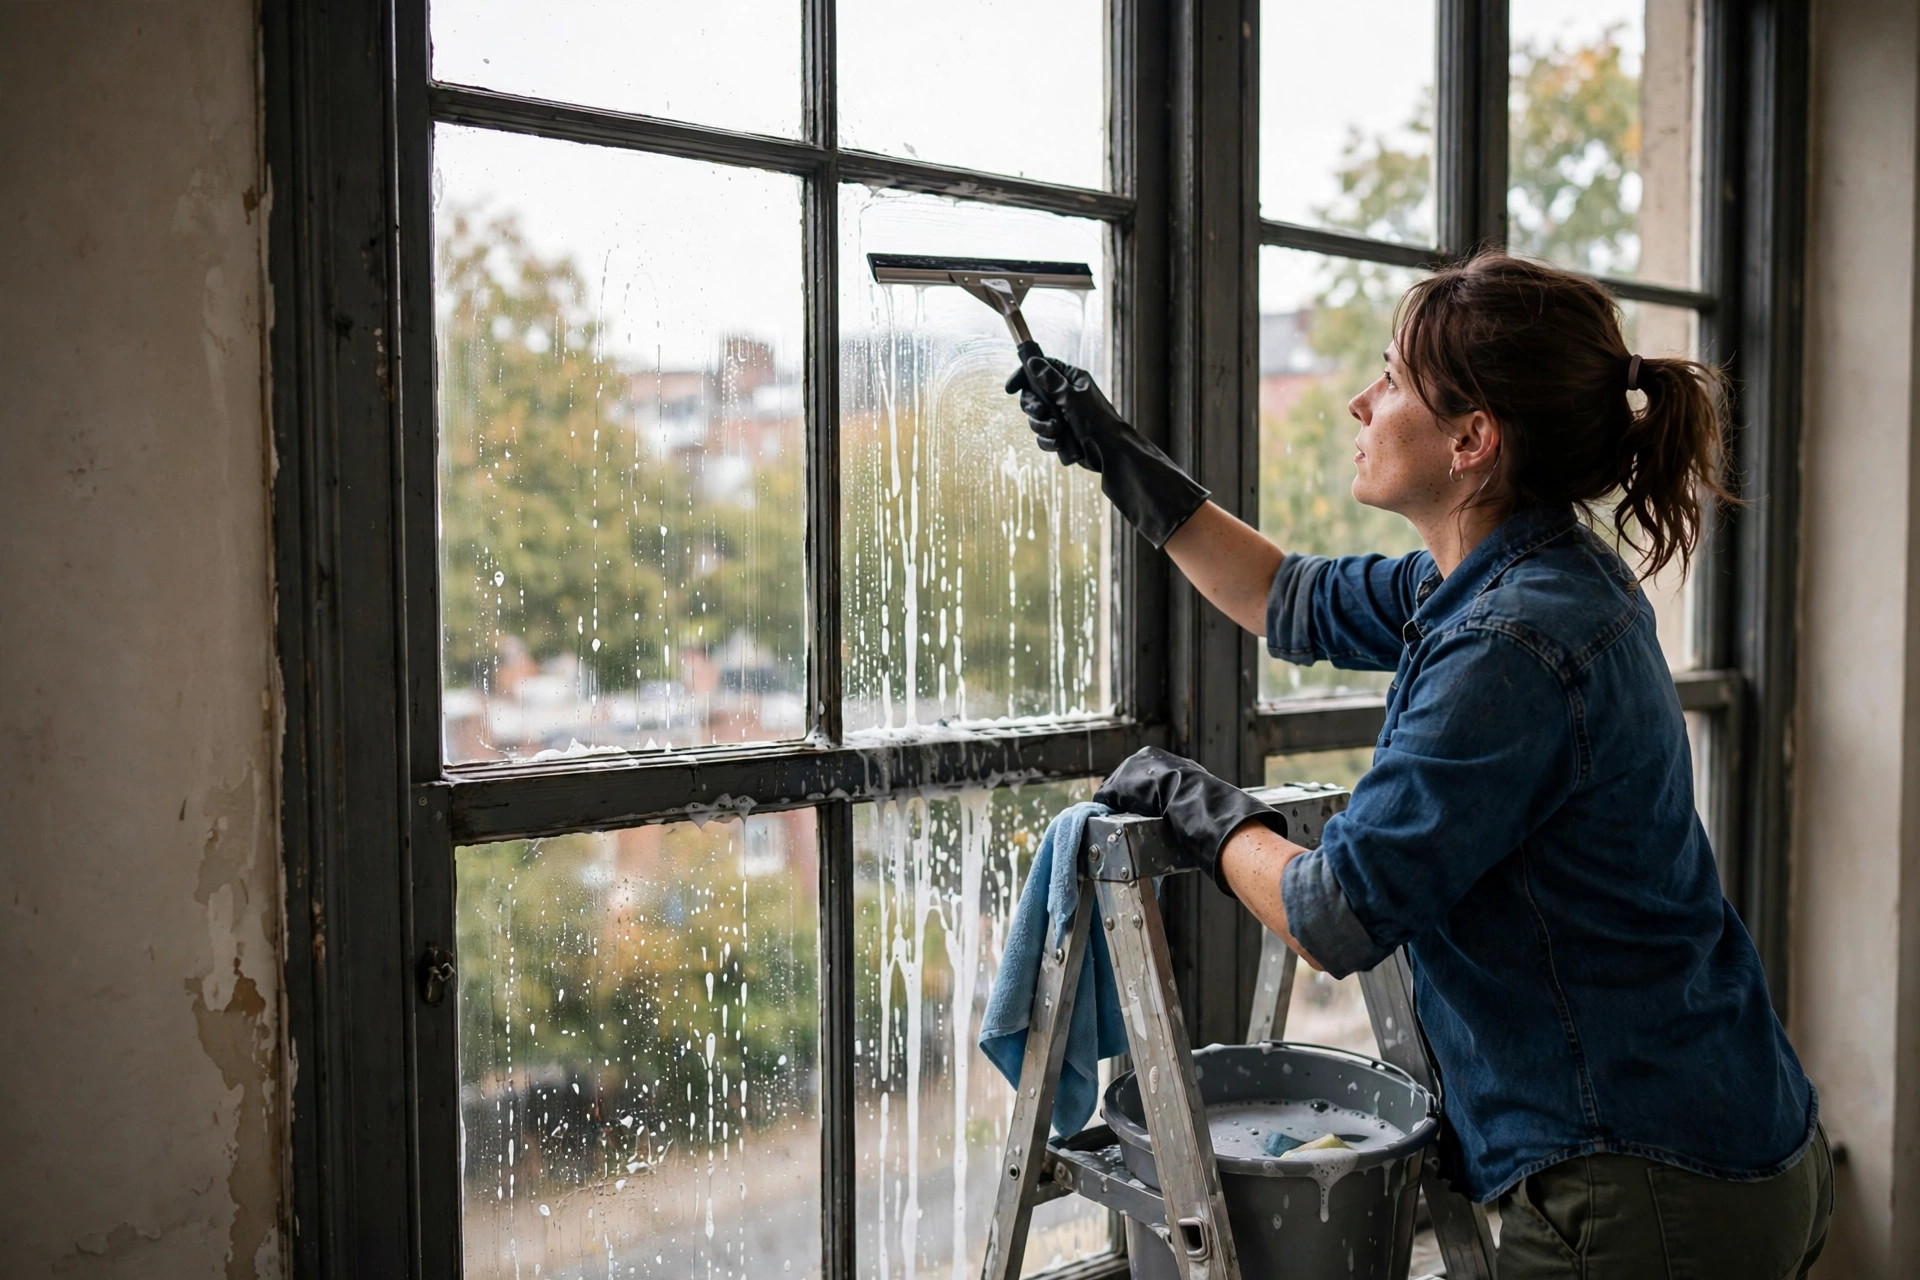
Washing from top to bottom is a classic tip for a simple reason: dirty water runs downwards, so working downwards keeps it off areas you have already cleaned. Working in sections small enough to finish before the cleaner dries is just as important.
Start at the top corner of the pane, move across, then down, overlapping each pass slightly. On a large window, divide it into sections and finish each one, including the squeegee pass, before moving to the next. If you wet the whole window and then take a break, the first section may dry and leave marks.
For inside windows, protect the floor and sill with a towel, because drips are easy to miss until they dry. For outside windows, start with the dirtiest panes last, or change your water, so grit from the dirtiest glass does not scratch the cleanest.
Tip 5: Let the Squeegee Do the Work
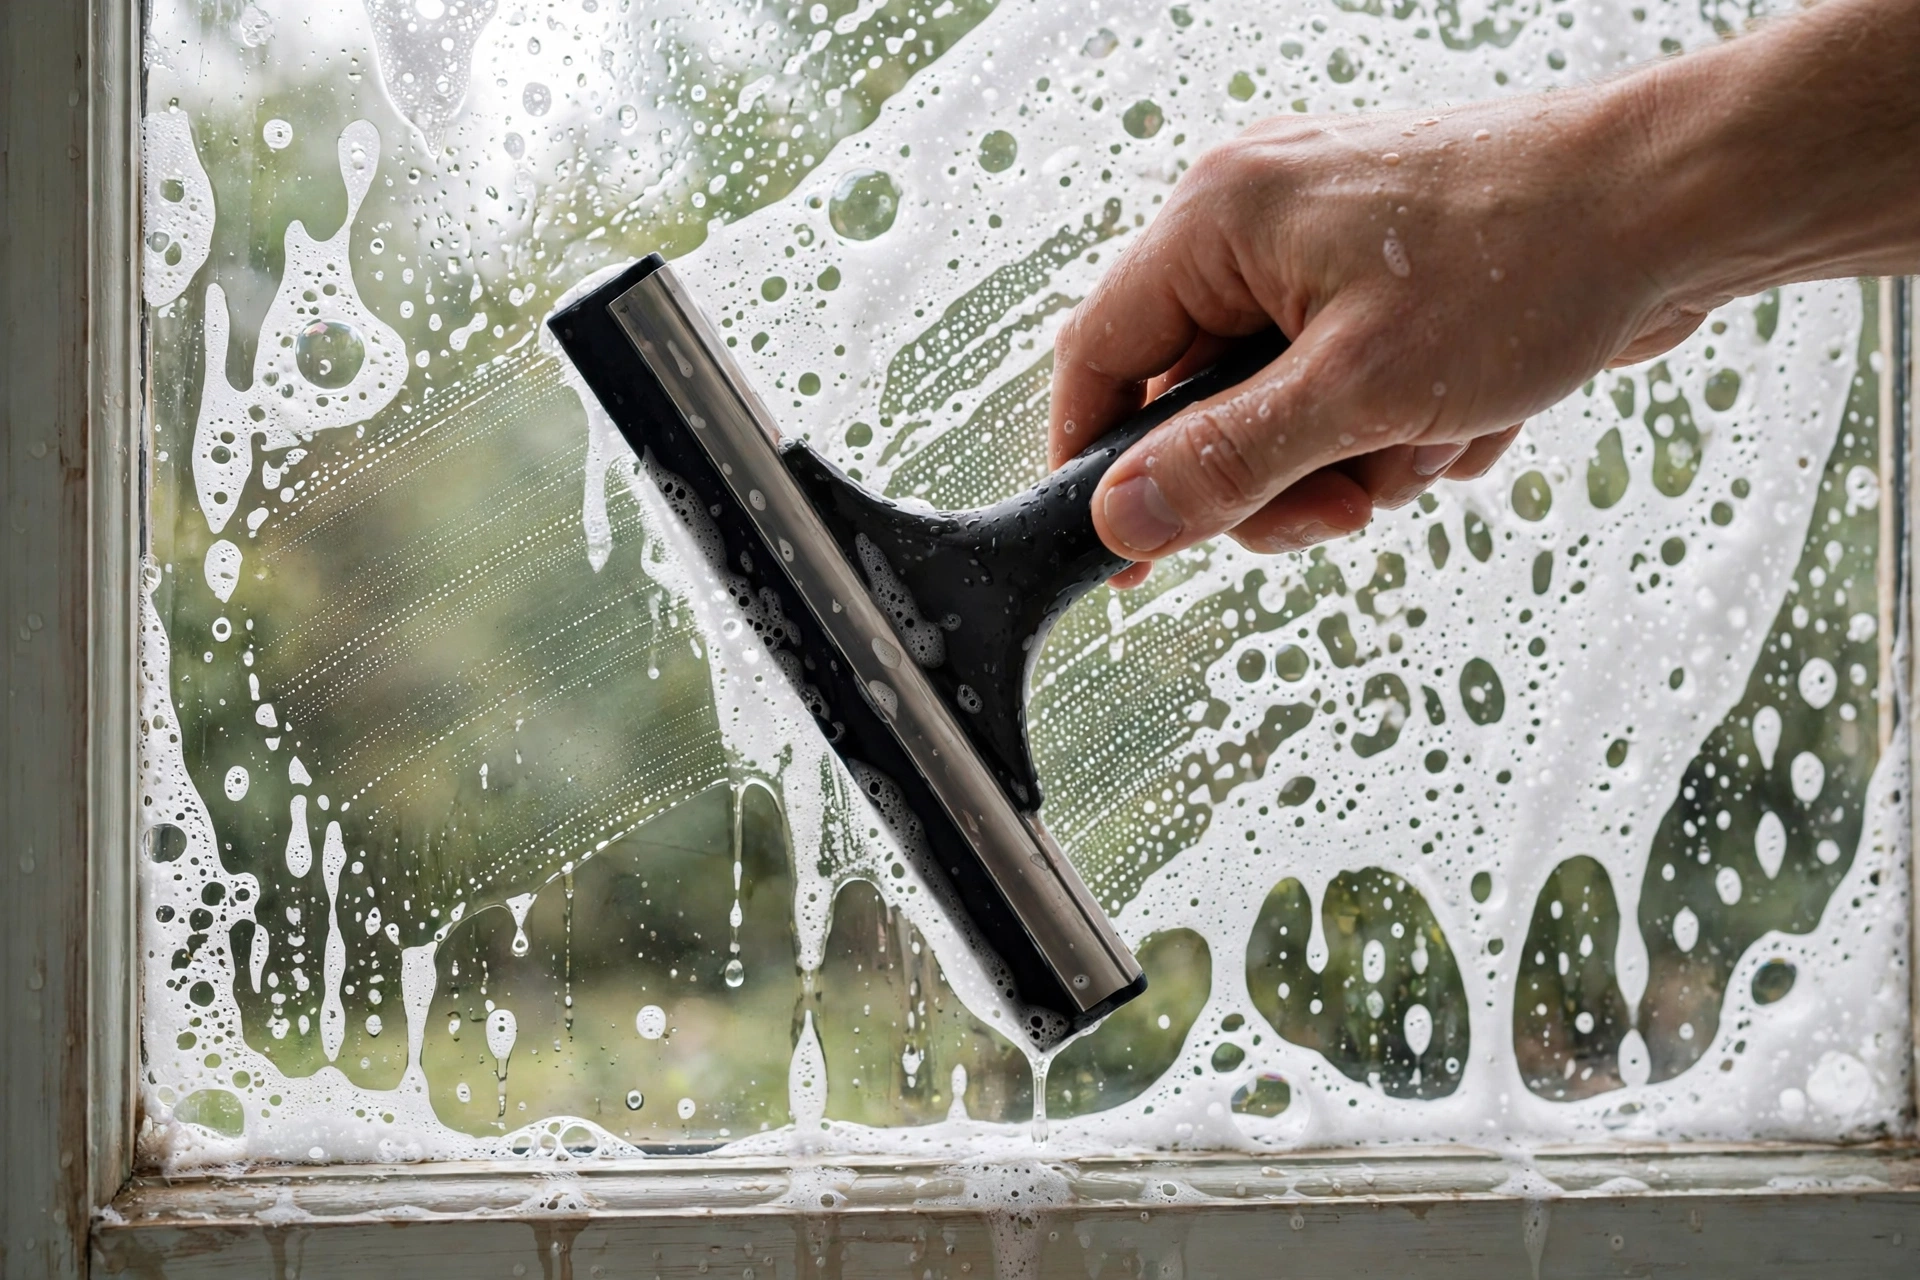
The best squeegee tip is to let the tool do the work: pull it smoothly across wet glass, overlap each stroke, and wipe the blade after every pass. Pressing hard, rushing, or stopping mid-stroke all leave lines, however good your cleaner is.
Use a steady, even speed and keep the blade flat against the glass. A fan-shaped pattern suits experienced cleaners, while straight top-to-bottom pulls suit beginners and work just as well on most home windows. Either method works if the blade is clean and the strokes overlap.
Dry the edges and corners with a clean microfibre cloth at the end, because water collects there and dries into lines. This final edge dry is the difference between glass that looks clean at a glance and glass that looks clean from every angle.
Tip 6: Dry the Edges, Then Check From an Angle
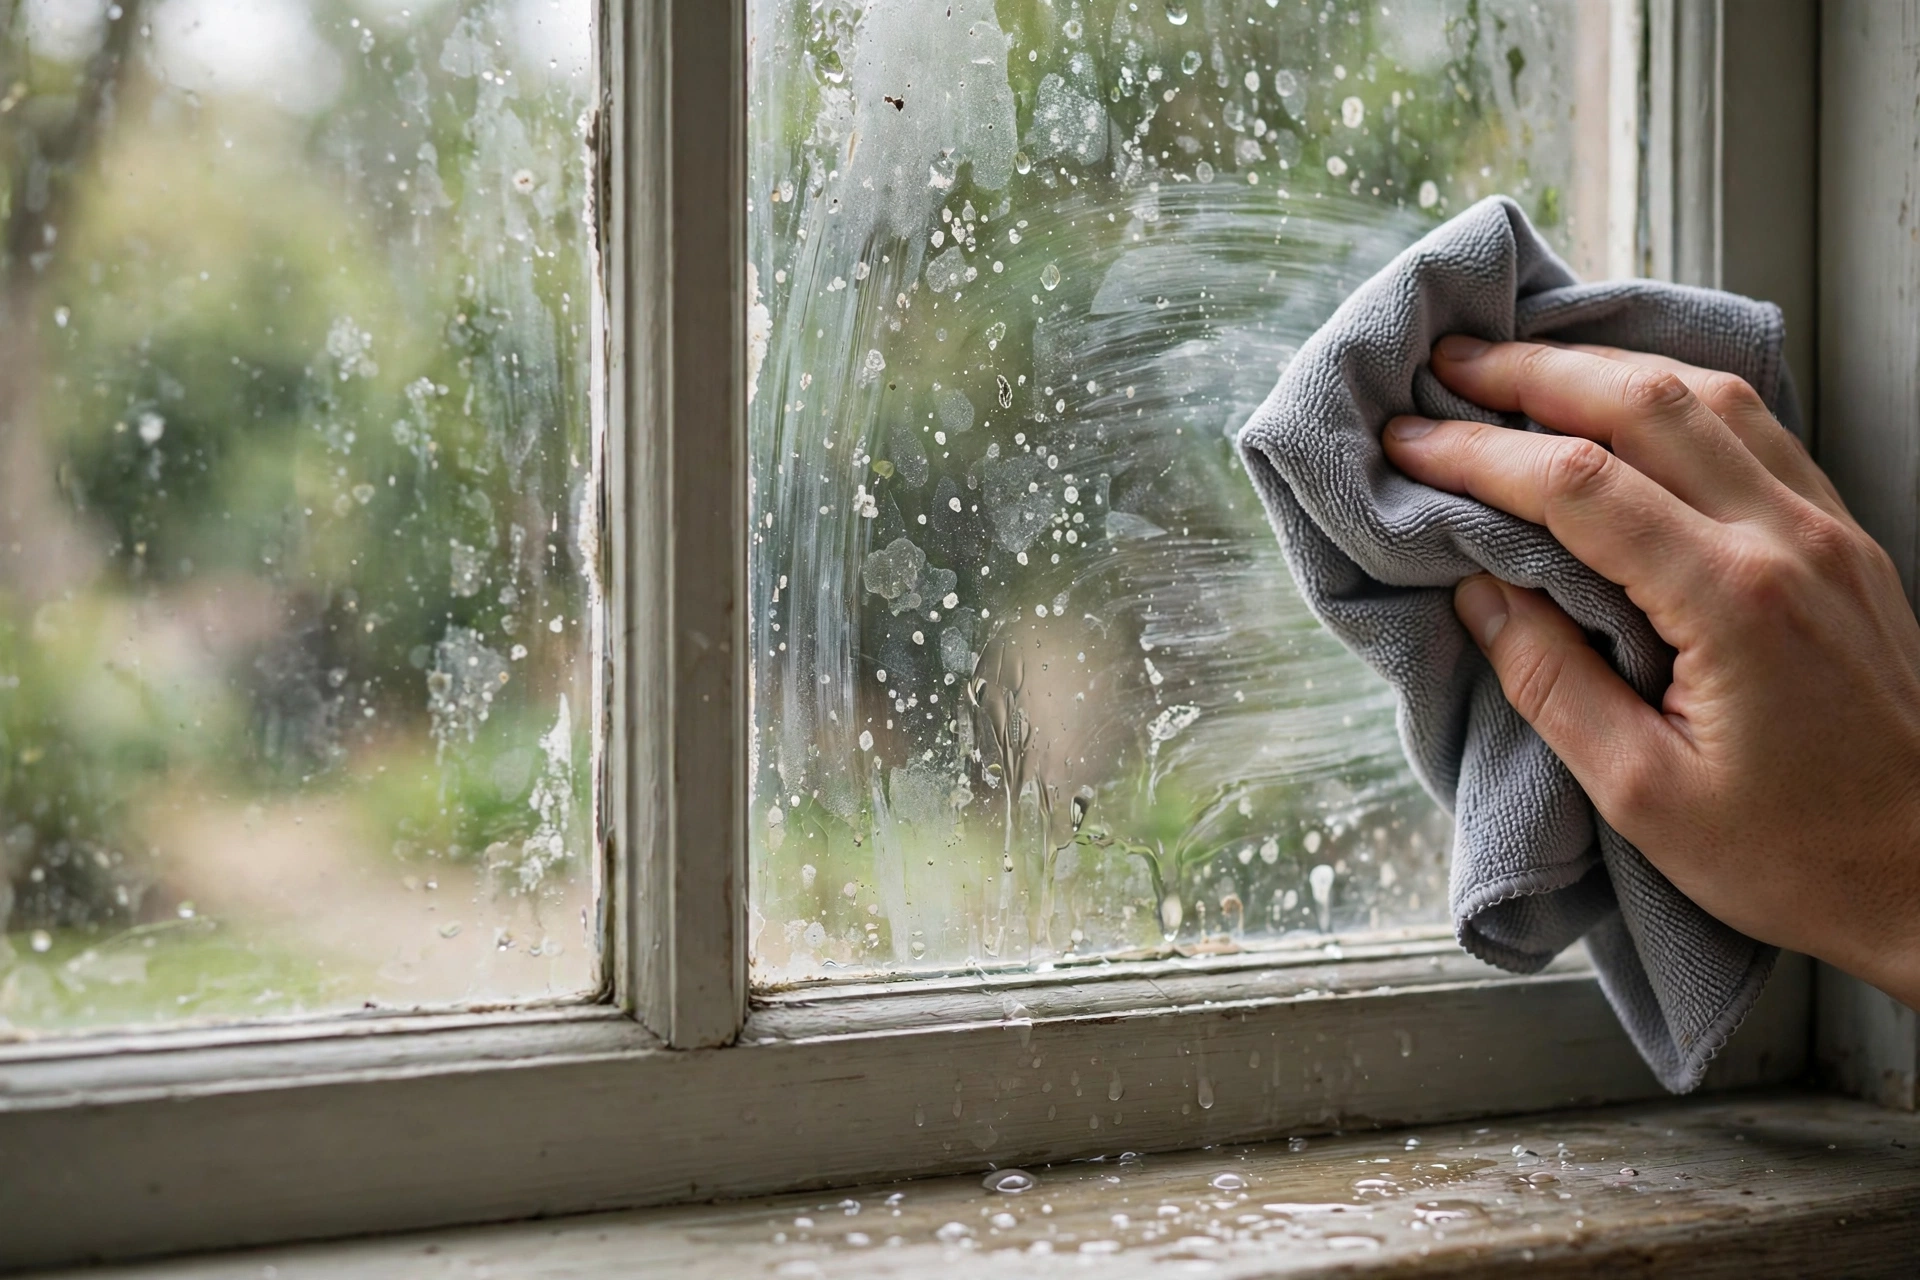
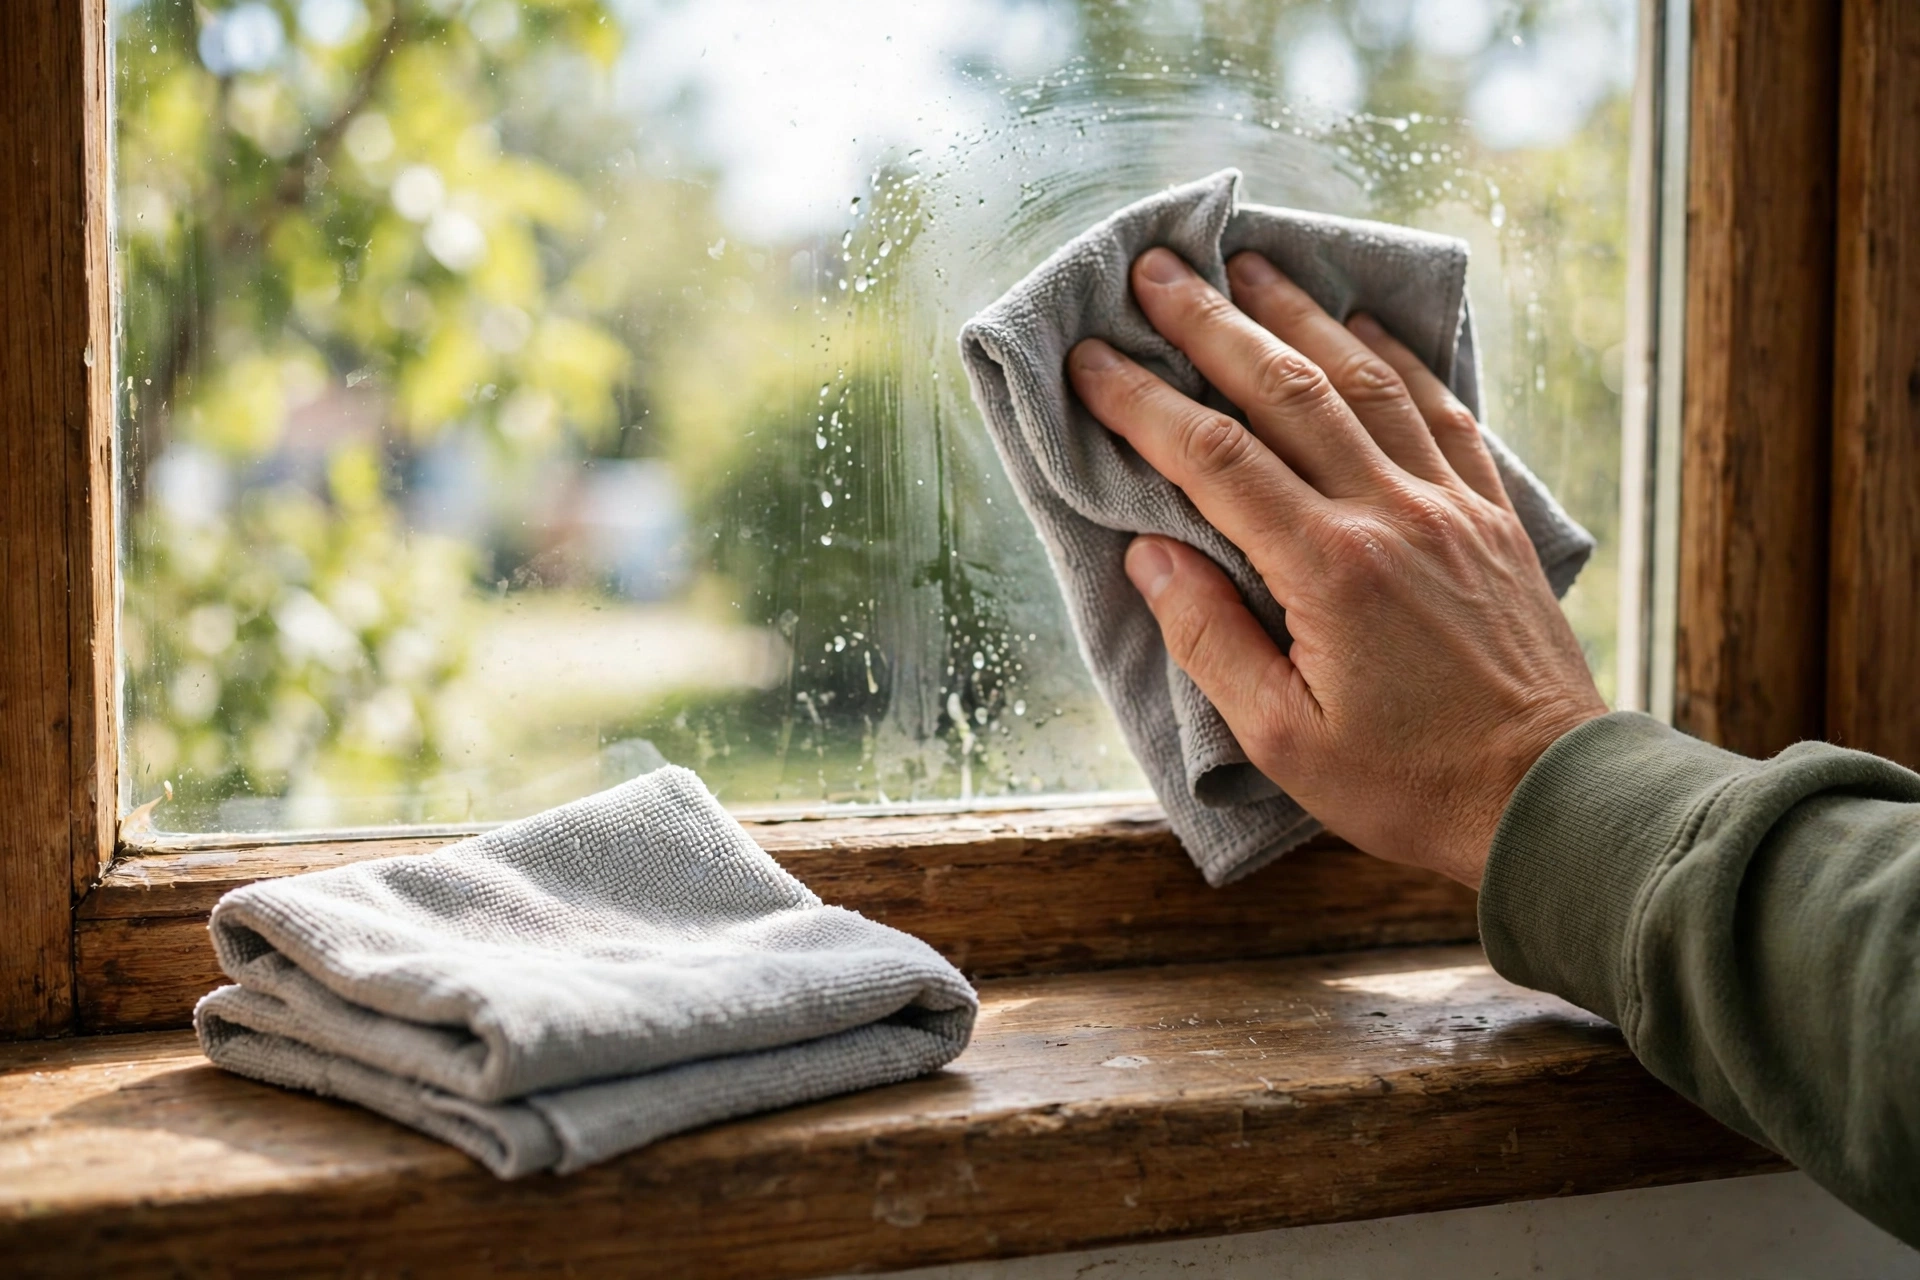
Drying the edges is a small tip with a large effect, because most remaining marks hide at the edges and corners, where water pools and dries last. Use a clean, dry microfibre cloth, work around the whole pane, and pay extra attention to the bottom edge and the corners.
After drying, check the glass from an angle in daylight, not just straight on. Move your head side to side and look across the pane, because streaks, haze, and soap film show up best in angled light. If you see a mark, buff it with a dry cloth while your tools are still out.
This check is also a good time to check the other side. A mark that will not move from inside may be on the outside, and vice versa. The next tip explains a quick way to tell which side needs work, without washing both sides twice.
Tip 7: Find Out Which Side Is Dirty
A clever window cleaning tip is to use direction to find the mark: wash or wipe in one direction on the inside, such as up and down, and in the other direction on the outside, such as side to side. If a streak runs vertically, it is on the inside; if it runs horizontally, it is on the outside.
This trick saves time because you do not need to wash both sides to find a single mark. It also helps you judge whether a window needs a full wash or just a touch-up on one side. Inside glass usually collects fingerprints and cooking film, while outside glass collects dust, pollen, and rain marks.
Use the same idea when checking your work. If a mark appears after you have finished one side, note its direction before you clean again. A few seconds of checking can save a full second wash, especially on large or hard-to-reach windows.

Tip 8: Treat Hard Water Spots Differently
Hard water spots need a different tip from ordinary dirt, because they are mineral deposits left when water evaporates, not dirt that a normal wash can lift. If white or cloudy marks remain after washing and drying, do not keep washing with the same cleaner and hope they disappear.
Wash the glass normally first, then treat the spots separately with a method suited to mineral deposits, testing a hidden corner first and avoiding abrasive pads that can scratch glass. Sprinkler water is a common cause on outside windows, so moving a sprinkler head or wiping glass after watering can prevent new spots.
For shower glass, the same principle applies, though that is a different room. On windows, prevention is easier than removal: dry the glass after rain where you can, and do not let sprinkler water dry on panes in strong sun. If spots are old and thick, professional advice may be safer than aggressive scrubbing.
| Mark type | Quick diagnosis | Best tip |
|---|---|---|
| Streaks after washing | Soap residue or dirty blade | Use less cleaner, clean blade |
| White cloudy spots | Hard water minerals | Treat minerals separately |
| Film in kitchen | Cooking grease | Weak dish soap, rinse well |
| Lint or fibres | Dirty cloth or paper towel | Use clean microfibre cloth |
| Mark on one side only | Direction test | Clean only the dirty side |
Tip 9: Do Not Forget Screens and Sills
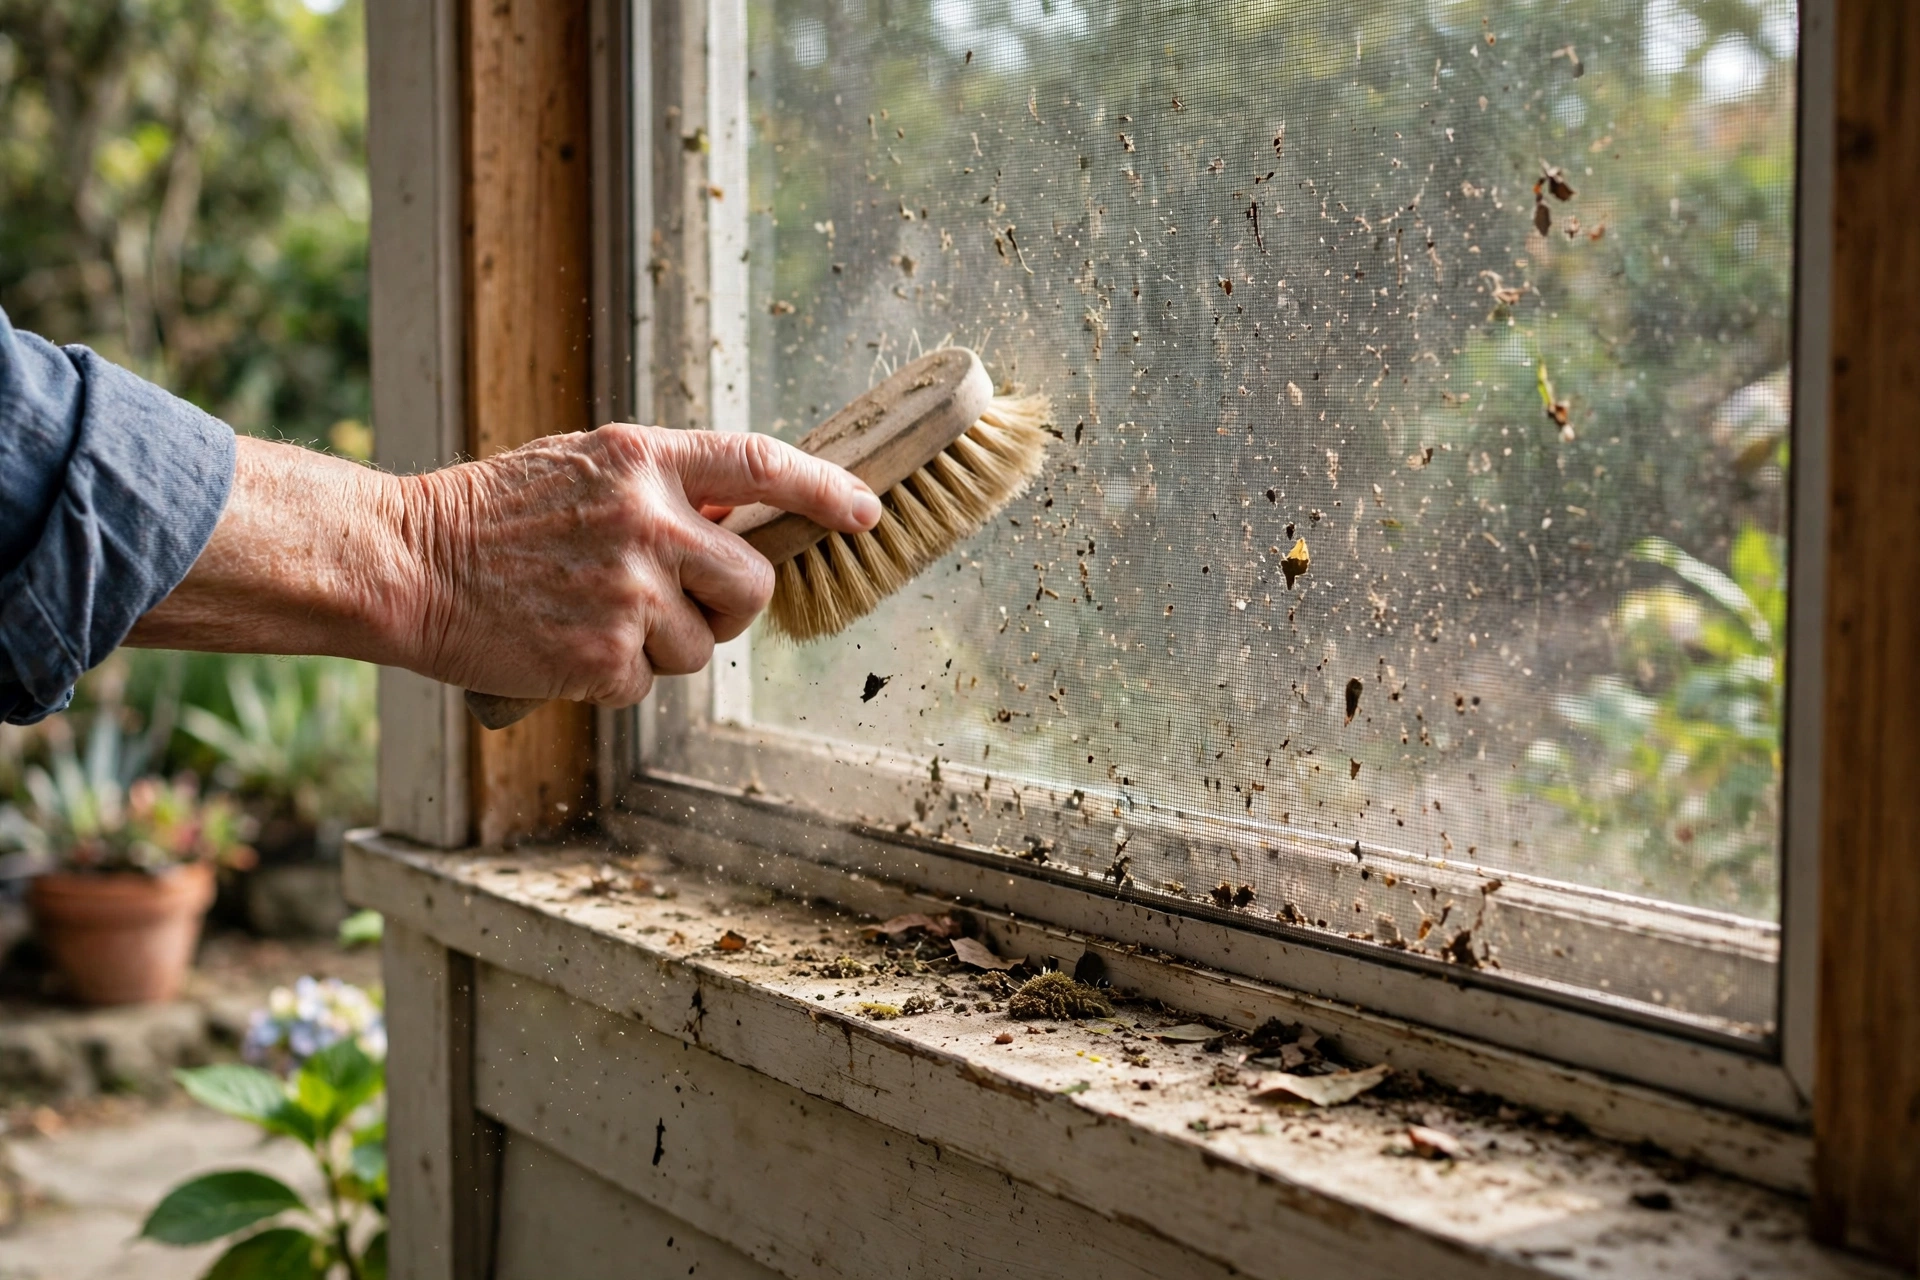
Screens and sills are the most forgotten part of window cleaning, yet dirty screens make clean glass look dull, because dust on the screen blocks light and can wash onto the pane in rain. Remove screens if you can, rinse them with clean water, and let them dry before replacing them.
If a screen cannot be removed, brush it lightly and wipe it with a damp cloth, working from top to bottom. Wipe sills with a damp cloth and dry them, because standing water on a sill can damage paint and encourage mould in damp corners. Check the corners of the sill, where dirt and dead insects collect.
Clean screens in the same session as the glass, not weeks later, so the whole window stays clear. A clean screen also improves airflow and light, which is a benefit beyond appearance, especially in rooms that feel dark or stuffy.
Tip 10: Stay Safe on High and Outside Windows
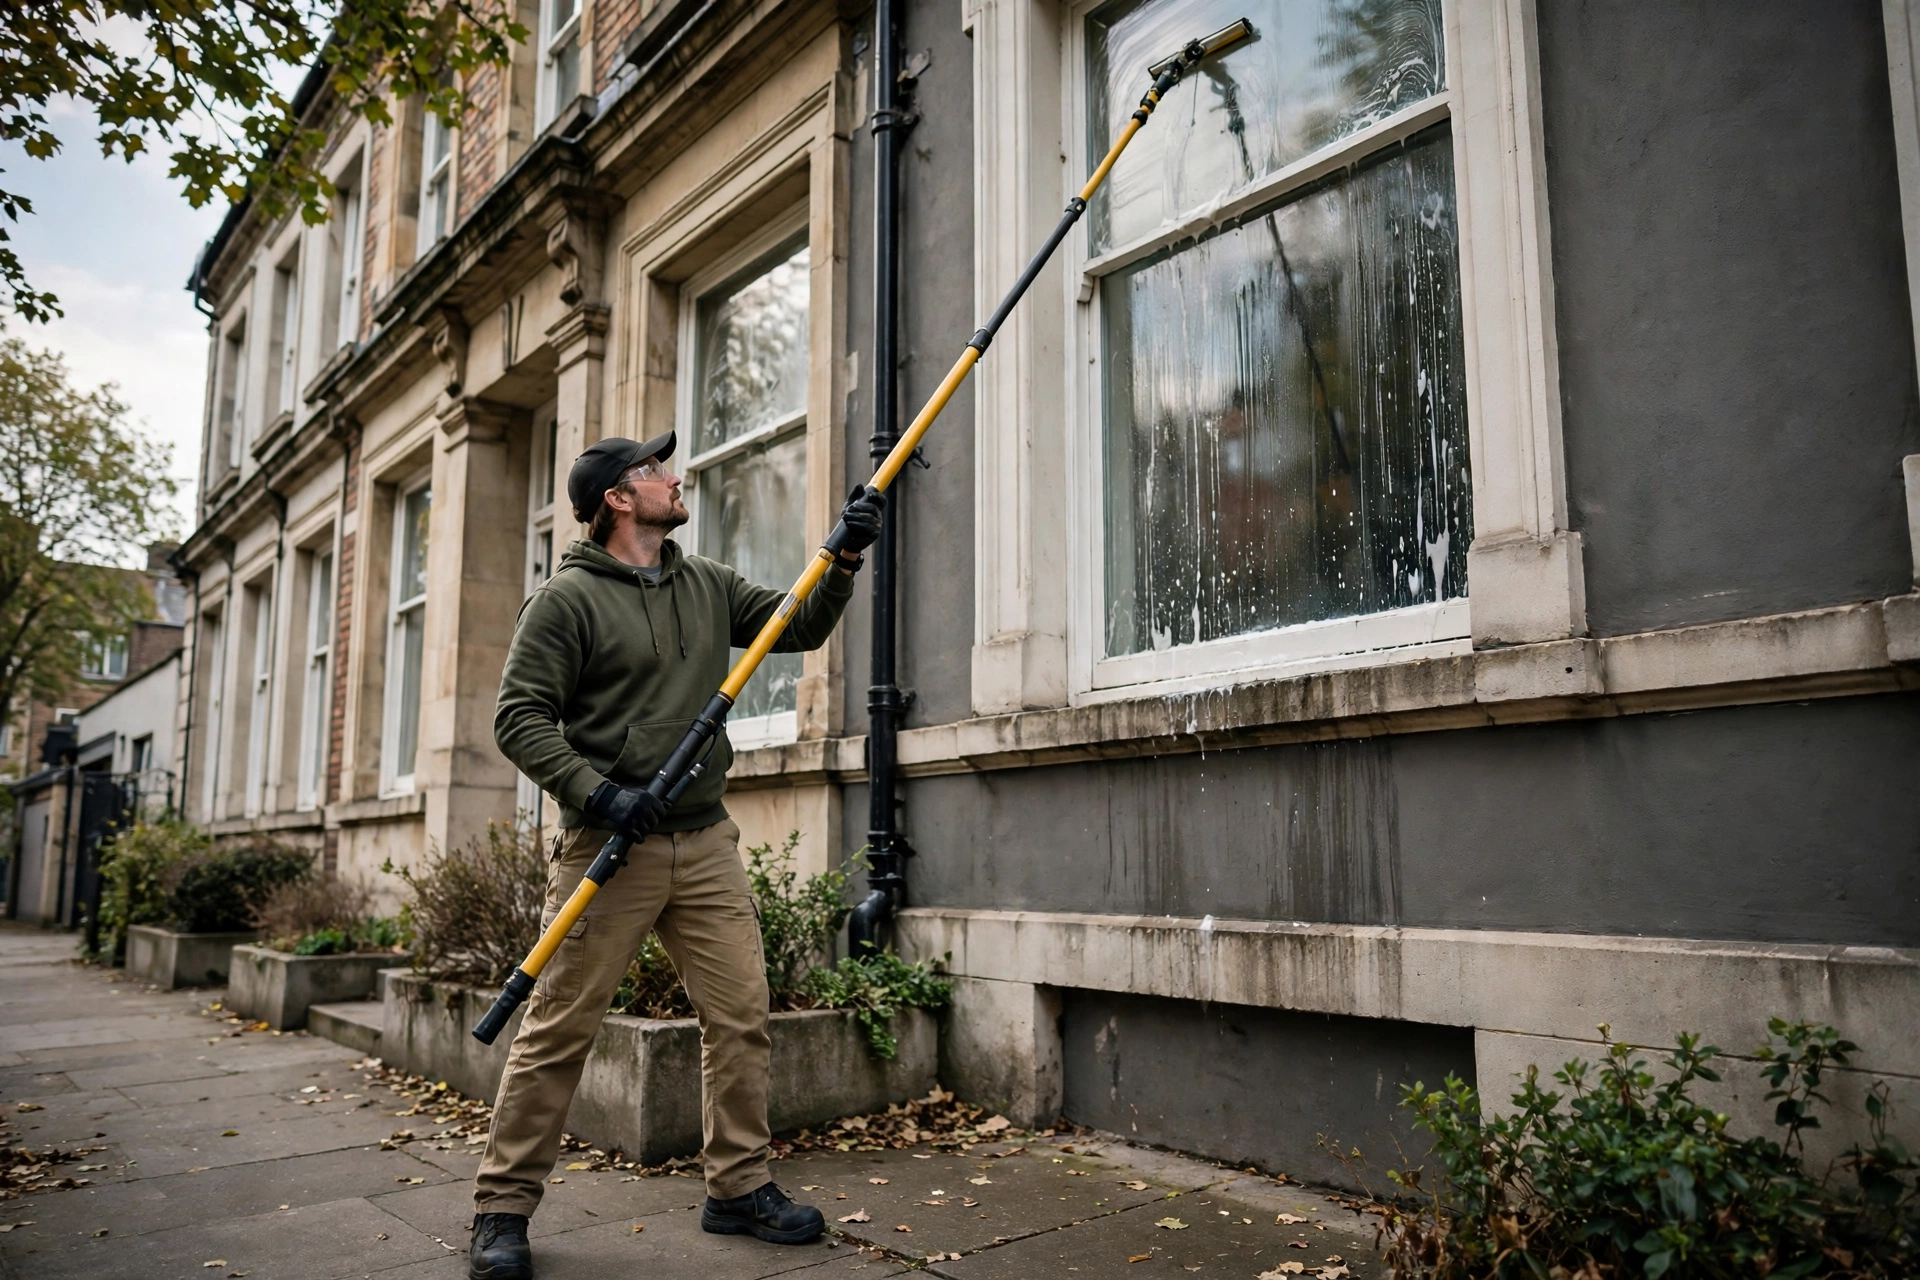
Safety is the most important window cleaning tip for high or outside glass: never lean out of a window, stand on a chair, or use a ladder unsafely to reach a pane. If a window cannot be reached safely from the ground or from inside, leave it for a professional with the right equipment.
Use a stable step stool only for low, easy reach, and keep your body centred, with both feet supported. For outside glass, a long-handled washer and squeegee can reach many ground-floor panes safely. Do not use a pressure washer on windows, because it can damage seals, frames, and glass.
Check the weather before outside work, and stop if wind, rain, or ice makes the work unsafe. Tell someone in the house what you are doing if you are working at height, even on a low ladder. Clear glass is never worth a fall, and a professional clean is cheaper than an injury.
Tip 11: Avoid the Mistakes That Cause Streaks
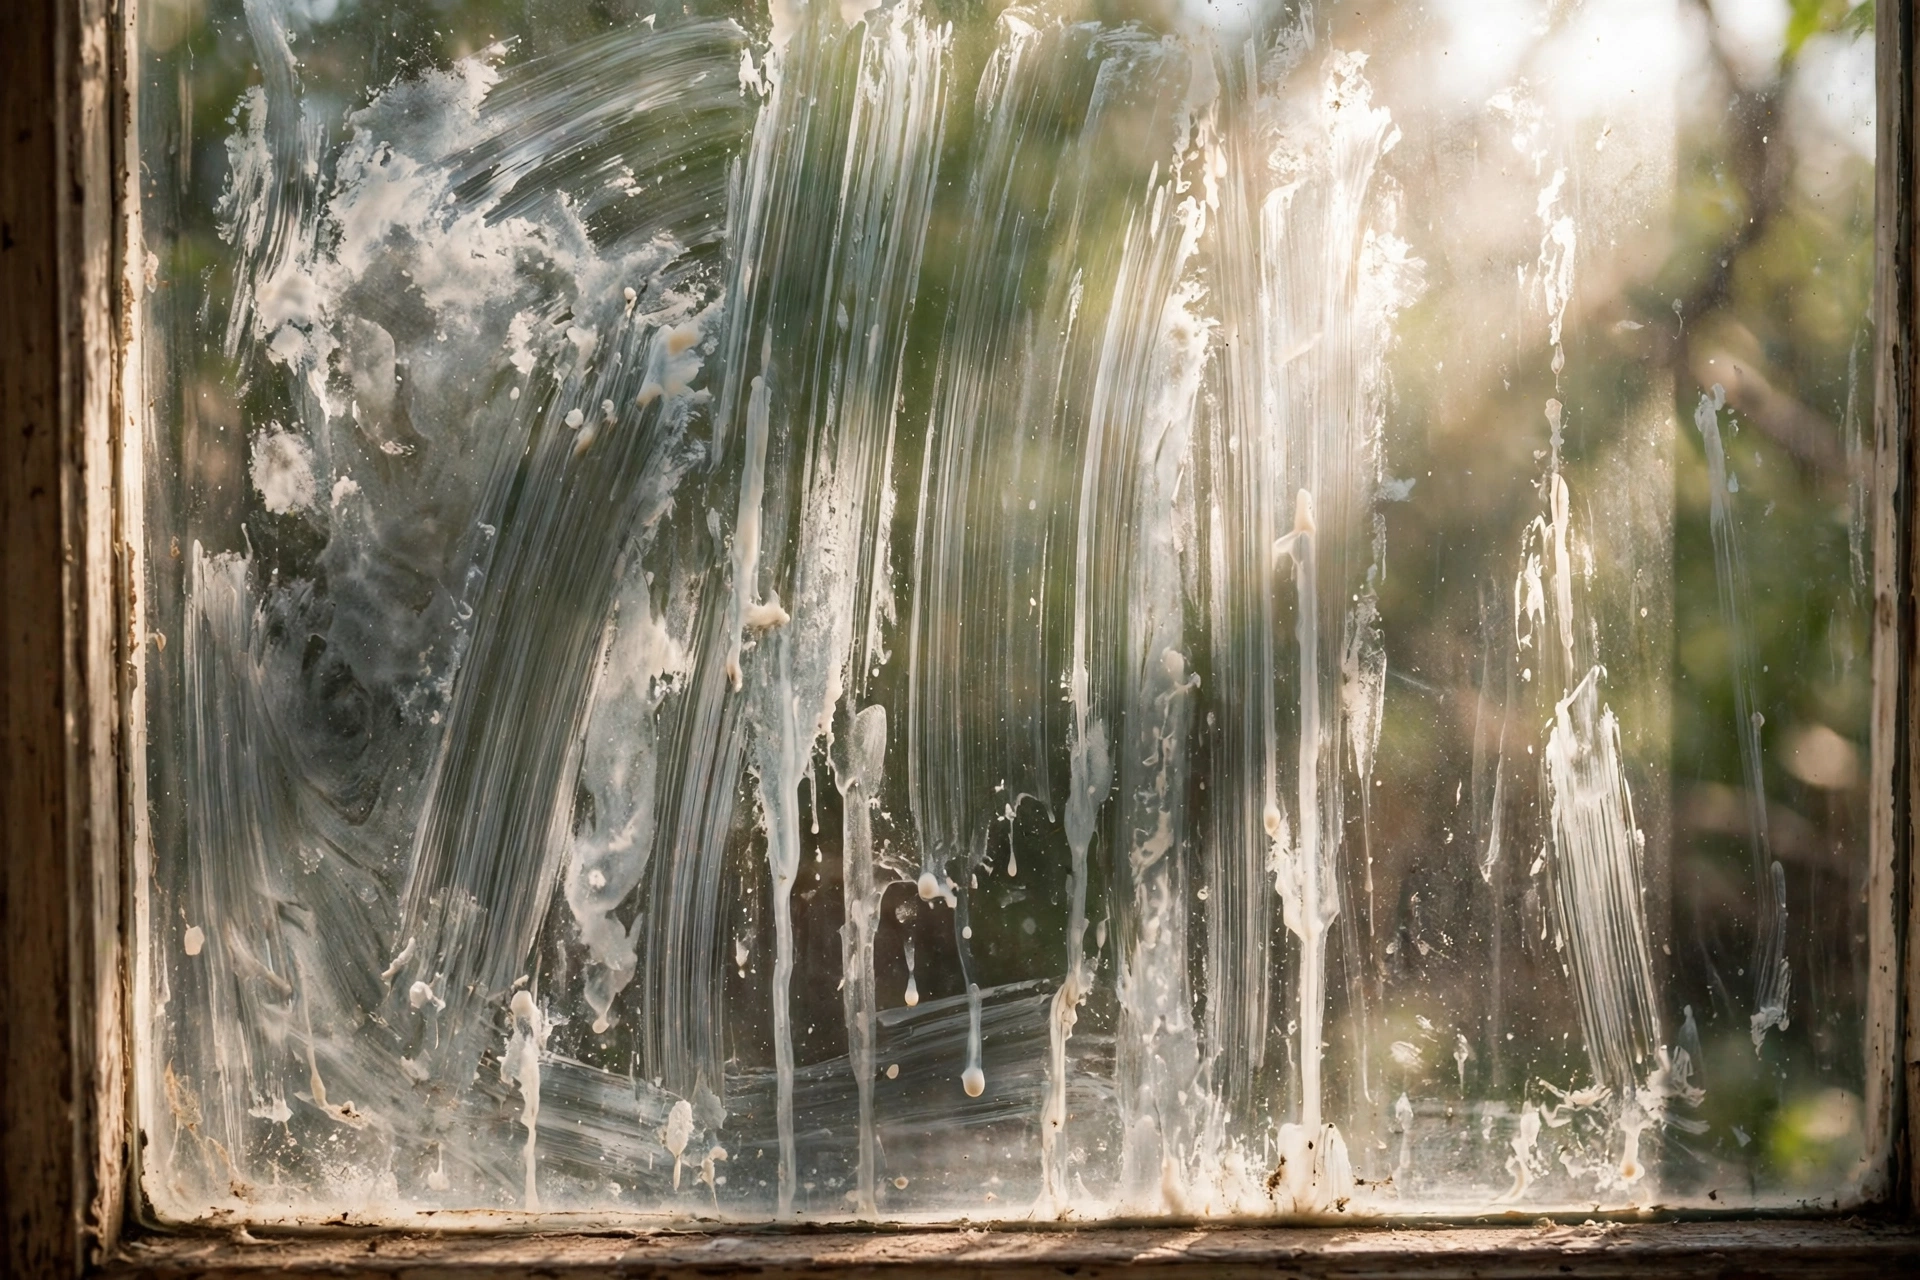
Most streaks come from a short list of mistakes, and avoiding them is easier than fixing them afterwards. The top mistakes are using too much cleaner, washing in direct sun, using dirty water or cloths, using a worn squeegee blade, and skipping the edge dry.
Other common mistakes include spraying cleaner directly onto dusty glass, which turns dust into mud, and using coloured towels that can transfer dye to wet glass. Paper towels leave lint on large panes and can drag grit, so microfibre cloths are a better choice for finishing.
- Too much cleaner: use a weak solution and rinse well
- Direct sun: wash shaded glass first, or wait for cloud
- Dirty tools: change water and cloths when they look grey
- Worn blade: replace a nicked squeegee blade before you start
- Skipped edges: dry corners and sills with a clean cloth
If streaks appear despite care, do not add more cleaner. Buff with a dry cloth first, then, if needed, wash again with clean water and a clean blade. Adding more product to a streaky pane usually makes it worse.
Tip 12: Keep Glass Clear With a Short Routine
The best long-term window cleaning tip is a short routine, not a yearly marathon: wipe inside glass monthly, wash outside glass seasonally, and clean screens when you wash the glass. Small, regular work prevents the heavy buildup that needs a long, hard clean.
Link window care to other habits. Wipe kitchen windows after cooking, when film is fresh, and wipe fingerprints from low panes during a normal tidy. For outside windows, a quick rinse and squeegee pass can refresh glass that is dusty but not greasy, without a full wash.
Keep your tools clean and ready, so a quick clean does not feel like a project. Store the squeegee blade clean and dry, wash cloths after use, and replace blades when they wear. A routine that takes a few minutes each month keeps the whole house brighter than one long day each year.
Conclusion
The best window cleaning tips are not complicated: choose a cloudy day, clean frames first, use clean tools, squeegee smoothly, dry the edges, and check from an angle. With those habits, clear glass takes less time, fewer products, and far fewer repeat washes.
FAQs
When is the best time to clean windows?
A cloudy, mild day is best, because cleaner dries too fast in direct sun and leaves streaks. If you must clean in sun, work on the shaded side first and check each pane from an angle.
How often should I clean my windows?
Wipe inside glass about monthly and wash outside glass seasonally, with more frequent cleaning for kitchen windows and panes near roads, trees, or sprinklers. Screens should be cleaned with the glass.
Why do my windows still look streaky?
Streaks usually come from too much cleaner, dirty water or cloths, a worn squeegee blade, or washing in direct sun. Use a weak solution, clean tools, and dry the edges with a clean cloth.
Should I clean inside or outside windows first?
Clean the dirtier side first, usually the outside, then the inside, so you can see the result clearly. Use the direction trick to tell which side a remaining mark is on.
Can I clean high windows safely myself?
Only if you can reach them safely from the ground or inside without leaning out or using an unsafe ladder. For high or hard-to-reach glass, a professional with proper equipment is the safer choice.
Disclaimer: This article is for general information only and does not provide professional window cleaning, glass repair, or safety advice. Always follow the instructions for your windows, glass coatings, and cleaning products, test cleaners in a hidden area first, keep products away from children and pets, and seek qualified help for damaged glass, high windows, or work at height. Clearise Cleaning Services does not offer guest posting, paid promotion, or advertising through this article.
Thanks for visiting Clearise Cleaning Services! Discover more helpful tips and expert cleaning insights by exploring our related categories.