Insulating a home means fitting materials that slow heat loss into the places where warmth escapes most, so rooms stay warmer in winter, cooler in summer, and easier to keep comfortable all year round. It is one of the most practical home improvements you can make, because it works quietly in the background every day.
Many homeowners put insulation off because it sounds like a big building job, hidden inside walls and roofs. This guide walks through the whole project in plain language: how to assess your home, which areas to tackle first, what you can do yourself, how attic and wall insulation work, why draught-proofing and ventilation matter, and how to avoid the common mistakes that spoil a good job.

The Short Answer: Can You Insulate a Home Yourself?
Yes, you can insulate parts of a home yourself, especially the attic and draught-proofing, but wall cavities, spray foam and anything involving wiring or structural work are usually professional jobs. The safest approach is to do the simple, accessible work yourself and hire qualified installers for sealed cavities and specialist materials.
That split is the key to the whole project. Laying insulation between attic joists, topping up an existing layer, insulating pipes and sealing draughts are all within reach of a careful homeowner with the right protective gear. Filling wall cavities, spraying foam, or insulating a flat roof is different work: it needs specialist equipment, and mistakes there can trap moisture or damage the building. Knowing which side of that line each job falls on saves money without creating problems.
Assess Your Home Before You Start
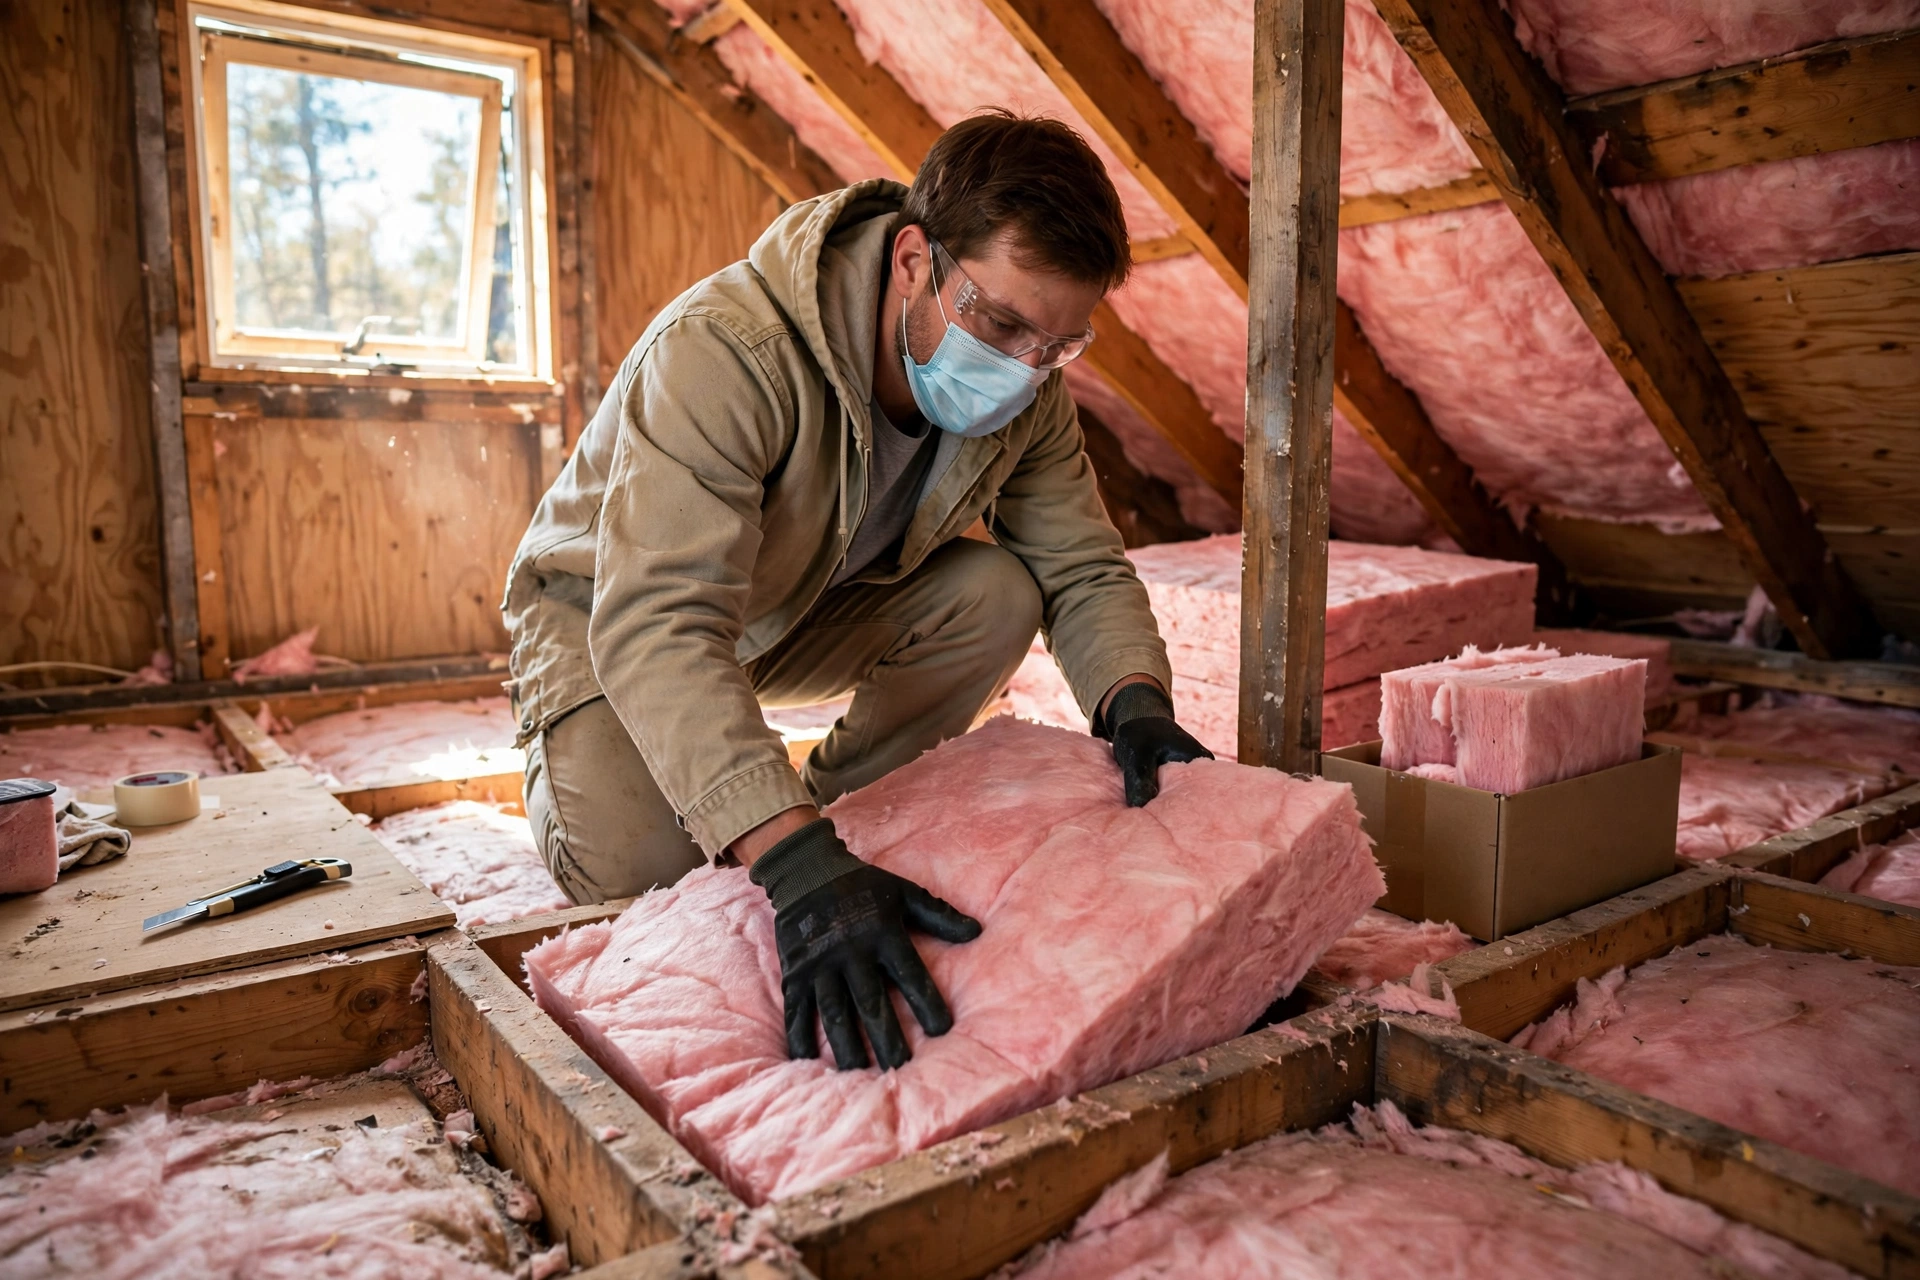
Assessing your home before insulating means checking what is already there, where heat is escaping, and whether any damp or ventilation problem needs fixing first. A careful hour of looking now prevents wasted money later, because insulation fitted over a damp patch or a blocked vent only hides the real problem.
Start in the attic, if you can get in safely. Look for even coverage with no bare patches, gaps around pipes and wires, or squashed areas where boards or boxes have pressed the material flat. Then walk through the rooms: feel outside walls on a cold day, note cold spots near windows and doors, and look for draughts around the loft hatch, letterbox and pipe entries. Note any damp patches, stains or musty smells, and get those investigated before insulating, since damp has a cause that insulation alone will not fix. Keep a simple list of what each area needs.
Set the Priority Order: Attic, Walls, Floors
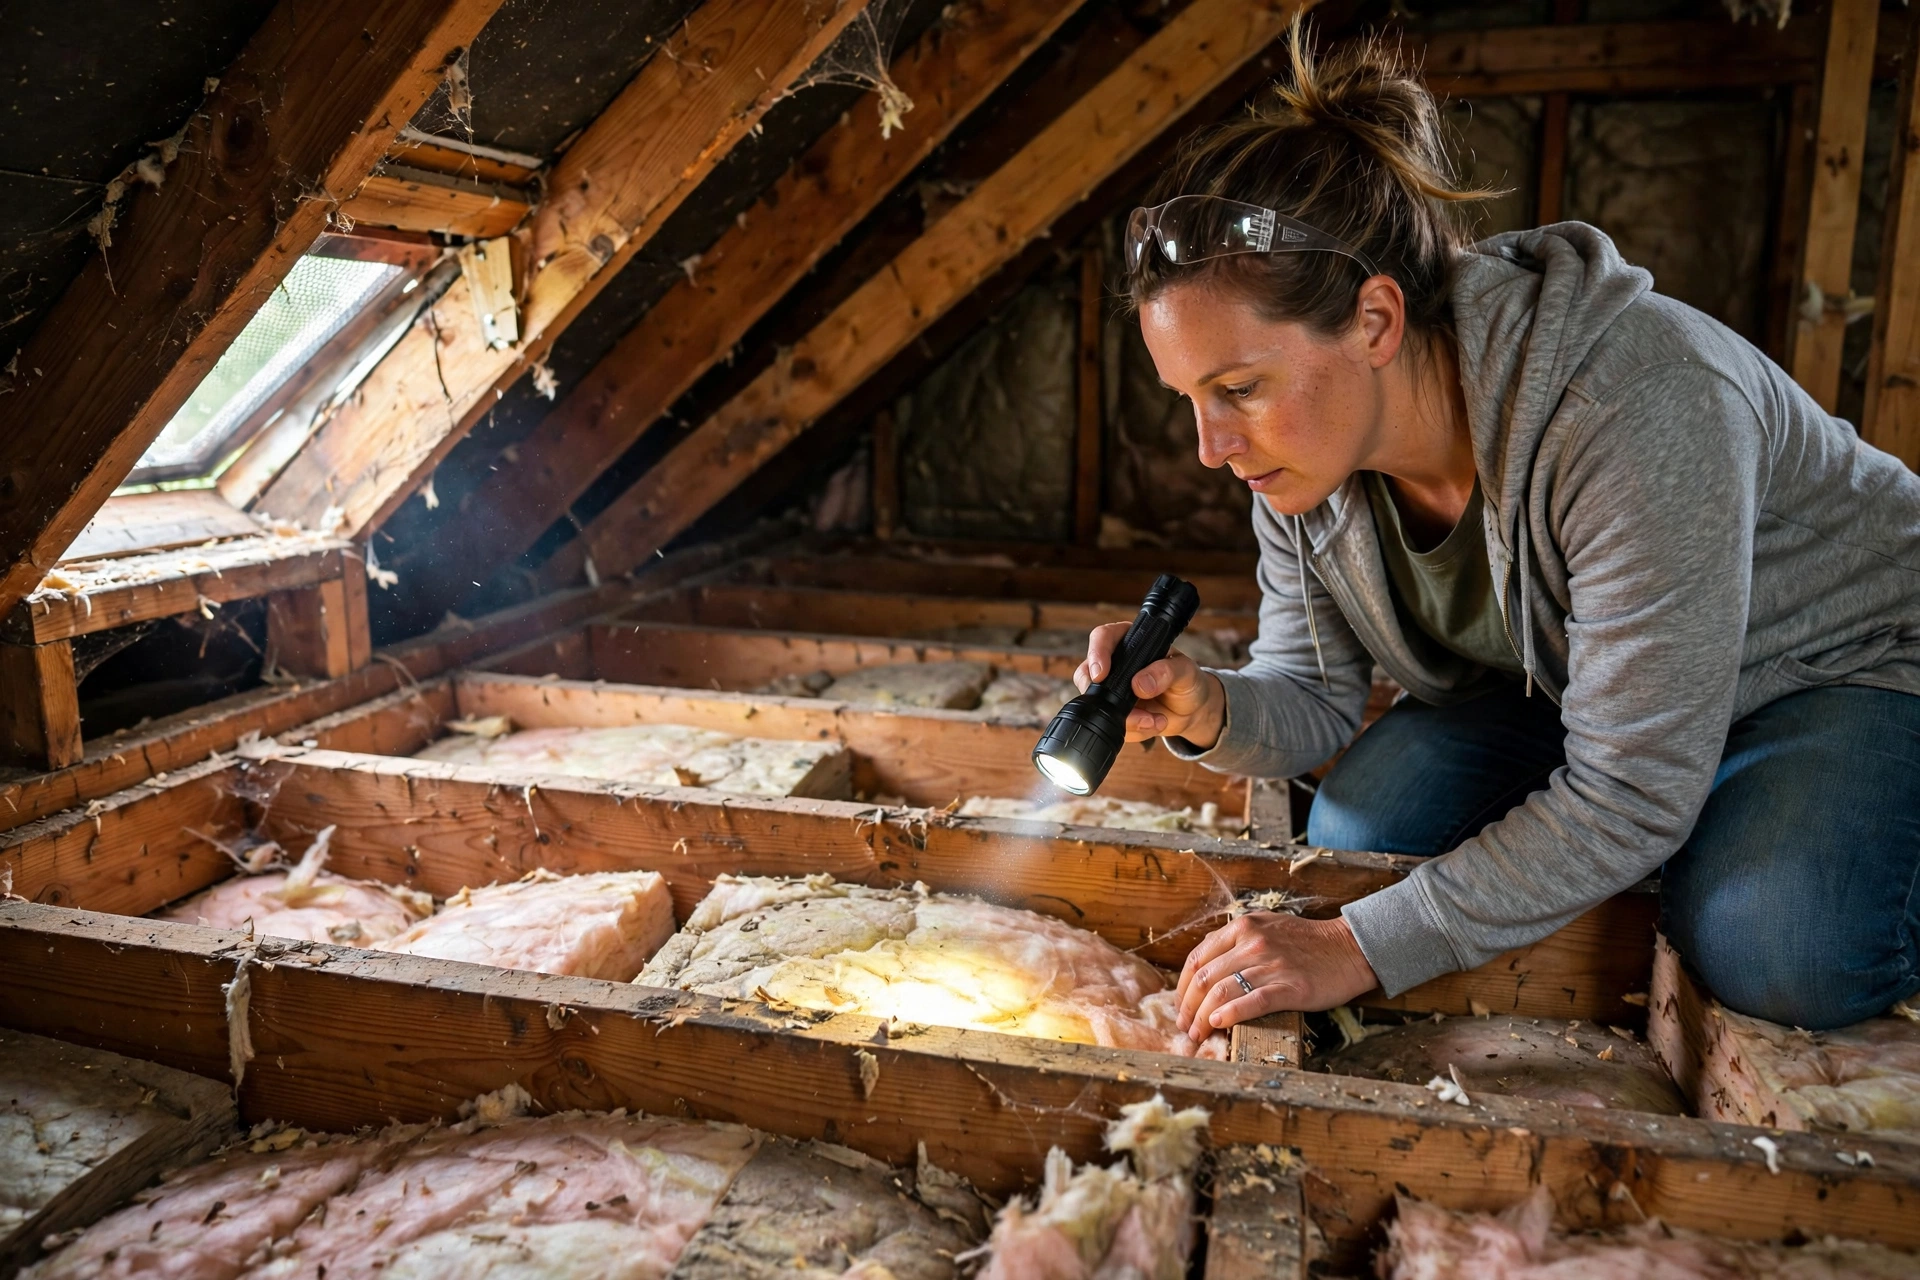
The usual priority order for insulating a home is the attic first, then the walls, then the floors, because heat rises and the roof is normally the single largest escape route for warmth. Working in that order gives the most noticeable comfort gain for the least disruption, especially in an older home with little or no insulation.
The attic comes first because it is accessible, the work is relatively simple, and the effect is easy to feel: rooms below hold their warmth better once the roof layer is complete. Walls come next because they make up the largest surface area of most homes, but wall work is more disruptive and often needs professionals, so it is a bigger project. Floors follow, particularly floors over unheated spaces such as garages or crawl spaces, where cold air below chills the room above. Pipes and tanks are a useful extra at any stage. If your budget only covers one job this year, the attic is usually the wisest place to start.
DIY Jobs vs Professional Jobs
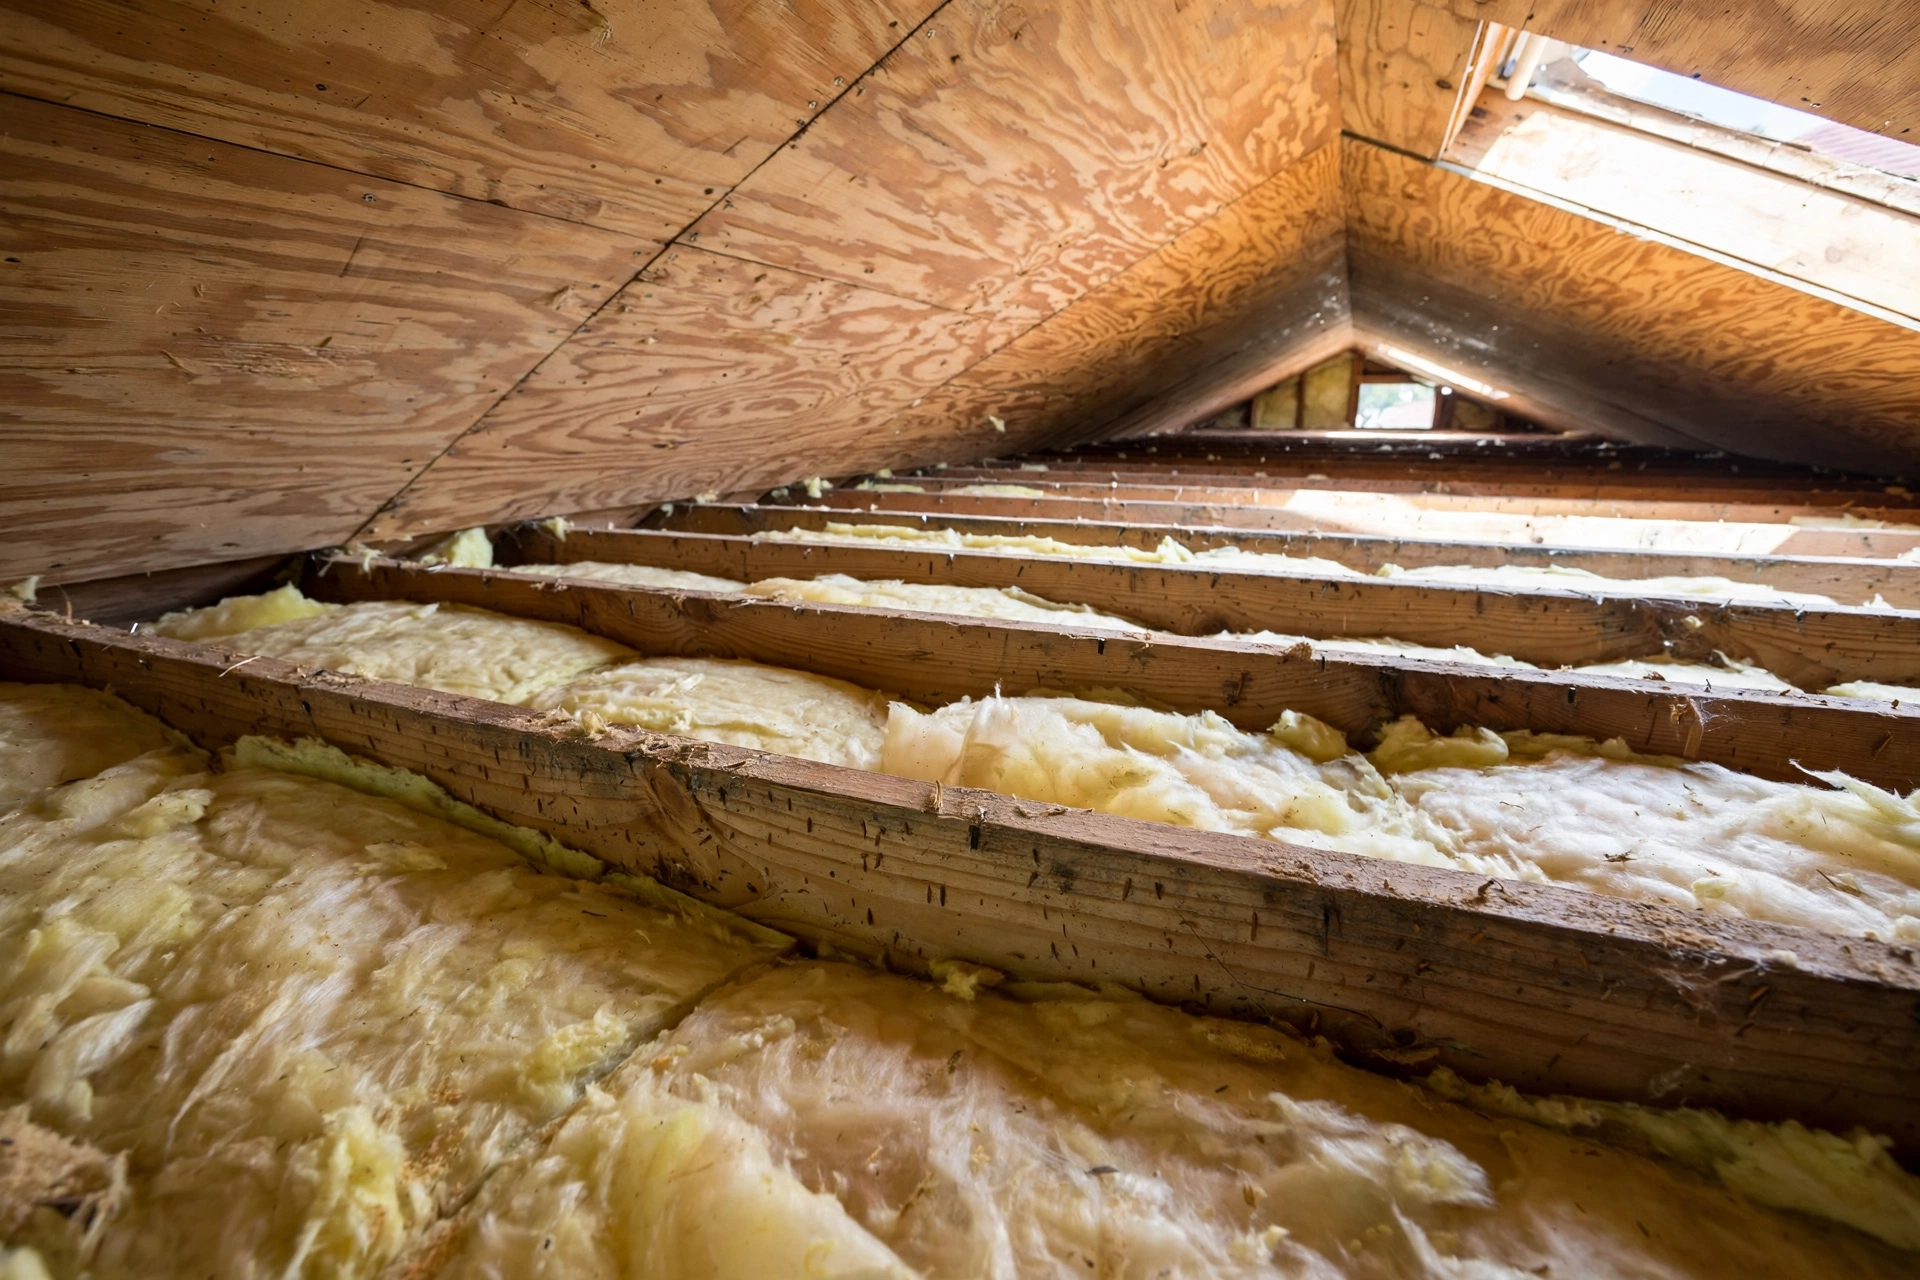
DIY insulation jobs are the accessible, visible ones, such as attic layers, pipe lagging and draught-proofing, while professional jobs are the sealed, specialist ones, such as cavity wall filling, spray foam and flat roof insulation. Choosing correctly matters, because a badly fitted specialist job can cause damp, while a simple job done well is genuinely satisfying work.
The table below gives a practical starting point for deciding who should do each job. Treat it as a guide, not a rule, because your home, your confidence and local guidance all matter, and a professional quote is always worth getting for the bigger jobs.
| Job | Usually DIY or professional? | Why |
|---|---|---|
| Attic layer between joists | DIY, with care | Accessible, visible, easy to check |
| Topping up an attic layer | DIY, with care | Same skills, no specialist kit |
| Draught-proofing doors and windows | DIY | Small, reversible, low risk |
| Pipe and tank insulation | DIY | Simple sleeves and jackets |
| Cavity wall filling | Professional | Sealed cavity, specialist equipment |
| Spray foam insulation | Professional | Specialist kit, protective gear, technique |
| Flat roof insulation | Professional | Moisture risk, detailing matters |
| External wall insulation | Professional | Changes the outside, needs design |
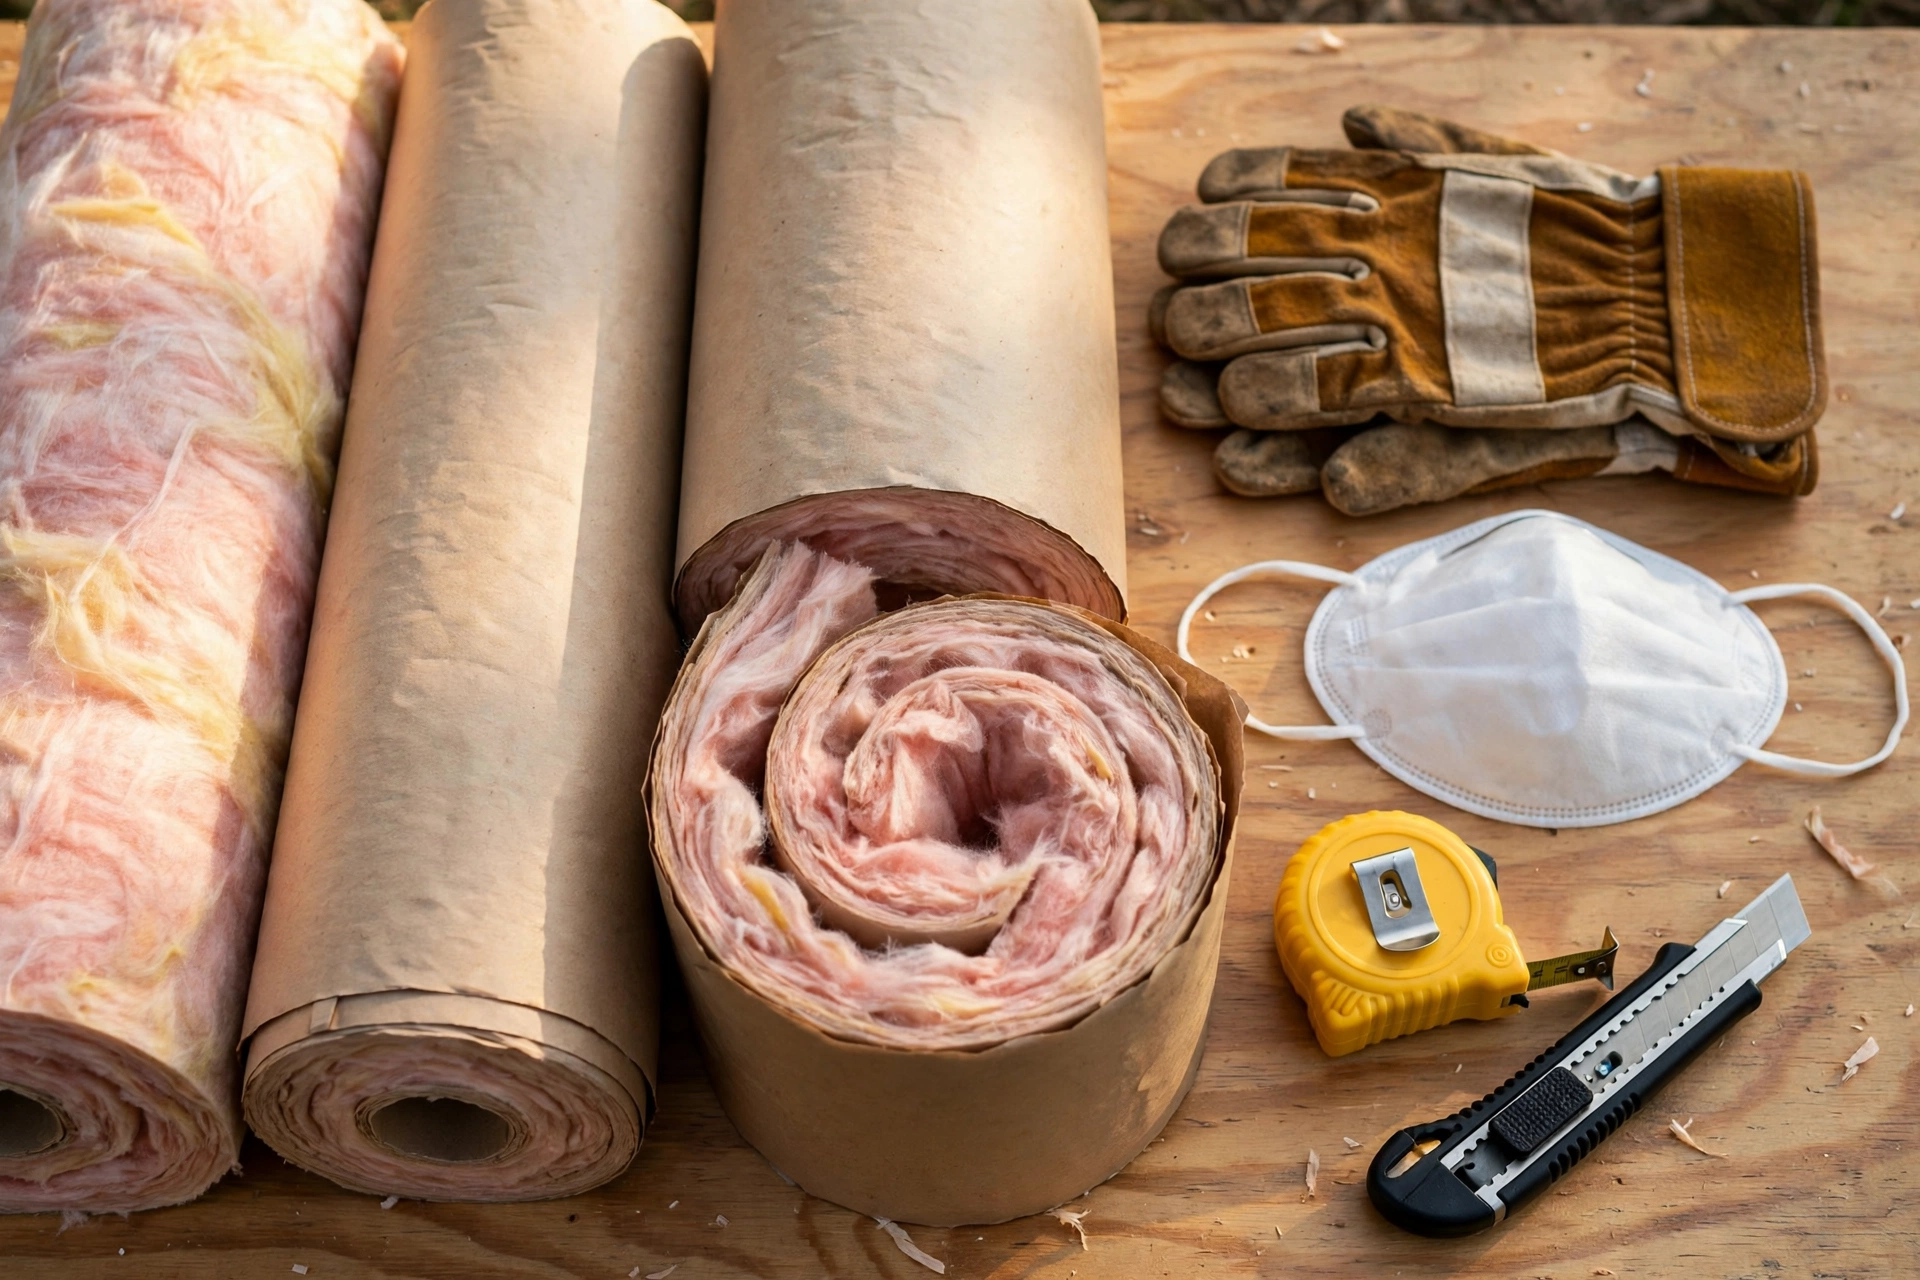
Insulating the Attic: A Simple Step-by-Step Guide
Insulating an attic yourself means laying an even, uncompressed layer between and across the joists, keeping vents clear, and working safely in a confined space. It is the most rewarding insulation job for a homeowner, because the work is visible, the layer can be checked as you go, and the result is felt in the rooms below.
Follow these steps in order, and always read the product label for the material you are using:
- Clear the attic safely, check the joists are sound, and plan where you will stand and store materials.
- Wear gloves, eye protection, a dust mask and long sleeves, and keep a torch and phone within reach.
- Lay the first layer between the joists, fitting it snugly without gaps and without squashing it into shallow spaces.
- Lay a second layer across the joists if the product guidance allows it, staggering joints so gaps do not line up.
- Keep insulation clear of vents, eaves and recessed lights, following the product and light makers’ guidance.
- Leave a clear, boarded walkway to the hatch and any tank or equipment that needs access.
- Check the finished layer from the hatch: even coverage, no bare patches, no blocked vents.
Take breaks, drink water, and do not work alone in a hot attic. If the attic is very low, has damaged joists, or shows signs of damp or pests, stop and get professional advice before continuing.
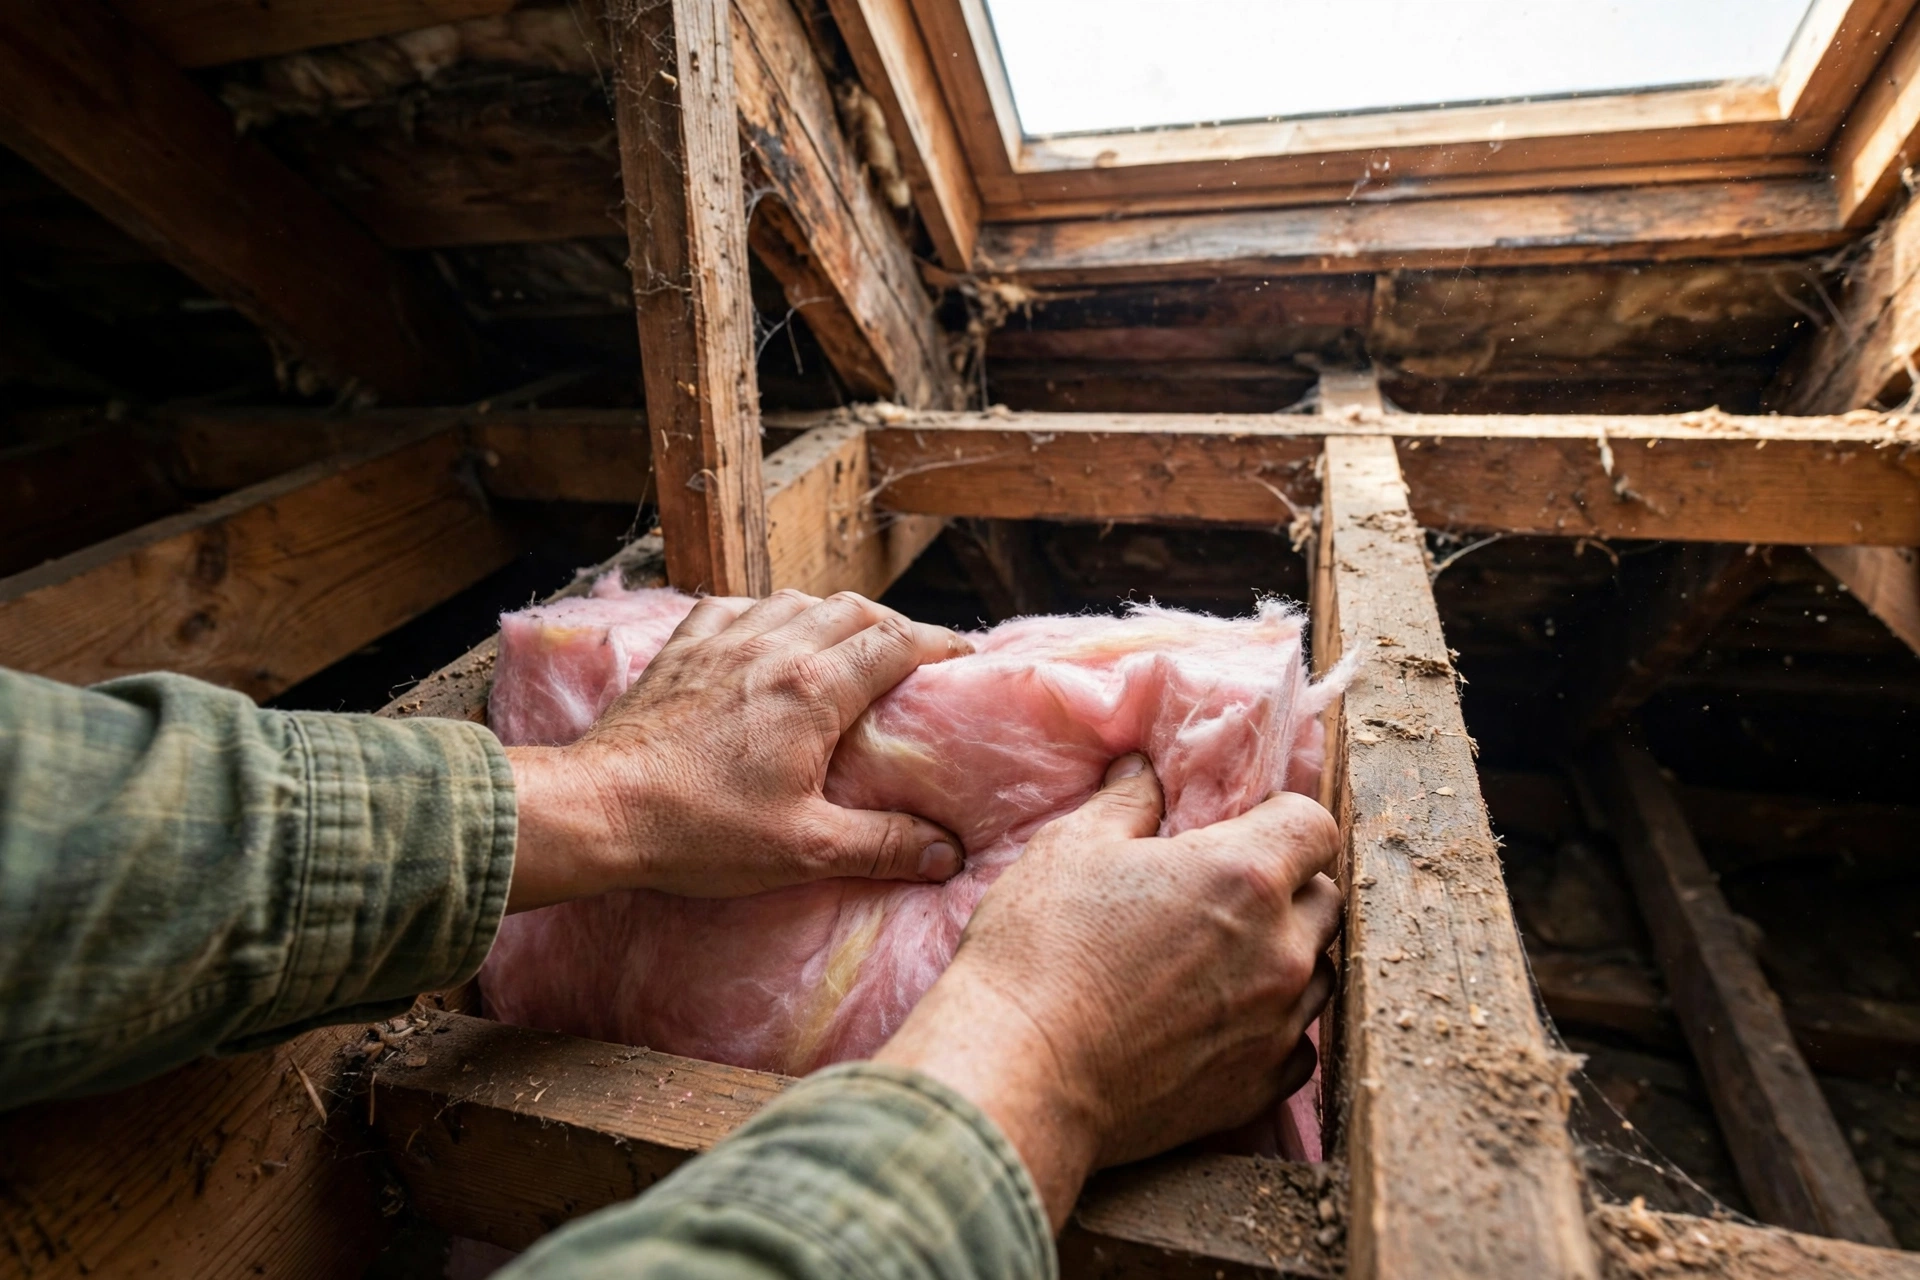
Insulating Walls: Your Main Options
Insulating walls means adding a layer inside the wall, inside the cavity, or on the outside face, and the right option depends on whether your home has cavity walls, solid walls, or walls already finished and decorated. This is the part of the project where most homeowners need professional advice, because the wrong choice can trap moisture.
Cavity walls, common in many newer homes, can often be filled by professionals who blow insulation into the gap between the two wall leaves through small holes, then make the holes good. Solid walls have no cavity, so insulation goes on the inside face, which loses a little room space, or on the outside face, which changes the look of the house and usually needs planning thought. Internal insulation can also be added as insulated boards fixed to the wall, but sockets, skirting and fittings then need adjusting. Whichever route suits your home, get a survey first: a professional can confirm the wall type, check for damp, and explain which option fits your house, rather than guessing from the outside.
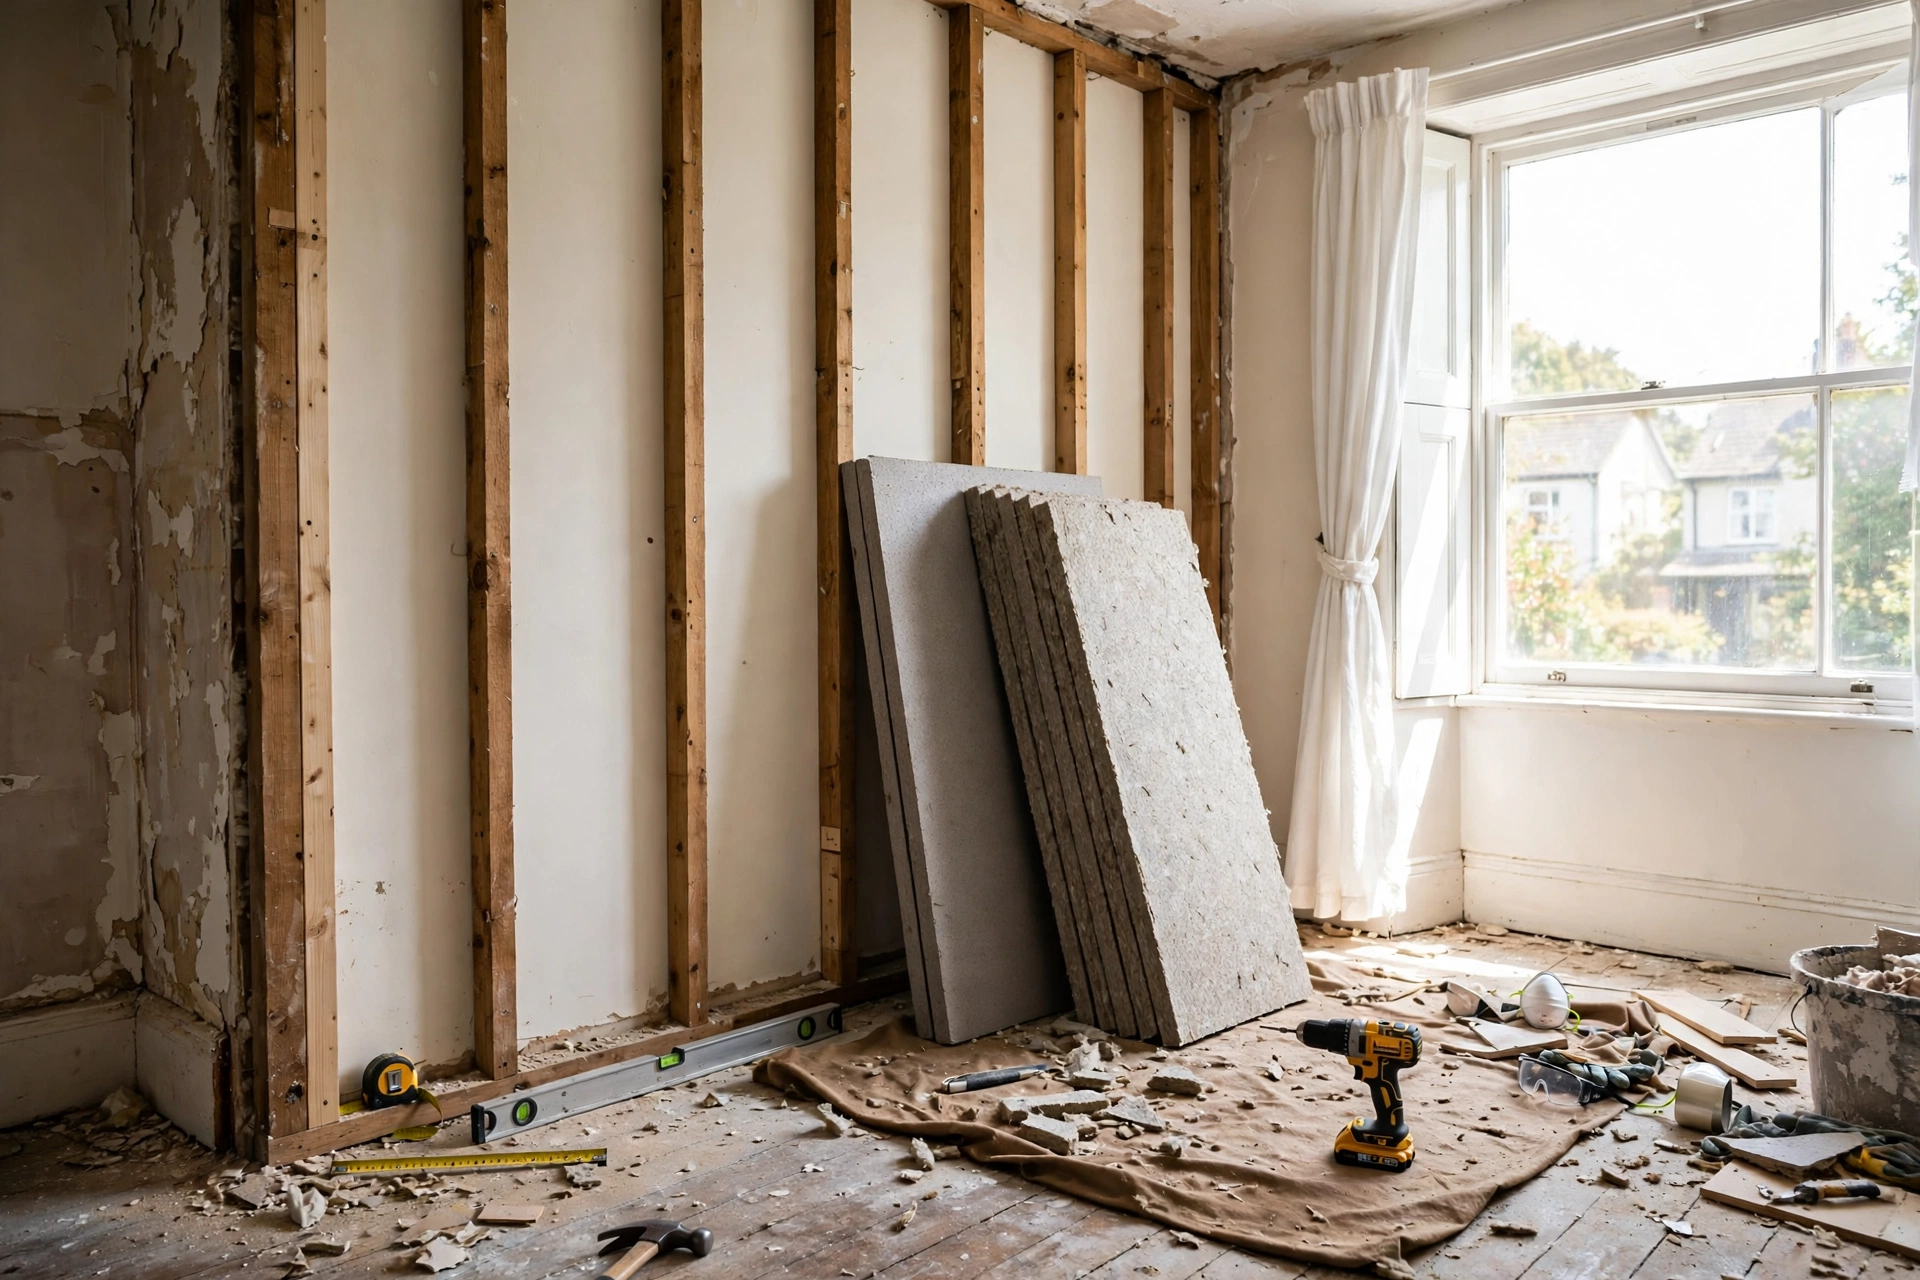
Insulating Floors and Pipes
Insulating floors means adding a layer beneath the floorboards or under a solid floor where access allows, with floors over unheated spaces giving the biggest benefit. Cold floors are easy to notice, and a draughty ground floor often feels colder than the rest of the house, even when the heating is on.
For a suspended timber floor, insulation is usually fitted between the joists from below or by lifting boards, which is disruptive but effective, and it also helps to seal gaps between boards that let draughts through. Solid concrete floors are harder to insulate after building, so later work often focuses on edges and draught-sealing. Pipes are the easy win: foam sleeves slide over hot water pipes, and a jacket fits around a hot water tank, both of which keep water hot for longer and reduce heat lost in cupboards and loft spaces. These small jobs are quick, cheap in material, and worth doing while you are already working on the larger project.
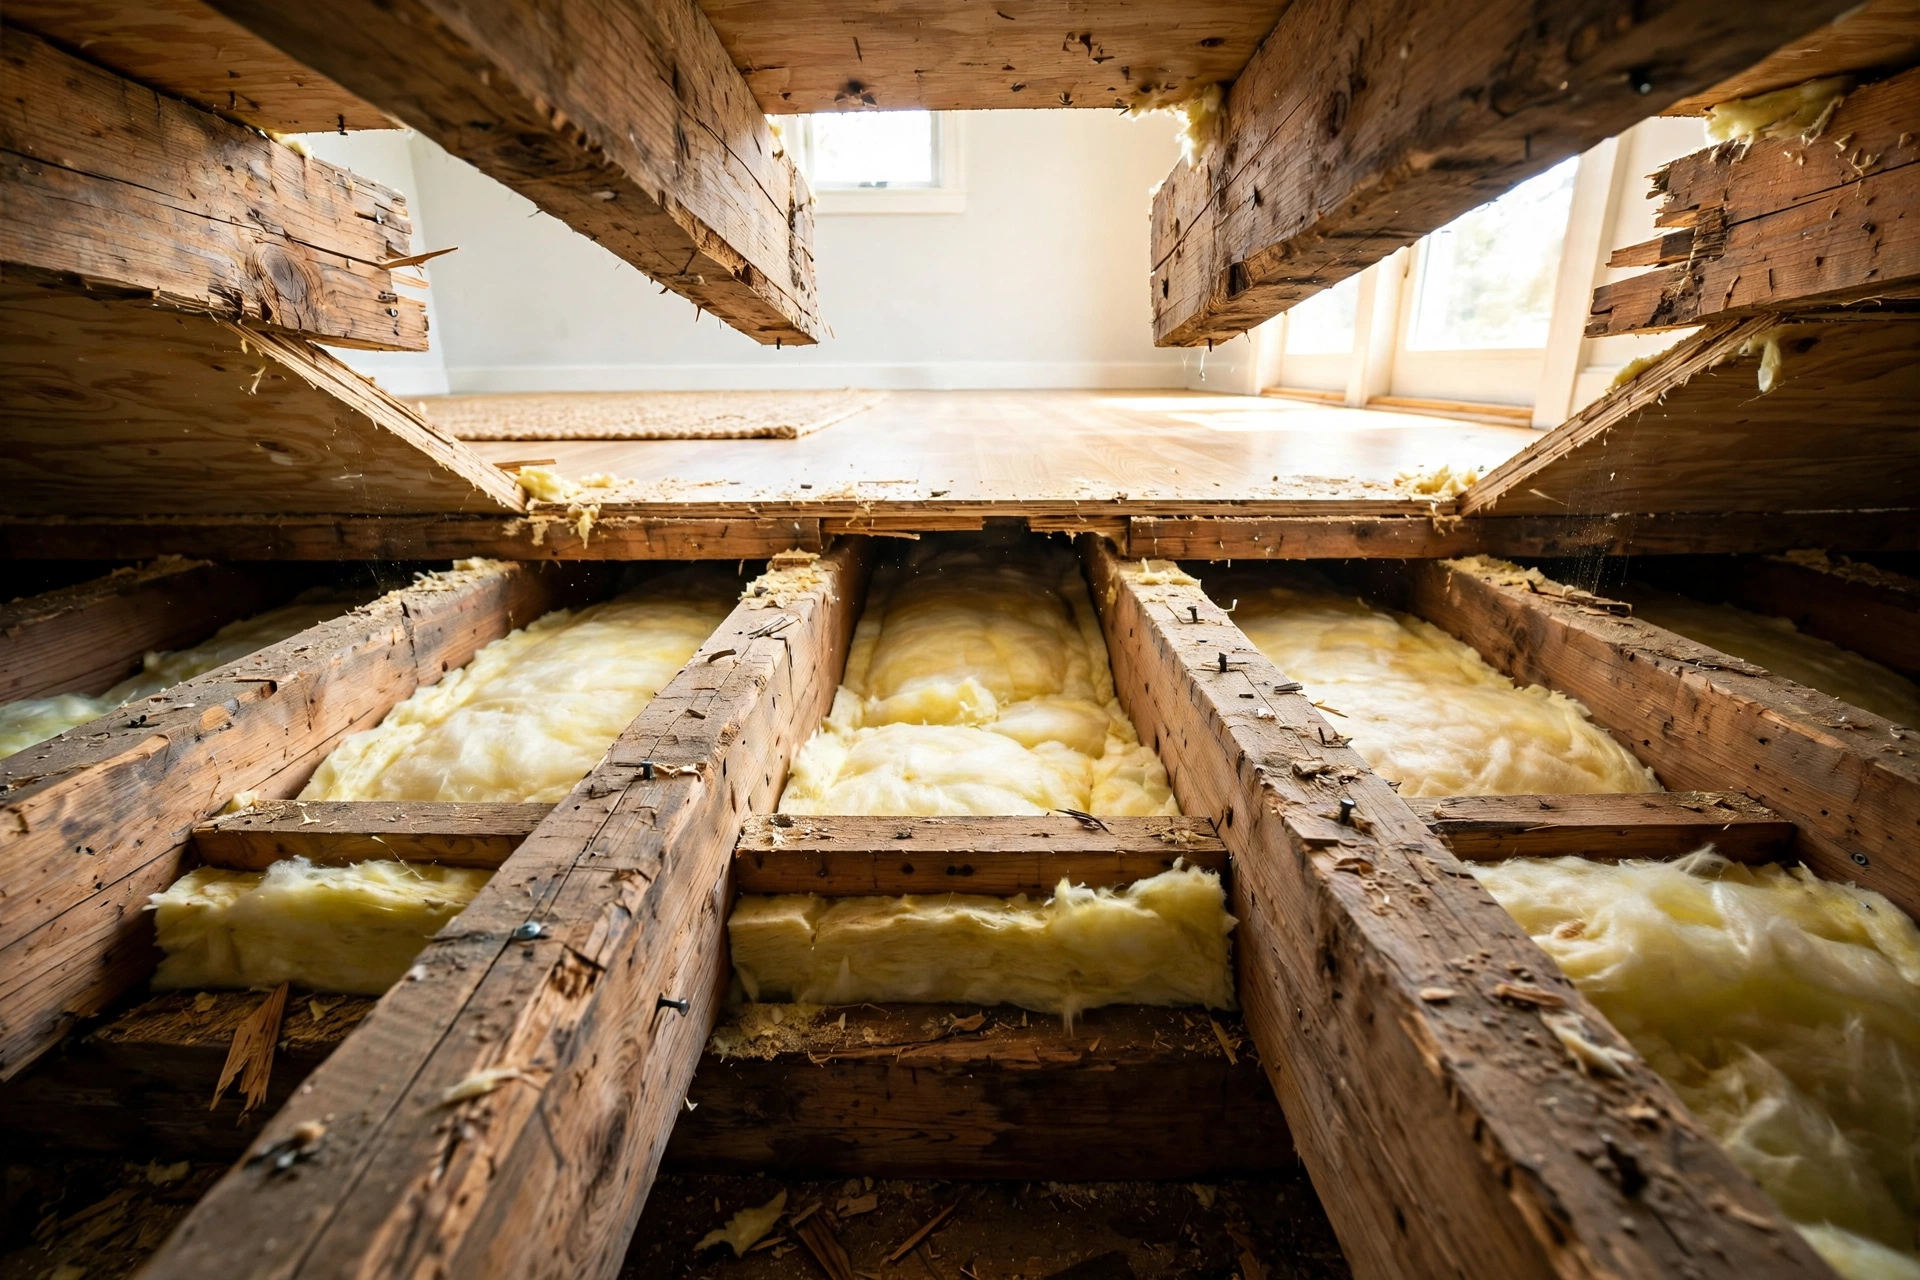
Draught-Proofing: The Small Job That Helps a Lot
Draught-proofing means sealing the gaps around doors, windows, letterboxes and pipe entries where cold air leaks in and warm air leaks out. It is the cheapest insulation-related job in most homes, and it often makes a room feel warmer immediately, because still air is far more comfortable than moving air.
Start with the obvious gaps: doors that do not close tightly, windows with worn seals, the loft hatch, and the letterbox. Self-adhesive foam strips, brush strips and keyhole covers all help, and they are easy to fit and easy to remove if they do not suit. Check pipe entries where pipes pass through walls and floors, since those holes are often larger than the pipe and let in a surprising draught. Test each door and window after fitting, since a strip that is too thick can stop it closing properly. Draught-proofing does not replace insulation, but it works with it: insulation slows heat through solid surfaces, while draught-proofing stops heat escaping through gaps.

Ventilation: Do Not Seal Your Home Shut
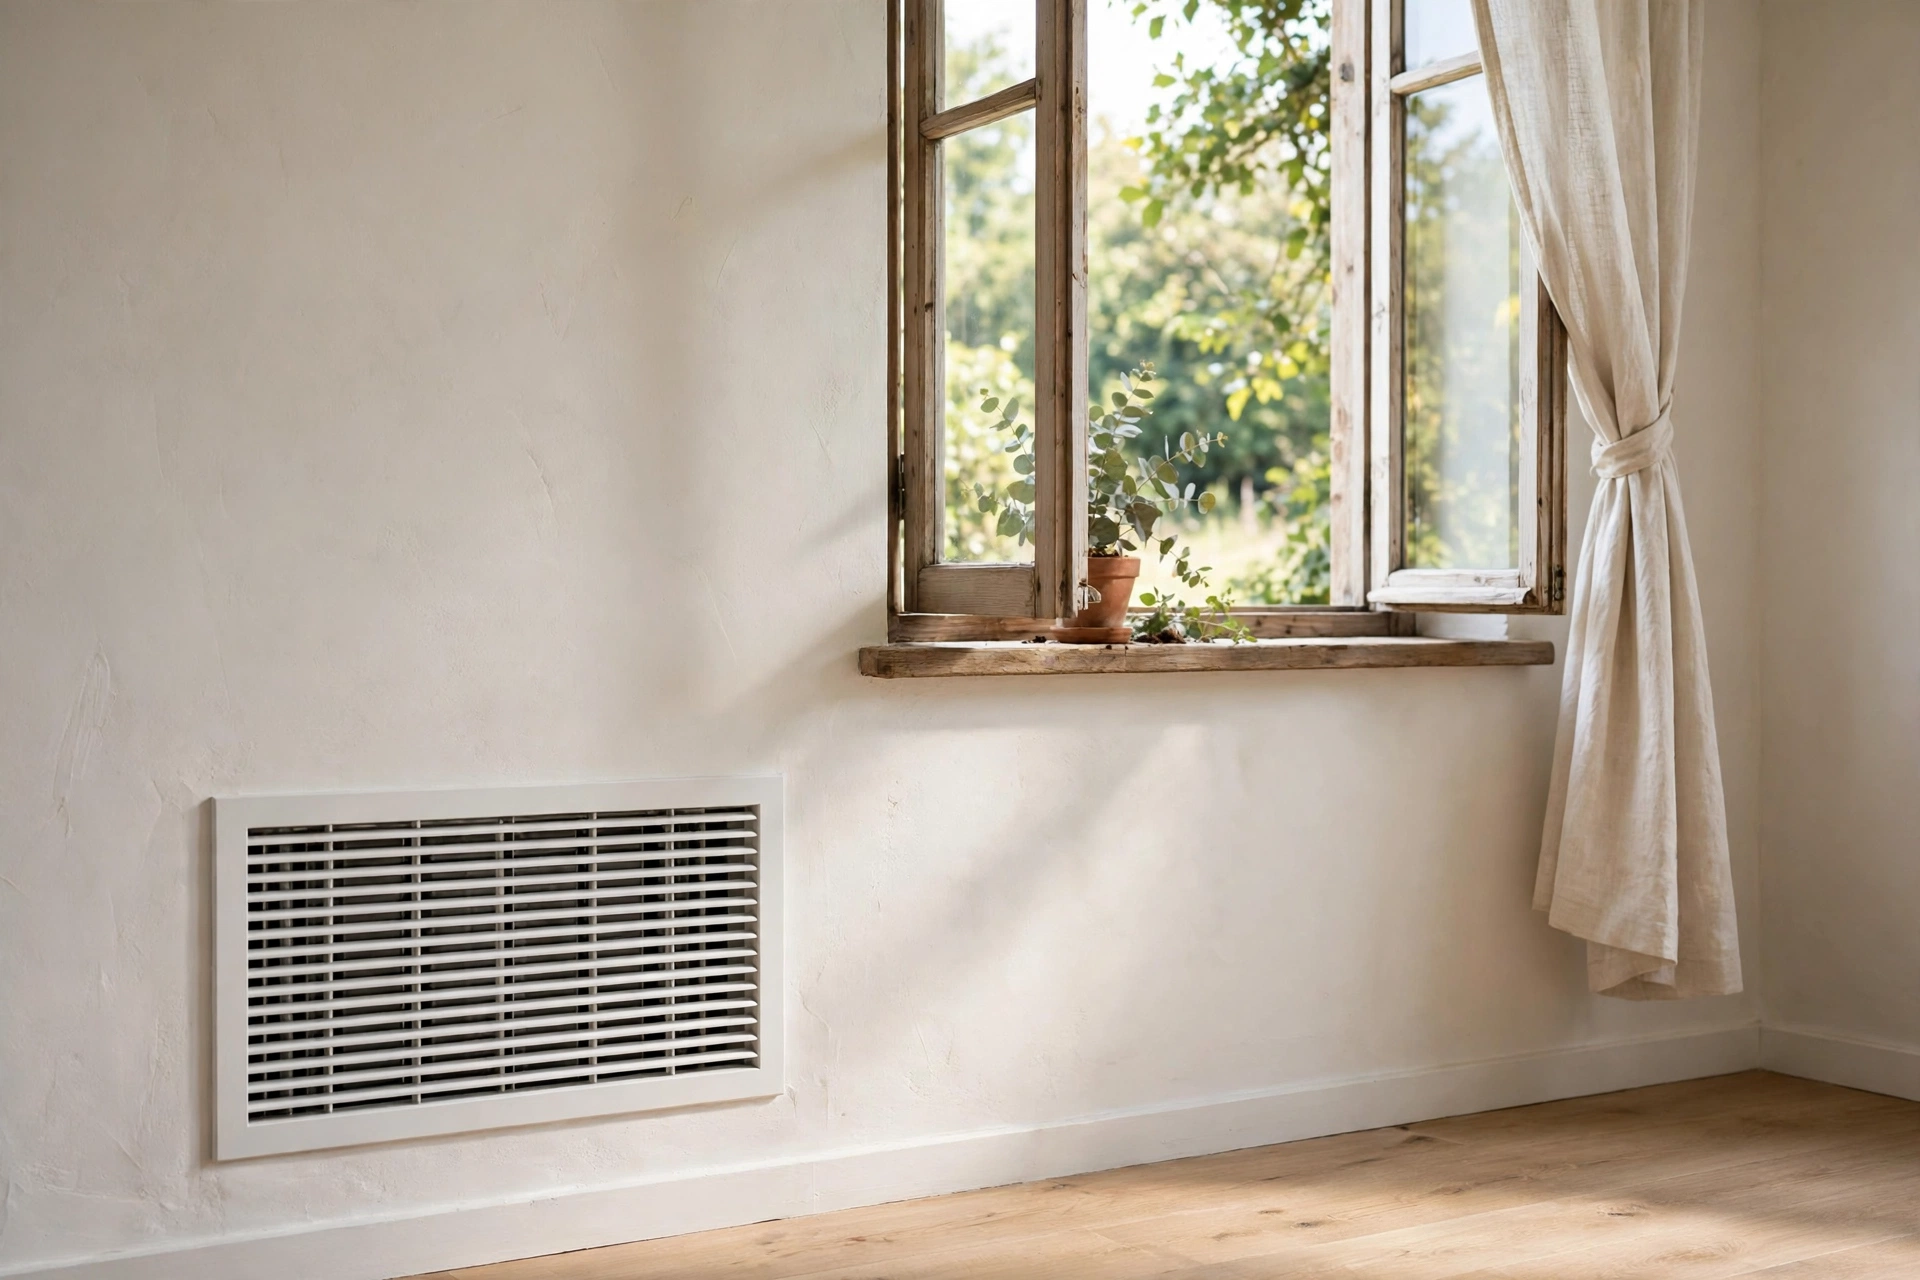
Ventilation means letting fresh air in and moist air out in a controlled way, and it matters just as much as insulation, because a home that is sealed shut becomes damp, stuffy and unhealthy. The aim is a home that is well insulated and sensibly ventilated, not one wrapped airtight without any way for moisture to escape.
Everyday life creates moisture: cooking, showering, drying clothes indoors and even breathing all add water vapour to the air. In a well-ventilated home, that moisture leaves through vents, extractor fans and occasional window opening. In a home where every vent is blocked, it settles on cold surfaces, feeds damp patches, and can damage walls and belongings over time. So keep trickle vents, air bricks and extractor fans clear when you insulate, and never block a vent to stop a draught without understanding what it serves. If a room has persistent condensation or damp, get professional advice on ventilation before adding more insulation, since the two problems need solving together.
Safety First: Gear, Dust and Electrics
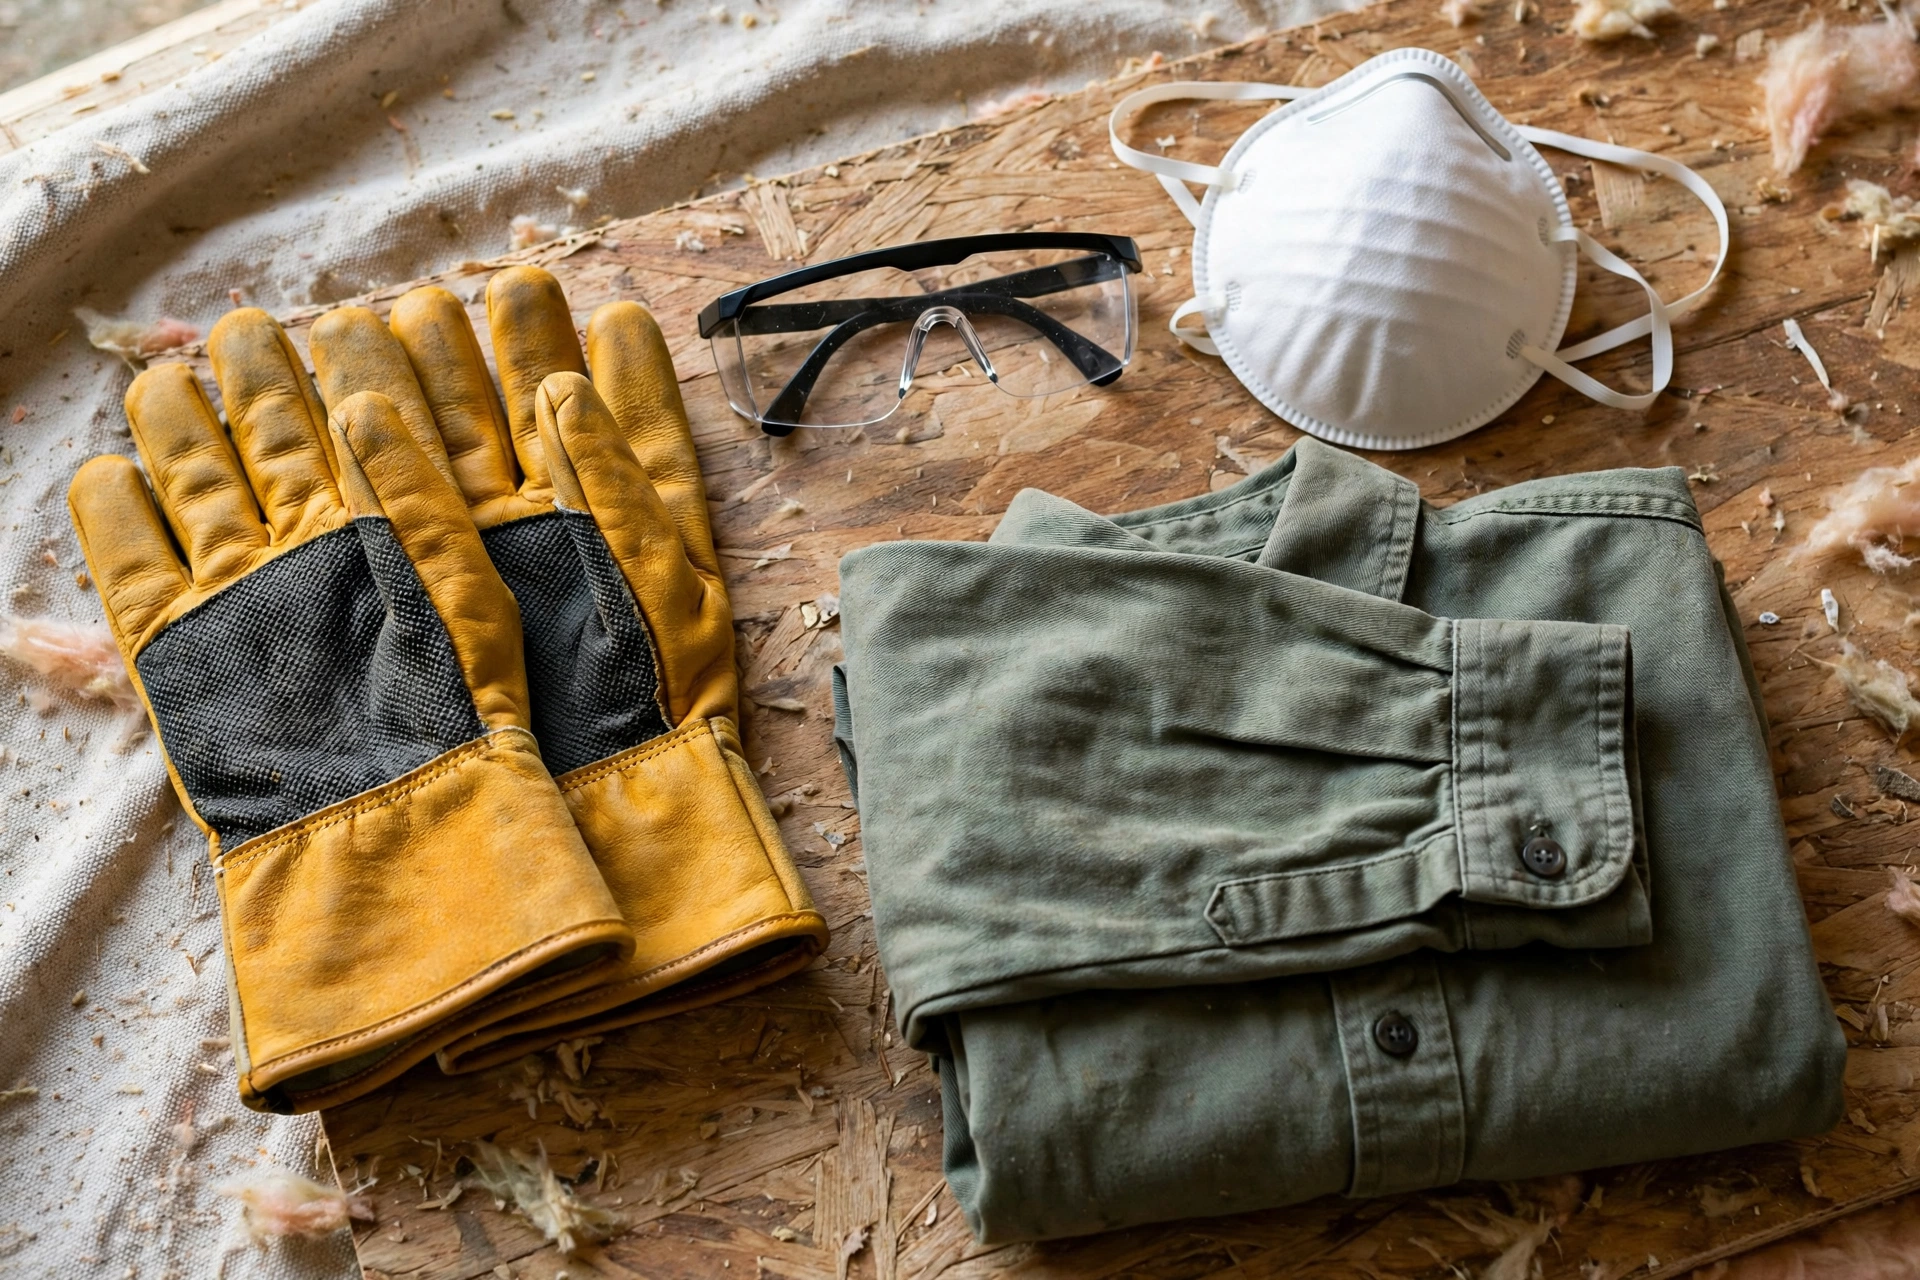
Safety when insulating a home means wearing the right protective gear, working carefully in confined spaces, and never touching wiring or working near electrics without switching the power off. Insulation work is not dangerous when done carefully, but it involves dust, fibres, heat in attics, and heavy rolls that deserve respect.
Wear gloves, long sleeves, eye protection and a dust mask when handling insulation, and wash hands and clothes afterwards, since fibres irritate skin and lungs. In an attic, watch for heat, low headroom, and joists that will not take your weight: step only on joists or boards, never on the ceiling below. Keep insulation clear of recessed lights and other heat sources unless the product guidance says it is safe, since overheating is a real risk. For electrics, switch the power off at the breaker before working near cables, sockets or light fittings, keep it off until the work is done, and get a qualified electrician for any wiring work. If you feel unwell, dizzy or unsure at any point, stop and get help.
What Insulating a Home Costs
The cost of insulating a home depends on the area to cover, the material chosen, whether the work is DIY or professional, and how much preparation the home needs first. Attic and draught-proofing work is usually the most affordable, because the materials are simple and the labour, if any, is limited, while wall and roof work costs more.
Material is only part of the total. Professional jobs also include survey, fitting, making good, and clean-up, and a home that needs damp repair, ventilation work or access improvements first will cost more than a straightforward job. Pattern and complexity matter too: a simple rectangular attic is quicker than one full of awkward corners, tanks and wiring. The honest way to compare is with written quotes that cover material, fitting and finishing together, rather than a material price alone. Ask what is included, what happens to vents and access, and what guarantee the installer offers, and keep the quote for your records. Avoid choosing purely on the lowest price.

Common Mistakes When Insulating a Home
The most common mistake when insulating a home is leaving gaps and squashed patches, so heat still leaks through joints, pipe entries and corners. Insulation only works as a continuous layer, and a wall or attic that is mostly covered but has bare patches will perform far worse than its covered area suggests.
Other mistakes are just as easy to make. Blocking vents to stop draughts, fitting insulation over damp or damaged surfaces without fixing the cause, and using the wrong material in a wet place all store up trouble. Squashing thick material into a shallow space loses some of its trapped air and therefore some of its power, so it is better to use the right thickness for the space. Finally, many homeowners insulate the attic and forget the hatch itself, which is often an uninsulated hole in the middle of the layer: insulate and draught-seal the hatch too, so the whole ceiling performs as one layer. A simple project checklist catches most of these errors before they happen:
- Assess the home and fix damp or ventilation problems first.
- Set the priority order: attic, then walls, then floors.
- Decide DIY or professional for each job, and get written quotes for professional work.
- Choose the material for the place it will go, and read the product label.
- Fit the layer evenly, without gaps, squashing or blocked vents.
- Insulate pipes, tanks and the loft hatch as part of the same project.
- Check the finished work before closing up, and keep the product details for later.
Conclusion
How to insulate a home comes down to a simple order: assess first, fix damp and ventilation problems, start with the attic, then tackle walls and floors, and seal draughts as you go. Do the accessible jobs yourself with proper protective gear, and hire qualified professionals for sealed cavities, spray foam and anything involving wiring or structure.
Done well, insulation brings rooms that hold their warmth and fewer draughts. Start with the attic, work through the checklist, and let the condition of your own home, not a single product claim, decide what it needs next.
Frequently Asked Questions
What is the first thing to insulate in a home?
The attic usually comes first, because it is accessible, the work is relatively simple, and rooms below hold their warmth better once the roof layer is complete and even.
Can I insulate my home myself?
Yes, for attic layers, pipe lagging and draught-proofing, with proper protective gear and care. Cavity filling, spray foam and flat roof work are usually professional jobs.
Do I need to worry about ventilation when insulating?
Yes, keep vents, air bricks and extractor fans clear, and never seal a home shut. Insulation and controlled ventilation must work together to avoid damp and stale air.
How much does it cost to insulate a home?
It depends on the area, material, DIY or professional fitting, and preparation needed. Attic and draught-proofing are usually most affordable, while wall and roof work costs more.
What mistakes should I avoid when insulating?
Avoid gaps, squashed material, blocked vents, and insulating over damp surfaces. Also insulate the loft hatch, since an uninsulated hatch leaves a hole in the ceiling layer.
Disclaimer: This article is provided for general information only. It is not professional building, energy, electrical, or safety advice, and it does not promote any brand, product, or service. Insulation types, suitability, and costs vary by product, region, and home, so always check the guidance for the specific product and seek qualified professional advice before insulating, especially for damp problems, ventilation, electrical work, or work in confined spaces.
Thanks for visiting Clearise Cleaning Services! Discover more helpful tips and expert cleaning insights by exploring our related categories.