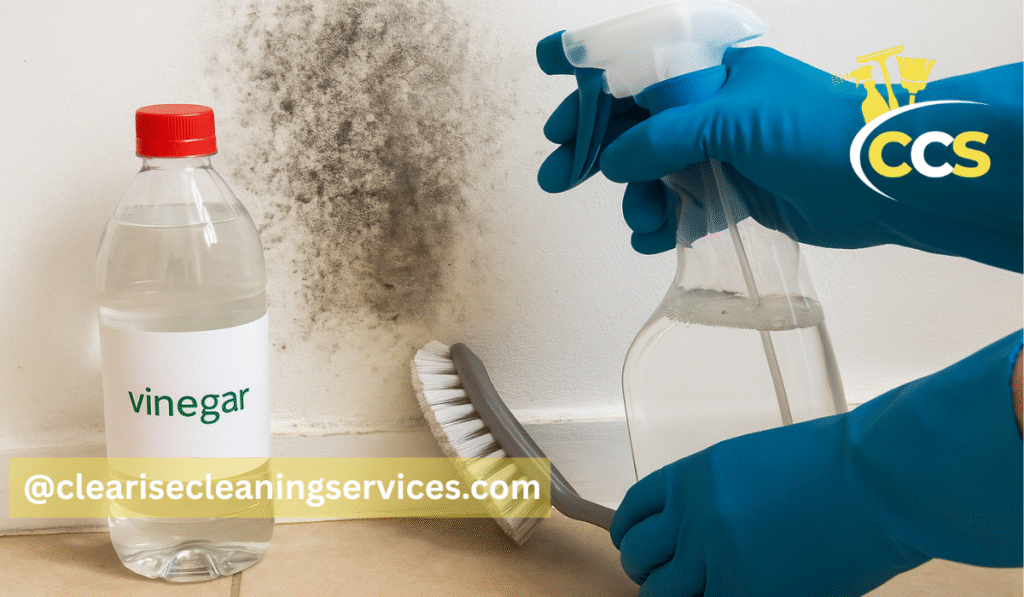
Learning how to deep clean kitchen properly means cleaning beyond daily wiping: you empty, degrease, scrub, and reset cabinets, appliances, sinks, countertops, and floors, including the spots daily cleaning usually misses. Done in the right order, it takes a few focused hours and leaves the room easier to keep clean.
A kitchen works harder than almost any other room. Cooking leaves grease in the air, crumbs in drawers, and spills inside the refrigerator. Daily wiping keeps surfaces looking fine, but it does not reach the film on cabinet doors or the grime behind the faucet. Over time, that hidden buildup makes the room feel dull, even when counters are clear.
This guide walks through the whole job in a sensible order: start high, work down, clear one zone at a time, and finish with the floor last, so you do not dirty what you have already cleaned. You do not need special equipment, and you can split the work across two days if time is short.
What Deep Cleaning a Kitchen Really Means
When you learn how to deep clean kitchen thoroughly, you clean the places, surfaces, and parts that daily cleaning skips, including inside appliances, behind handles, under small appliances, and along edges where grease and crumbs collect. It is a reset, not a race, and it should leave every zone clean, dry, and ready for normal use again.
Daily cleaning usually means washing dishes, wiping counters, and taking out rubbish. A deep clean goes further. It means taking items out of cabinets so you can wipe shelves, removing oven racks to soak them, pulling the refrigerator apart to wash drawers, and cleaning the range hood filter that traps cooking grease. It also means checking for expired food, broken containers, and tools you no longer use.
Think of a deep clean as three jobs in one: remove, clean, and reset. First, remove clutter and expired items. Second, clean each surface with a product suited to its material. Third, put things back in simple groups, so the next clean is easier.
Gather Supplies Before You Start
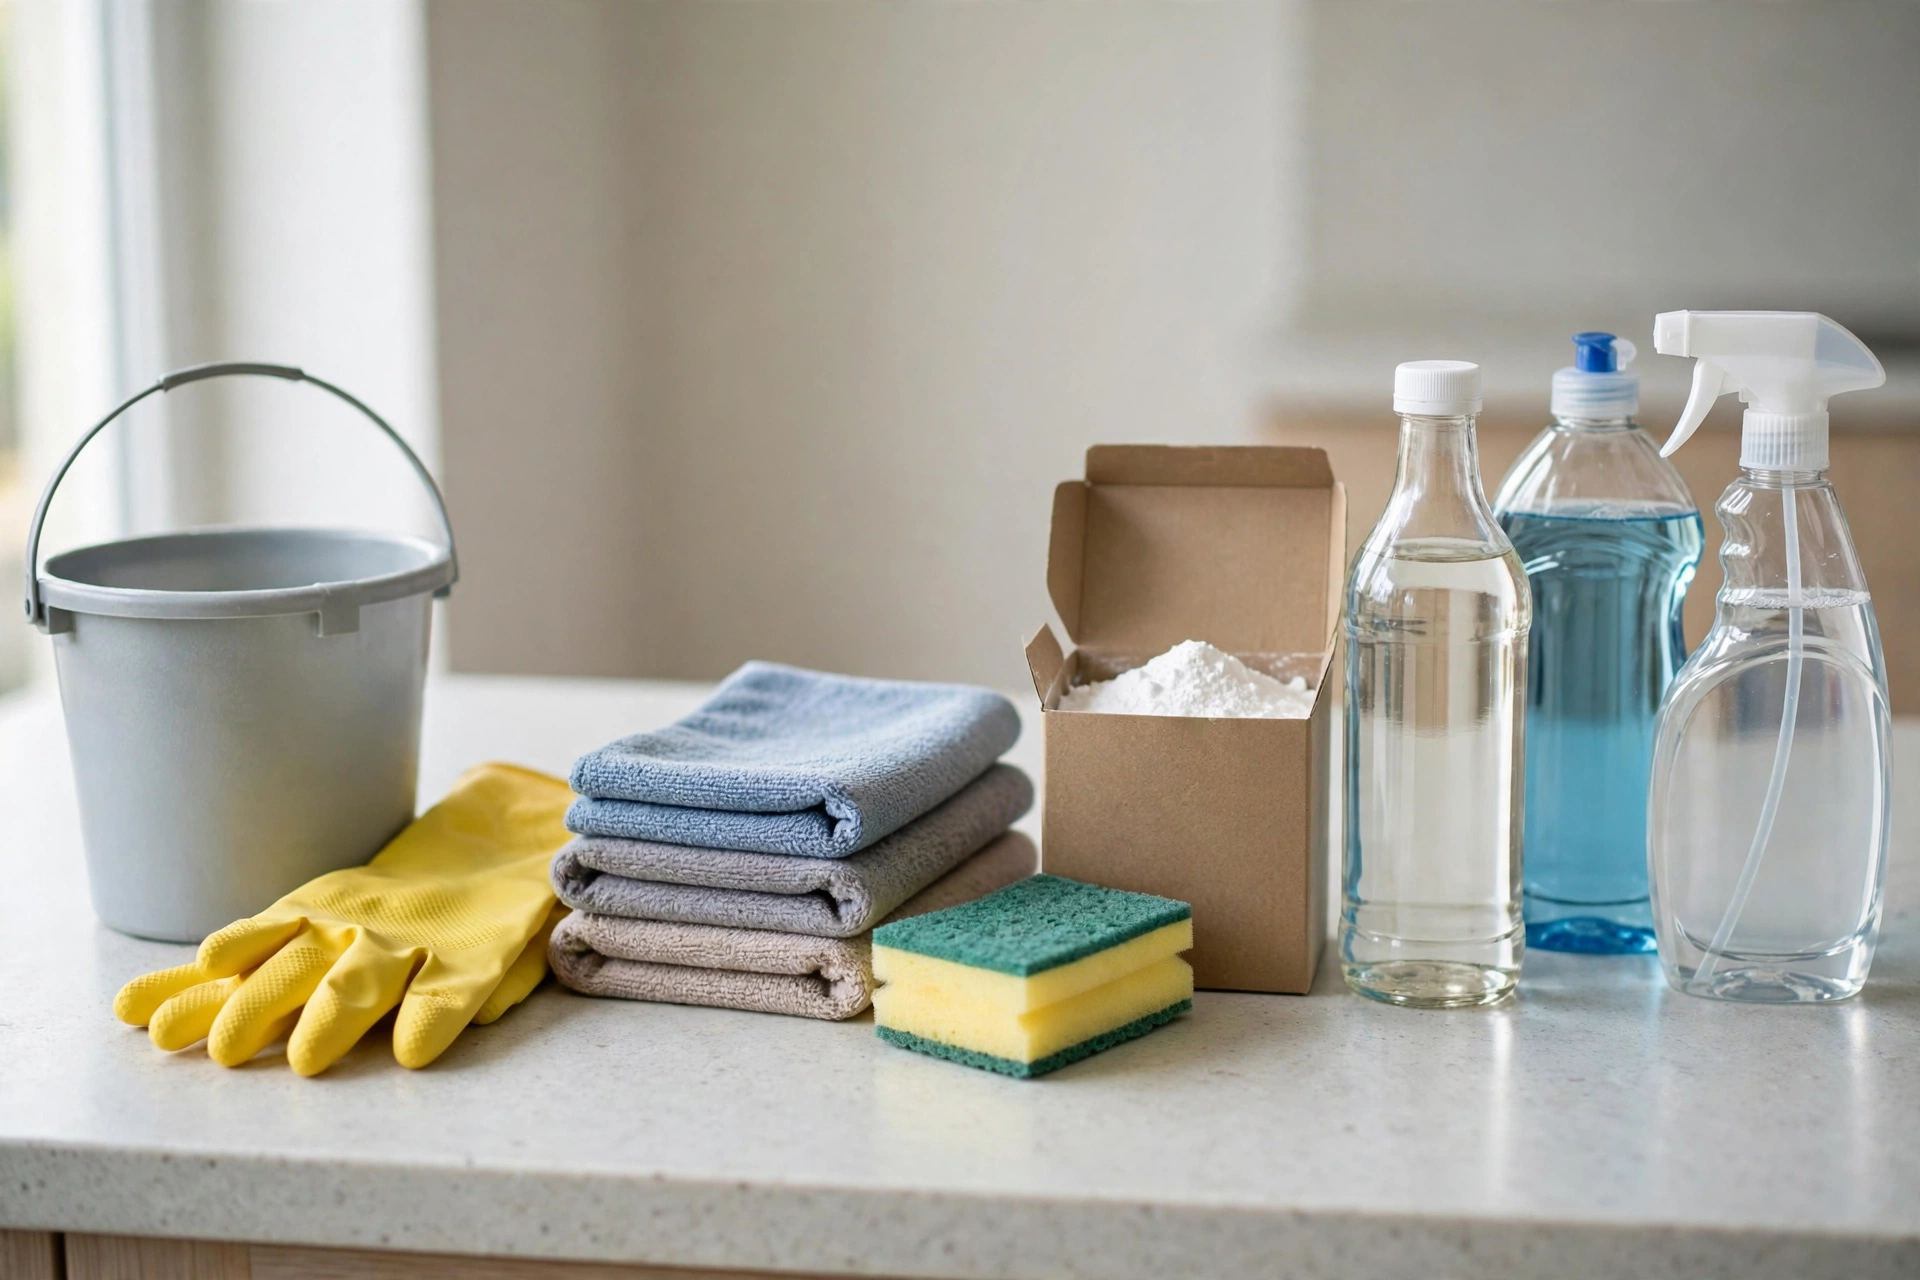
Before you start a kitchen deep clean, gather dish soap, an all-purpose cleaner, a degreaser, baking soda, white vinegar, microfibre cloths, a scrub sponge, an old toothbrush, a bucket, rubber gloves, and bags for rubbish and recycling. Having everything ready first prevents half-cleaned zones and repeated trips to the cupboard.
Dish soap in warm water handles most daily dirt. A degreaser helps on the stovetop, backsplash, and range hood, where cooking oil leaves a sticky film. Baking soda makes a gentle paste for the oven and sink, while white vinegar helps dissolve mineral marks around the faucet. Always read product labels, and never mix bleach with vinegar or other cleaners.
Set up a simple kit: one bucket of warm soapy water, a cloth for rinsing, a dry cloth for polishing, and a small brush for edges. Wear gloves, open a window if you are using a strong cleaner, and keep food away from the area you are cleaning.
- Dish soap, all-purpose cleaner, and a degreaser for grease zones
- Baking soda and white vinegar for gentle scrubbing and mineral marks
- Microfibre cloths, a non-scratch sponge, and an old toothbrush for edges
- Bucket, gloves, rubbish bags, and a box for items to donate or recycle
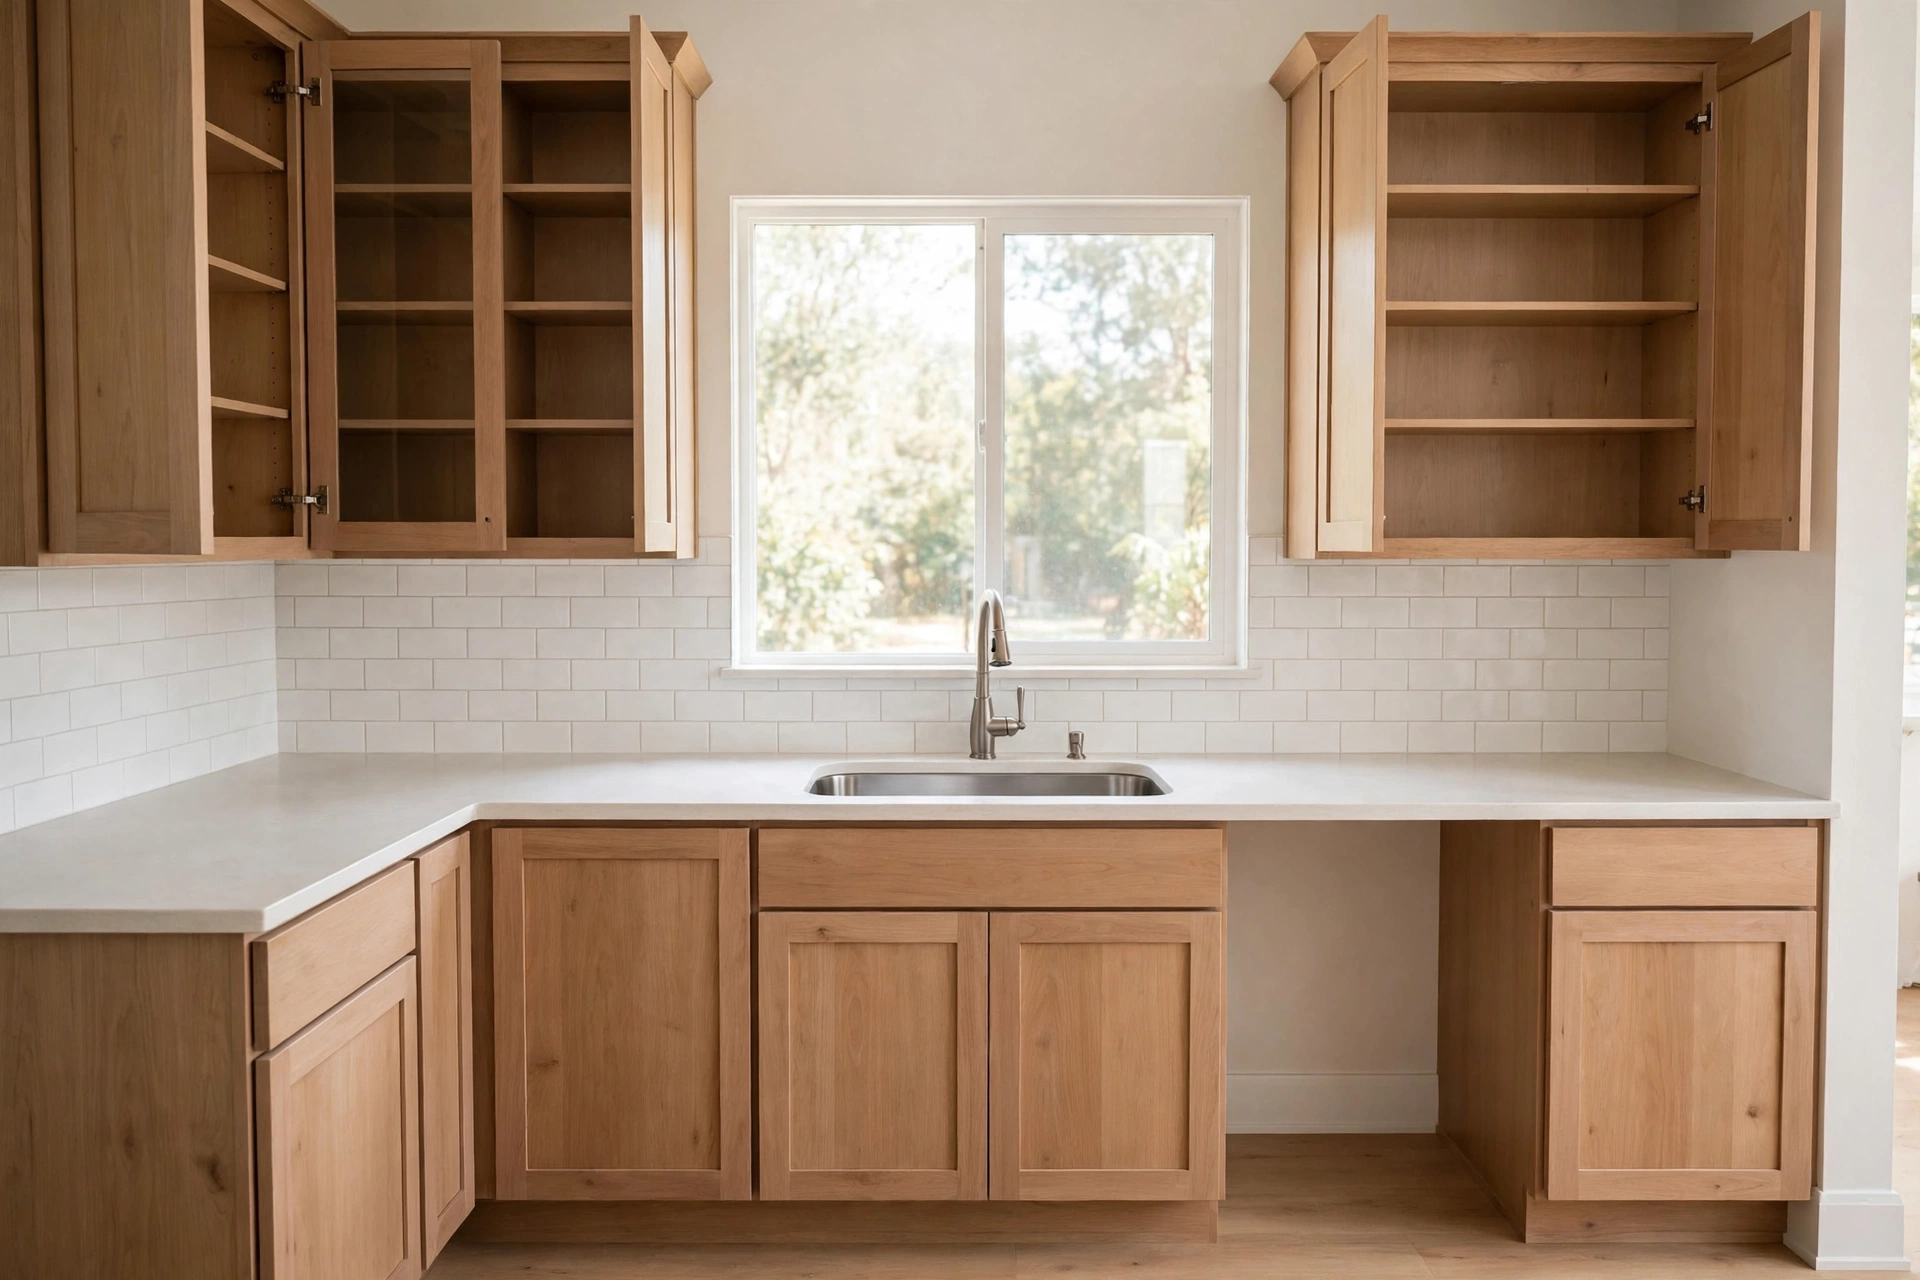
Start at the Top: Ceilings, Lights, and High Surfaces
Start a kitchen deep clean at the top by dusting ceiling corners, light fixtures, and the tops of tall cabinets, then working downward so dust and drips fall onto surfaces you have not cleaned yet. This top-to-bottom order is the simplest way to avoid cleaning the same surface twice.
Grease and dust often settle where you rarely look. The tops of cabinets, the rim of a light fitting, and the top edge of a tall pantry can hold a thin, sticky layer that is easy to miss. Use a dry microfibre cloth or a duster with a long handle first, then wipe with a damp cloth if the surface allows it. For light fixtures, switch the light off and let bulbs cool before you touch them, and follow the maker’s instructions for removing covers.
If you find a sticky film, a small amount of dish soap in warm water usually removes it. Wipe, rinse the cloth, and wipe again so no soapy residue remains. Leave high surfaces to dry while you move to the next zone. This first step may feel small, but it sets the tone for the whole clean: nothing above will drip onto your freshly cleaned counters later.

Clear and Clean Cabinets and Drawers
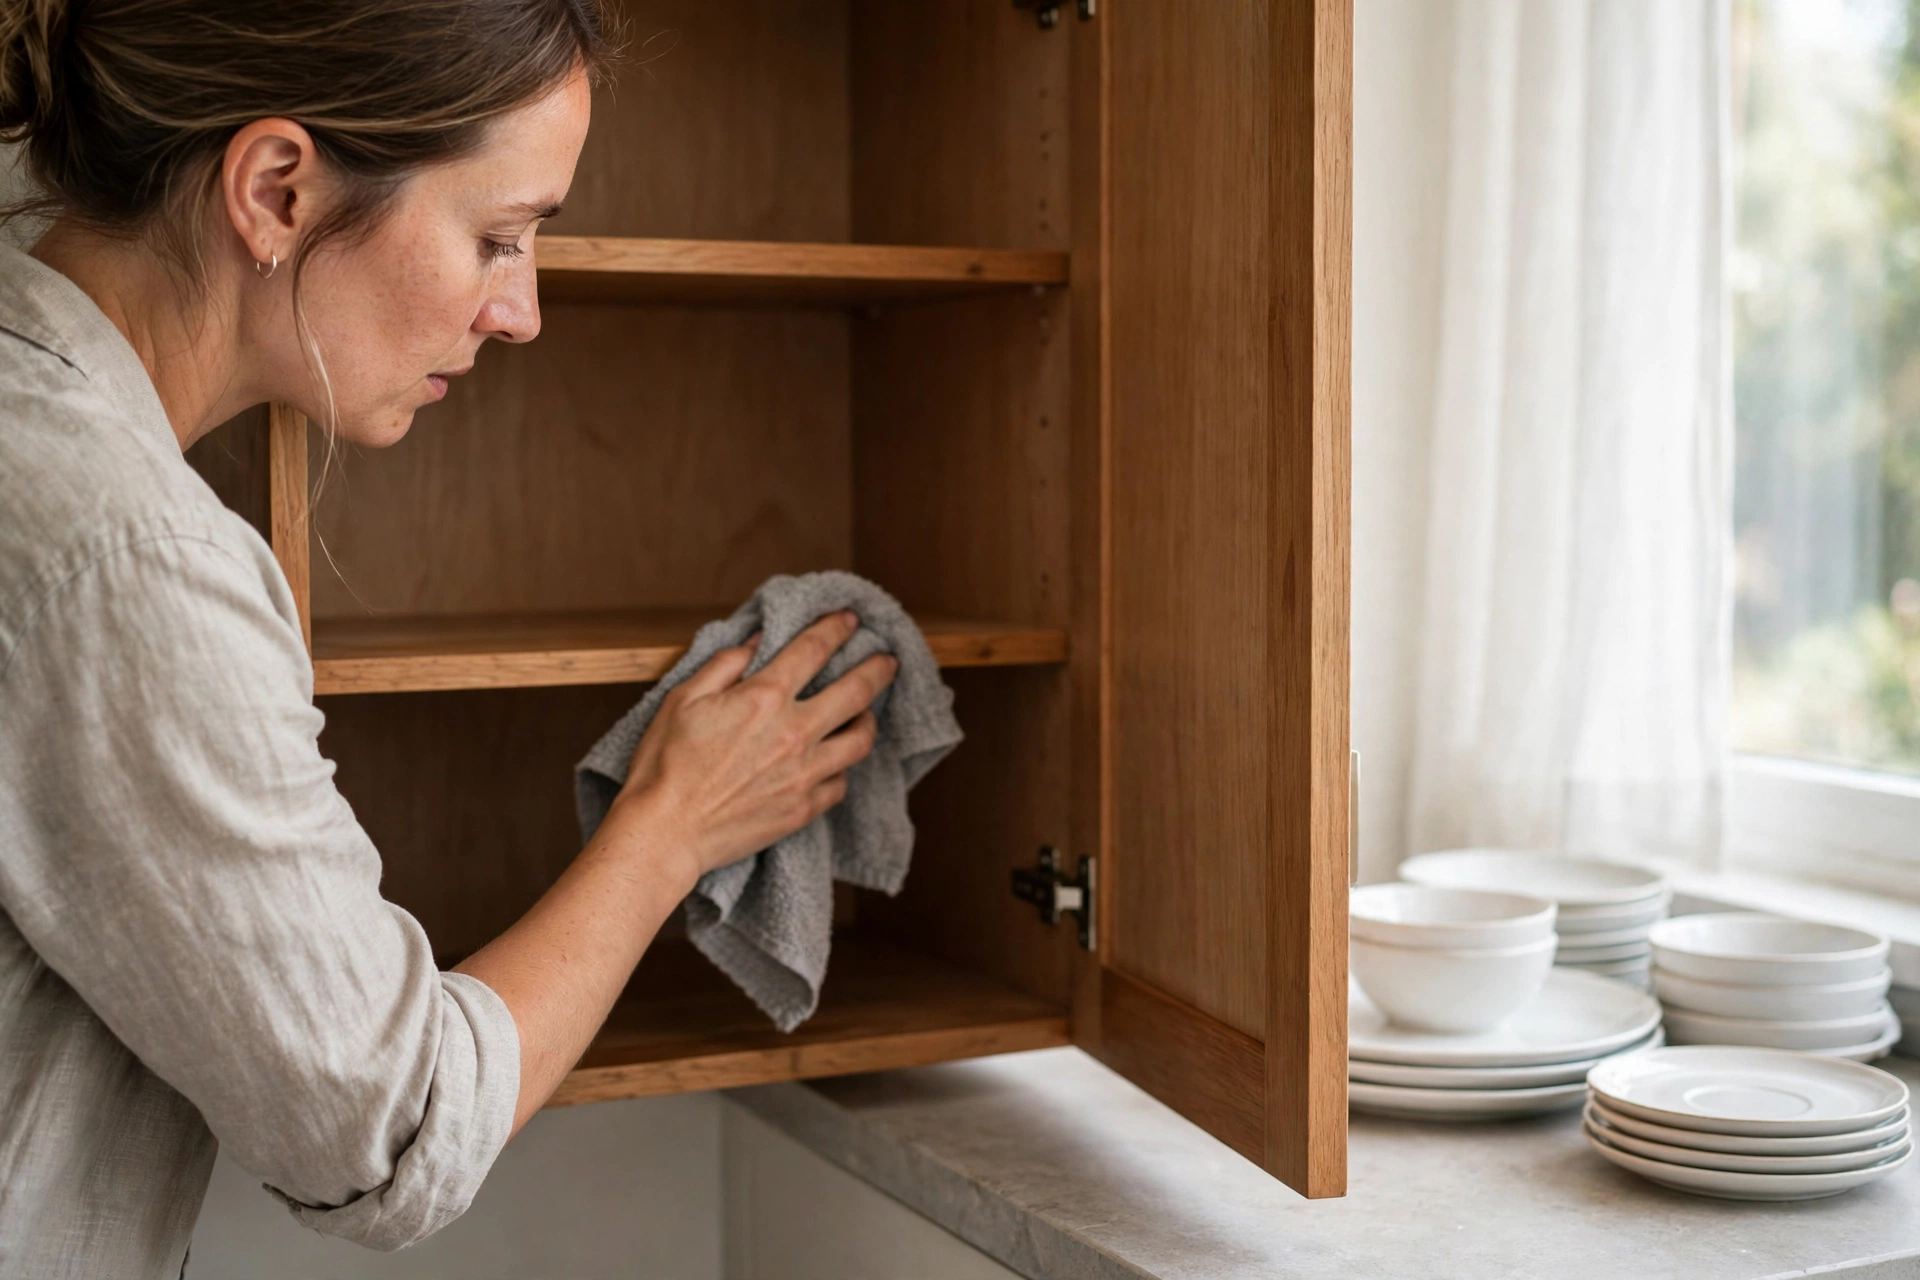
To clean kitchen cabinets and drawers properly, take everything out one cabinet at a time, wipe the shelves and doors inside and out, clean the handles, and put items back only after the surfaces are dry. Working one cabinet at a time keeps the kitchen usable and prevents a large pile of items on the floor.
Start with the cabinet doors, because grease from cooking settles on them first, especially near the stove. Wipe with warm soapy water, then rinse and dry so streaks do not form. For wooden cabinets, use only a small amount of water and a cleaner suited to wood, and dry promptly. Handles and knobs collect grime from hands, so clean around them with a damp cloth or an old toothbrush.
Inside, wipe shelves from back to front and check for crumbs, sticky jars, and expired food. Group similar items together, such as baking supplies and spices, and leave a little empty space so daily cooking and the next deep clean are easier.
Degrease the Stovetop, Backsplash, and Hood
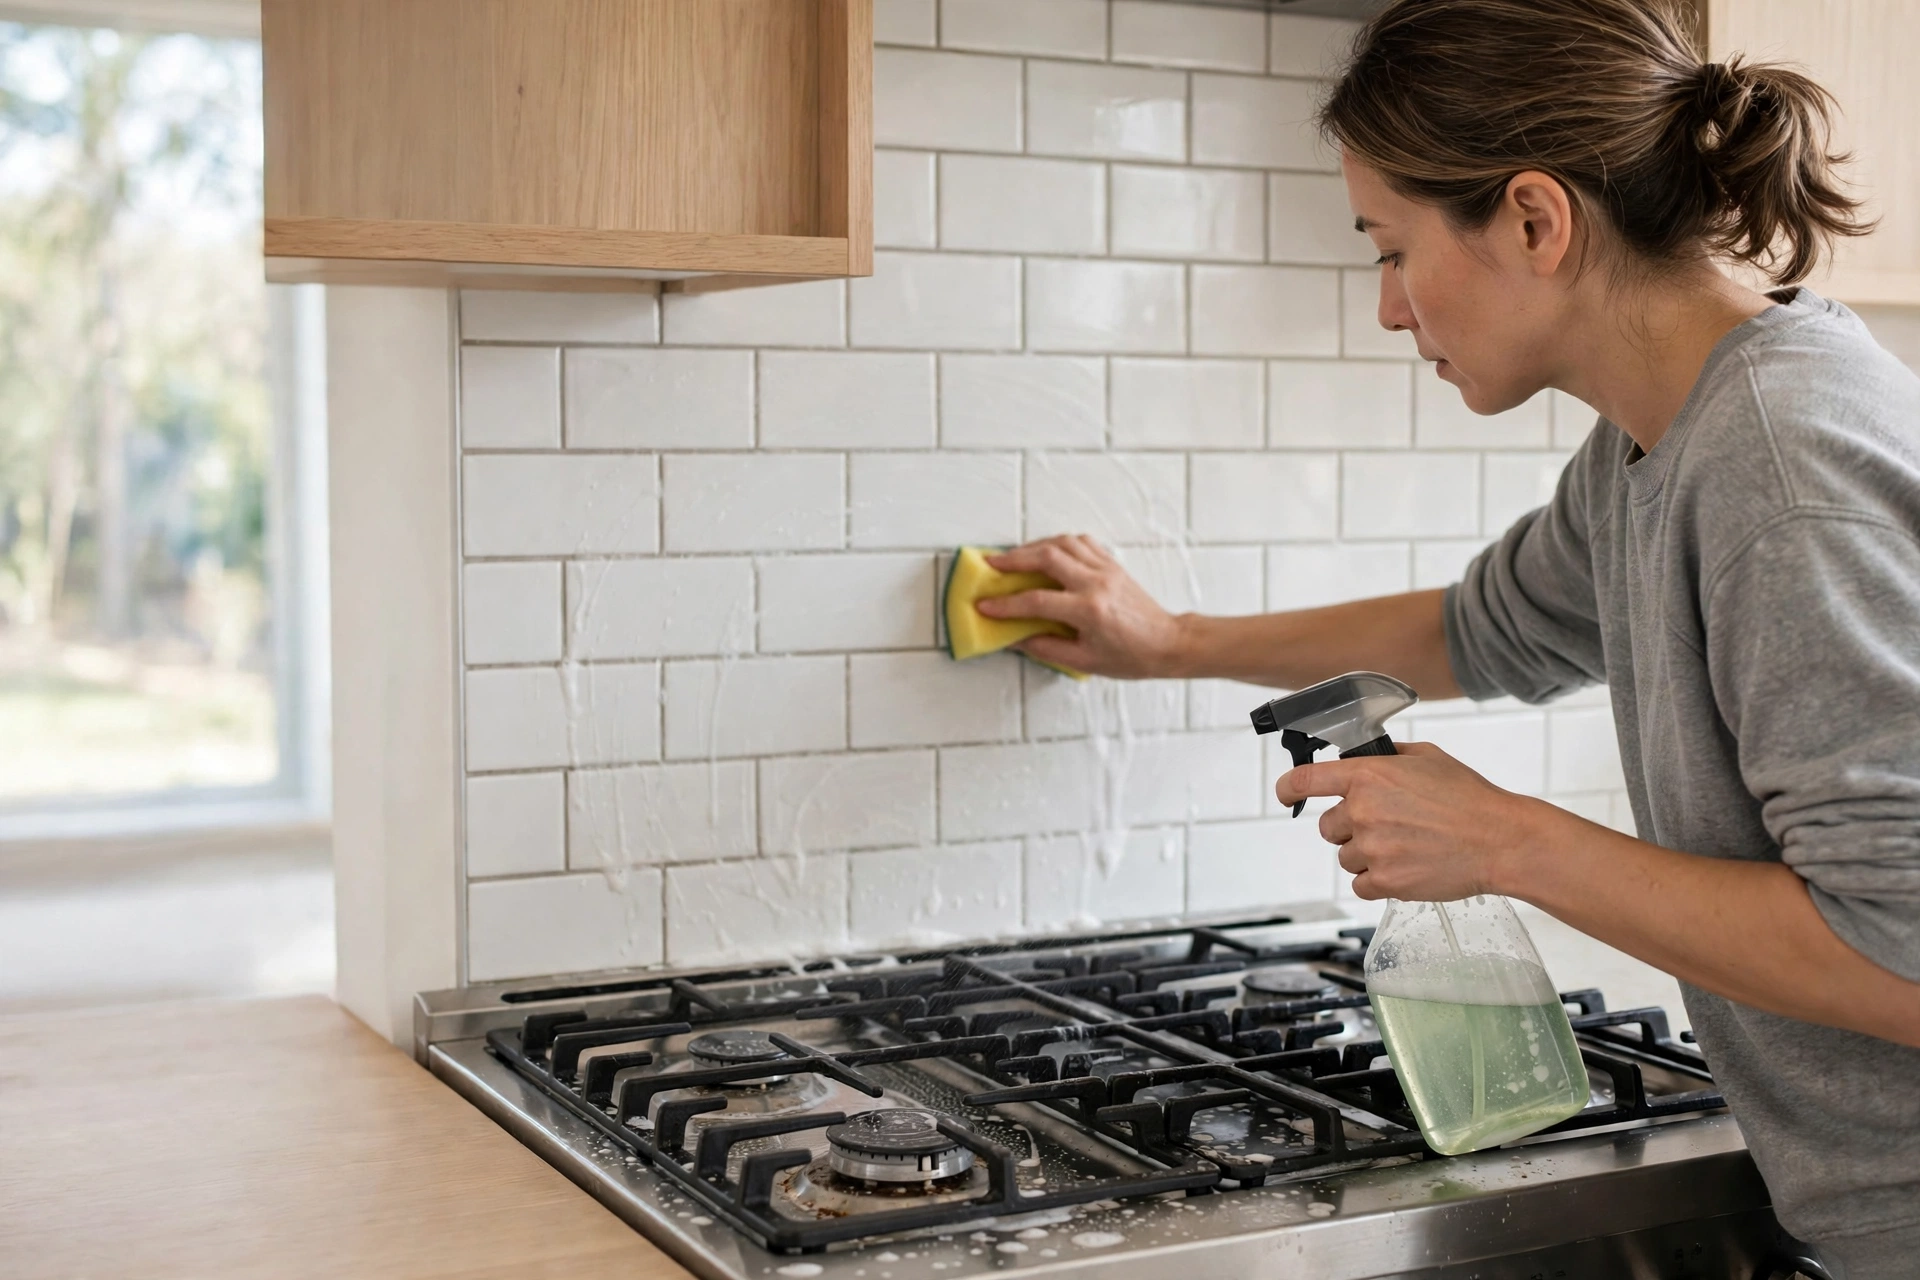
To degrease a stovetop, backsplash, and range hood, remove loose parts where possible, apply a degreaser or warm soapy water, let it sit briefly to loosen cooking oil, then wipe, rinse, and dry each surface. Grease needs time to soften, so a short soak usually works better than hard scrubbing.
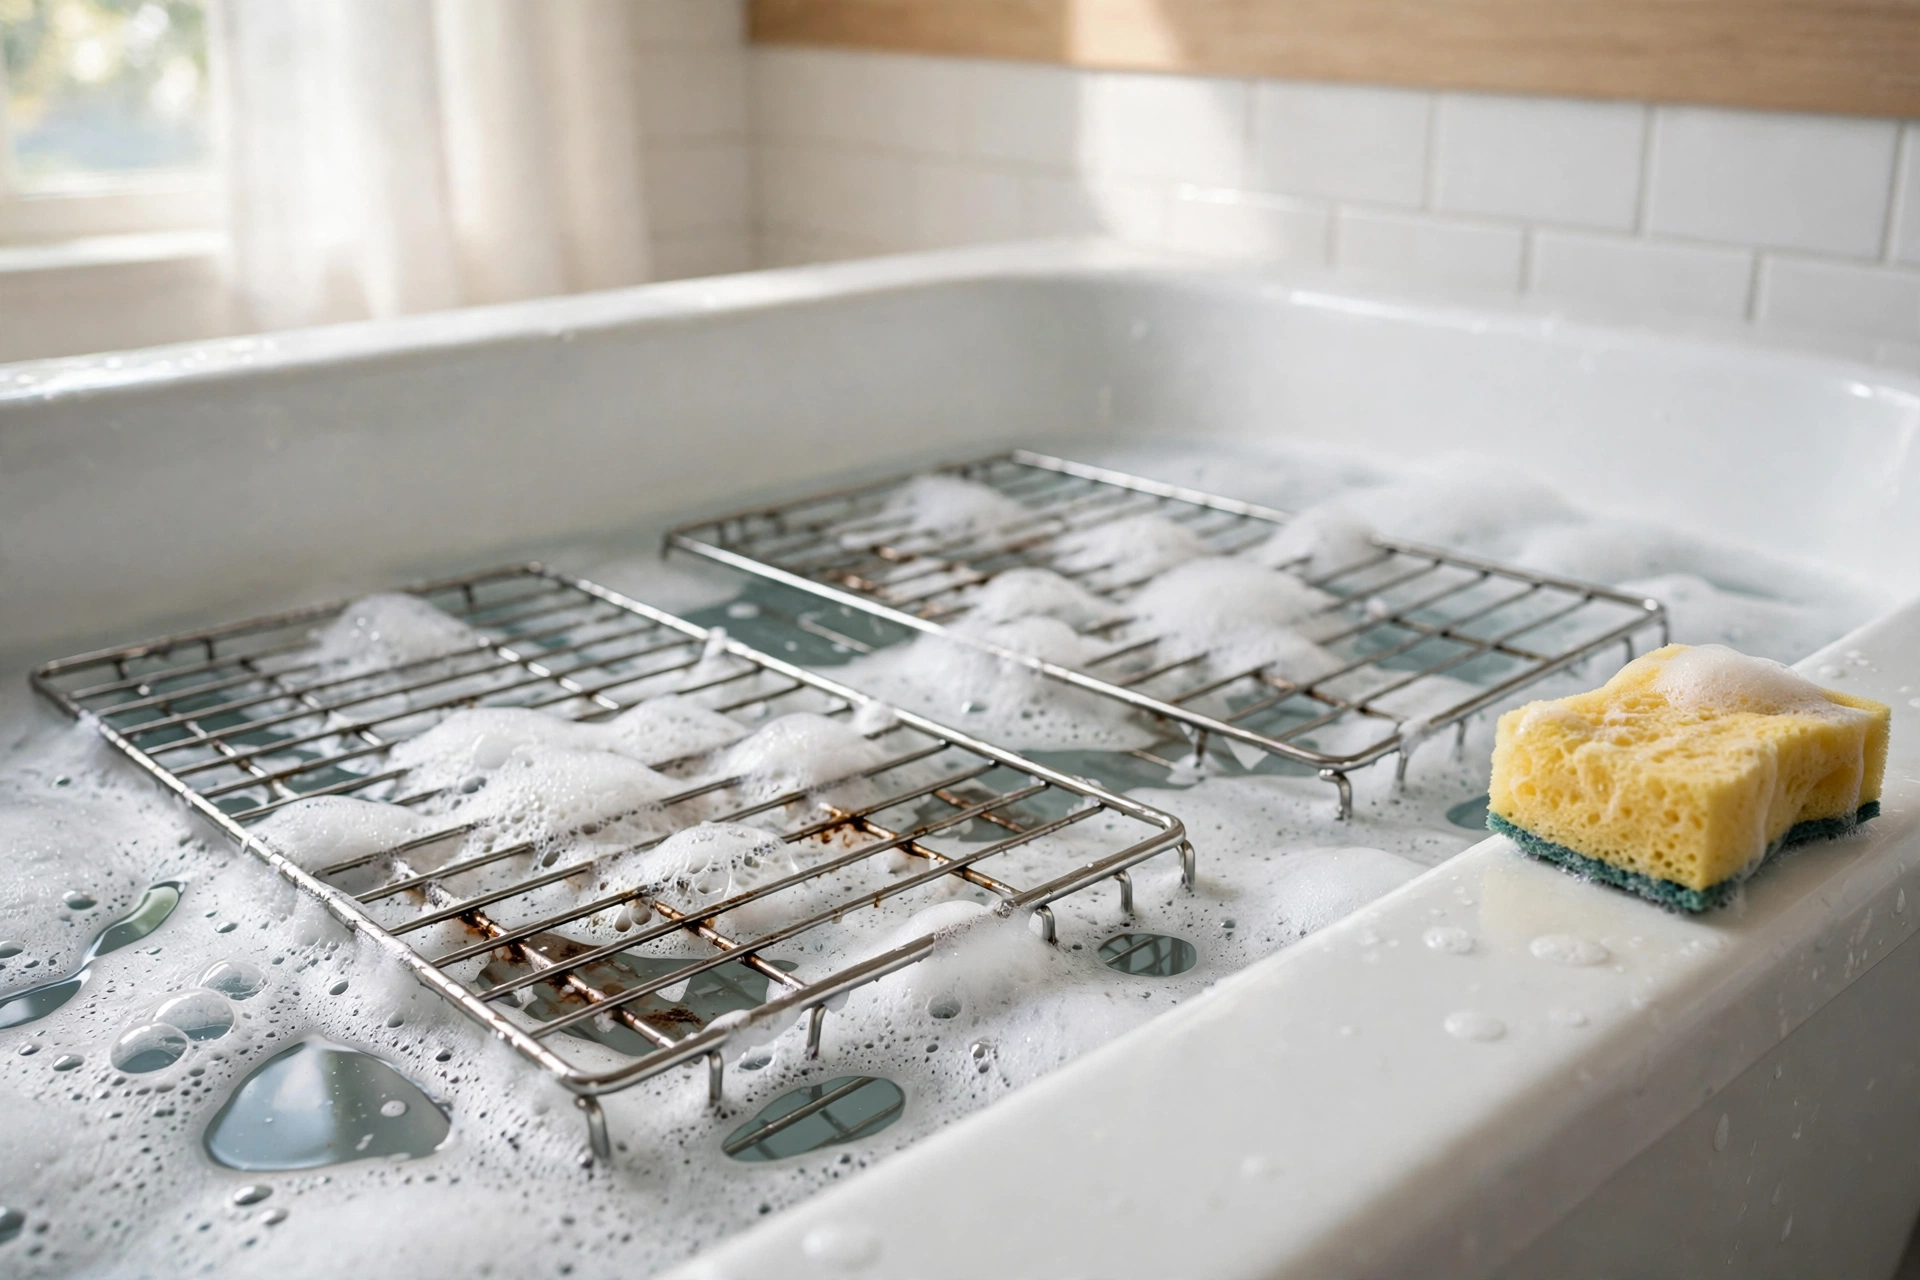
On the stovetop, remove grates, burner caps, and drip pans if your model allows it, and soak them in warm soapy water while you clean the surface underneath. Wipe the surface gently, paying attention to the edges where spills collect. For glass or ceramic tops, use a non-scratch pad and a cleaner made for that surface, and avoid dragging grit across the glass.
The backsplash catches splashes from frying and boiling, so wipe it from top to bottom and rinse well. The range hood filter traps grease from the air, so wash it in warm soapy water if the maker says it can be washed, or replace it if it is a disposable type. A clean filter helps the hood work better and reduces cooking smells. Always let electrical parts cool and dry before you switch the appliance back on.
| Kitchen zone | Main task | Best simple tool |
|---|---|---|
| Cabinets and drawers | Wipe shelves and doors, clean handles | Warm soapy water, microfibre cloth |
| Stovetop and backsplash | Degrease and rinse well | Degreaser, non-scratch sponge |
| Oven and racks | Soak racks, wipe interior | Baking soda paste, scrub sponge |
| Refrigerator and freezer | Empty, wash, dry, restock | Warm soapy water, dry cloth |
| Sink and faucet | Scrub, descale, polish | Baking soda, vinegar, soft cloth |
| Countertops | Clean by material, rinse, dry | Material-matched cleaner |
| Floor | Sweep, mop, dry edges | Broom, mop, dry cloth |
Deep Clean the Oven and Its Racks
To deep clean an oven, remove the racks, soak them in warm soapy water, wipe the interior with a paste or cleaner suited to your oven type, and rinse well so no cleaner remains before you use the oven again. Always check your oven manual first, because self-cleaning models and coated interiors have different rules.
If your oven has a self-clean cycle, follow the manual closely, ventilate the room, and remove racks if the manual tells you to. If it does not, a paste of baking soda and water spread inside the oven and left for several hours can loosen baked-on food. Wipe the paste away, then wipe again with clean water until the surface feels clean and no residue remains.
Racks often need the longest soak. Place them in warm soapy water, let them sit, then scrub gently and rinse. Clean the oven door glass with a soft cloth, and wipe the handle and control panel with a damp cloth. Do not spray cleaner into vents or electrical parts.
Reset the Refrigerator and Freezer
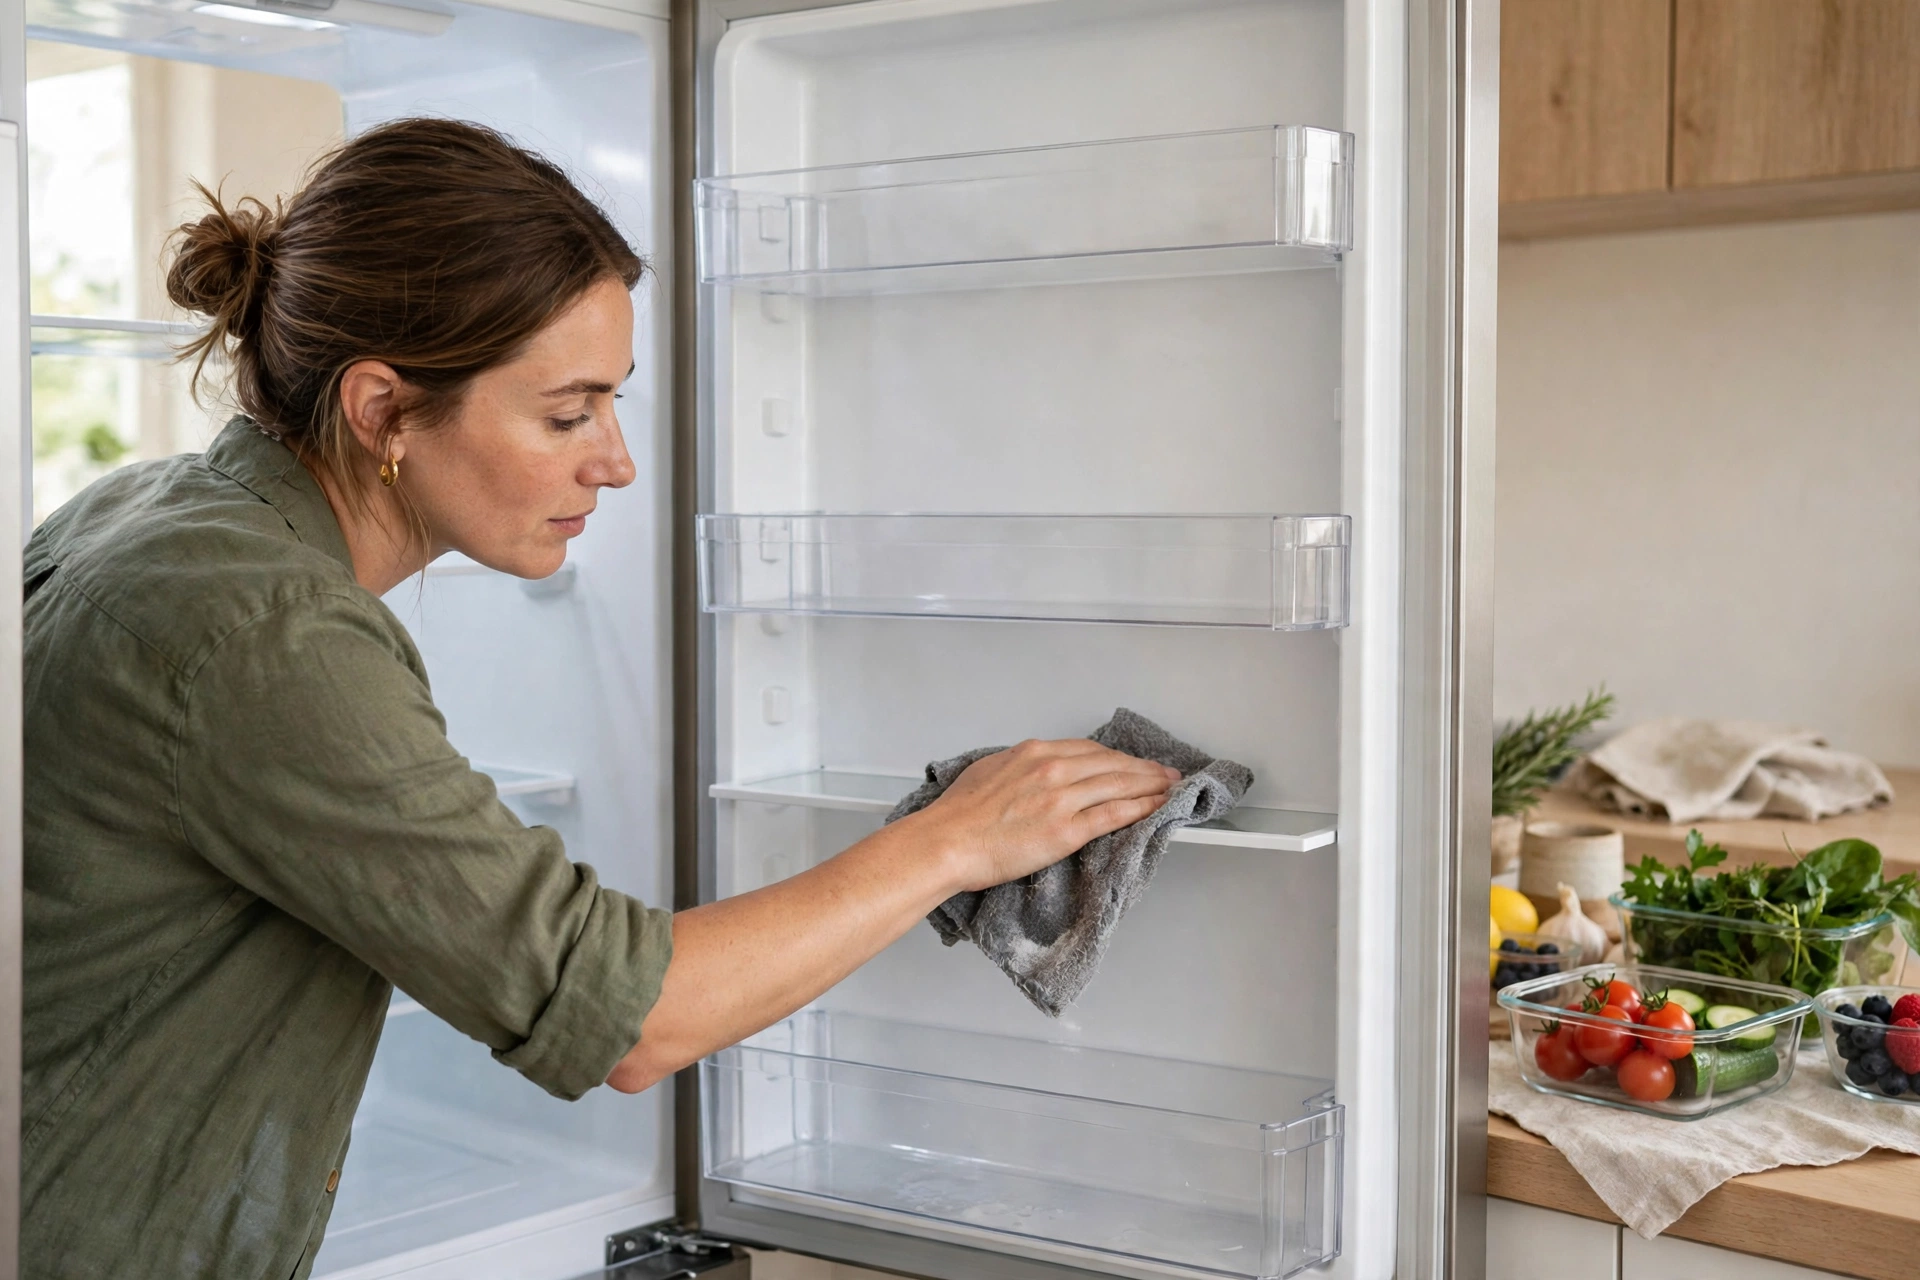
To reset a refrigerator and freezer, empty each section, discard expired or spoiled food, wash shelves and drawers in warm soapy water, wipe the interior walls, dry everything, and restock with the oldest items at the front. Keeping perishable food cool while you work helps protect food safety.
Start with one section at a time so food is not left out for long. Put perishable items in a cooler bag if the clean will take a while. Remove shelves and drawers, wash them, and wipe the interior with warm soapy water. Pay attention to door seals, where spills and crumbs can collect, and wipe them gently so they keep sealing well.
In the freezer, remove loose ice only as the maker allows, and do not use sharp tools to chip ice. Dry shelves before you put them back. When restocking, group similar foods, label leftovers with dates, and place items you need soon where you can see them.
Clean the Microwave and Small Appliances
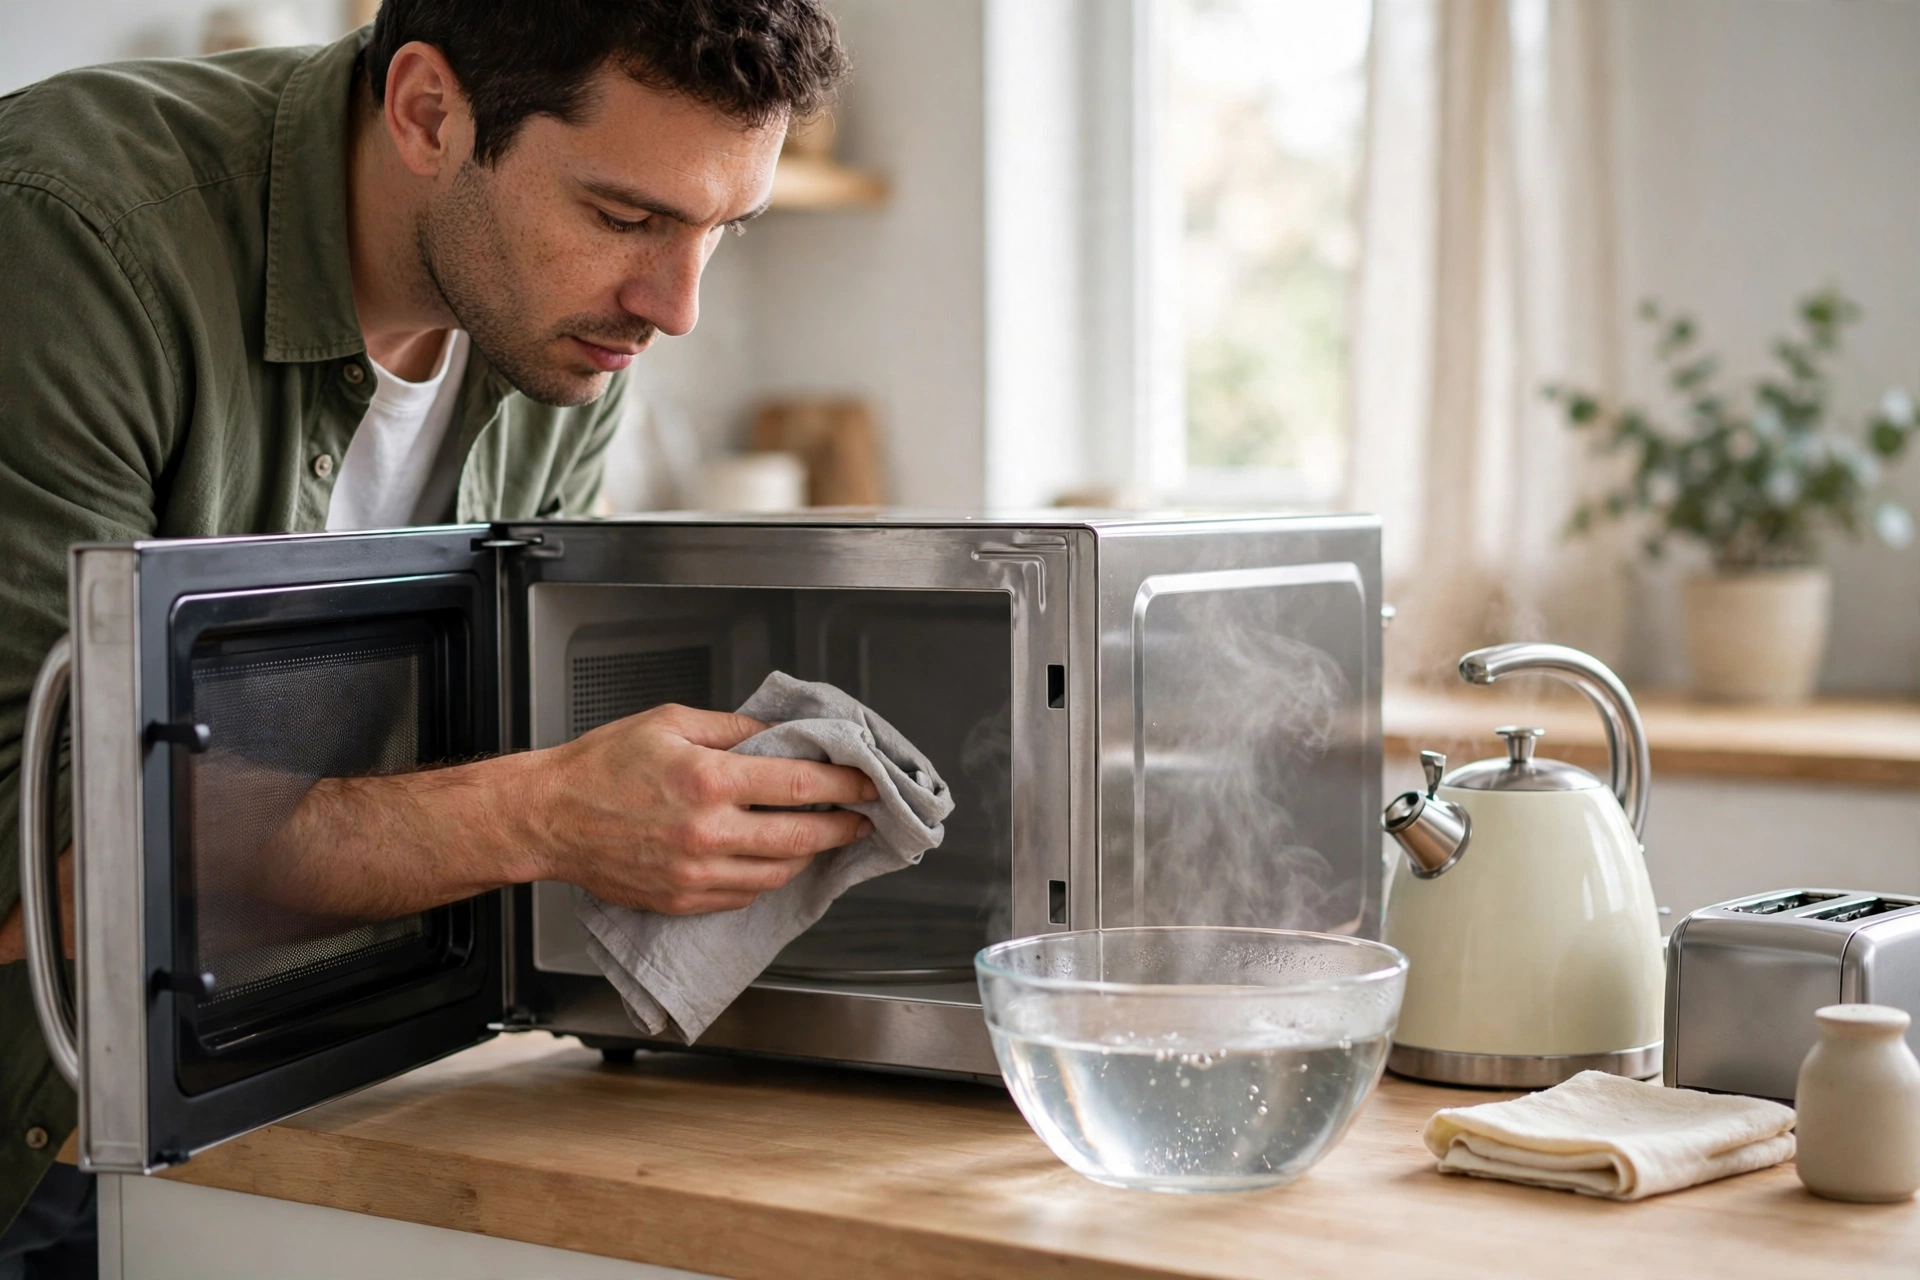
To clean a microwave, heat a bowl of water for a few minutes until steam loosens splashes, then wipe the interior, turntable, and door with a damp cloth. For other small appliances, unplug them, remove washable parts, wipe the body, and dry everything before use.
The microwave is one of the fastest wins in a kitchen deep clean. Steam softens dried food so you rarely need to scrub hard. Remove the turntable and wash it separately if it is washable, and wipe the door seal and control panel with a damp cloth. Do not spray liquid directly into vents or buttons.
For a toaster, unplug it, let it cool, empty the crumb tray, and wipe the outside. For a blender or food processor, wash removable parts as the maker directs and wipe the base with a damp cloth, keeping water away from the motor. For a coffee maker, follow the maker’s descaling instructions rather than guessing. Wipe the outside of all small appliances and return them to clean, dry spots, with cords tucked safely out of the way.
Scrub the Sink, Faucet, and Garbage Disposal Area
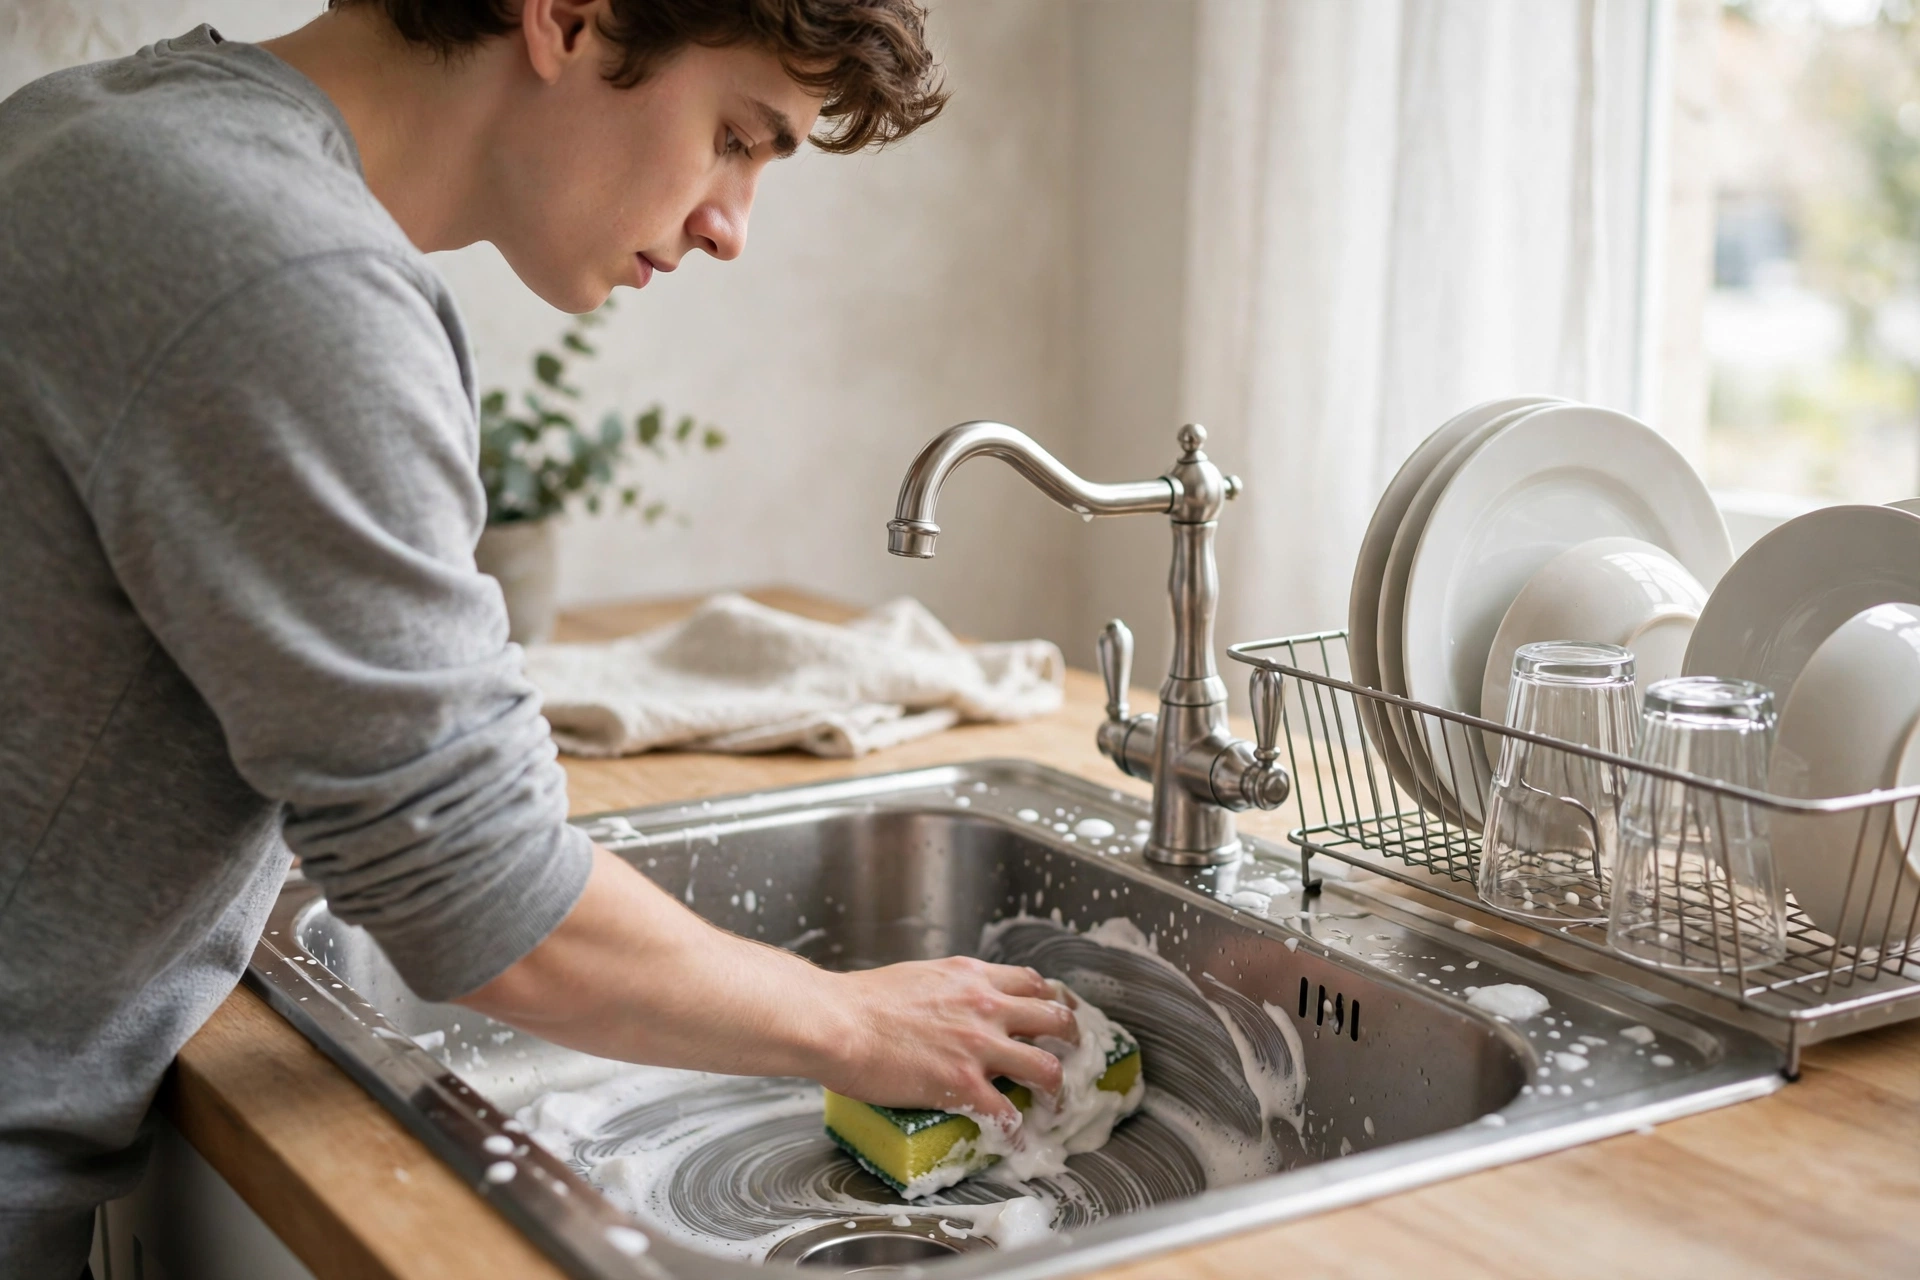
To clean a kitchen sink well, scrub the basin with a suitable cleaner, descale the faucet with vinegar if mineral marks are present, clean around the drain and overflow, and rinse and dry the whole area. A dry sink at the end helps prevent water spots and keeps the area looking clean for longer.
Start by clearing the sink and removing the drain strainer. Scrub the basin with baking soda paste or dish soap, depending on the sink material, and rinse well. For stainless steel, wipe in the direction of the grain and dry with a soft cloth to reduce spots. For other materials, check the maker’s guidance before using an abrasive pad.
Around the faucet, mineral deposits from hard water can leave white marks. A cloth soaked in white vinegar and left on the area for a short time can help dissolve them, but rinse well afterwards and avoid vinegar on surfaces the maker warns against. Clean the drain area and the splash guard if your sink has one, following the maker’s instructions. Finish by drying the faucet and basin, and replace a clean strainer.
Clean Countertops by Material
To clean kitchen countertops properly, match the cleaner to the material: use warm soapy water for most surfaces, a stone-safe cleaner for natural stone, and avoid harsh or acidic cleaners on surfaces that the maker warns against. When in doubt, test a small hidden spot first and rinse well.
Laminate counters usually handle warm soapy water and a soft cloth well, but avoid standing water near seams. Solid surface counters can be wiped similarly, with a gentle scrub for marks. Natural stone, such as granite or marble, needs more care: use a pH-neutral, stone-safe cleaner, wipe spills promptly, and avoid vinegar or lemon-based cleaners unless the stone maker says they are safe.
Butcher block needs a different habit: wipe it with warm soapy water, dry it promptly, and oil it only if the maker recommends it. For all countertops, avoid dragging heavy or sharp items across the surface, and use cutting boards and trivets.

Wash the Floor the Right Way
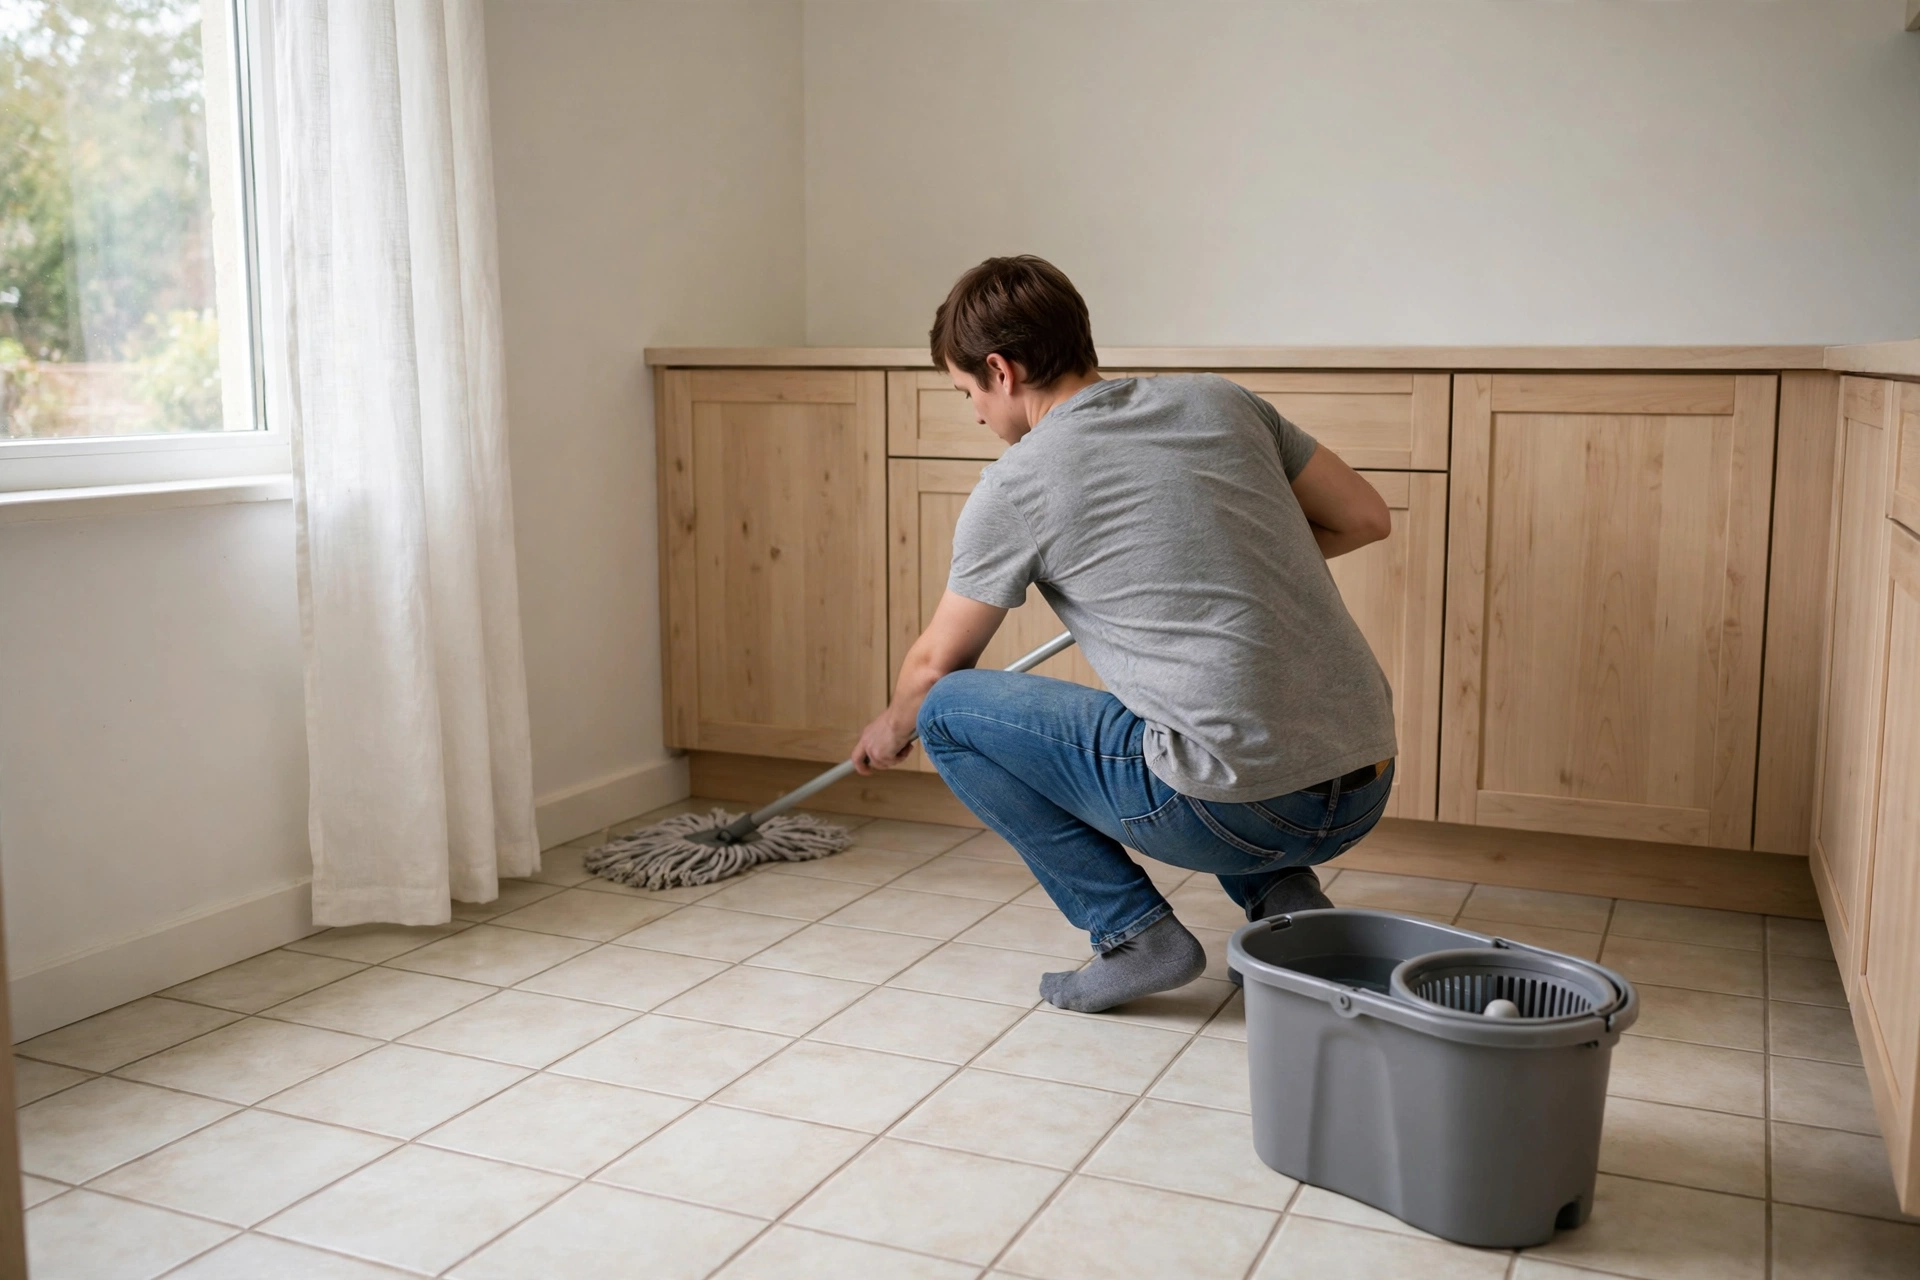
To wash a kitchen floor well, sweep or vacuum first to remove crumbs and grit, mop with a cleaner suited to the floor type, work from the far corner toward the door, and let the floor dry fully before walking on it. Mopping over dry grit can scratch the surface and spread dirt instead of removing it.
Start by moving light items, such as bins and mats, out of the way. Sweep corners, under the table, and along baseboards, where crumbs collect. For tile, a damp mop with a suitable floor cleaner usually works well, and grout lines may need a brush for stubborn dirt. For wood or laminate, use only a lightly damp mop and a cleaner made for that floor, and dry any standing water promptly.
Pay attention to the area in front of the sink and stove, where water and grease are most common. Wipe baseboards with a damp cloth while the floor dries, and replace mats only when the floor is dry.
Keep It Clean After the Deep Clean
To keep a deep-cleaned kitchen clean, link each deep-clean task to a small weekly habit: wipe the stovetop after cooking, clean one cabinet front each week, check the refrigerator weekly, and mop high-traffic spots regularly. Small, regular habits prevent the same heavy buildup from returning all at once.
A simple routine works better than a perfect routine you cannot keep. After cooking, wipe the stovetop and counters while spills are fresh. Once a week, wipe handles, clean the sink, and check the refrigerator for items to use or discard. Once a month, pick one deeper task, such as the oven door, the range hood filter, or one set of cabinets, so the work stays spread out.
Keep cleaning supplies in one easy spot, so a quick wipe does not feel like a project. Replace sponges and cloths regularly. If the kitchen feels cluttered again, a short ten-minute reset can restore order without a full deep clean.

Conclusion
A deep-cleaned kitchen is not about perfection for one day; it is about giving the room a fresh start and a routine that keeps it pleasant to cook in. Work from top to bottom, clean one zone at a time, and match products to surfaces. With small weekly habits, the next deep clean will be shorter and simpler.
FAQs
How long does it take to deep clean a kitchen?
A normal home kitchen usually takes three to five hours for a full deep clean, depending on size, grease buildup, and how much decluttering is needed. Splitting the work across two days can make it easier without losing progress.
How often should I deep clean my kitchen?
Most kitchens benefit from a full deep clean every three to six months, with lighter weekly cleaning in between. Busy kitchens, or homes that cook daily, may need a deep clean closer to every three months.
What is the best order for deep cleaning a kitchen?
Start at the top and work down, and clean dry dirt before wet cleaning. Clear cabinets first, then appliances, then sinks and countertops, and finish with the floor last so you do not dirty cleaned surfaces again.
Can I use vinegar on all kitchen surfaces?
No, vinegar is not safe for every surface. It can help with mineral marks on some sinks and faucets, but it may damage natural stone and some other finishes. Always check the maker’s guidance and test a hidden spot first.
What should I do first if I only have one hour?
Start with the highest-impact zones: clear and wipe countertops, clean the stovetop and sink, and sweep the floor. Those three steps make the kitchen feel much cleaner, even if appliances wait for another day.
Disclaimer: This article is for general information only and does not provide professional cleaning, food safety, or appliance repair advice. Always follow the instructions for your appliances, surfaces, and cleaning products, keep cleaning products away from children and pets, ventilate the room when using strong cleaners, and seek qualified help for electrical, gas, plumbing, or damaged appliance problems. Clearise Cleaning Services does not offer guest posting, paid promotion, or advertising through this article.
Thanks for visiting Clearise Cleaning Services! Discover more helpful tips and expert cleaning insights by exploring our related categories.