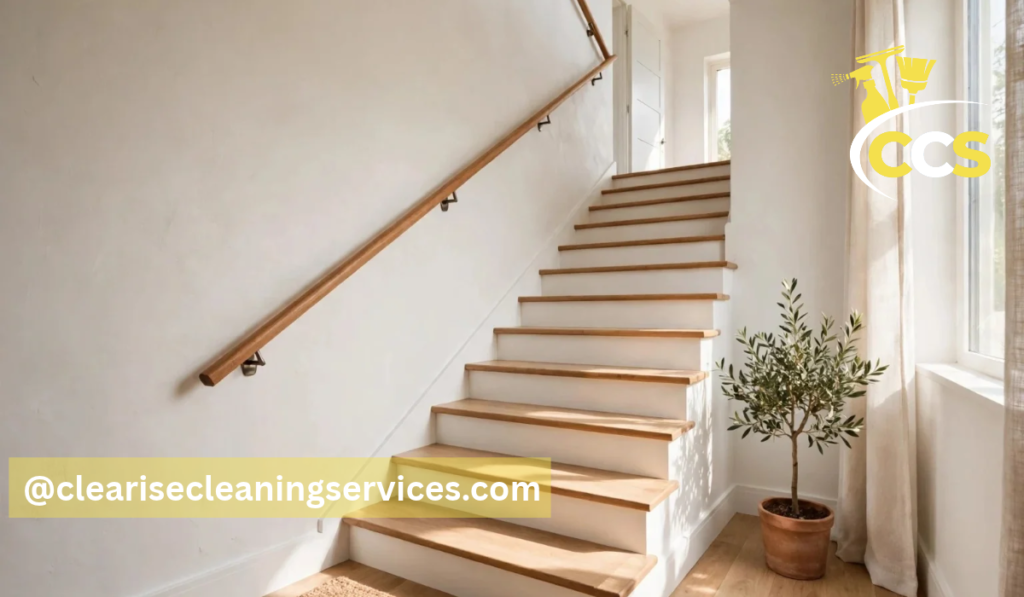
A banister rail, also called a stair handrail, is the rail you hold as you walk up or down a staircase, and it is one of the most useful safety features in any home with stairs. A well-fitted rail gives every step more confidence, especially for children, older people, and anyone carrying something.
This guide explains how to put up a banister rail in plain language. It covers safety and local rules, choosing a rail, the tools and fixings you will need, measuring in general terms, marking bracket positions, fitting the rail, checking that it is firm, and knowing when to call a professional instead of doing the job yourself.
The Short Answer: What Does Putting Up a Banister Rail Involve?
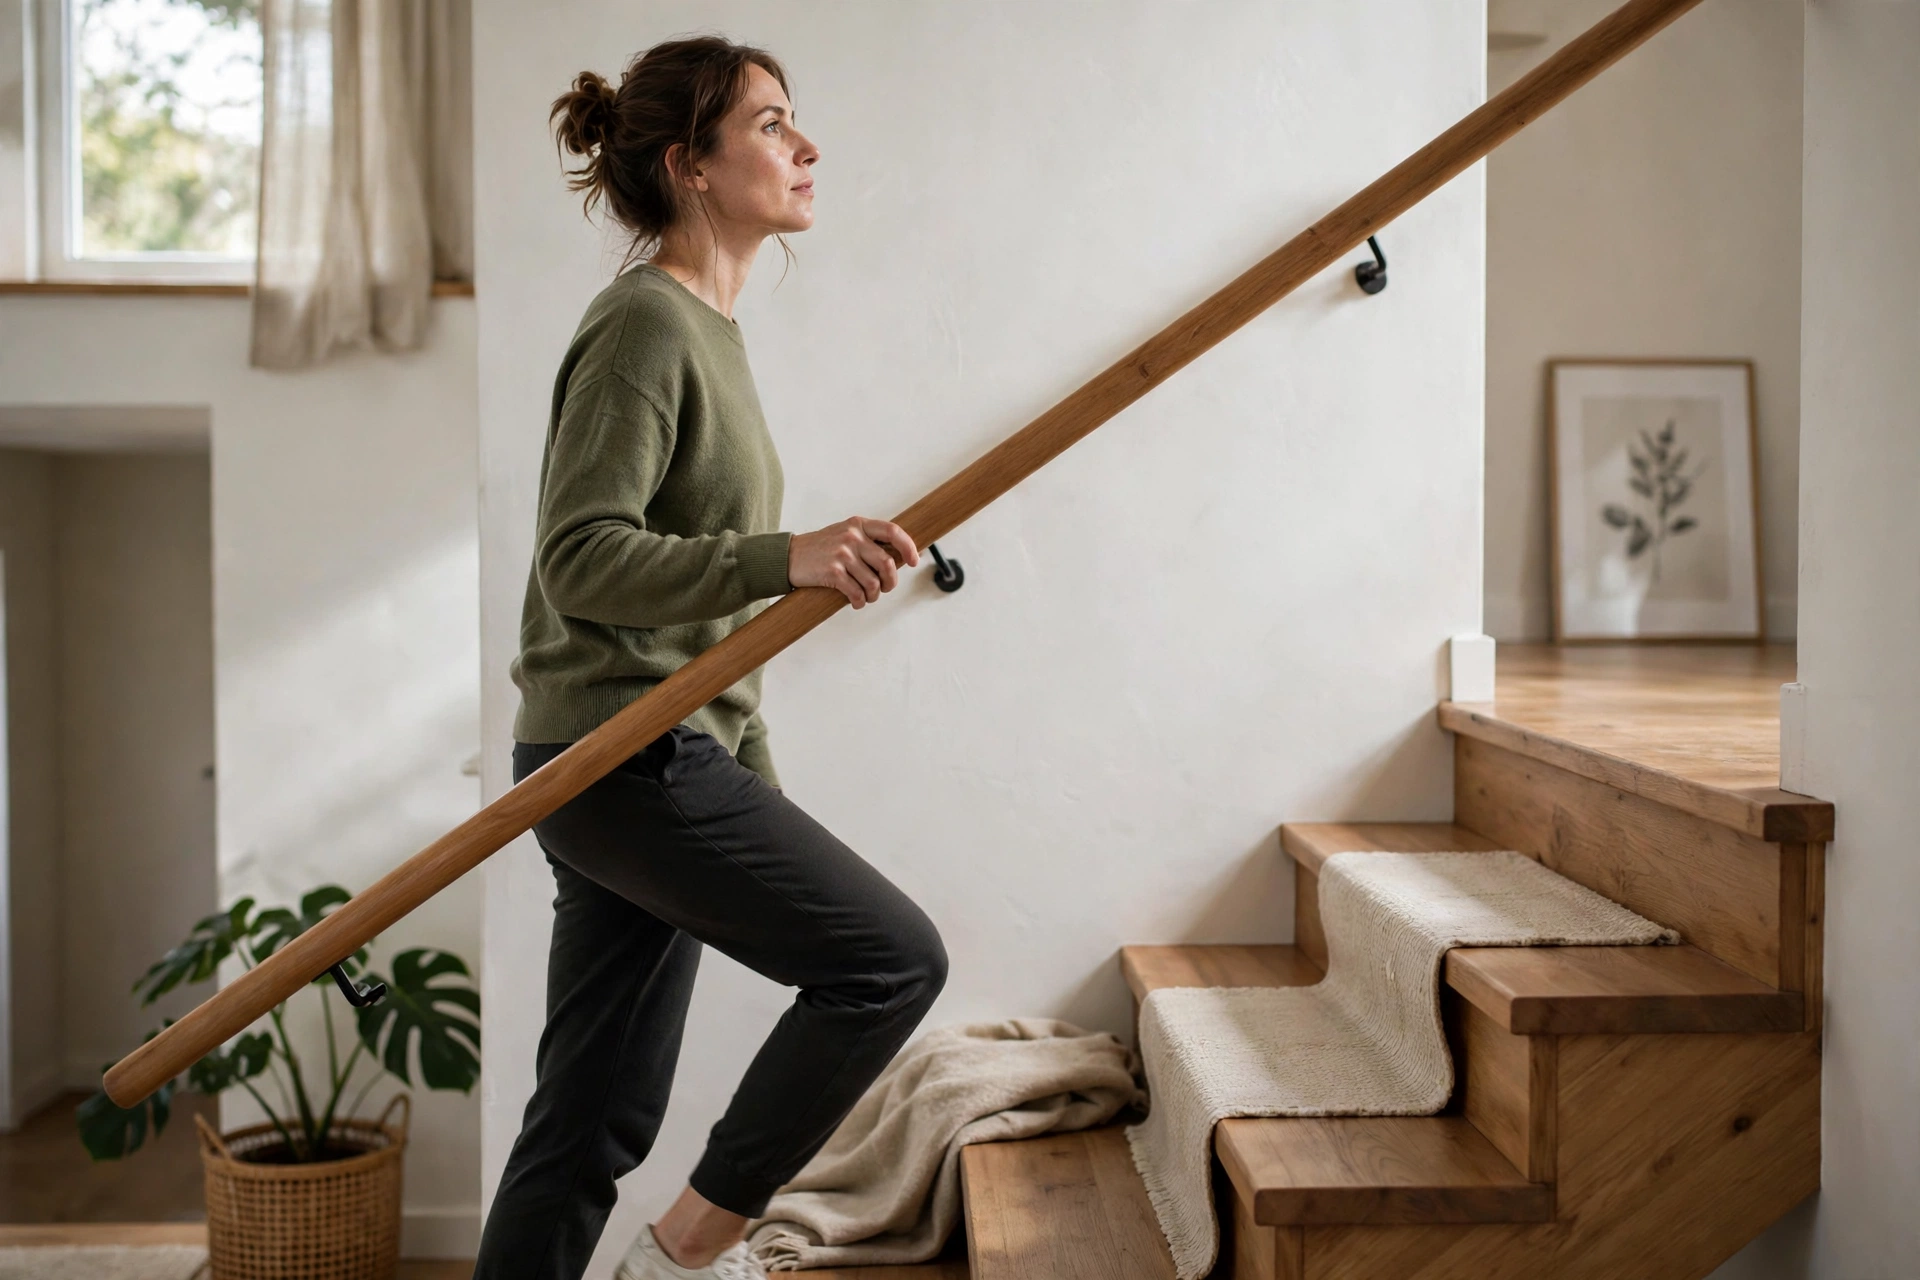
Putting up a banister rail involves choosing a rail that suits your stair, marking a steady line along the wall or newel posts, fixing strong brackets into solid material, and then fitting the rail so it feels firm and comfortable to hold along the whole flight. The rail must run without wobbles, sharp edges, or gaps at the ends.
In simple terms, the job is a sequence: plan, measure, mark, fix brackets, fit the rail, and check it. Most of the skill is in the preparation. A rail fitted to weak plaster or to brackets that are not level will feel unsafe, however good the rail itself looks, so take time over the early steps.
Before You Start: Safety, Rules and Planning
Before you start fitting a stair handrail, check the safety basics, your local rules, and the condition of the stair itself, because a handrail is a safety feature and the rules about it can vary by place and by the type of stair. If anything about the stair structure is uncertain, get advice from a qualified professional before you begin.
Look at the wall and the stair structure first. Brackets must fix into something solid, such as a stud, a sound brick wall, or a strong newel post, not into loose plaster or crumbling material. Think about who uses the stair: a rail should be easy to grip, free of splinters and sharp fixings, and continuous enough to hold from the bottom to the top. Check local building rules for your area, since they may set expectations for handrails on certain stairs, and follow the guidance that applies to your home rather than guessing.
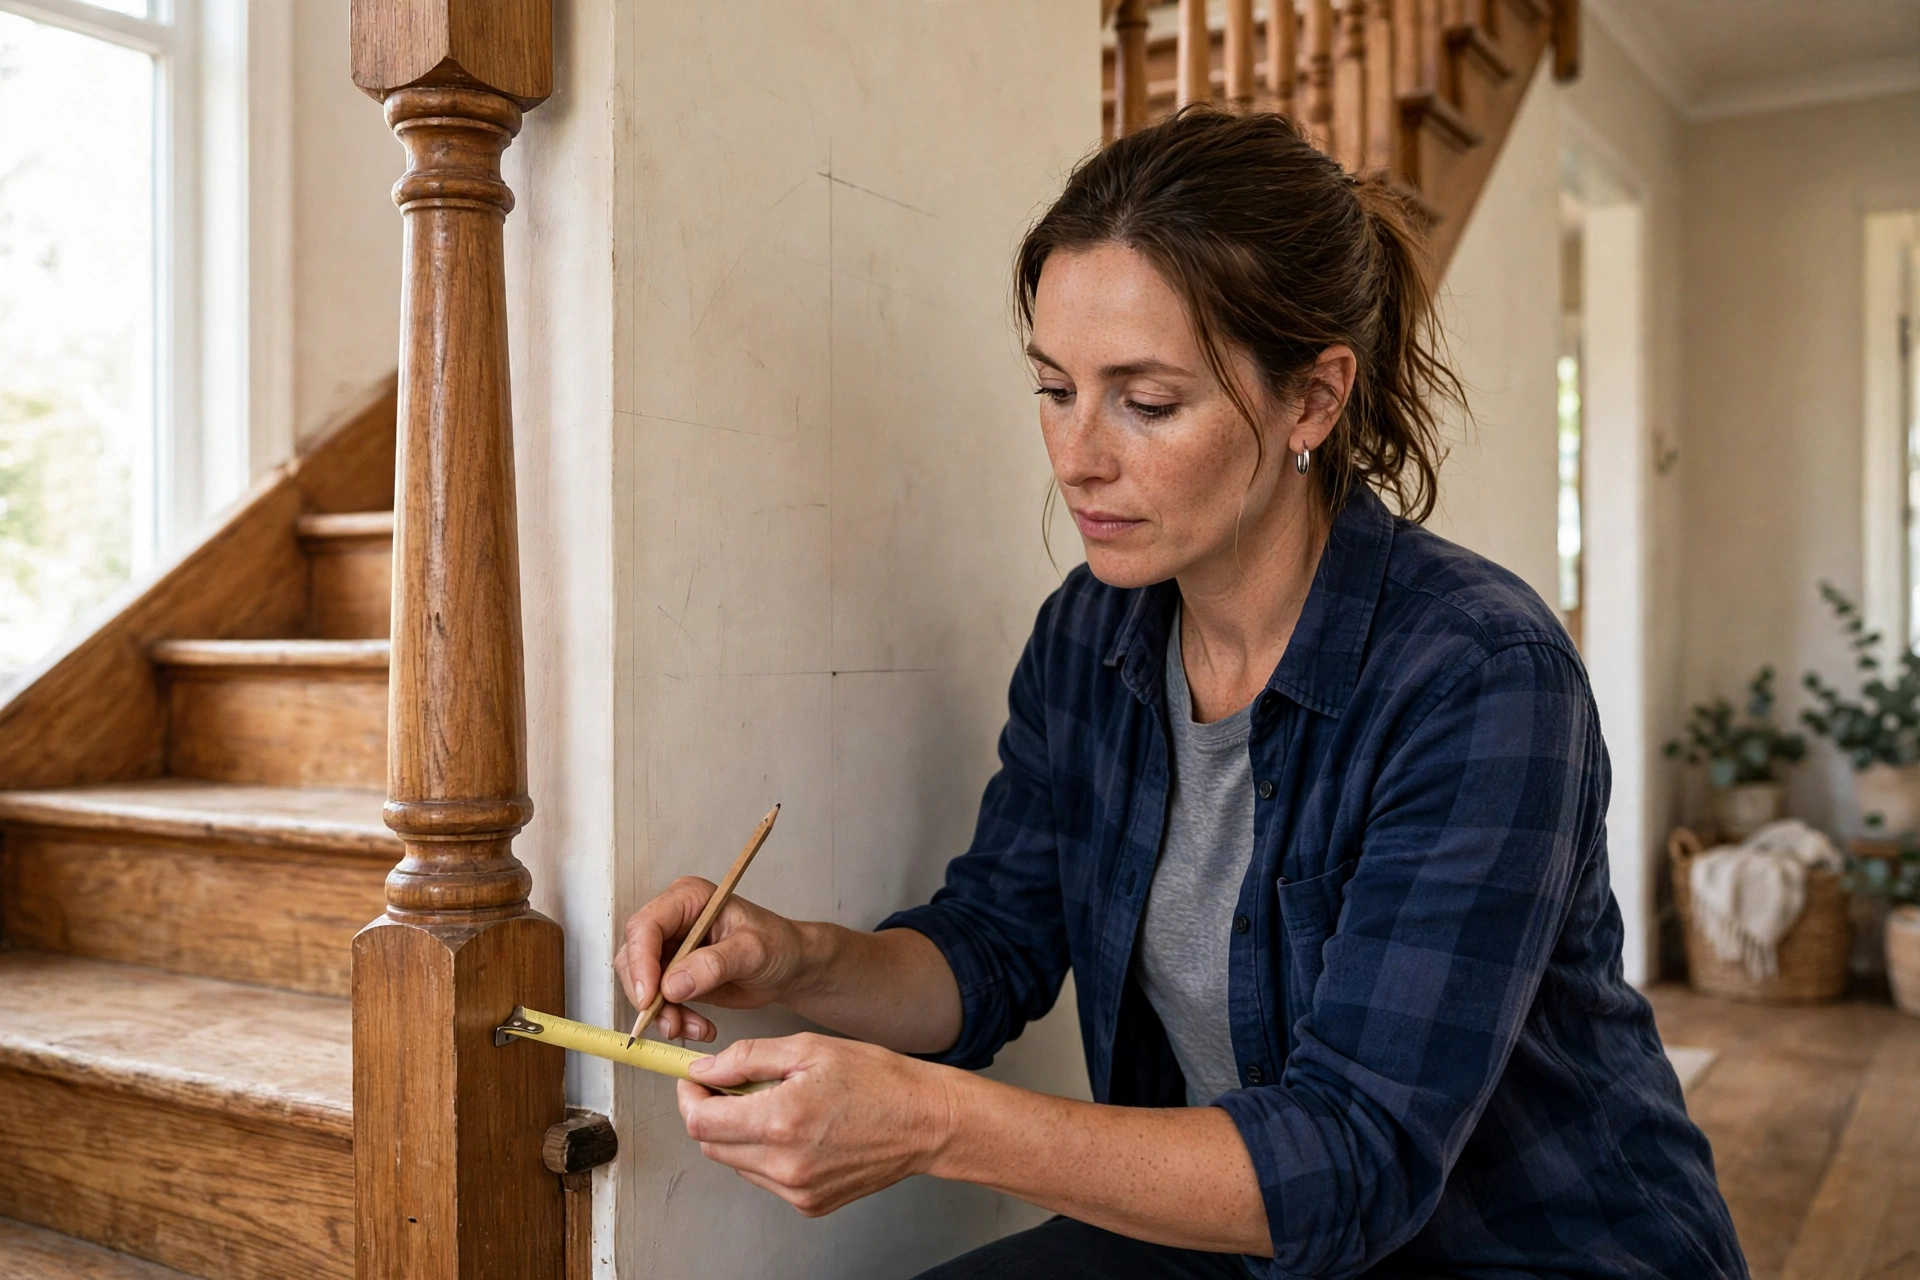
Choosing the Right Banister Rail
Choosing the right banister rail means picking a rail that feels comfortable in the hand, suits the style of your home, and can be fixed firmly to your stair, rather than choosing the cheapest or most decorative option available. A rail that is too thick to grip, too slippery, or too weak for daily use will not serve its purpose.
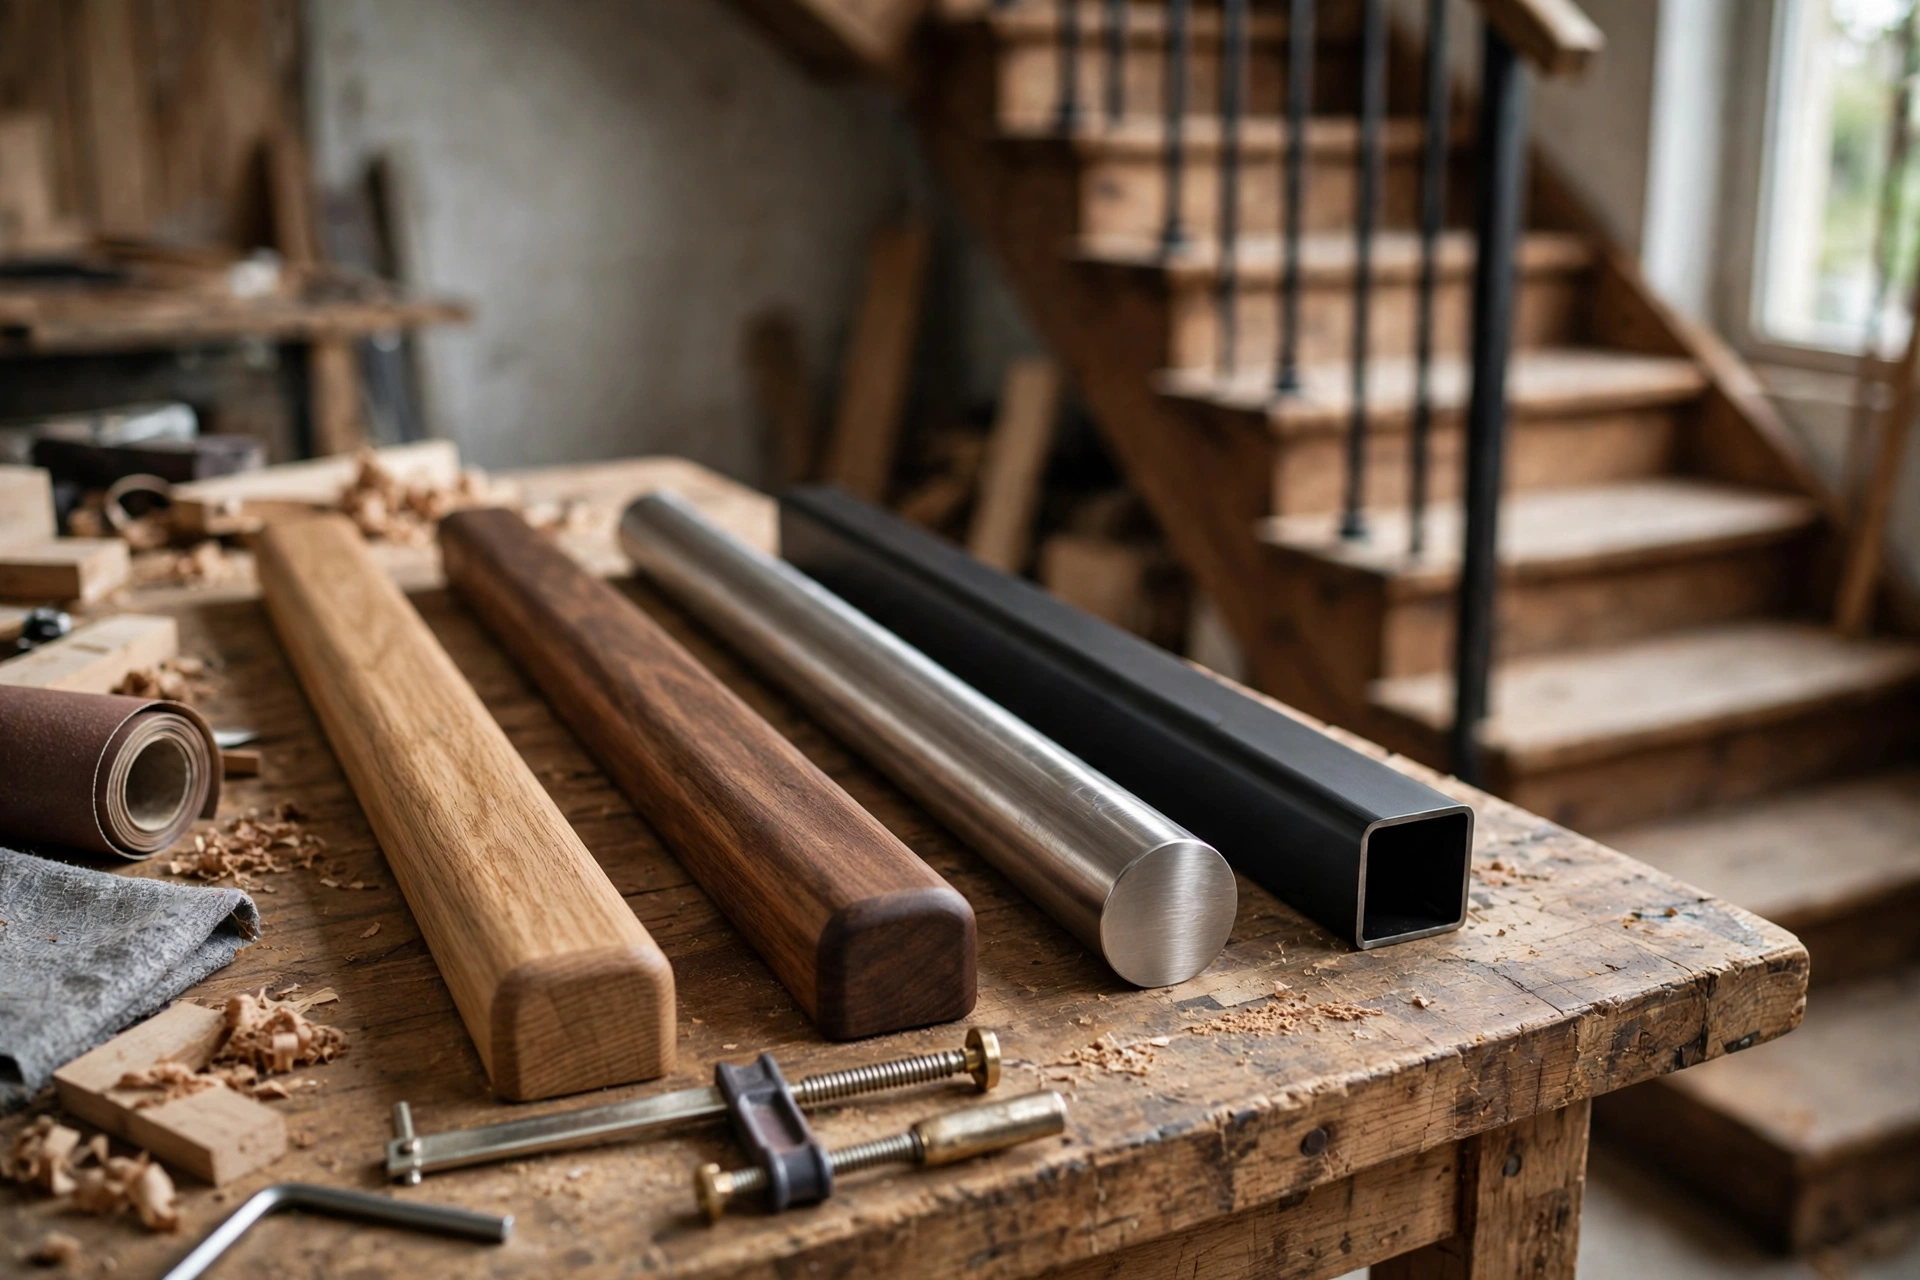
Timber rails are the most common choice for homes: they feel warm, can be shaped to a comfortable profile, and can be painted or stained to match the stair. Metal rails suit a modern home and are very strong, but they can feel cold and need the right brackets and fixings. Painted or composite-style rails can be a practical middle ground, especially where a smooth, easy-to-clean finish matters. Whichever type you choose, hold a sample if you can, check that the profile fits your hand, and make sure matching brackets, end caps, and joining pieces are available for that rail.
| Rail type | Feel and look | Best for | Things to watch |
|---|---|---|---|
| Timber rail | Warm, natural, easy to grip | Most homes, traditional stairs | Needs sanding and a finish to avoid splinters |
| Metal rail | Strong, slim, modern | Modern homes, busy stairs | Can feel cold and slippery without a good profile |
| Painted or composite-style rail | Smooth, tidy, easy to clean | Painted staircases, family homes | Check it is strong enough for daily use |
Tools and Fixings You Will Need
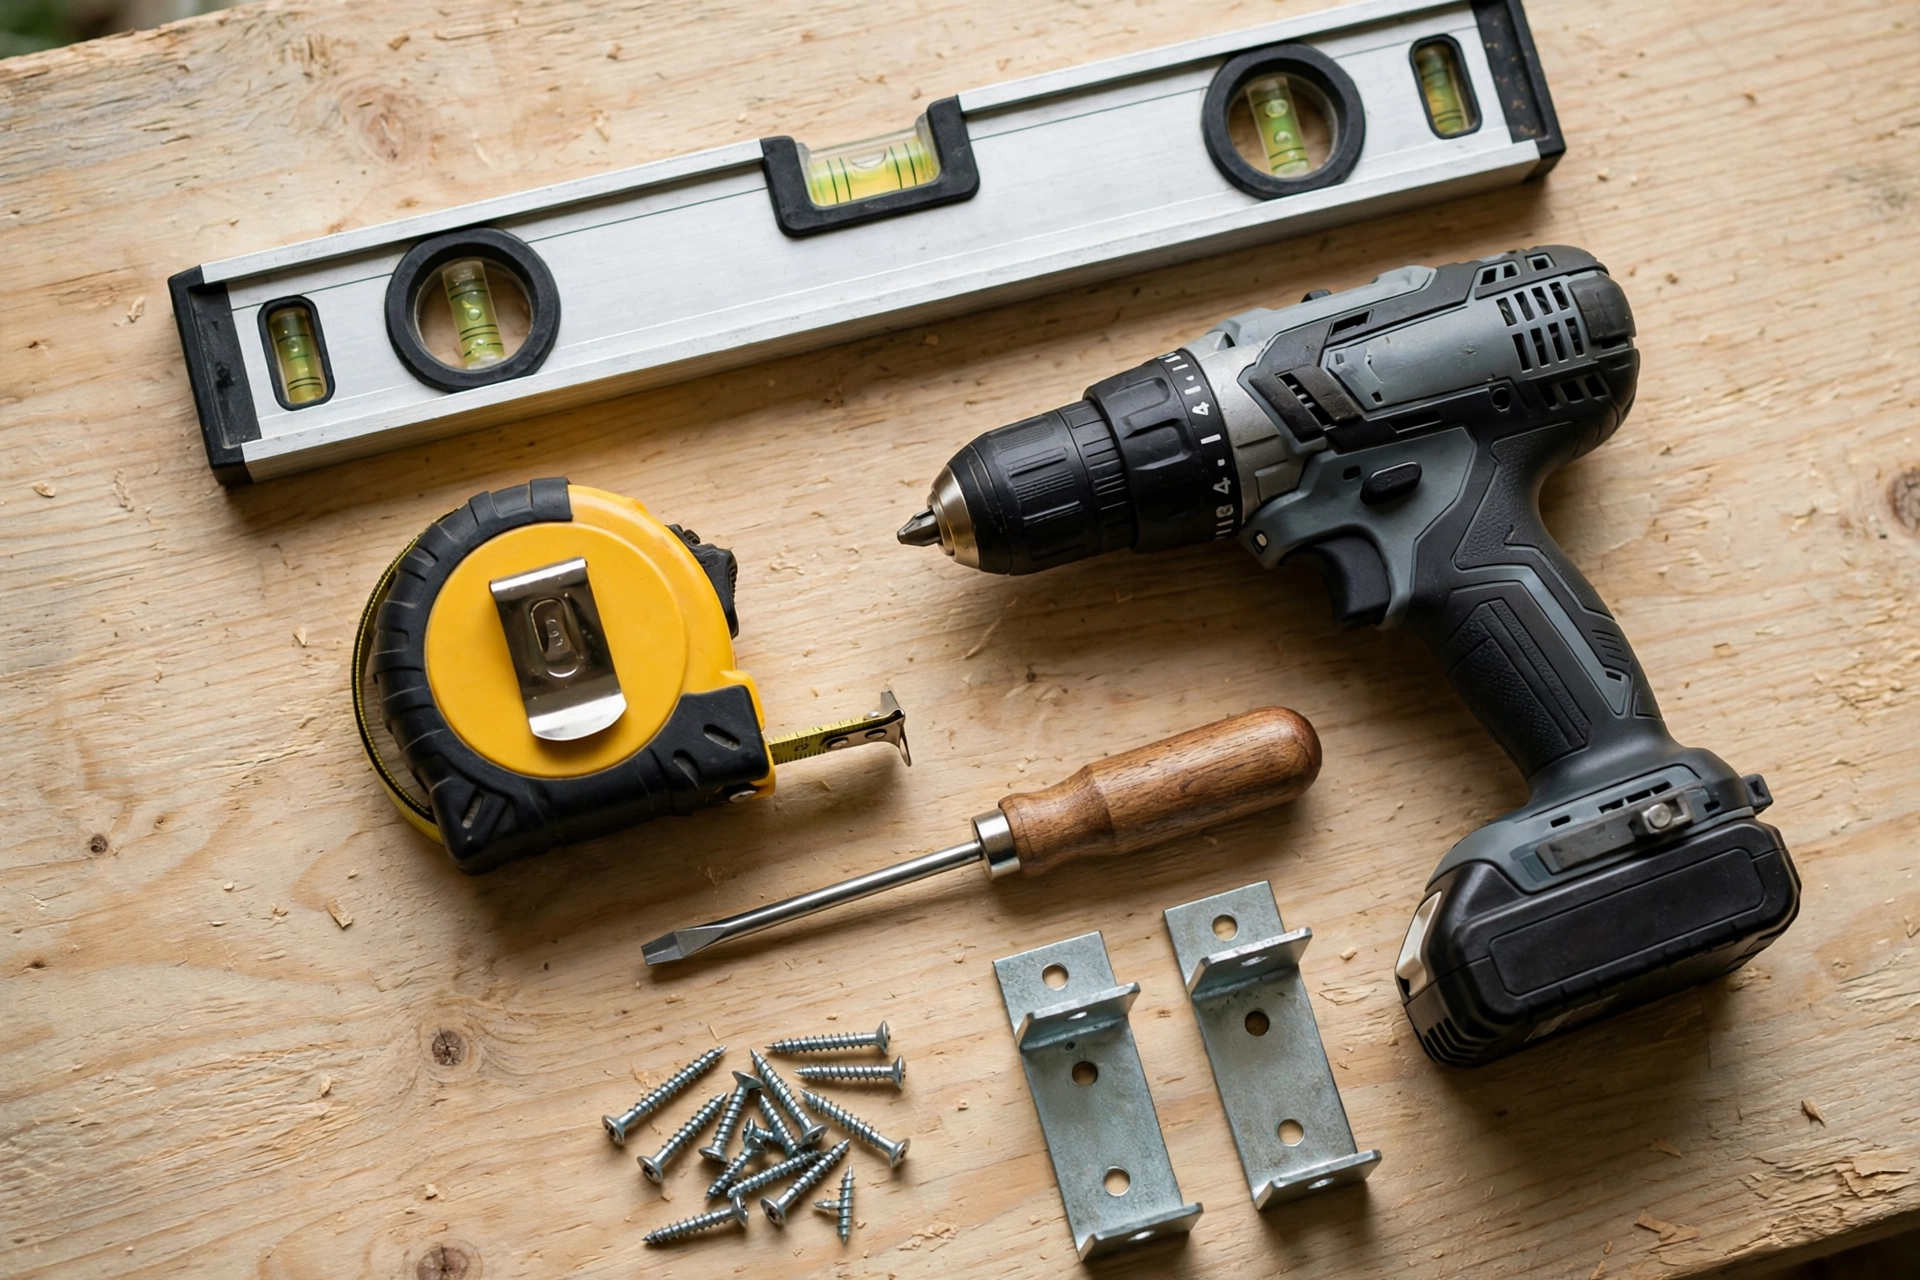
The tools and fixings for fitting a banister rail are mostly everyday DIY items, but the fixings themselves matter more than anything else, because the rail is only as strong as the brackets holding it to the wall or posts. Gather everything before you start, so you are not left holding a rail with a bracket missing.
You will usually need a tape measure, a pencil, a spirit level, a drill with suitable bits, a screwdriver, and a saw for cutting the rail to length, plus a stud finder if you are fixing to a framed wall. For fixings, use screws and wall plugs suited to your wall type, and brackets made for the rail you have chosen, since a bracket that does not match the rail profile will not hold it neatly. Keep safety glasses and a dust mask handy, and work with the stair clear of clutter so you can move safely up and down while measuring and marking.
Measuring the Stair in General Terms
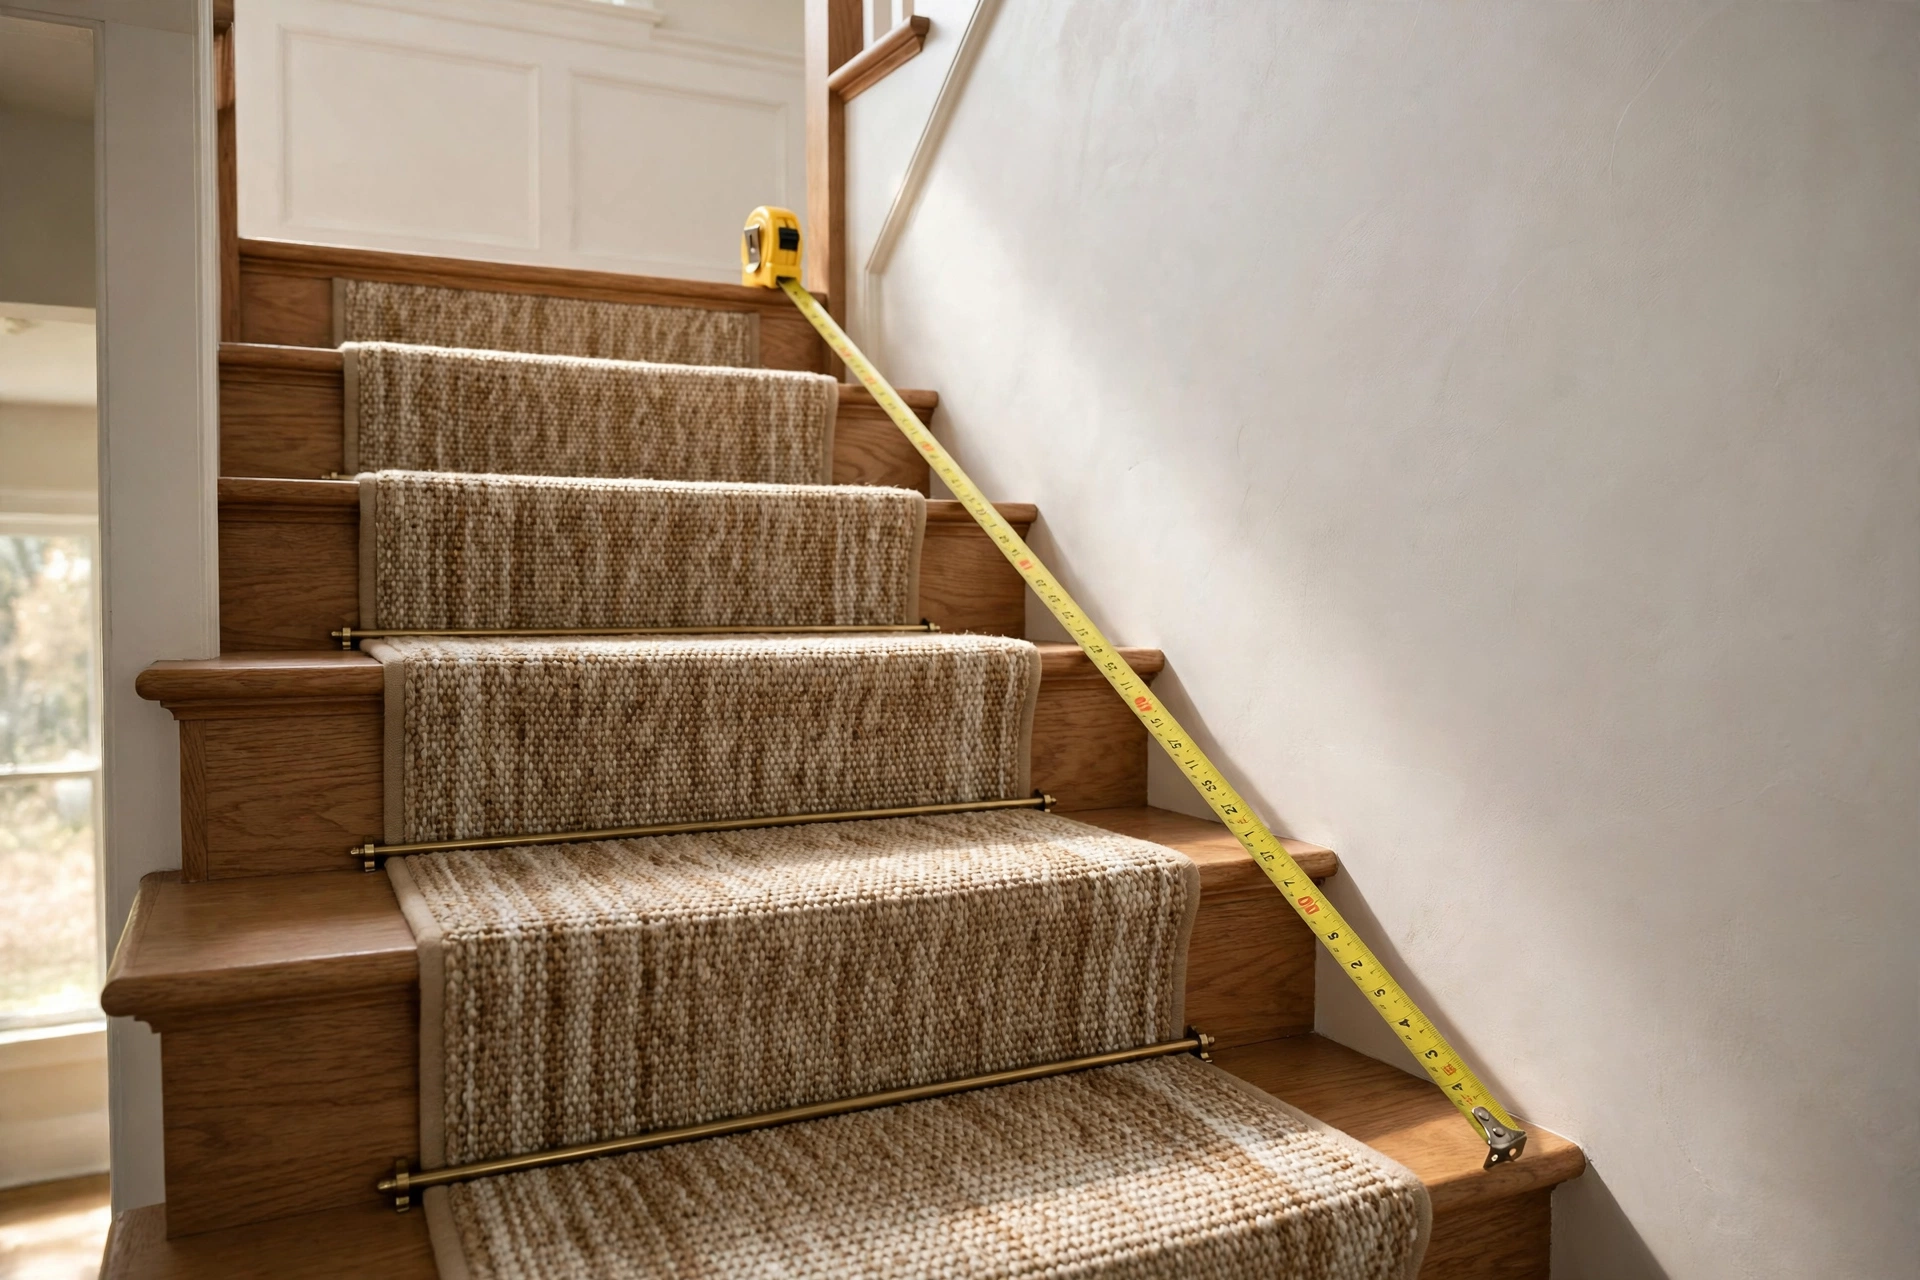
Measuring a stair for a banister rail means working out the length of the rail, the slope it must follow, and where it should start and end, in general terms, without assuming any single standard measurement fits every stair in every home. Every stair is slightly different, so measure your own stair rather than copying a measurement from elsewhere.
Start by deciding where the rail will run: along the wall, on newel posts, or a mix of both. Measure along the slope of the stair from the bottom step to the top, allowing extra length for end returns or joining pieces at each end. Note the position of the newel posts, the wall line, and any turns, doors, or windows that the rail must clear. Write the measurements down and double-check them, since a rail cut too short is hard to rescue, while a rail cut slightly long can usually be trimmed.
Marking the Line and Bracket Positions
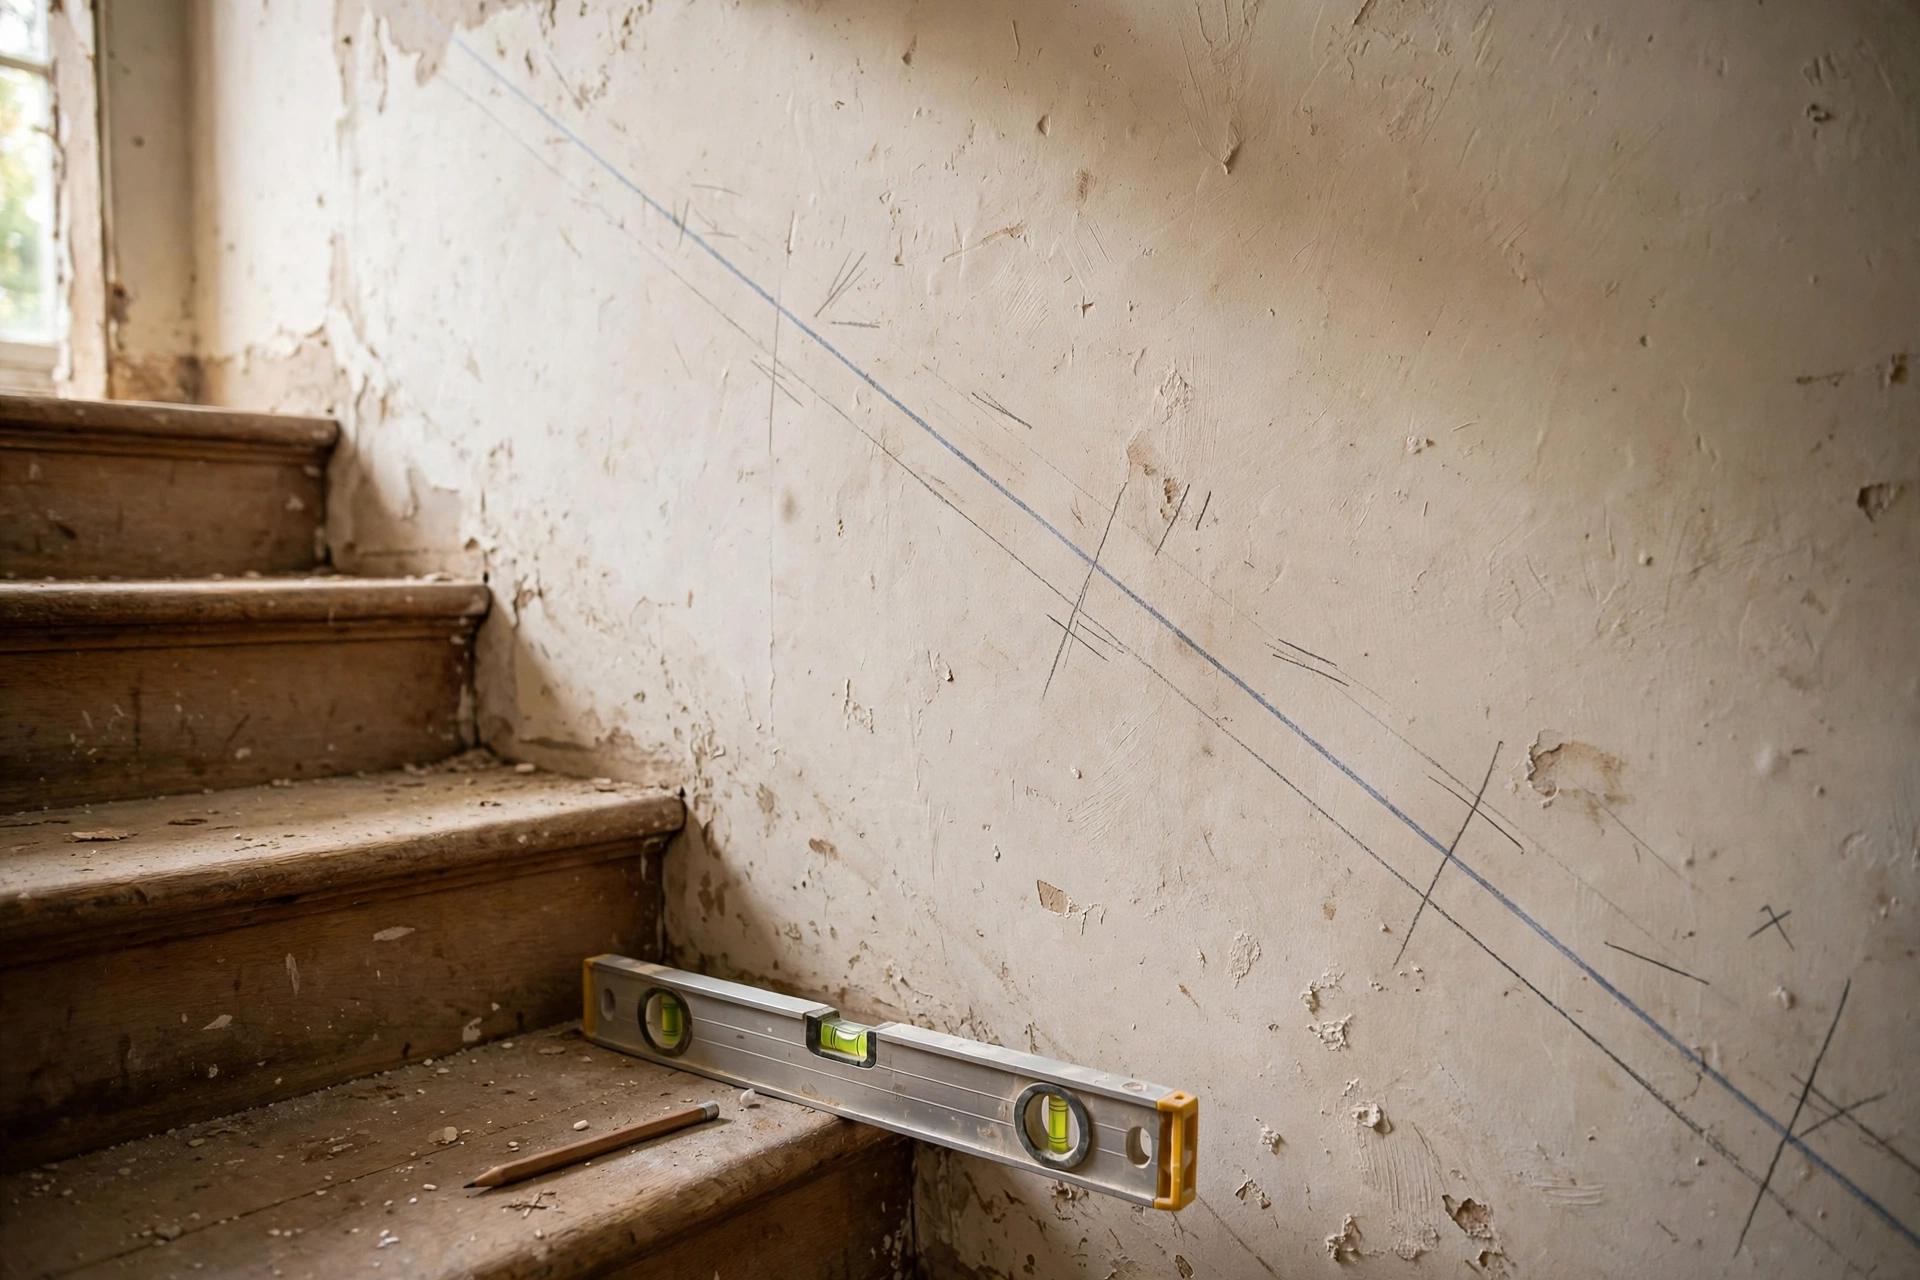
Marking the line and bracket positions is the step that decides whether your banister rail looks straight and feels steady, because brackets fixed even slightly out of line will pull the rail into a wobble or a visible kink. Take your time here, and check each mark before you drill anything.
Use a long straight edge or a chalk line to mark a steady line along the slope of the stair, following the nosings of the steps in a smooth, even line. This line is your guide for the rail height and slope, and it should run parallel to the stair, not rise and fall with small bumps in the wall. Mark each bracket position along that line, spaced evenly so the rail is supported along its whole length, with brackets near each end and near any joints. Check the marks with a spirit level and a tape measure, and adjust them now, while correction costs nothing.
Fitting the Brackets Firmly
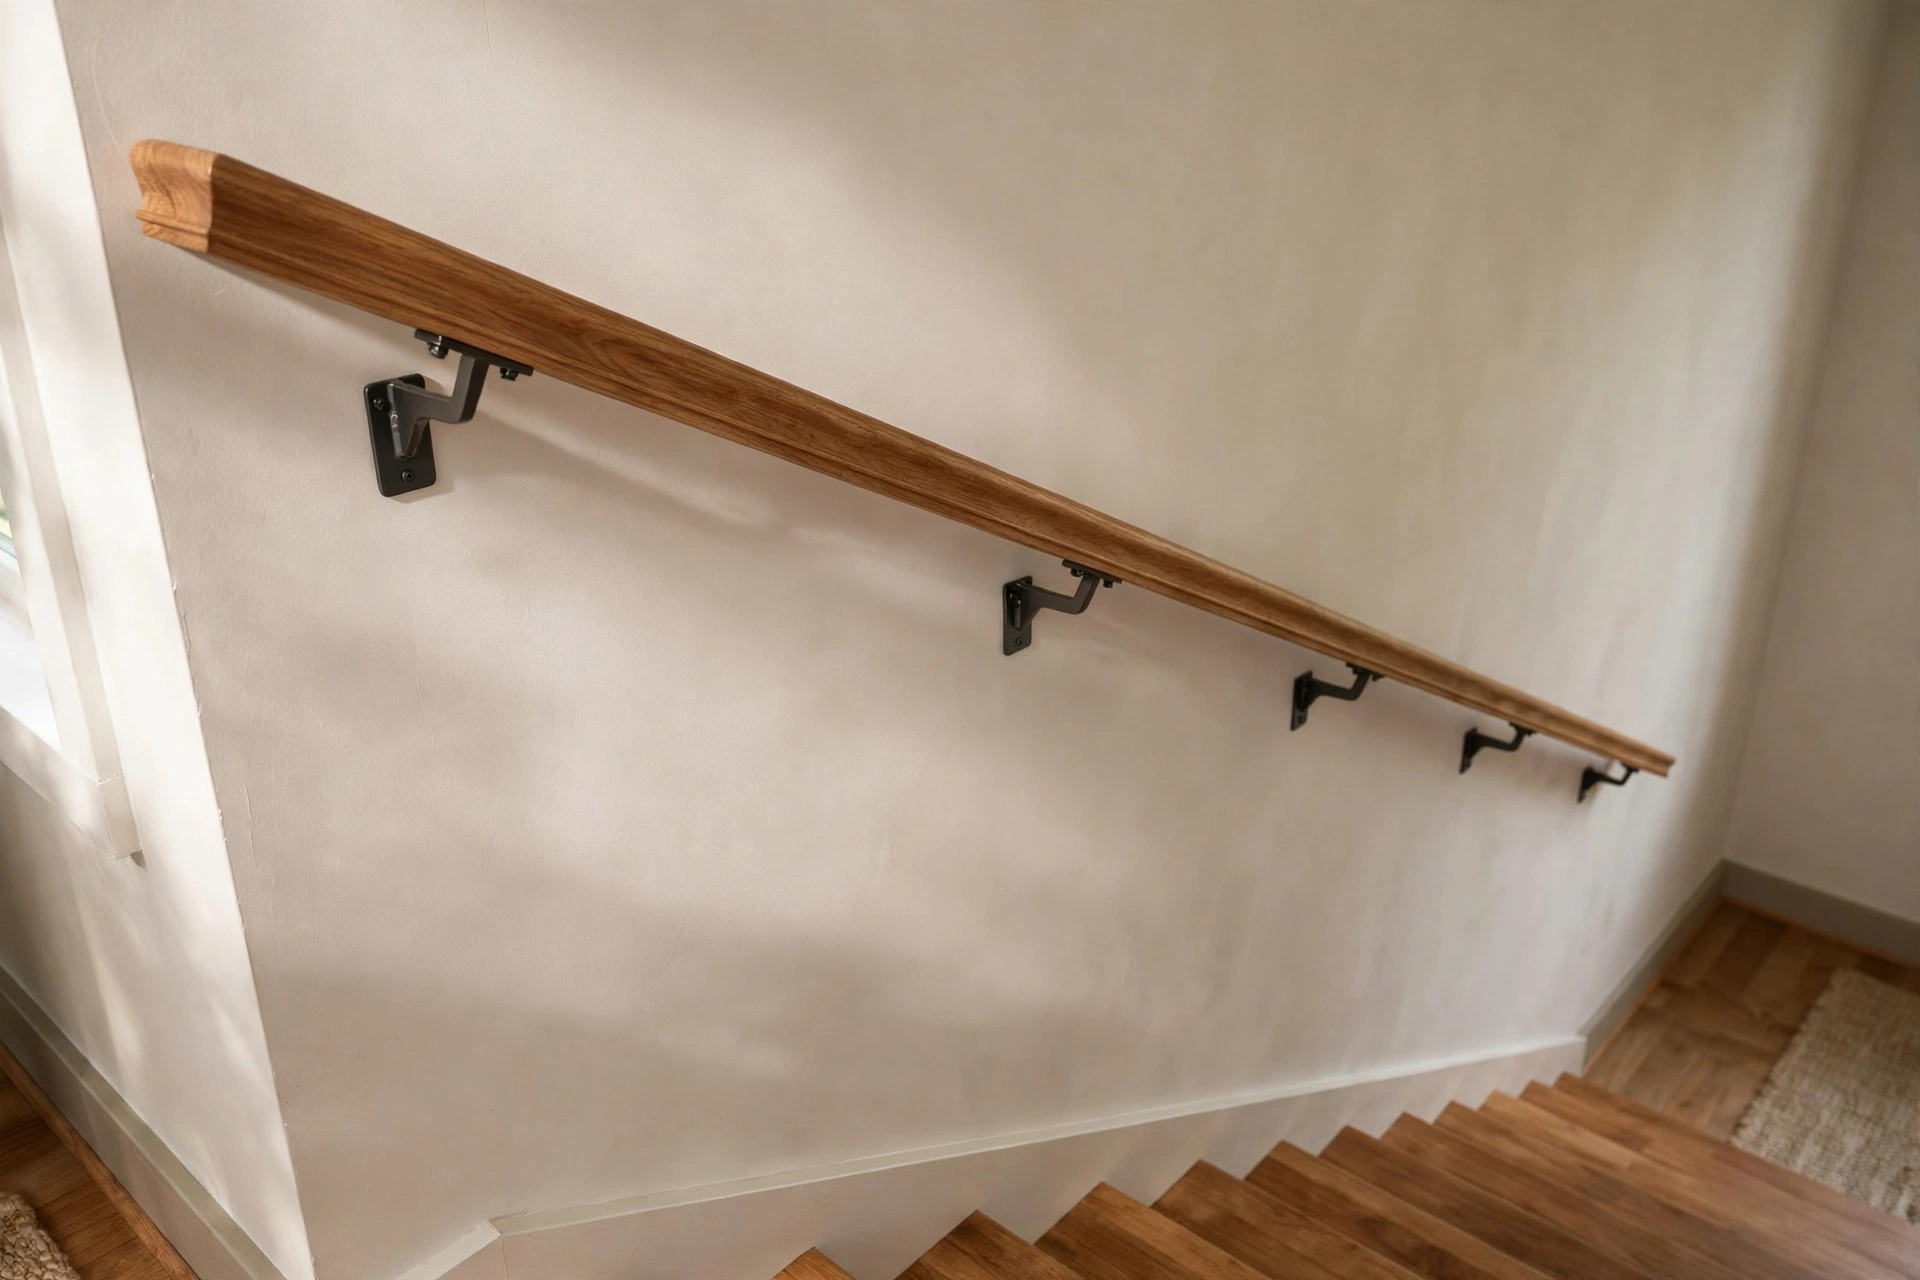
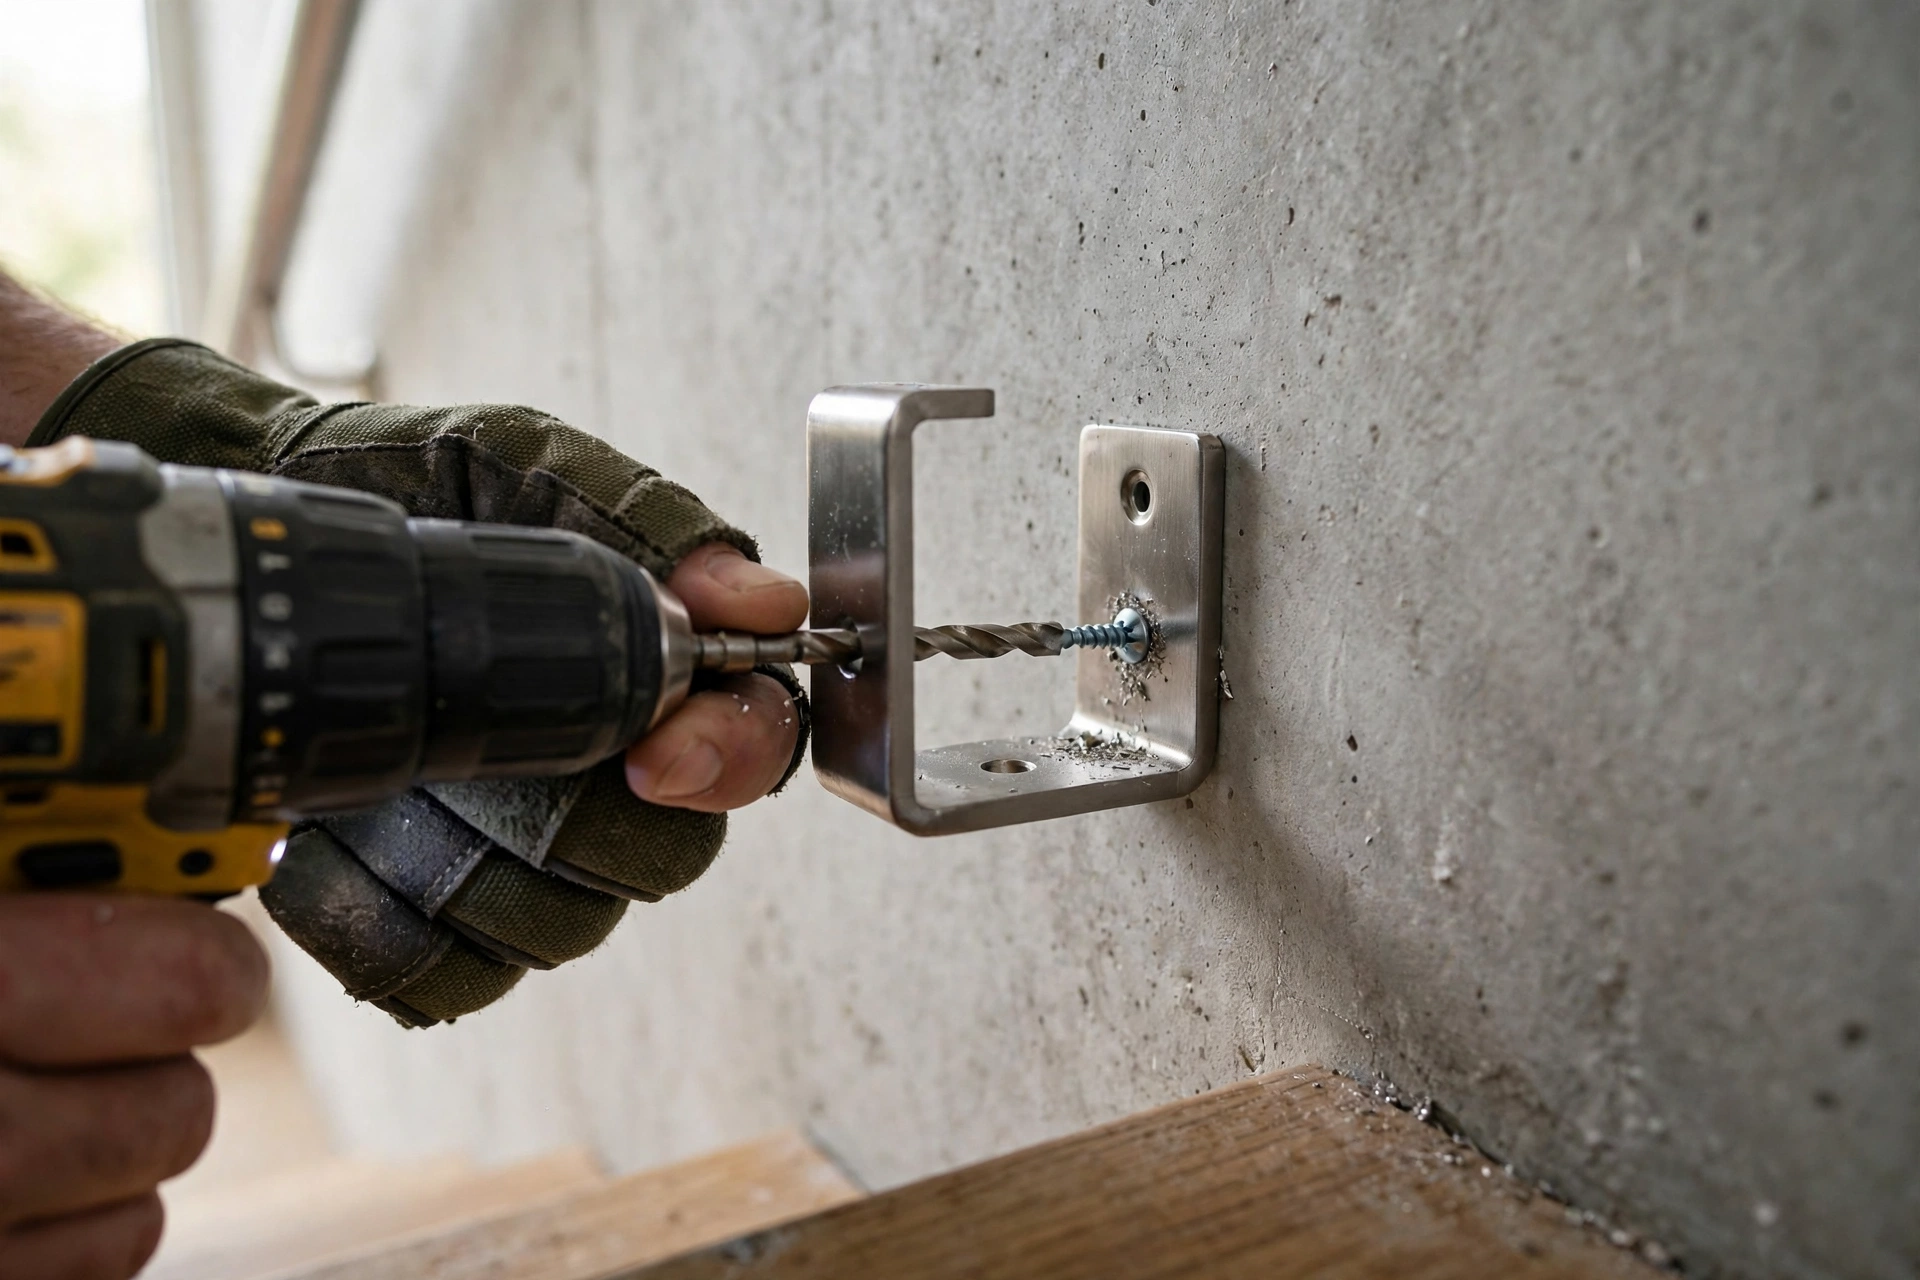
Fitting the brackets firmly is the most important part of stair handrail fitting, because a rail is only safe if its brackets are fixed into solid material and cannot pull loose under a firm grip. A bracket screwed into loose plaster may look fine, but it will fail exactly when someone leans on the rail.
Drill pilot holes at each marked position, using a drill bit suited to the wall material, and fit the correct wall plug for that material where one is needed. If you are fixing to a framed wall, aim for the studs wherever possible, since screws into a stud hold far better than screws into plasterboard alone. Fix each bracket so it sits flat and square, tighten it fully, and give it a firm tug before moving on. If a bracket feels loose, stop and fix the problem now — a larger plug, a longer screw, or a different position — rather than hoping the rail will cover it.
Fitting and Joining the Rail
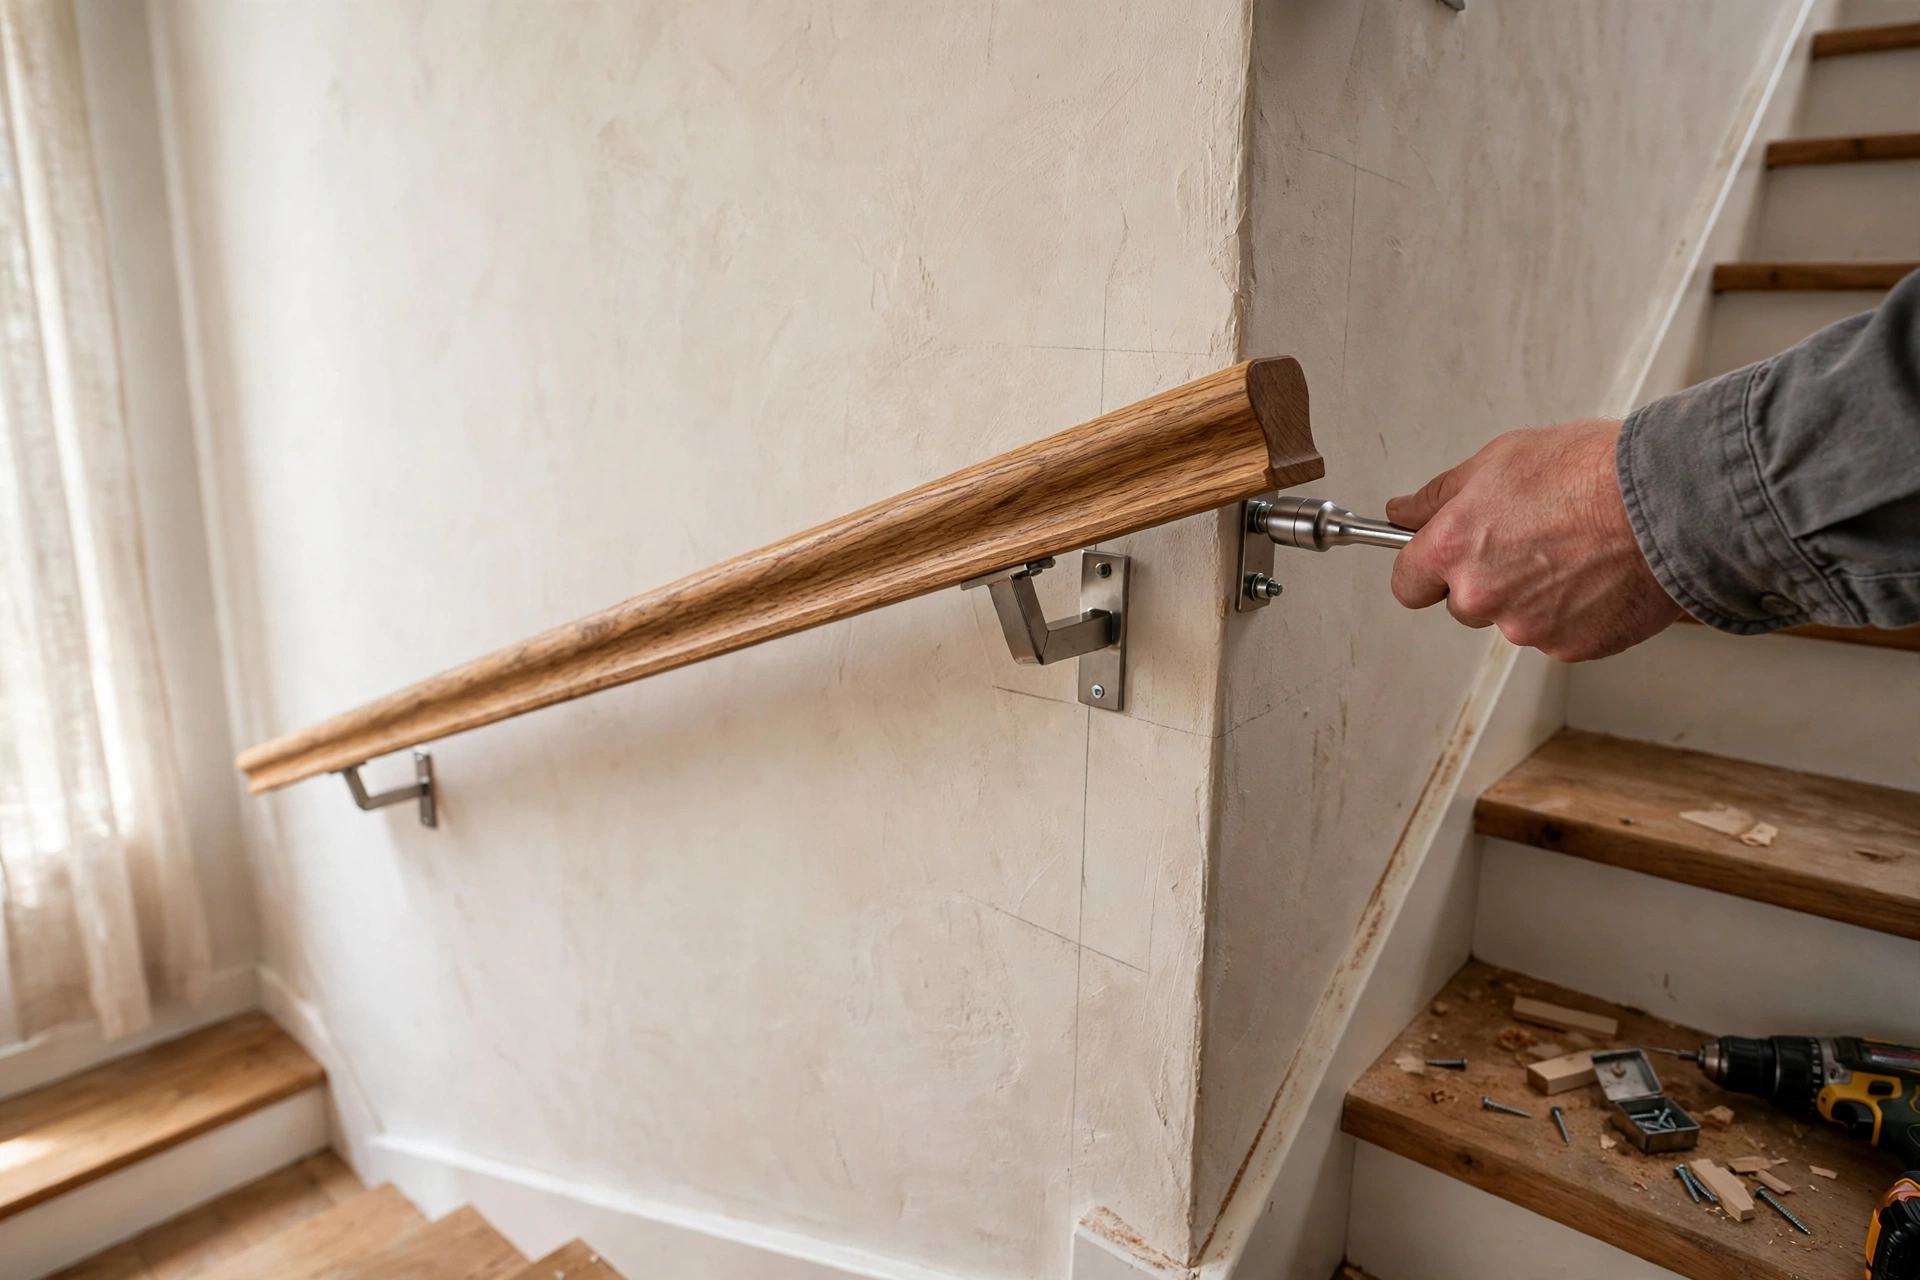
Fitting and joining the rail means offering the rail up to the brackets, cutting it to length, and fixing it so it runs smoothly from one end to the other, with neat joints and no sharp ends sticking out. This is the most satisfying part of the job, because the stair starts to look finished.
Follow these steps in order:
- Offer the rail up to the brackets and check the length, marking where it needs trimming at each end.
- Cut the rail carefully, then sand the cut ends smooth so there are no splinters or sharp edges.
- Fit any end returns, caps, or joining pieces, so the ends of the rail are closed and safe to brush past.
- Fix the rail to each bracket in turn, working from one end to the other, and tighten the fixings evenly.
- Check the whole run by eye from the bottom and the top of the stair, and adjust any bracket that pulls the rail out of line.
If two lengths must be joined, use a joining piece made for the rail, and place the joint over or very near a bracket so it is supported. A joint floating between brackets will flex and feel weak, however neat it looks.
Checking the Rail Is Strong and Safe
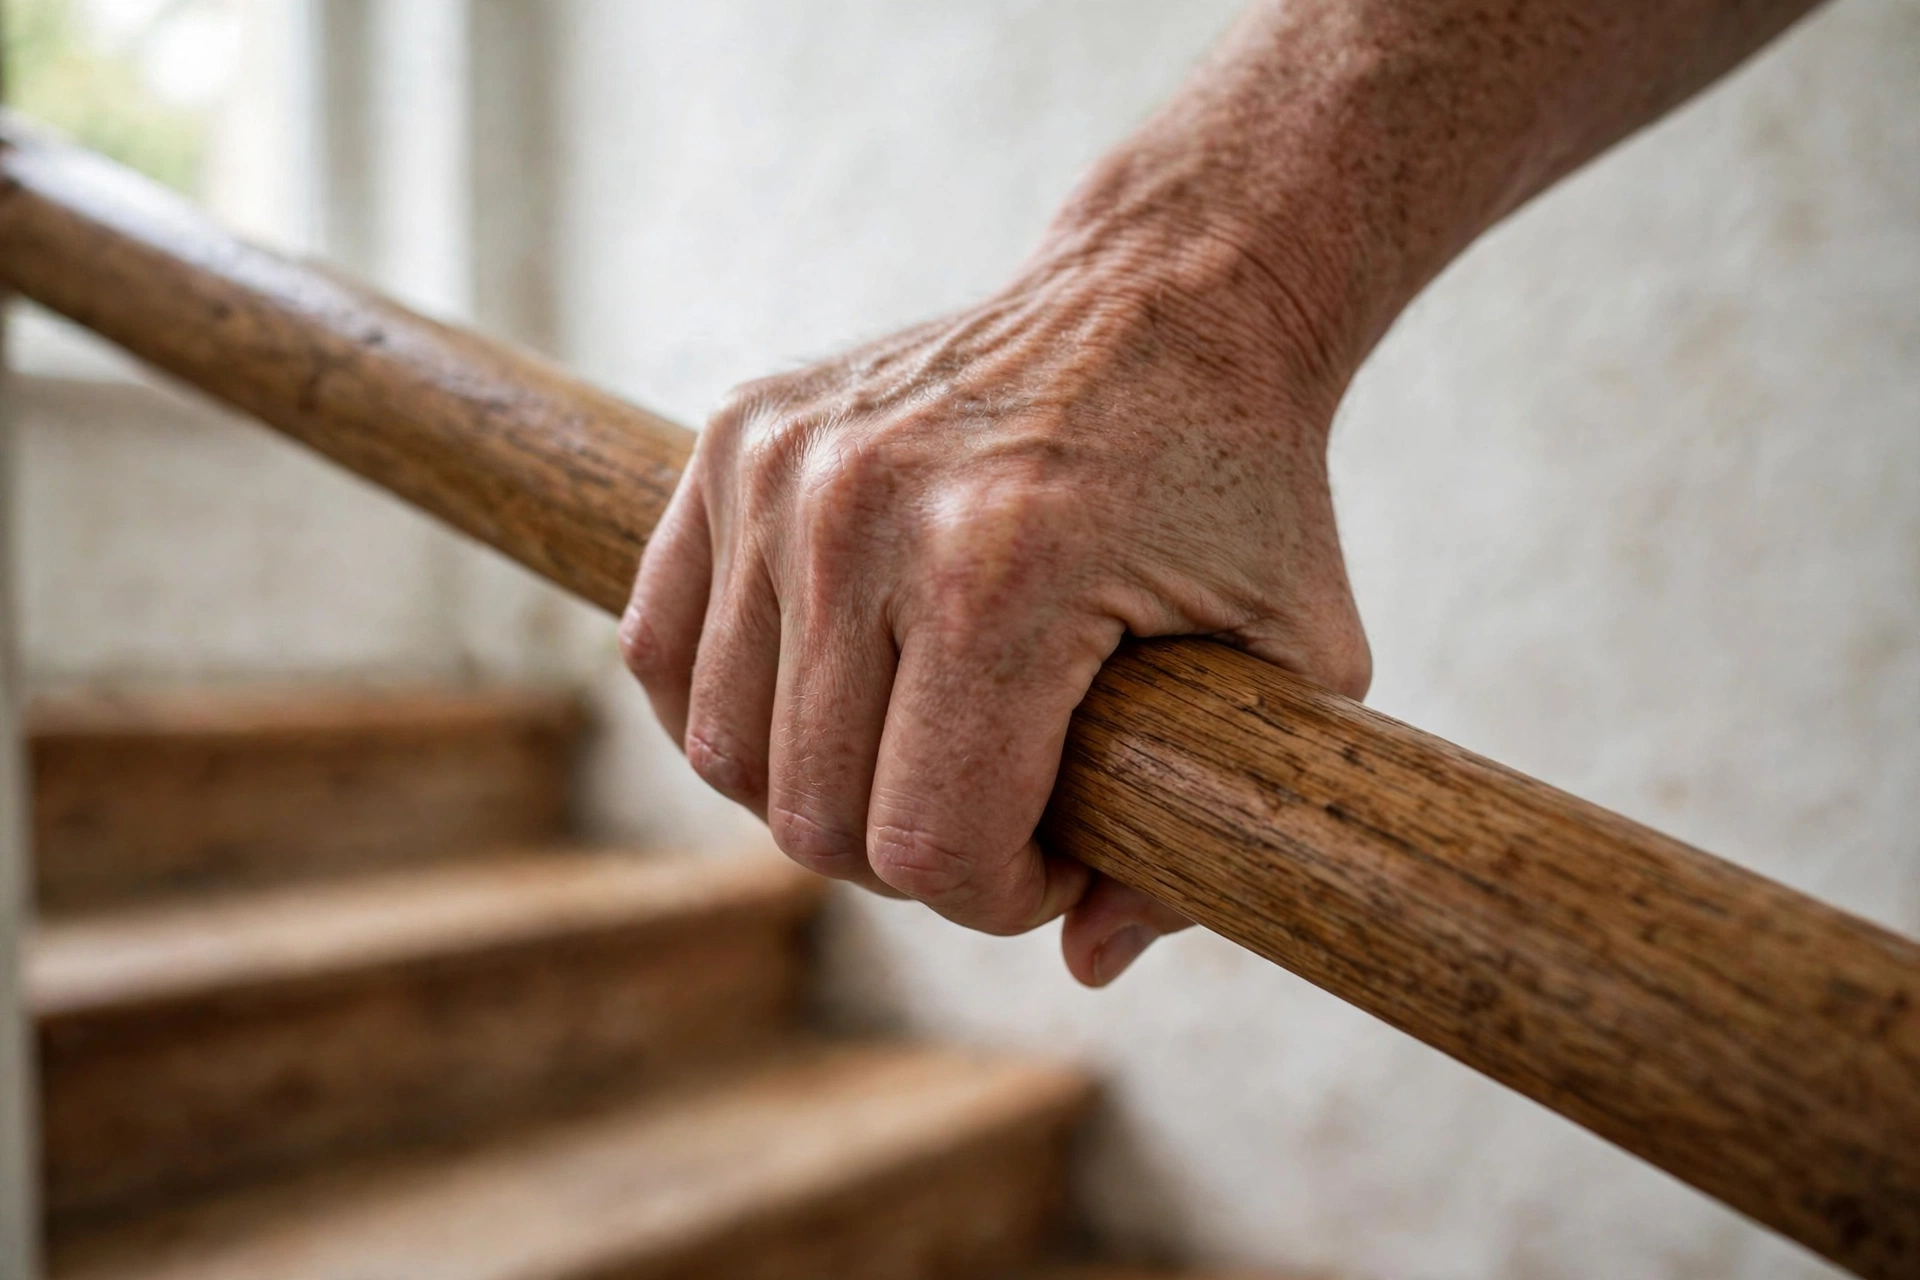
Checking a banister rail after fitting means testing it the way it will really be used: gripping it firmly, leaning on it, and running a hand along its whole length to find anything loose, sharp, or uncomfortable. Do this check before you call the job finished, and repeat it after a few days of use.
Grip the rail at several points and push and pull it firmly in different directions. It should feel solid, with no movement at the brackets, no creaking joints, and no flex in the middle of a long run. Run your hand along the top and underside to check for splinters, sharp screw heads, or rough joins, and sand or cover anything you find. Check the ends: they should be capped or returned to the wall or post, so clothing cannot catch and nobody walks into a sharp end. If anything moves or feels weak, tighten or refix that bracket before the stair is used normally.
Finishing Touches: Joints, Ends and Paint or Finish
Finishing a banister rail means making the joints neat, the ends safe, and the surface smooth and pleasant to hold, so the rail looks like part of the stair rather than an afterthought. This stage takes little time, but it makes a large difference to how the finished job feels.
Fill any small gaps at joints with a suitable filler, let it dry, and sand it smooth, then wipe away dust before finishing. If the rail is timber, apply the paint, stain, or clear finish you have chosen, following the product guidance and allowing proper drying time between coats. Keep the finish smooth on the gripping surface, since a rough or sticky finish makes the rail unpleasant to use. Touch up the wall around the brackets if drilling left marks, and clean the stair before you step back to look at the finished rail as a whole.
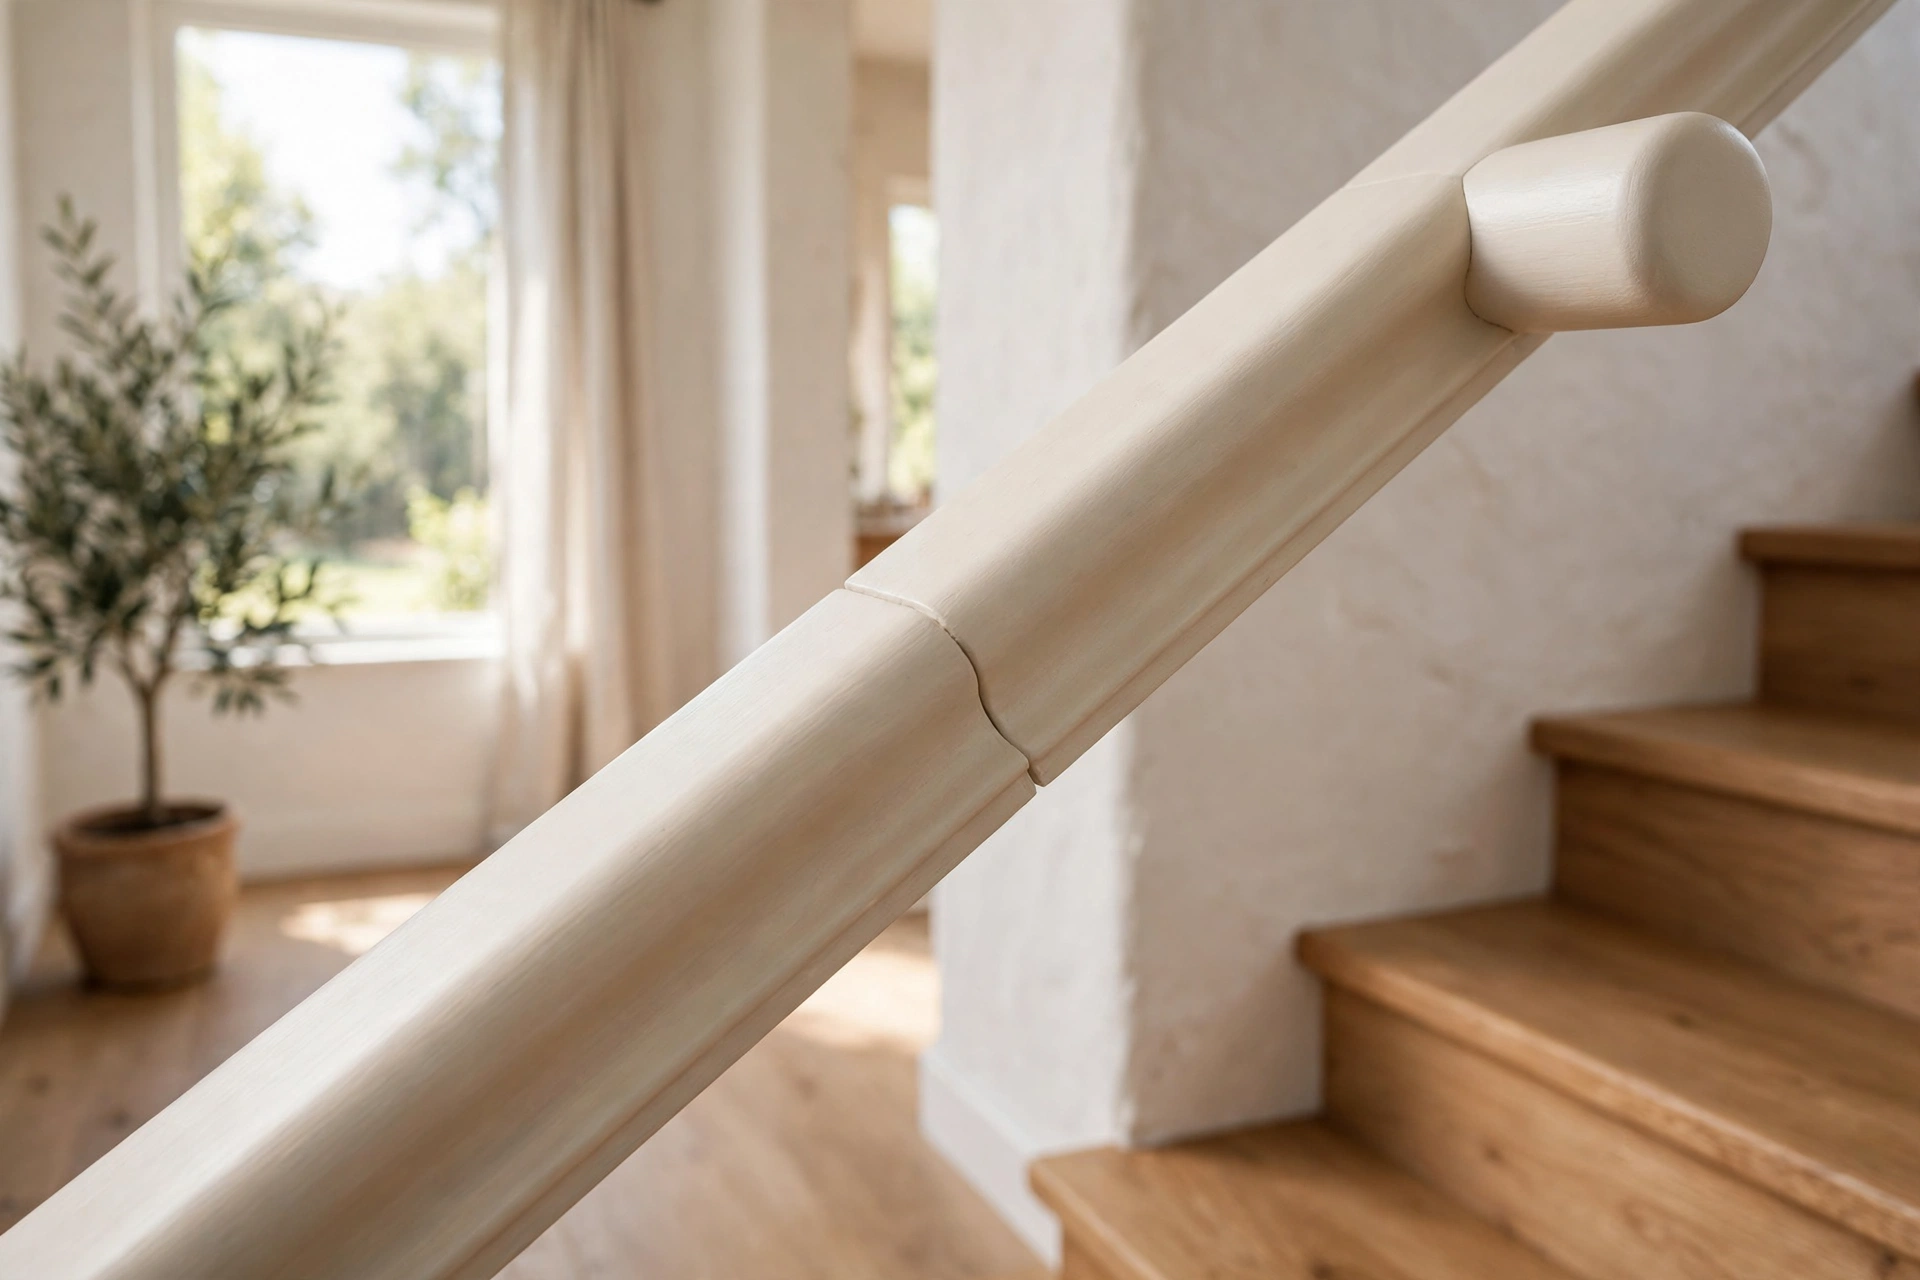
Common Mistakes When Fitting a Banister Rail
The most common mistake when fitting a banister rail is fixing brackets into weak material, because a rail that looks perfect on day one can pull loose the first time someone grabs it for support on the stairs. Other mistakes are just as easy to make, and most of them come from rushing the marking stage.
Fixing brackets unevenly gives a rail that wobbles or kinks, while cutting the rail too short leaves a gap at the end that no joining piece can hide neatly. Skipping the strength check means loose brackets go unnoticed until they fail, and leaving sharp cut ends or exposed screw heads turns a safety feature into a hazard. Another common error is fitting a rail that is hard to grip — too thick, too slippery, or blocked by a bracket that forces the hand off the rail. Measure twice, mark carefully, fix into solid material, and test the finished rail properly, and most of these mistakes never happen.
When to Hire a Professional
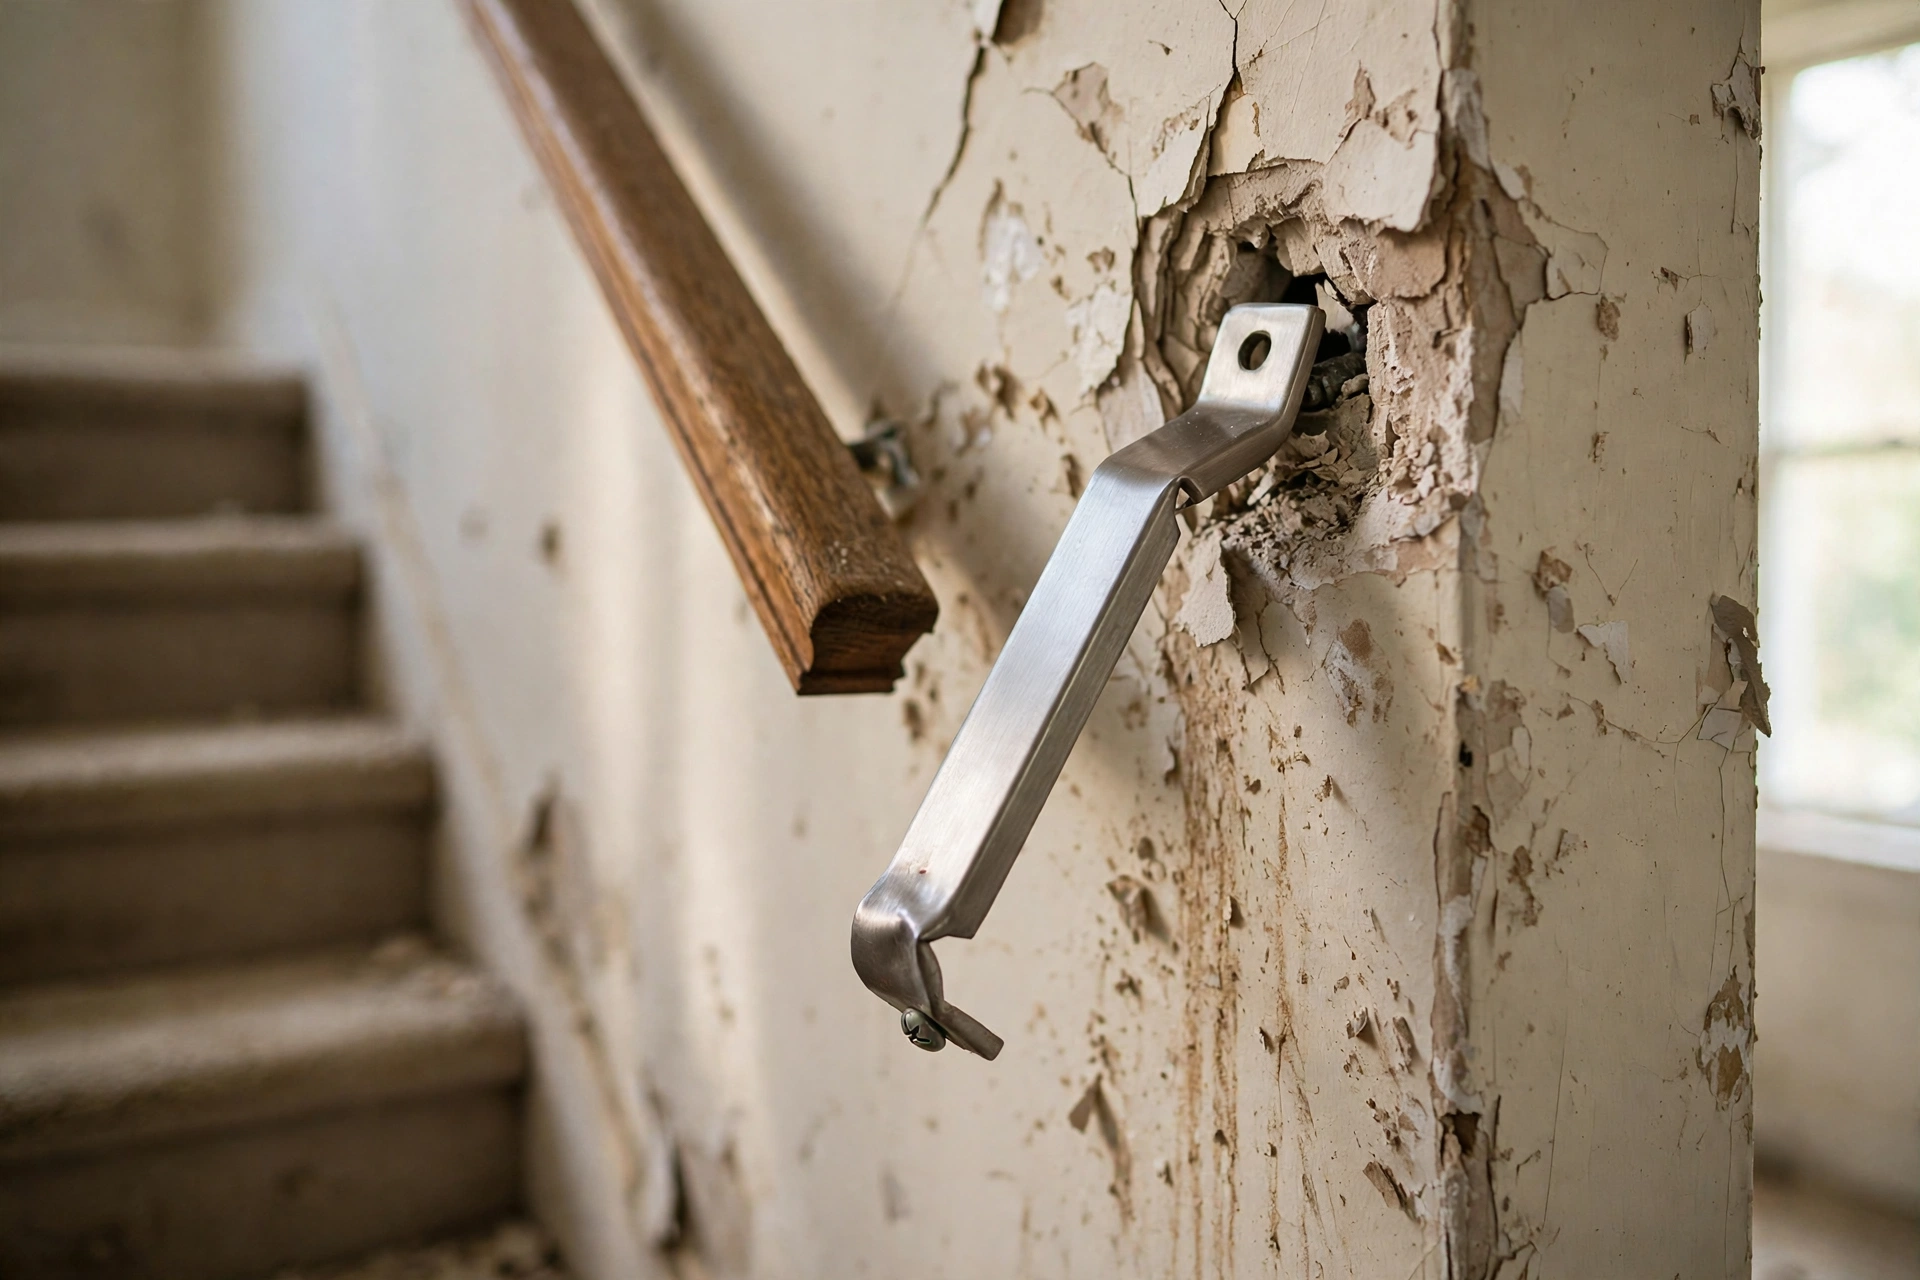
Hiring a professional is the right choice whenever the stair structure is uncertain, the wall material will not hold fixings, or the job involves structural changes, because a handrail must be safe every time it is grabbed, not just most of the time. There is no shame in calling a professional for a safety feature.
Call a professional if brackets will not hold firmly, if the newel posts are loose or damaged, if the stair itself moves or creaks structurally, or if local rules require a particular standard you are unsure about. A professional can also help with curved stairs, long continuous rails, and rails that must join into existing balustrades. If you are unsure about any part of the job, getting advice before you drill is far cheaper, and far safer, than fixing a rail that has already failed.
Conclusion
How to put up a banister rail comes down to a simple order: plan carefully, choose a rail that is comfortable to grip, mark a steady line, fix strong brackets into solid material, fit the rail neatly, and check it properly before use. Done in that order, the job is straightforward and the result is a rail you can trust.
A good banister rail does more than finish a staircase: it makes every trip up and down the stairs safer and easier, for everyone in the home. Take your time over the brackets, test the finished rail firmly, and call a professional whenever the structure or the fixings are in doubt. That way, the rail will look good and stay safe for years.
Frequently Asked Questions
Can I fit a banister rail myself?
Yes, if the wall or posts are solid, the rail is straight, and you are confident with measuring, drilling, and fixing brackets, but hire a professional for structural or uncertain work.
What is the best material for a banister rail?
Timber suits most homes because it is warm and easy to grip, while metal suits modern stairs, so choose the material that feels comfortable and matches your home.
How do I know if my brackets are strong enough?
Fix brackets into solid material such as studs, sound brick, or strong newel posts, tighten them fully, and tug each one firmly before fitting the rail.
Do I need permission to fit a banister rail?
Rules vary by place and stair type, so check your local building rules before starting, especially for new stairs, rental homes, or structural changes.
What should I do if the rail feels loose after fitting?
Stop using it as support, check each bracket and fixing, refix any loose bracket into solid material, and call a professional if it still moves.
Disclaimer: This article is provided for general information only. It is not professional building, carpentry, or safety advice, and it does not promote any brand, product, or service. Stair construction, wall materials, and local rules vary by home and region, so always check your local rules and the guidance for the specific products you use, and seek qualified professional advice before structural work or whenever the stair, posts, or fixings are uncertain.
Thanks for visiting Clearise Cleaning Services! Discover more helpful tips and expert cleaning insights by exploring our related categories.