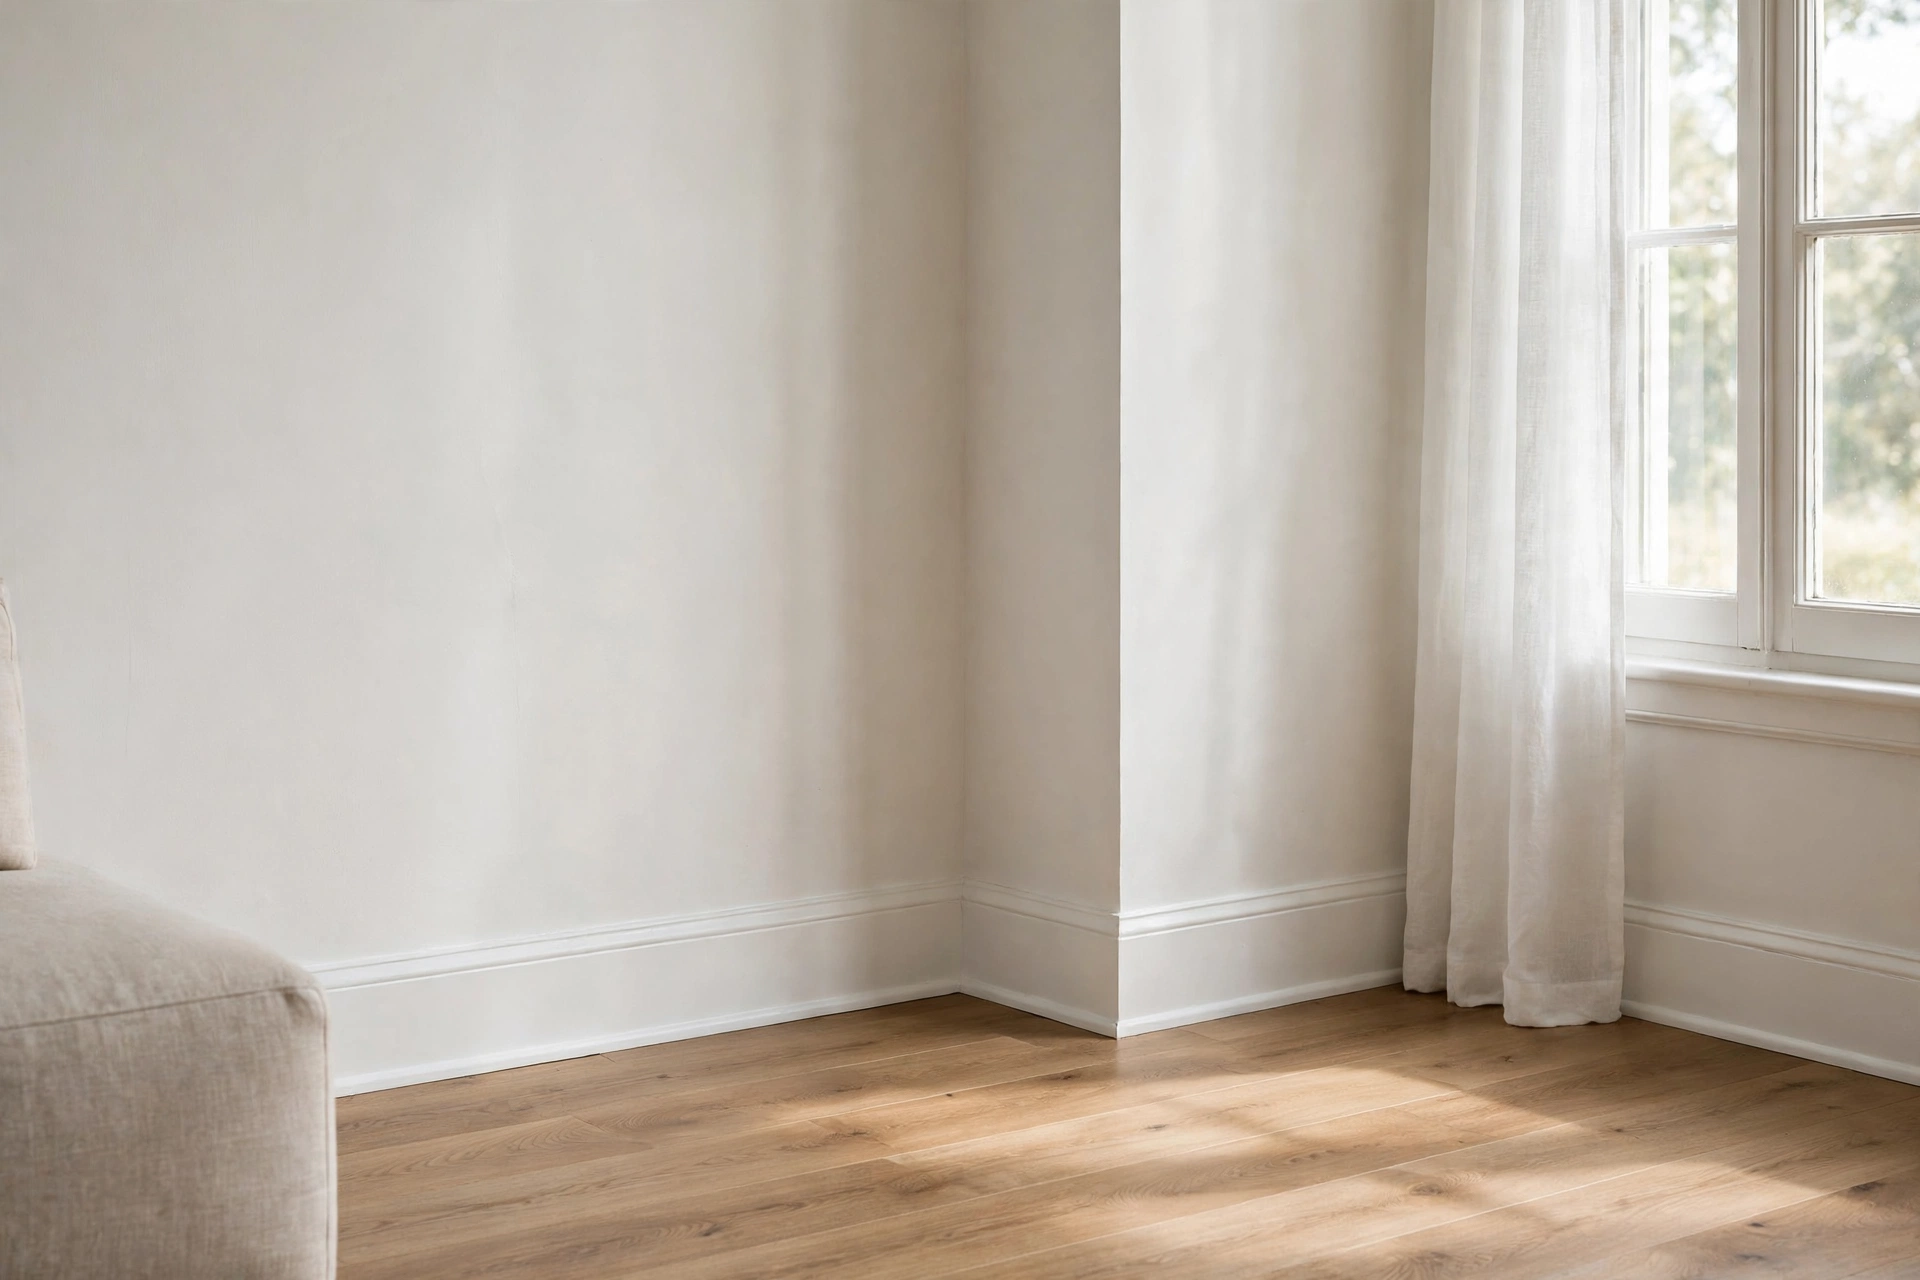
Baseboards are the boards that run along the bottom of a wall where it meets the floor. They hide the gap between the wall and the floor, protect the lower wall from knocks and scuffs, and give a room a tidy, finished edge. When they are fitted well, you barely notice them, which is exactly the point.
This guide explains how to install baseboards step by step, from choosing a profile and measuring the room to cutting corners, fixing the boards and painting them. You need patience, careful measuring and the right basic tools, not professional experience. Take your time with the corners, because neat corners separate a professional-looking job from a rushed one.
The Short Answer
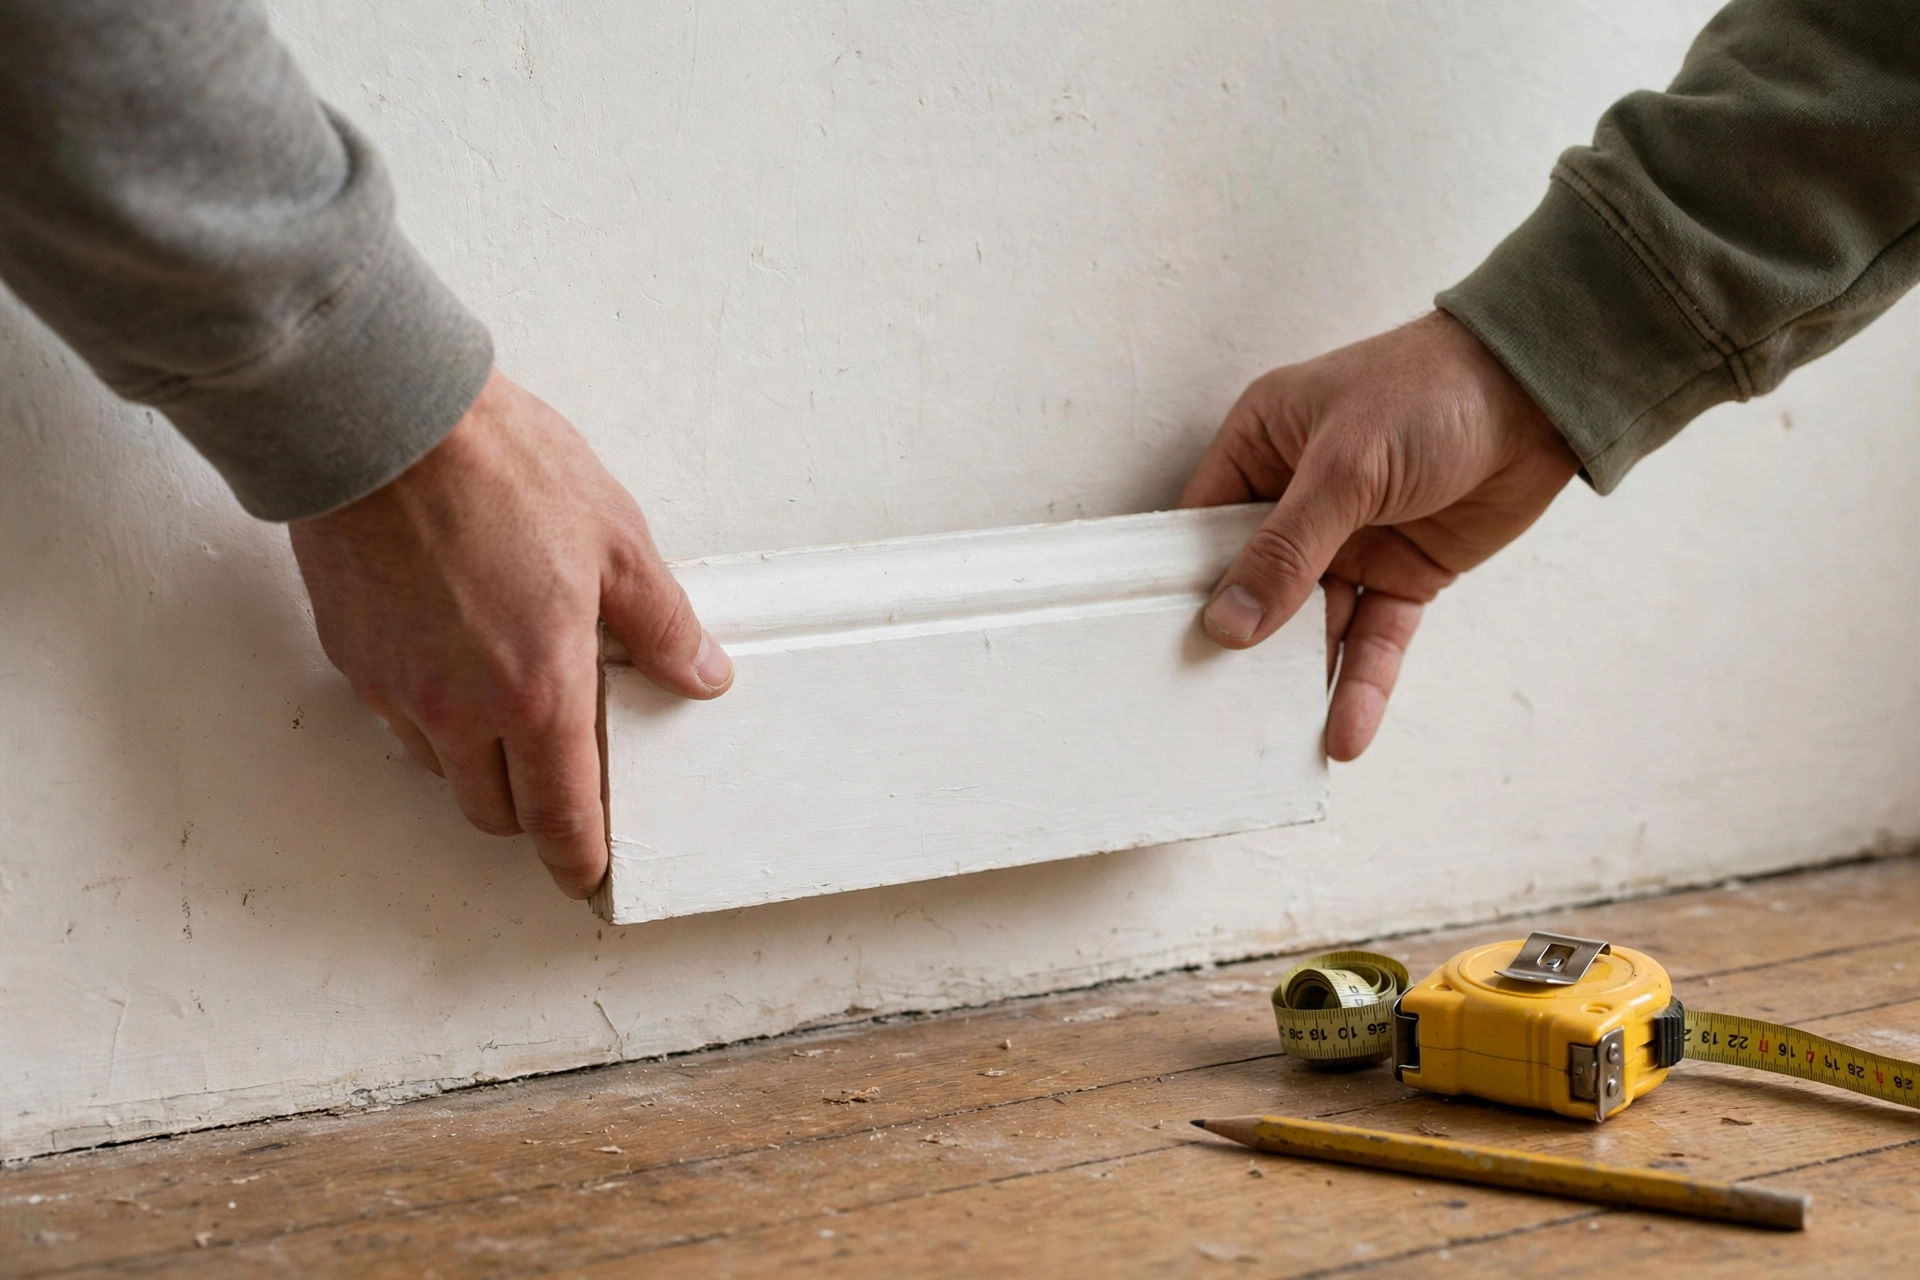
To install baseboards, measure each wall, cut the boards to length, join them neatly at the corners, fix them to the wall studs with nails or adhesive, then fill the nail holes, caulk the top edge and paint. The job is straightforward on straight walls, and the corners are the part that needs the most care and practice.
That short answer hides one important truth: most of the work is preparation. Measuring twice and cutting a few practice corners on offcuts will save far more time than rushing into fixing boards to the wall. If the preparation is right, the fixing itself is quick.
Choosing the Right Baseboard Profile
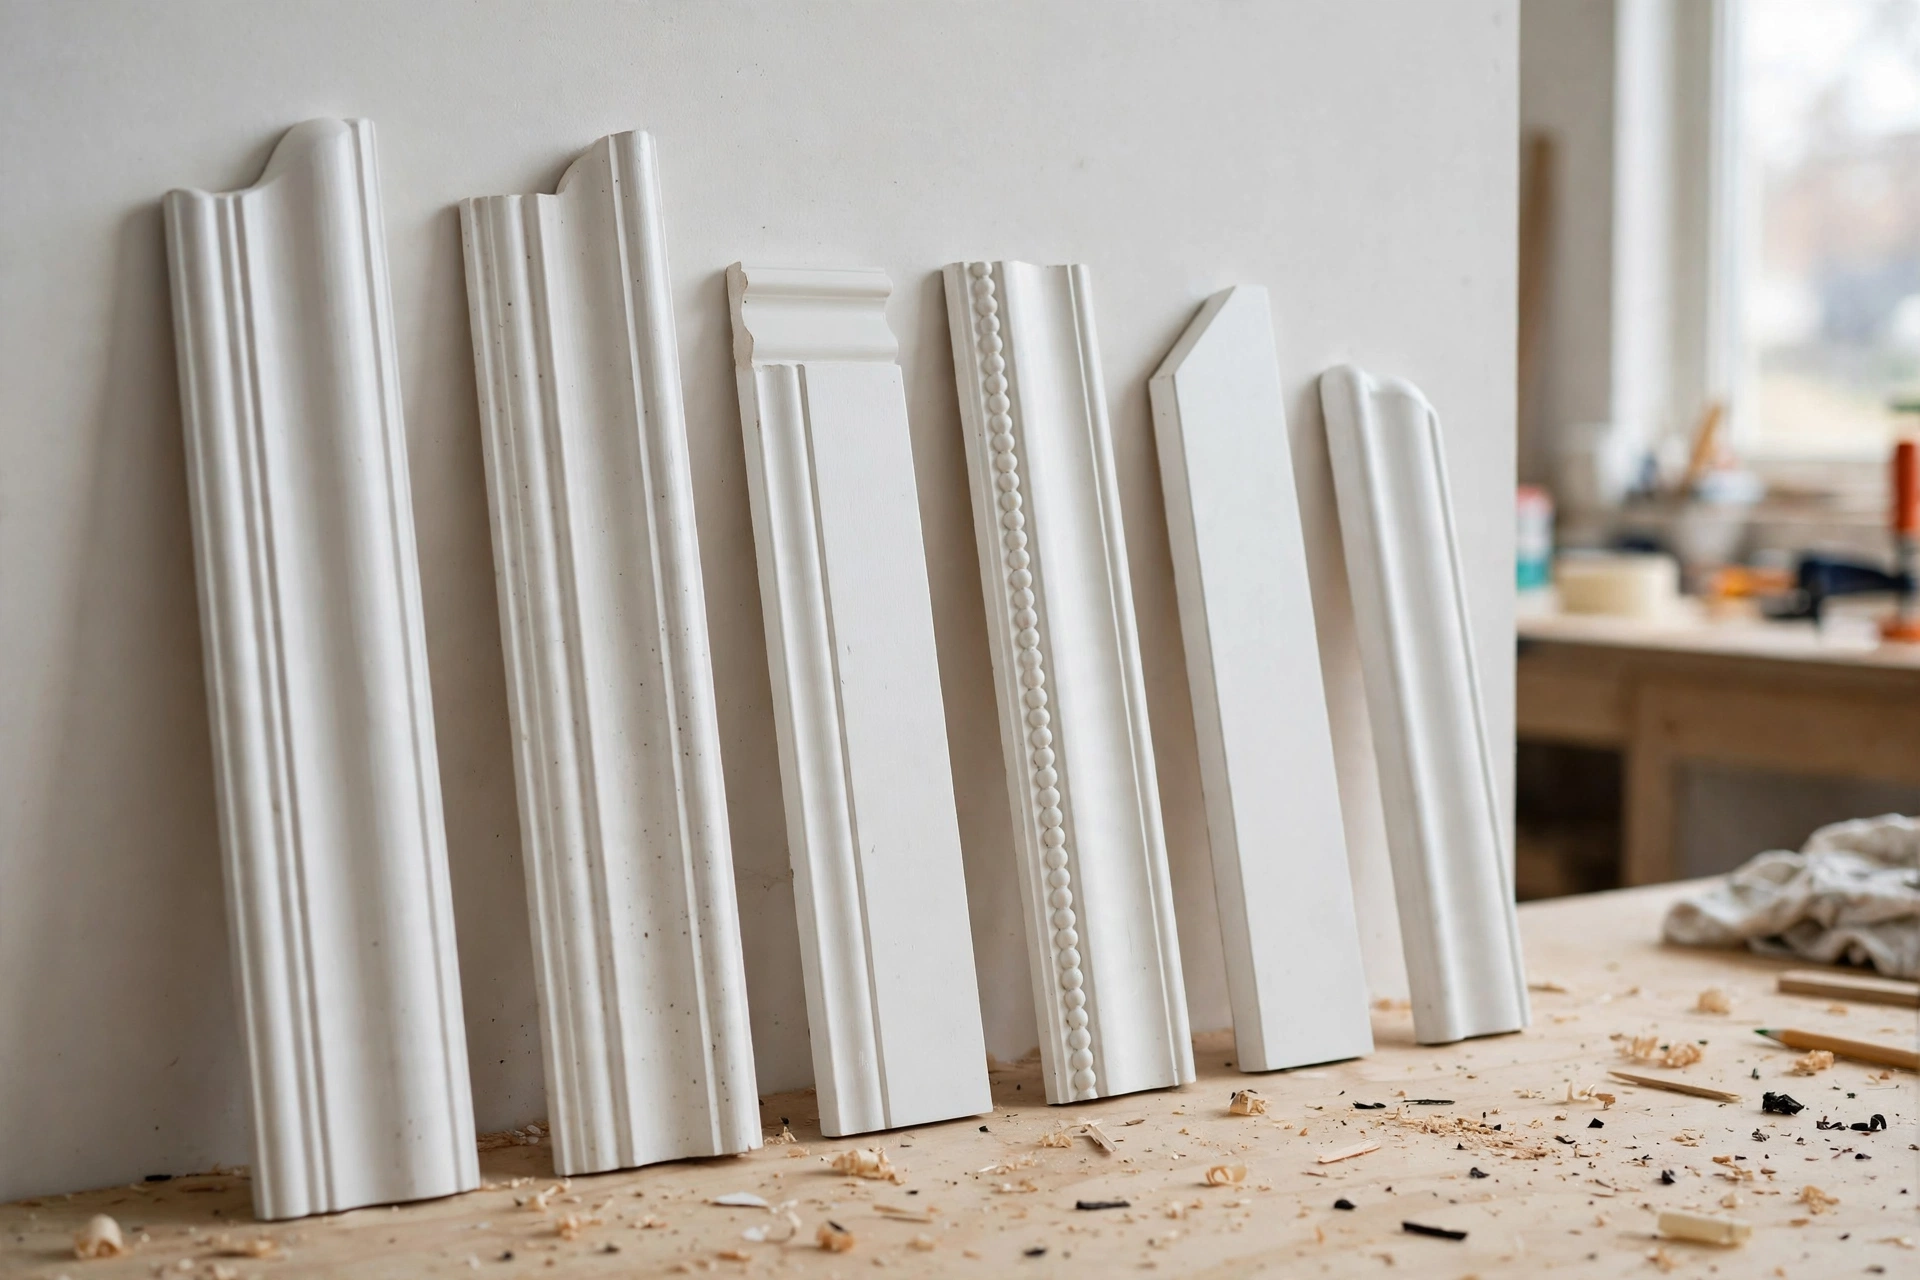
The best baseboard profile suits your ceiling height and your home’s style: simple flat or square profiles suit modern rooms, while taller shaped profiles suit traditional rooms with higher ceilings. As a rough guide, a board between 90 and 150 millimetres tall suits most standard rooms.
Baseboards are commonly sold in MDF, pine and other softwoods, and sometimes in PVC for damp areas. MDF is smooth, stable and easy to paint, while pine suits rooms where a natural wood look is wanted. PVC resists moisture, so it can suit bathrooms, but it does not take paint like wood-based boards.
| Material | Best for | Things to know |
|---|---|---|
| MDF | Painted finishes in dry rooms | Smooth and stable, but swells if it stays wet |
| Pine or softwood | Natural wood look or staining | Shows grain, can dent more easily than MDF |
| PVC or plastic | Bathrooms and damp areas | Moisture resistant, but harder to paint well |
| Hardwood | High-end traditional rooms | Durable and attractive, but costs more |
Buy boards from the same batch where possible so the colour and profile match, and buy a little extra for practice cuts and mistakes.
Tools and Materials You Will Need
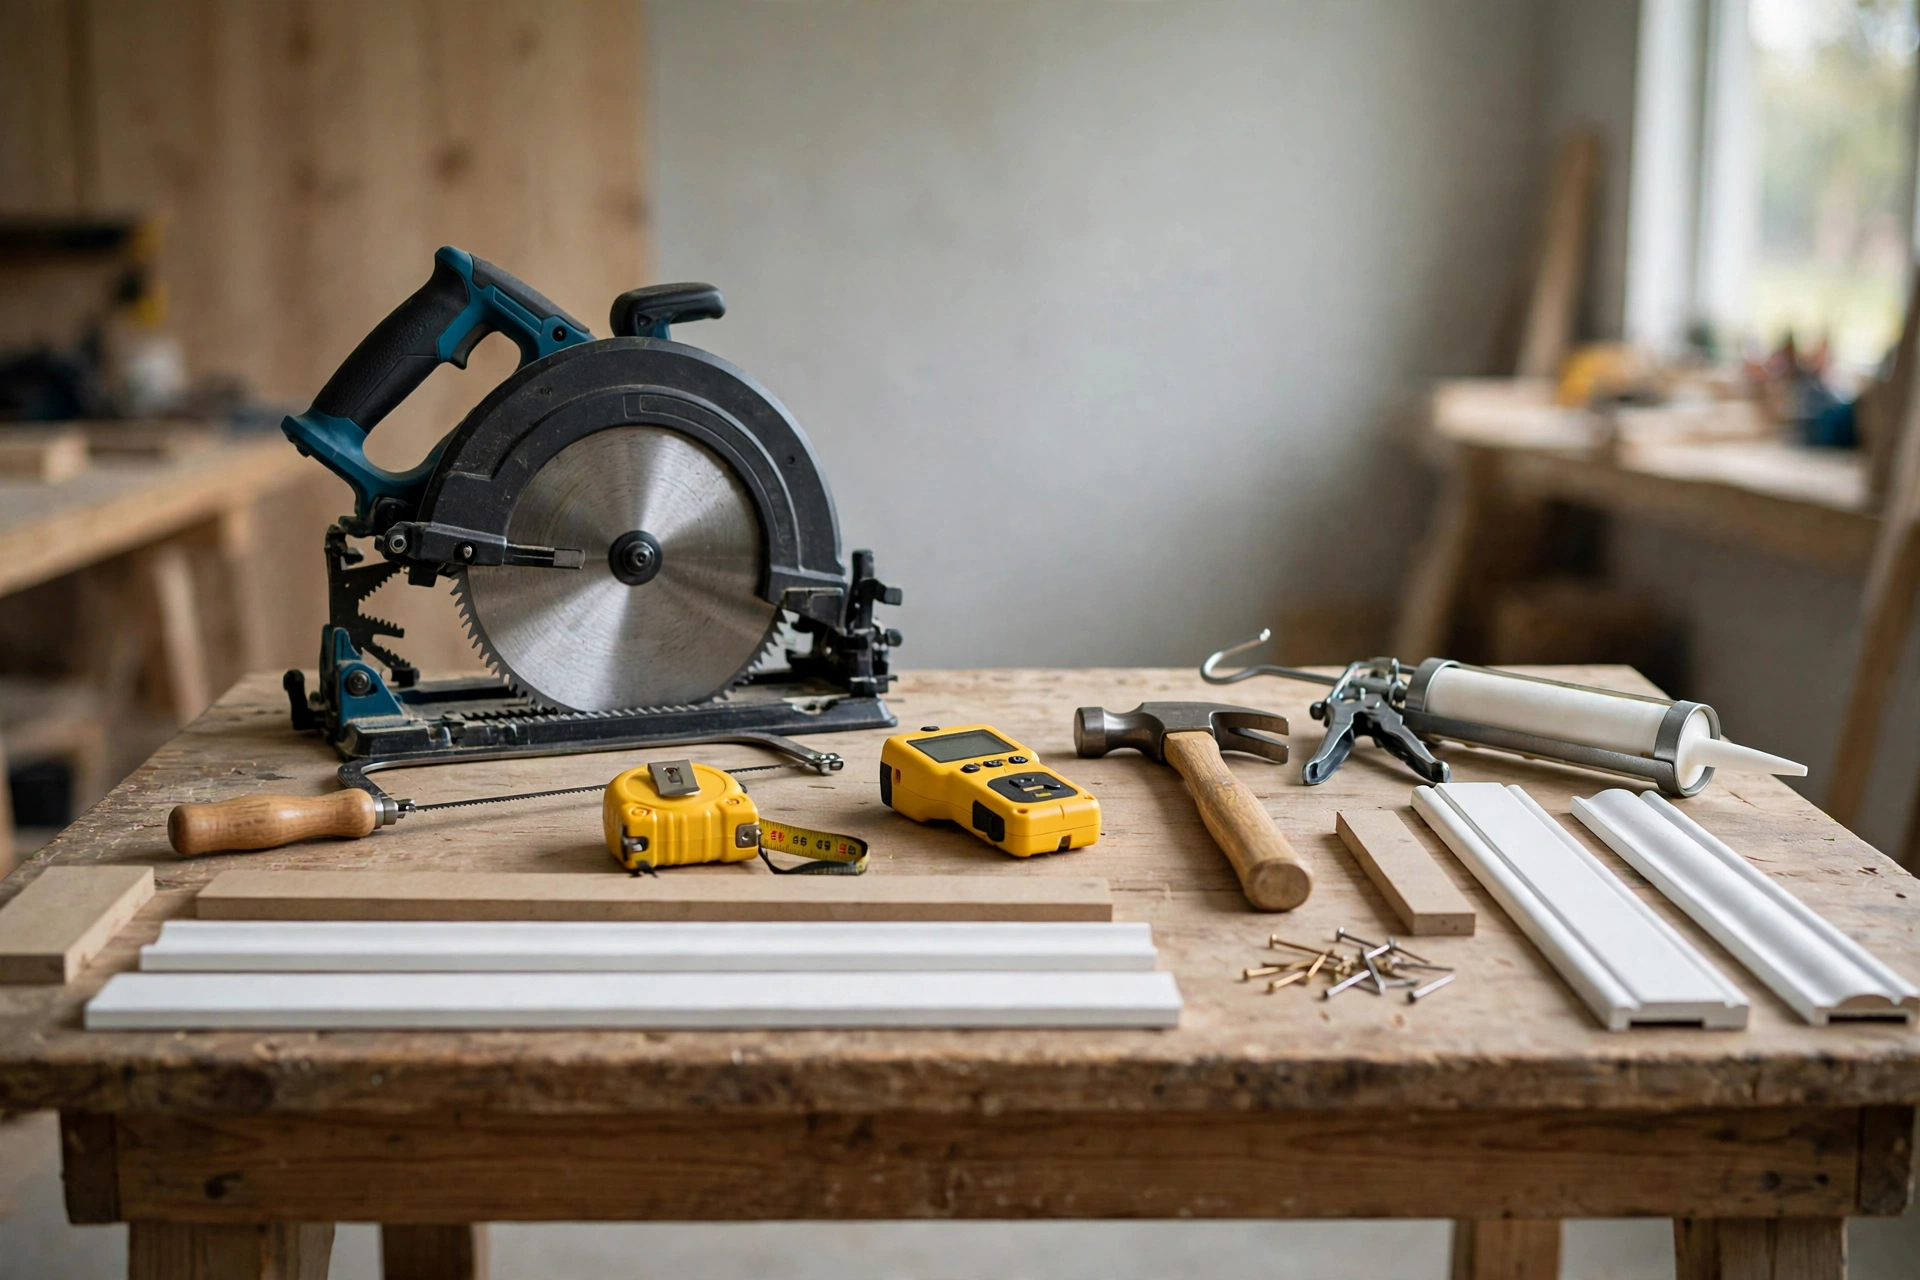
You will need a tape measure, a pencil, a mitre saw or mitre box with a fine-toothed saw, a coping saw, a spirit level, a stud finder, a hammer or nail gun, a caulk gun, filler, sandpaper and paint, plus the baseboards, finishing nails, wood glue and paintable caulk.
A mitre saw cuts accurate angles quickly, but a mitre box and a handsaw can do the same work if you cut slowly and check each angle. A coping saw shapes inside corners, and it is worth buying one even if you own little else. Wear safety glasses and a dust mask, since cutting MDF creates fine dust.
Before you start, lay out the tools and boards, move furniture away from the walls, vacuum the floor edge, and fill large holes in the lower wall so the boards sit flat.
Measuring and Planning Your Cuts
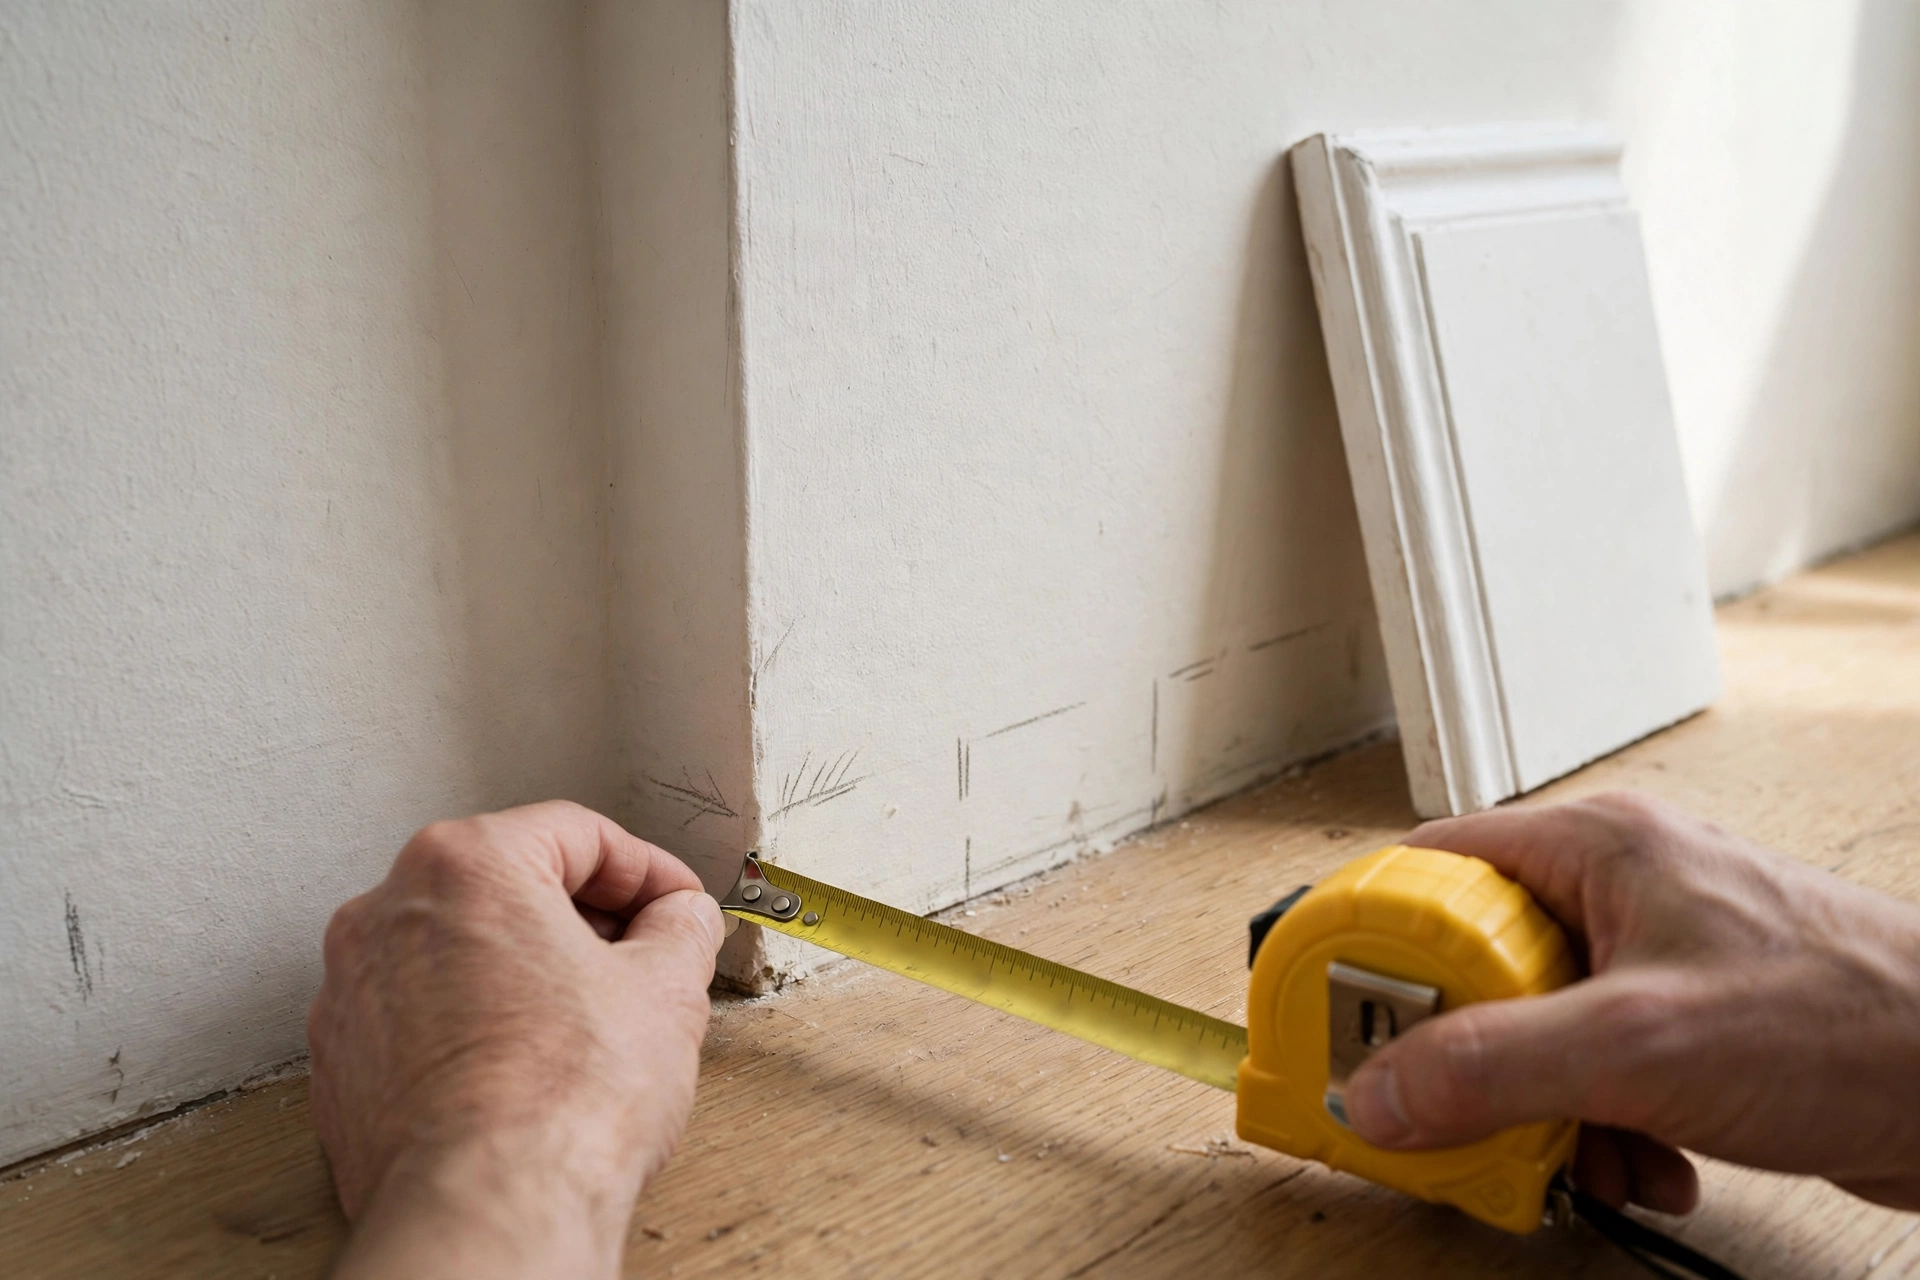
Measure each wall at floor level and write each length on a simple sketch of the room, noting doors, corners and obstacles. Add a small allowance for cutting waste, and plan to start on the longest, most visible wall and work towards the least visible corners.
Planning the joints matters as much as measuring. On a long wall, the joint between two boards should fall over a wall stud so both ends are firmly fixed. Inside corners are best finished with a coped joint, while outside corners use a mitred joint with both boards cut at 45 degrees. Mark each board on its back with its wall, so similar lengths do not get mixed up.
Follow this simple order for the whole job:
- Measure every wall and sketch the room with all lengths marked.
- Choose the profile and material, and buy boards plus one spare.
- Remove old baseboards carefully if any are already fitted.
- Cut and dry-fit all boards for one room before fixing any of them.
- Fix the boards, starting with the longest wall.
- Fill nail holes, caulk the top edge, sand, then paint.
Dry-fitting means holding each cut board in place without nails to check the fit. If a joint gaps during dry-fitting, it costs nothing to recut, while the same mistake after nailing costs time and frustration.
Removing Old Baseboards Safely
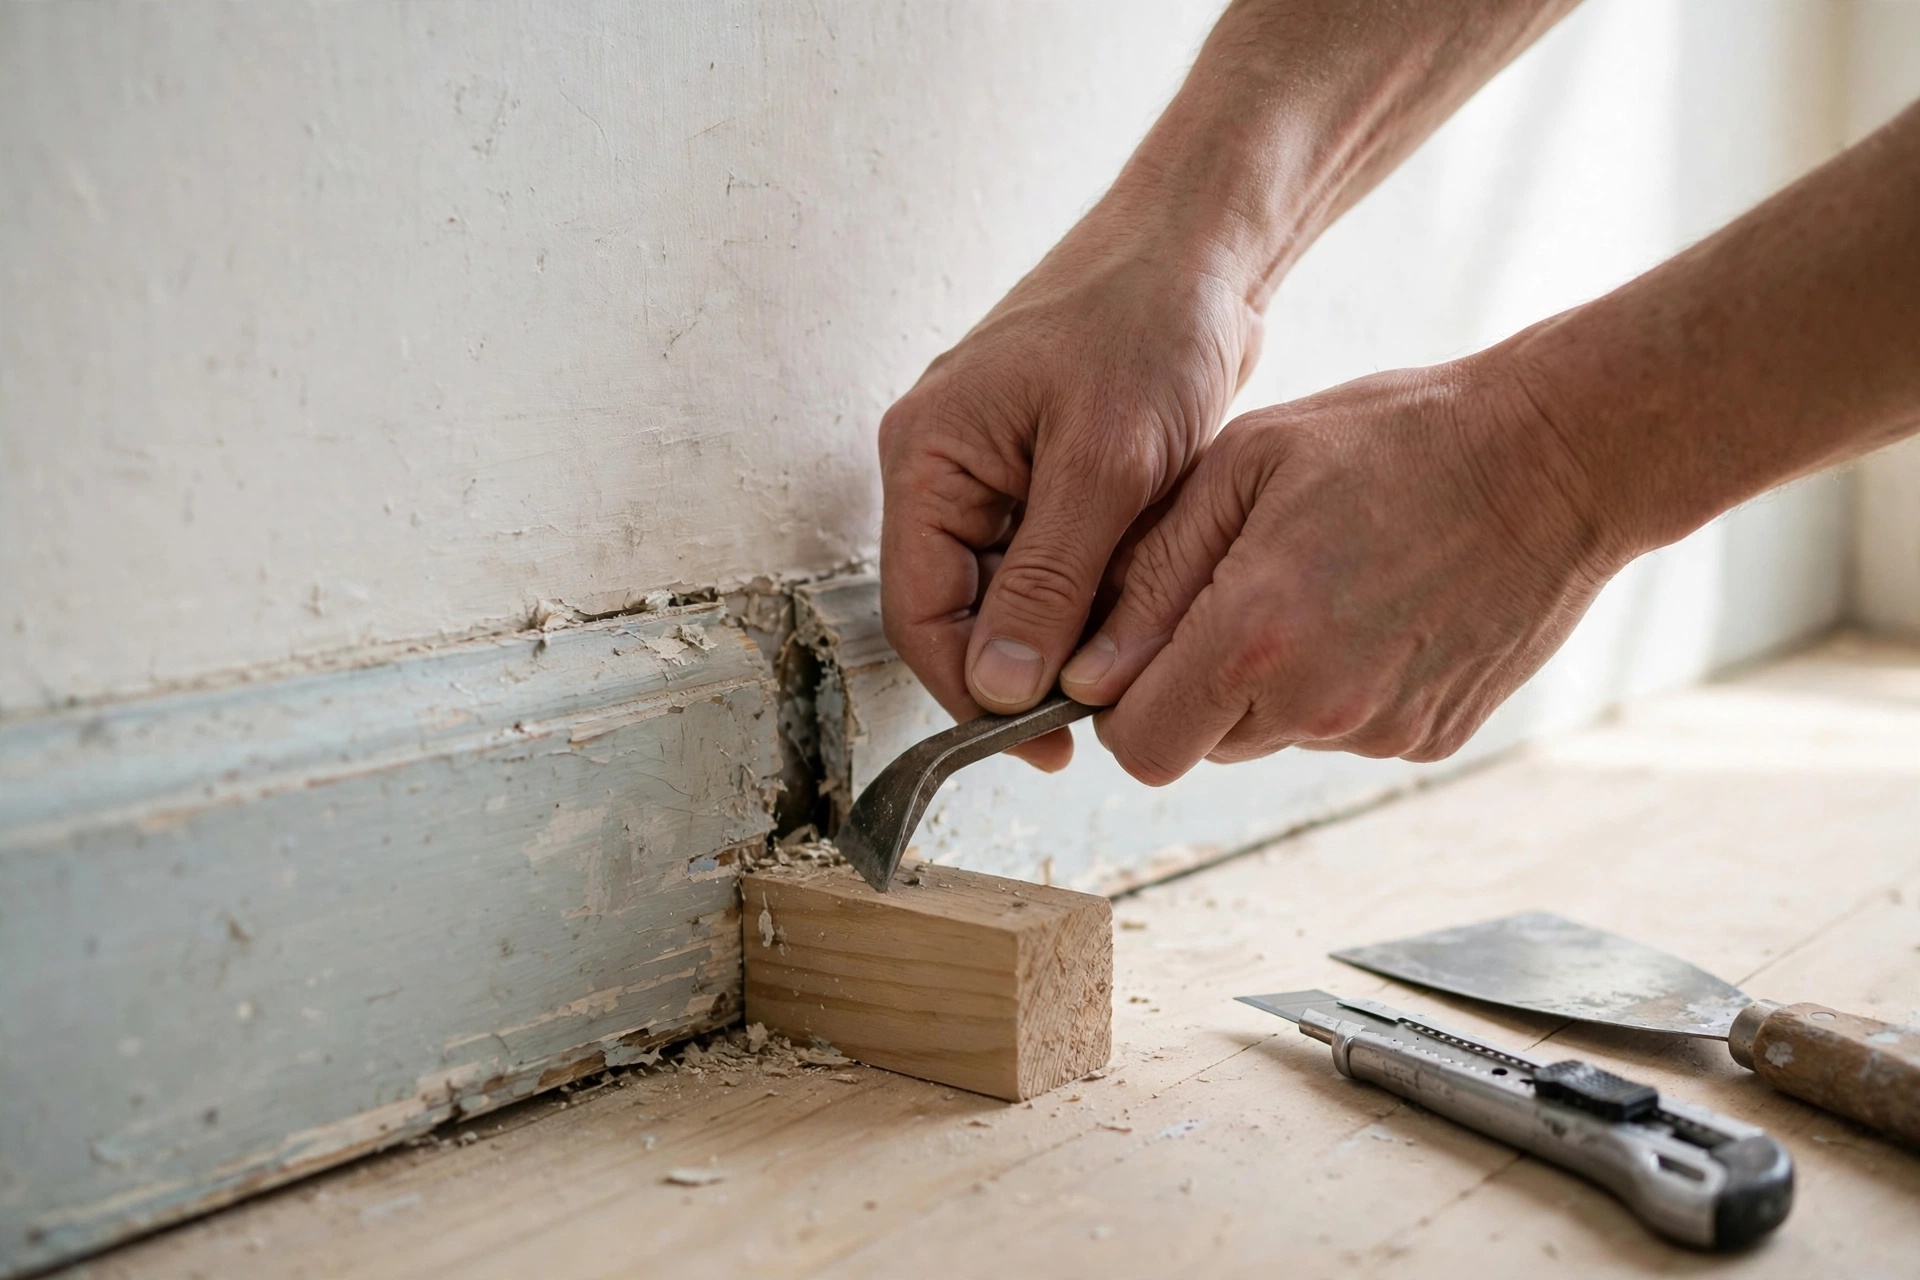
Remove old baseboards by scoring the paint line along the top edge with a utility knife, then easing a putty knife behind the board and working a pry bar gently along its length. Score first so paint does not peel up the wall, and lever against a block of wood so the bar does not dent the plaster.
Old boards are often nailed into studs and held by paint, so work along the board a little at a time rather than pulling hard at one end, which can snap the board and tear the wall. Once a board is off, pull the old nails out through its back, scrape off loose paint, fill any damage, let it dry, and sand it smooth. Repair badly damaged wall sections first, since a deep dent will leave a visible gap behind the new board.
Cutting Inside Corners
An inside corner is where two walls meet inside a room, and the neatest way to join baseboards there is a coped joint. The first board is cut square and pushed tight into the corner, and the second board is cut so its shaped end fits over the face of the first board like a glove.
To cut a coped joint, first cut the end of the second board at 45 degrees on the mitre saw, which exposes the shape of the board’s profile. Then use a coping saw to cut away the wood behind that profile line until the end matches the first board. Test the fit against a spare piece, and trim high spots with the coping saw or sandpaper until the joint closes tightly. Coped joints are preferred because walls are rarely perfectly square, and a coped joint stays tight even when the angle is slightly off. Practise on an offcut first.
Cutting Outside Corners
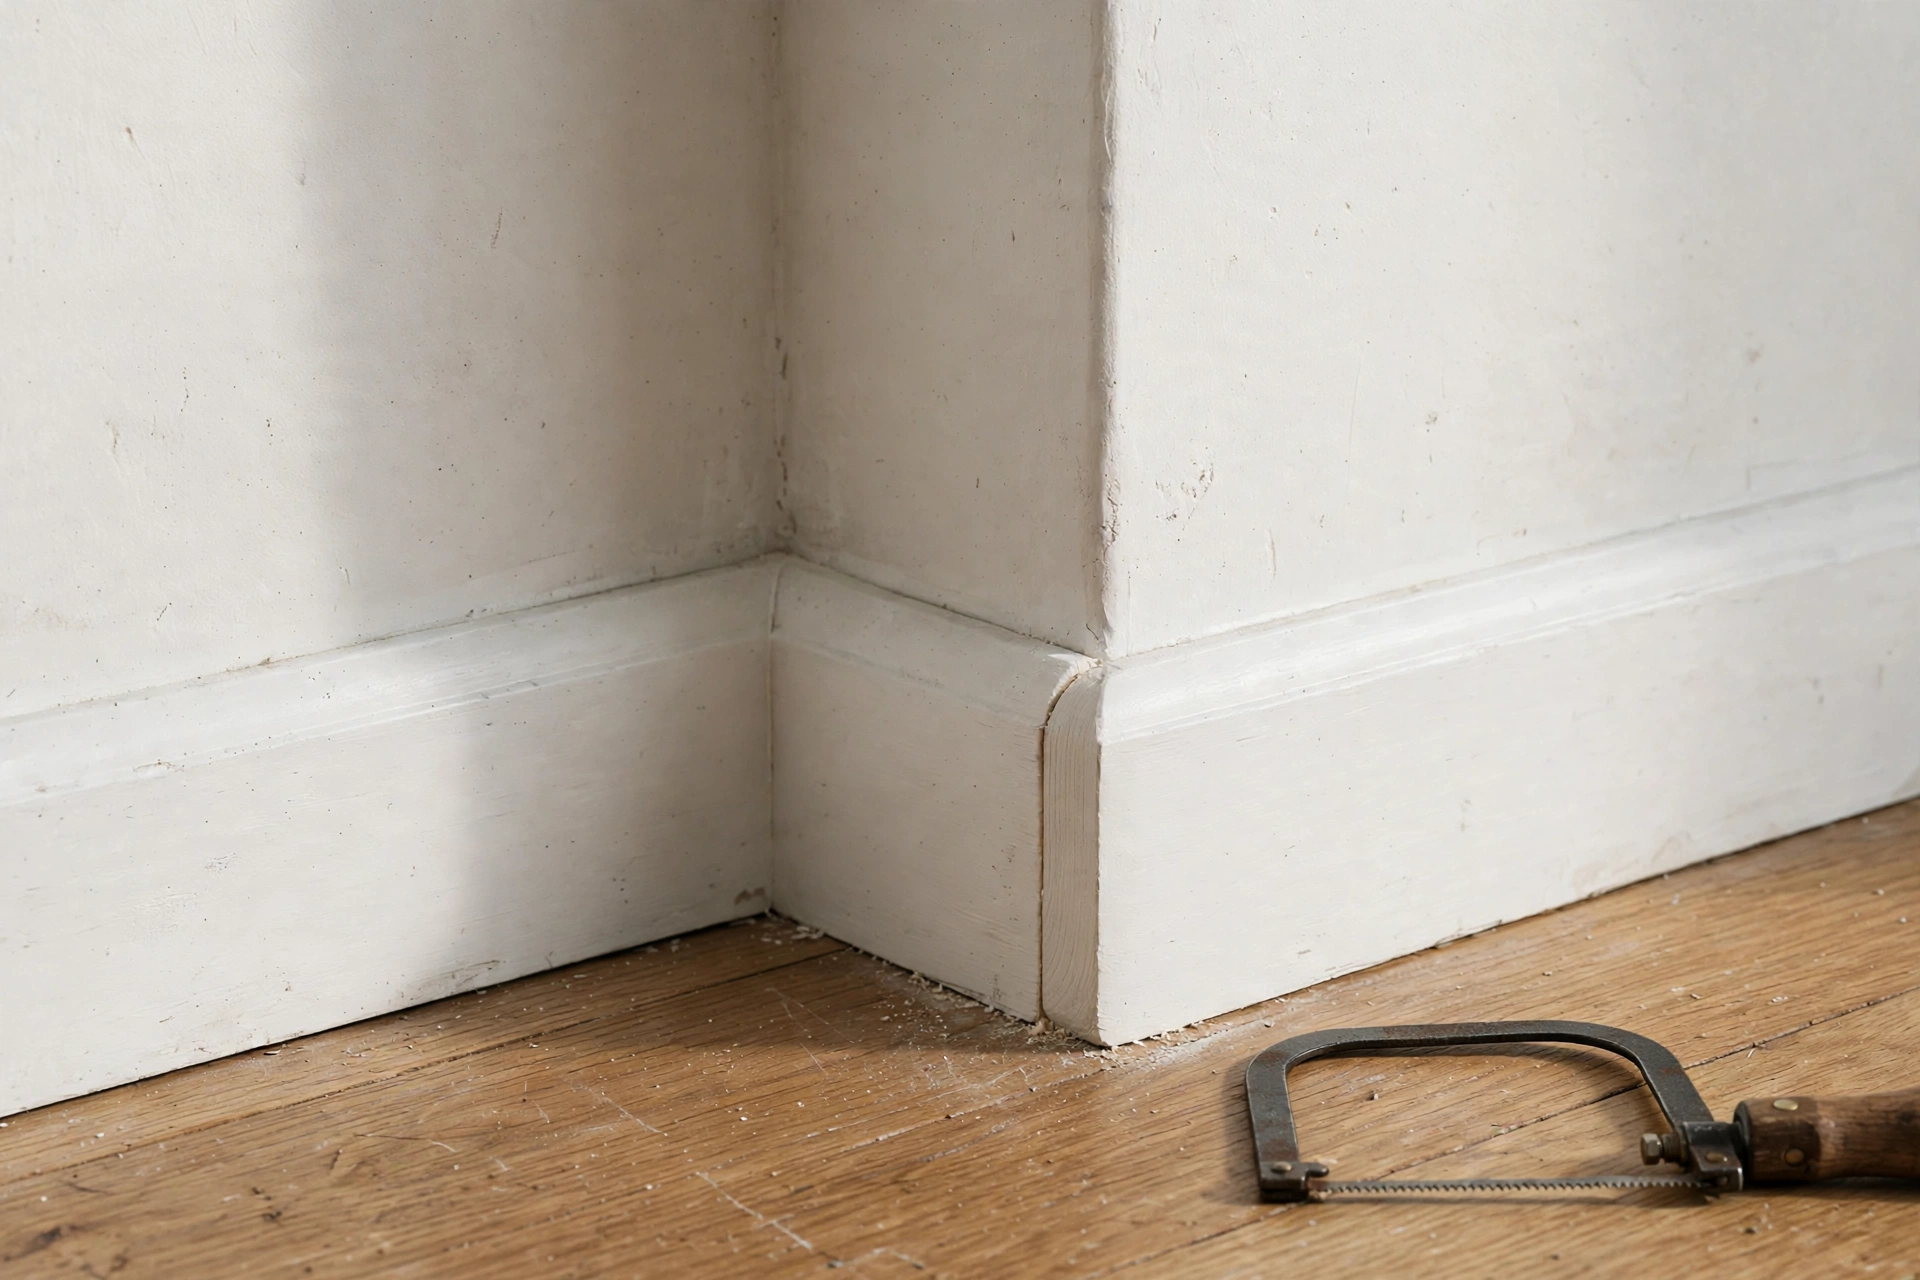
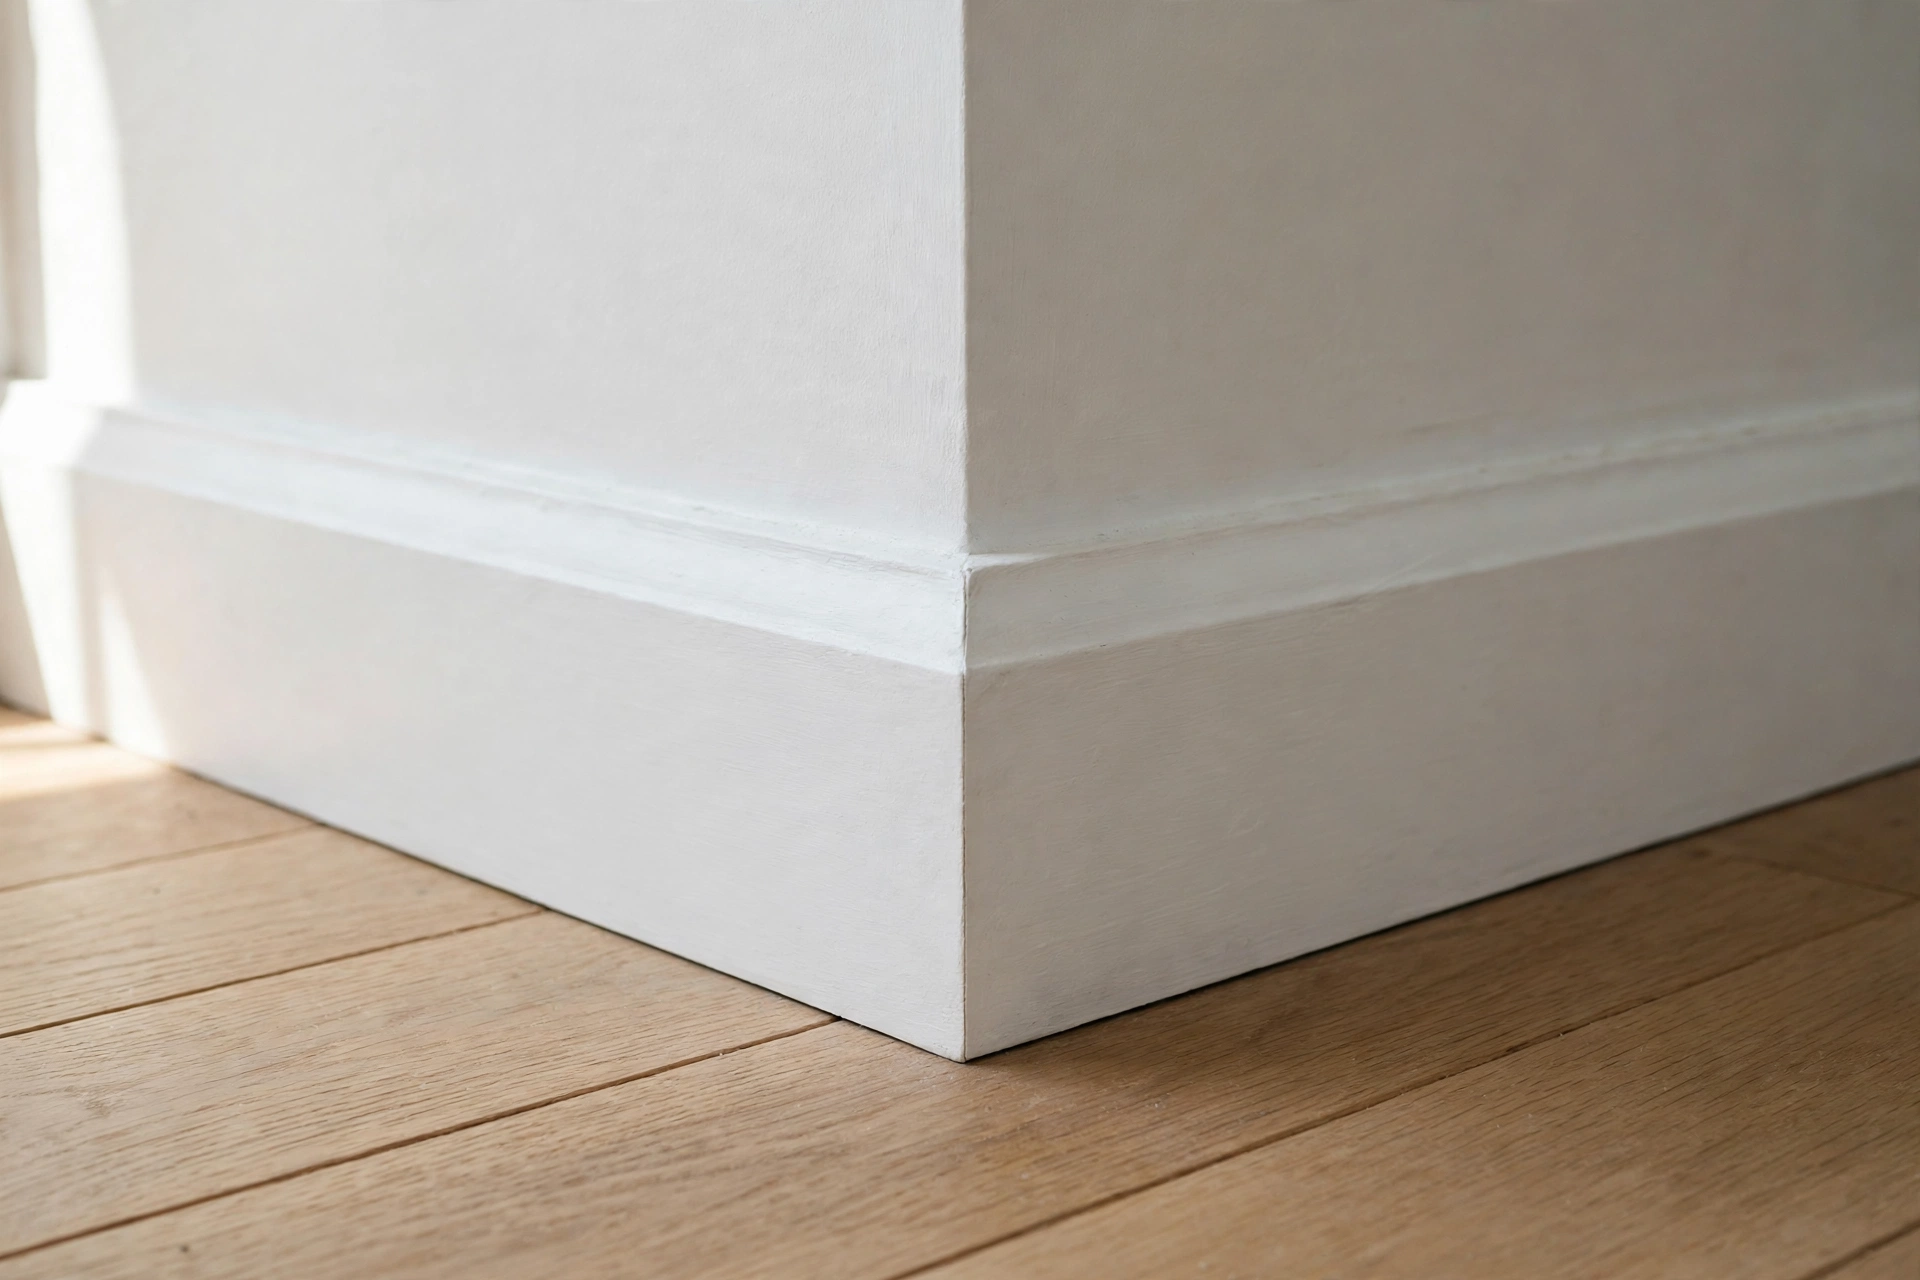
An outside corner sticks out into the room, such as the corner of a chimney breast or a wall end, and it is joined with a mitred joint. Both boards are cut at 45 degrees so their angled ends meet to form a neat 90-degree corner, and a little wood glue helps hold the joint closed.
Outside corners are less forgiving than inside corners because any error shows as a gap at the very point of the corner. Measure carefully, cut both pieces, and dry-fit them before fixing, checking from both sides and from above. If the wall corner is not exactly 90 degrees, which is common in older homes, adjust each cut slightly, for example to 44 or 46 degrees, until the joint closes. Glue the joint, fix both boards, and wipe away squeezed-out glue before it dries, since dried glue shows through paint. A small remaining gap can be filled and sanded, but a large gap means the angle was wrong and the boards should be recut.
Joining Boards on Long Walls
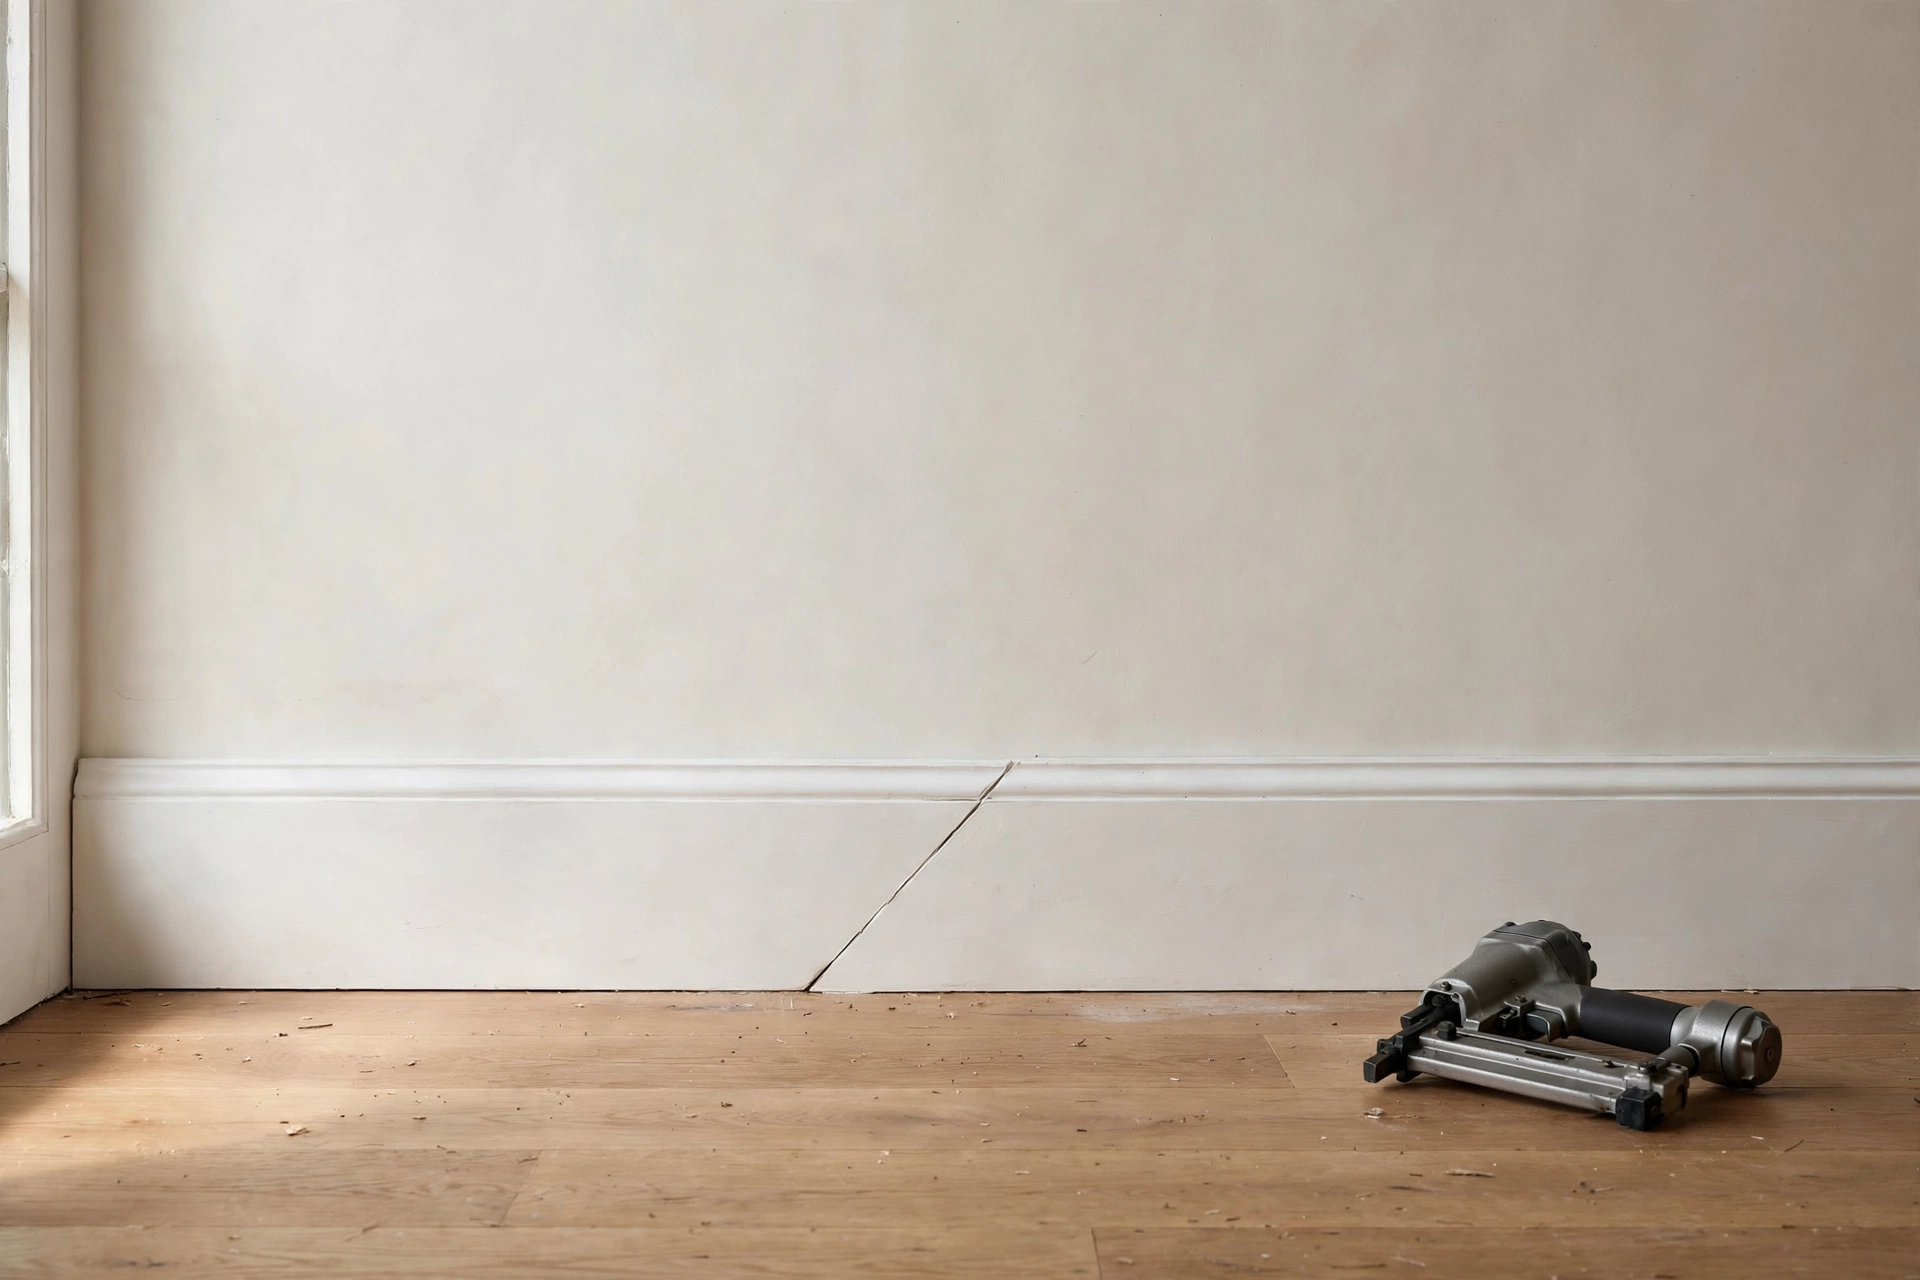
On a wall longer than a single board, join two boards with a scarf joint, a long angled overlap far less visible than a straight butt joint. Cut each board end at 45 degrees in opposite directions so they overlap, glue the joint, and fix both ends firmly into a stud.
Position the joint where it will be least noticeable, ideally over a stud and away from the centre of the main view of the room. The angled cut gives the glue a larger surface to grip, and the diagonal joint line is less noticeable than a straight vertical line. Once glued, nailed and filled, the joint will all but disappear under paint. Avoid joints near corners or door frames, where the eye is naturally drawn.
Fixing Baseboards to the Wall
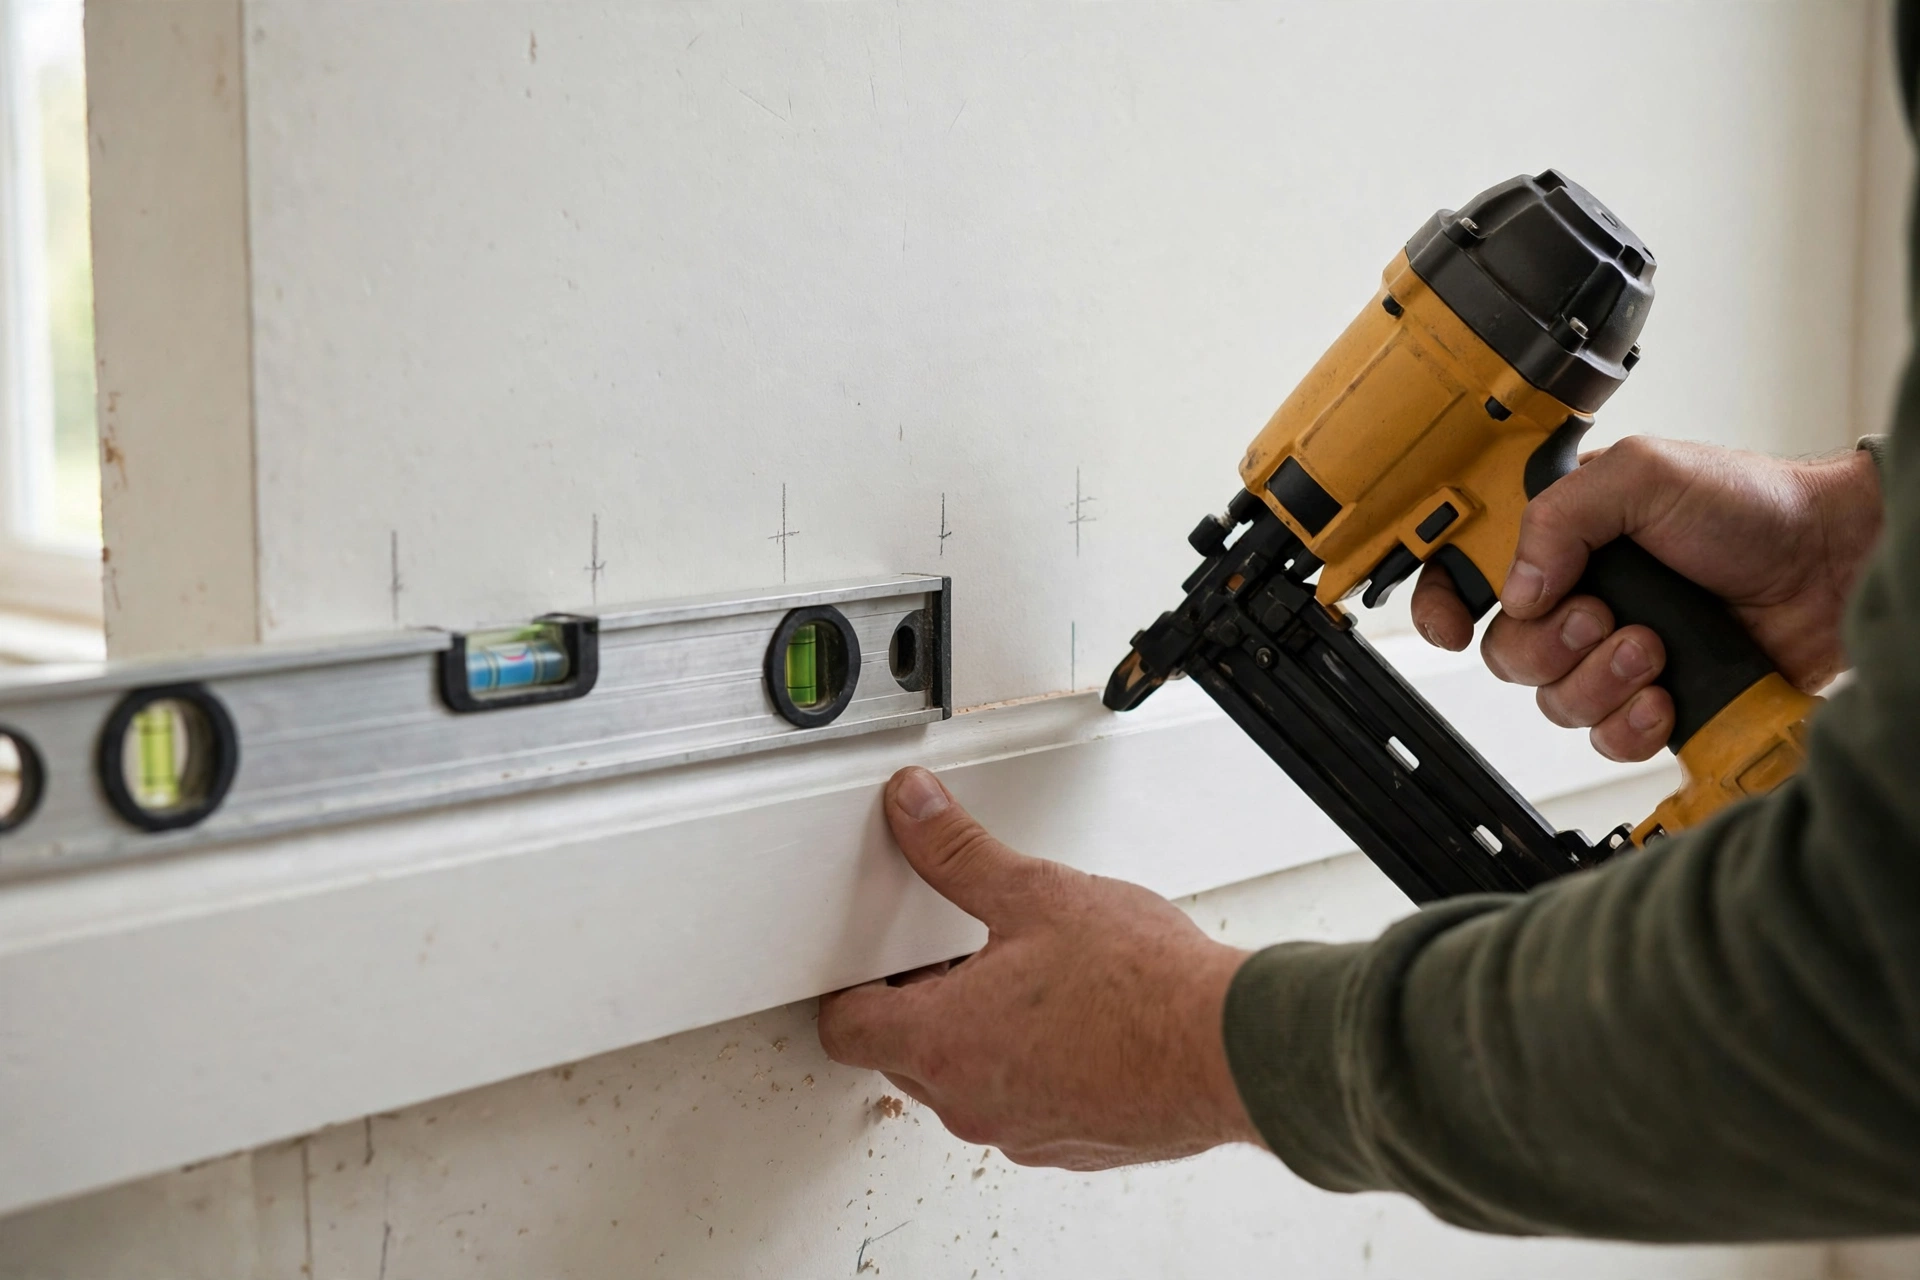
Fix baseboards by marking the wall studs, holding the board level and tight to the floor, and driving nails into the studs. Where the board is tall enough, use pairs of nails at each stud, one near the top and one near the bottom, so the board cannot rock or bow away from the wall.
Finding the studs is the key step. Use a stud finder, or tap the wall and listen for the change from a hollow sound to a solid one, and mark each stud lightly with pencil. Boards fixed only into plasterboard can work loose over time, especially in busy hallways. If you use a nail gun, set the pressure so nails sit just below the surface, and if you use a hammer, finish each nail with a nail set ready for filling.
Work around the room in order, fixing one board at a time and checking each joint as you go. Do not fix every board first and check the corners later, because a small early error can push every following board out of line.
Filling, Caulking, and Painting
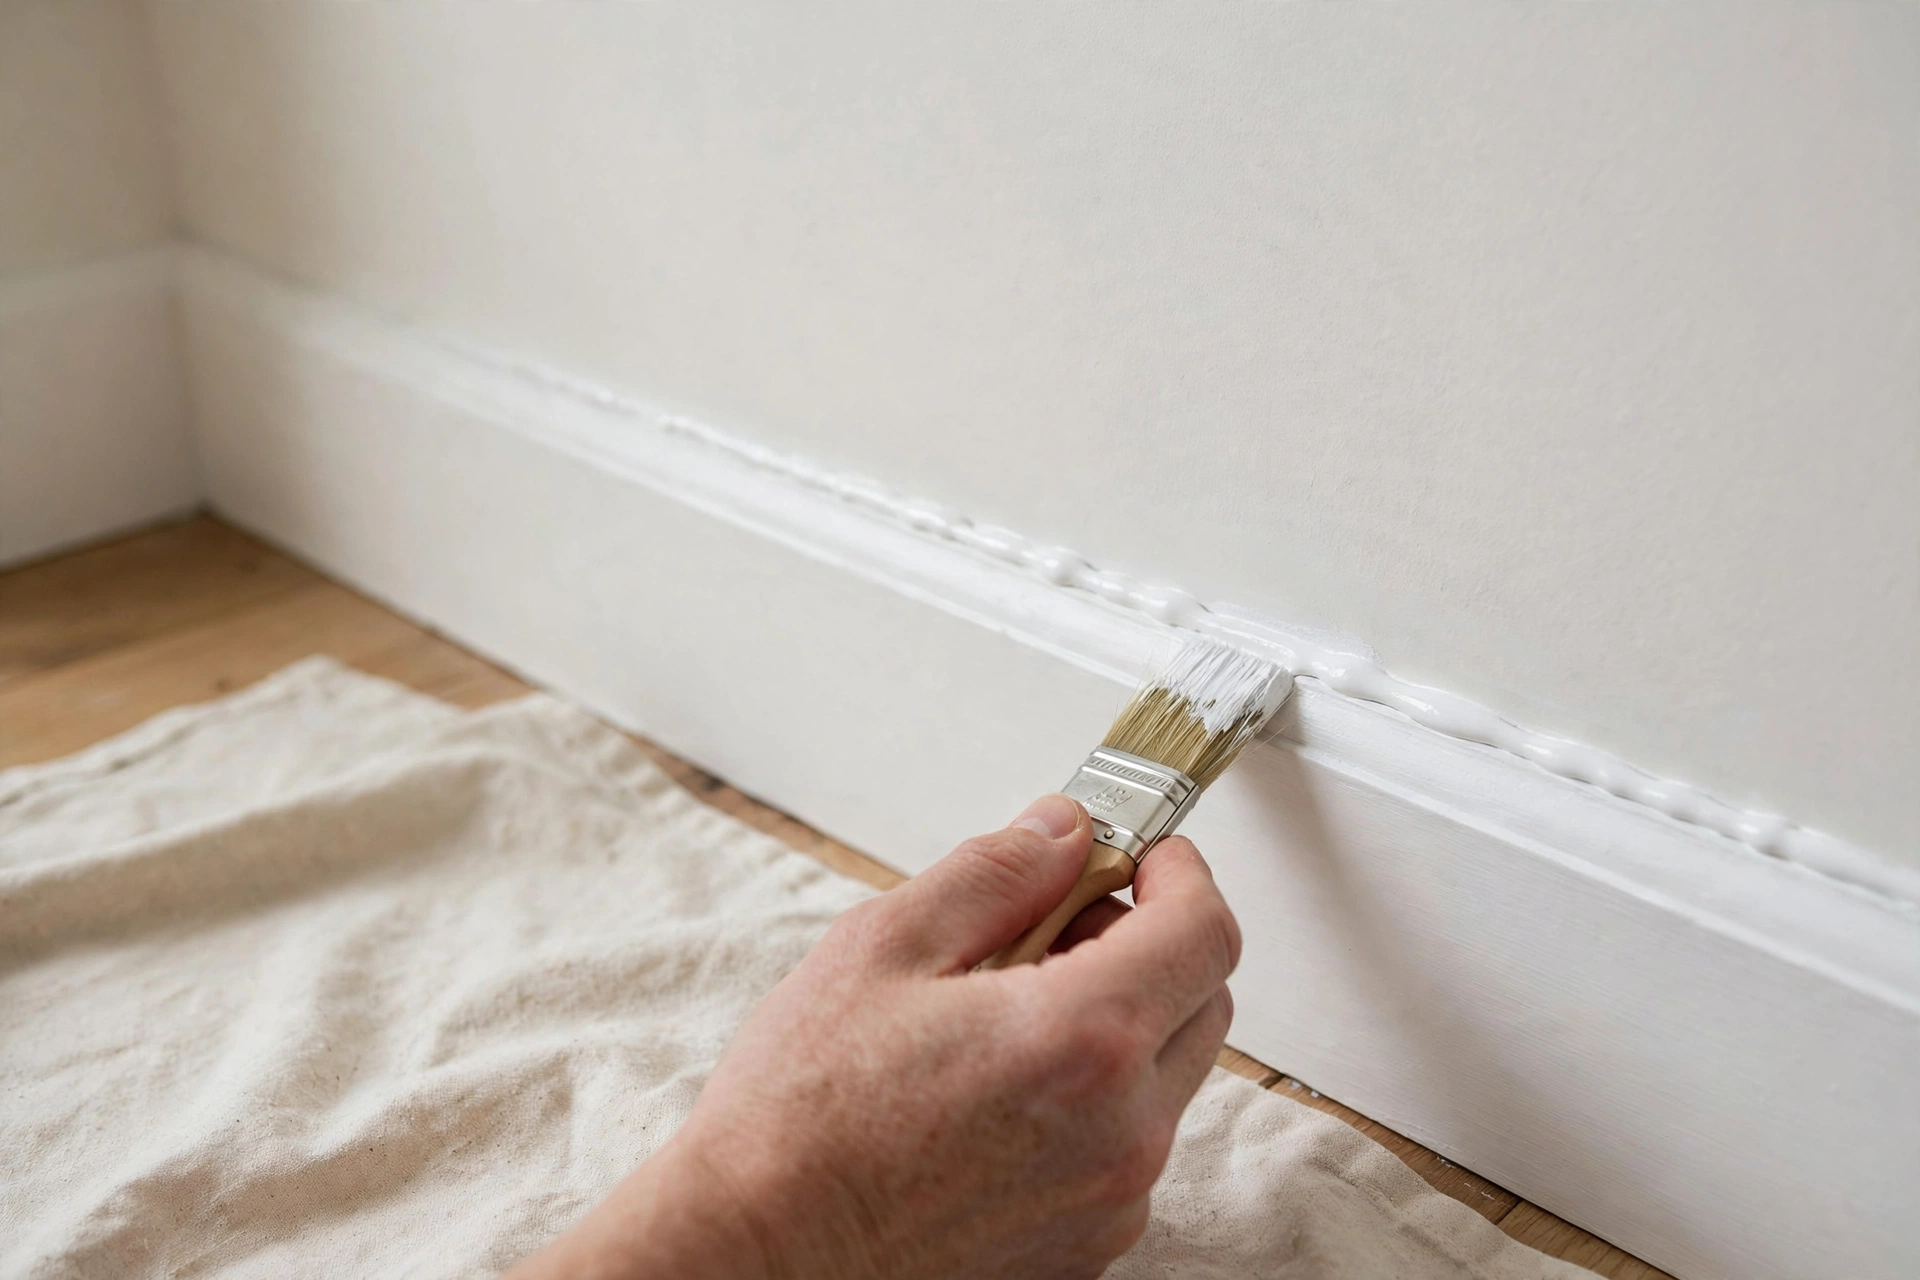
Finish baseboards by filling every nail hole, sanding smooth when dry, running a thin bead of paintable caulk along the top edge where the board meets the wall, and then painting with two coats. Caulk hides the small shadow gap at the top and gives the board its clean , built-in look.
Apply filler with a flexible filling knife, pressing it firmly into each nail hole, and leave it slightly proud since filler shrinks as it dries. Once dry, sand lightly with fine sandpaper until the repair is invisible to the touch, and wipe away dust before painting. For the caulk, cut the nozzle small, run one smooth bead along the top edge, and smooth it with a wet finger in a single pass. A neat caulk line should look like a smooth curve, not a thick ridge.
Paint after the filler and caulk are fully dry, using a primer first on bare wood or MDF cut ends, followed by two coats. A small angled brush gives good control along the top edge, and two thin coats look far better than one thick coat, which can drip and show brush marks.
Common Mistakes to Avoid
The most common baseboard mistakes are measuring once and cutting at once, cutting inside corners as simple mitres, and fixing boards before dry-fitting them. Each of these mistakes is easy to make and easy to avoid, and avoiding them is what makes the difference between a job that looks homemade and one that looks professional.
Cutting boards too short is the classic error, and it happens when the tape measure is read at the wrong end or the saw cut is taken on the wrong side of the pencil line, so always cut slightly long and trim back. A board that follows a sloping floor will look crooked, so check that boards are level. Using non-paintable silicone caulk instead of paintable caulk cannot be painted over, so check the tube before you start. Finally, do not rush the finishing: filler painted before it is dry, or a single heavy coat of paint, will undo good cutting and fixing work.
When to Hire a Professional
Hire a professional if the walls are badly out of square, the room has many complex angles, the boards are expensive hardwood, or you need a large area fitted quickly. A professional is also the safer choice if removing boards may expose pipes or cables, or if the walls are damaged and need repair first.
There is no shame in hiring help for part of the job either. Some homeowners fit the straight runs themselves and ask a carpenter to cut the tricky corners, or hire a decorator for the painting. Get a clear written quote stating the profile, material and finish included.
Conclusion
Installing baseboards is a satisfying project because the result is visible in every room you walk into. Measure carefully, practise corner cuts on offcuts, dry-fit before fixing, and take your time with filling and painting, and the finished boards will look neat and professional.
Start with one small room, such as a bedroom or hallway, before tackling a large living space. Once the first room is done and painted, the rest of the house will feel much easier.
Frequently Asked Questions
How long does it take to install baseboards in one room?
A single average room usually takes half a day to a full day for a beginner, including measuring, cutting, fixing and filling. Painting adds extra drying time, so plan the job over two days if you want a painted finish.
Can I install baseboards without a nail gun?
Yes, you can install baseboards with a hammer, finishing nails and a nail set, although it takes longer than using a nail gun. Drill small pilot holes first in hardwood boards to stop them splitting near the ends.
Should baseboards be painted before or after installation?
Both methods work, but painting after installation gives the neatest finish because the final coat covers nail holes and caulk. If you paint first, you will still need touch-ups after fixing, so allow time for a final coat.
What height baseboard should I choose for a standard room?
For a standard room with ceilings around 2.4 metres high, a baseboard between 90 and 150 millimetres tall usually looks balanced. Taller boards suit higher ceilings, while shorter boards suit small rooms and low ceilings.
Do baseboards need to be fixed into wall studs?
Fixing into studs gives the strongest, longest-lasting result, especially in hallways and busy rooms where boards get knocked. Adhesive alone can work on flat walls, but stud fixing plus adhesive is the most reliable combination.
Disclaimer: This article is for general information only and is not professional carpentry advice, a building code guide, or a substitute for a qualified tradesperson. Always check local building rules, follow tool safety instructions, and hire a professional for complex or unsafe work. No guest posting, paid promotion, or advertising is involved.
Thanks for visiting Clearise Cleaning Services! Discover more helpful tips and expert cleaning insights by exploring our related categories.