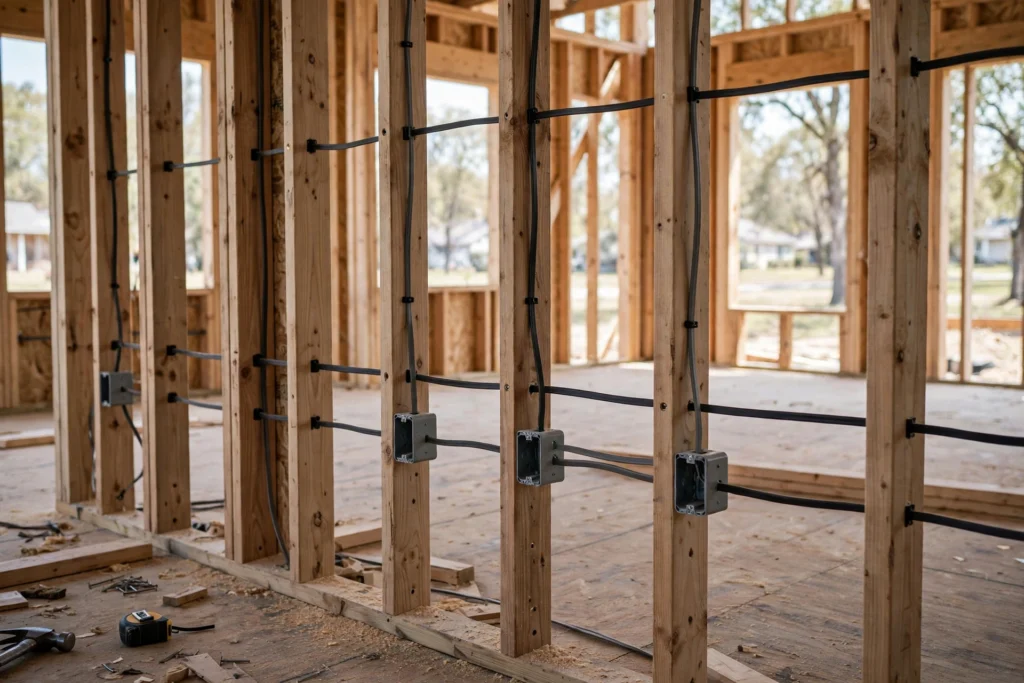
Wiring a house is done in stages, in a fixed order: planning and layout first, then rough-in wiring while the walls are still open, then inspection, then finish work once the walls are closed, and finally testing and handover. Each stage depends on the one before it, so skipping ahead usually causes rework.
Most homeowners never see the middle stages, because the wiring disappears behind plasterboard and paint. That is exactly why the sequence matters. Once the walls are closed, changing an outlet position or adding a circuit becomes much harder and more expensive. Understanding the stages helps a homeowner make decisions at the right time, ask useful questions, and know what to expect when the electrician arrives.
This guide explains the process in plain language. It does not teach electrical installation. All wiring work described here is work for a licensed electrician, and the homeowner’s role is planning, observing, and checking — never working on live circuits.
What Wiring a House Involves, Stage by Stage
Wiring a house involves planning where power is needed, running cables through the structure before the walls close, having that hidden work checked, fitting the visible outlets, switches and lights, and then testing everything before handover. It is a sequence, not a single job, and the order is part of the safety.
The people involved change by stage. The homeowner and the electrician plan together, the electrician carries out the installation, an inspector or local authority checks the rough-in work where required, and the electrician returns for the finish and testing. Other building trades fit around this sequence too: framing must be finished before rough-in can start, and painting usually comes before the finish stage.
Thinking of wiring as stages also explains why it takes time. Waiting for an inspection, or for walls to be finished, is part of the process, not a delay caused by one person. A clear sequence keeps each trade out of the next one’s way.
Stage 1: Planning and Layout Before Any Wire Goes In
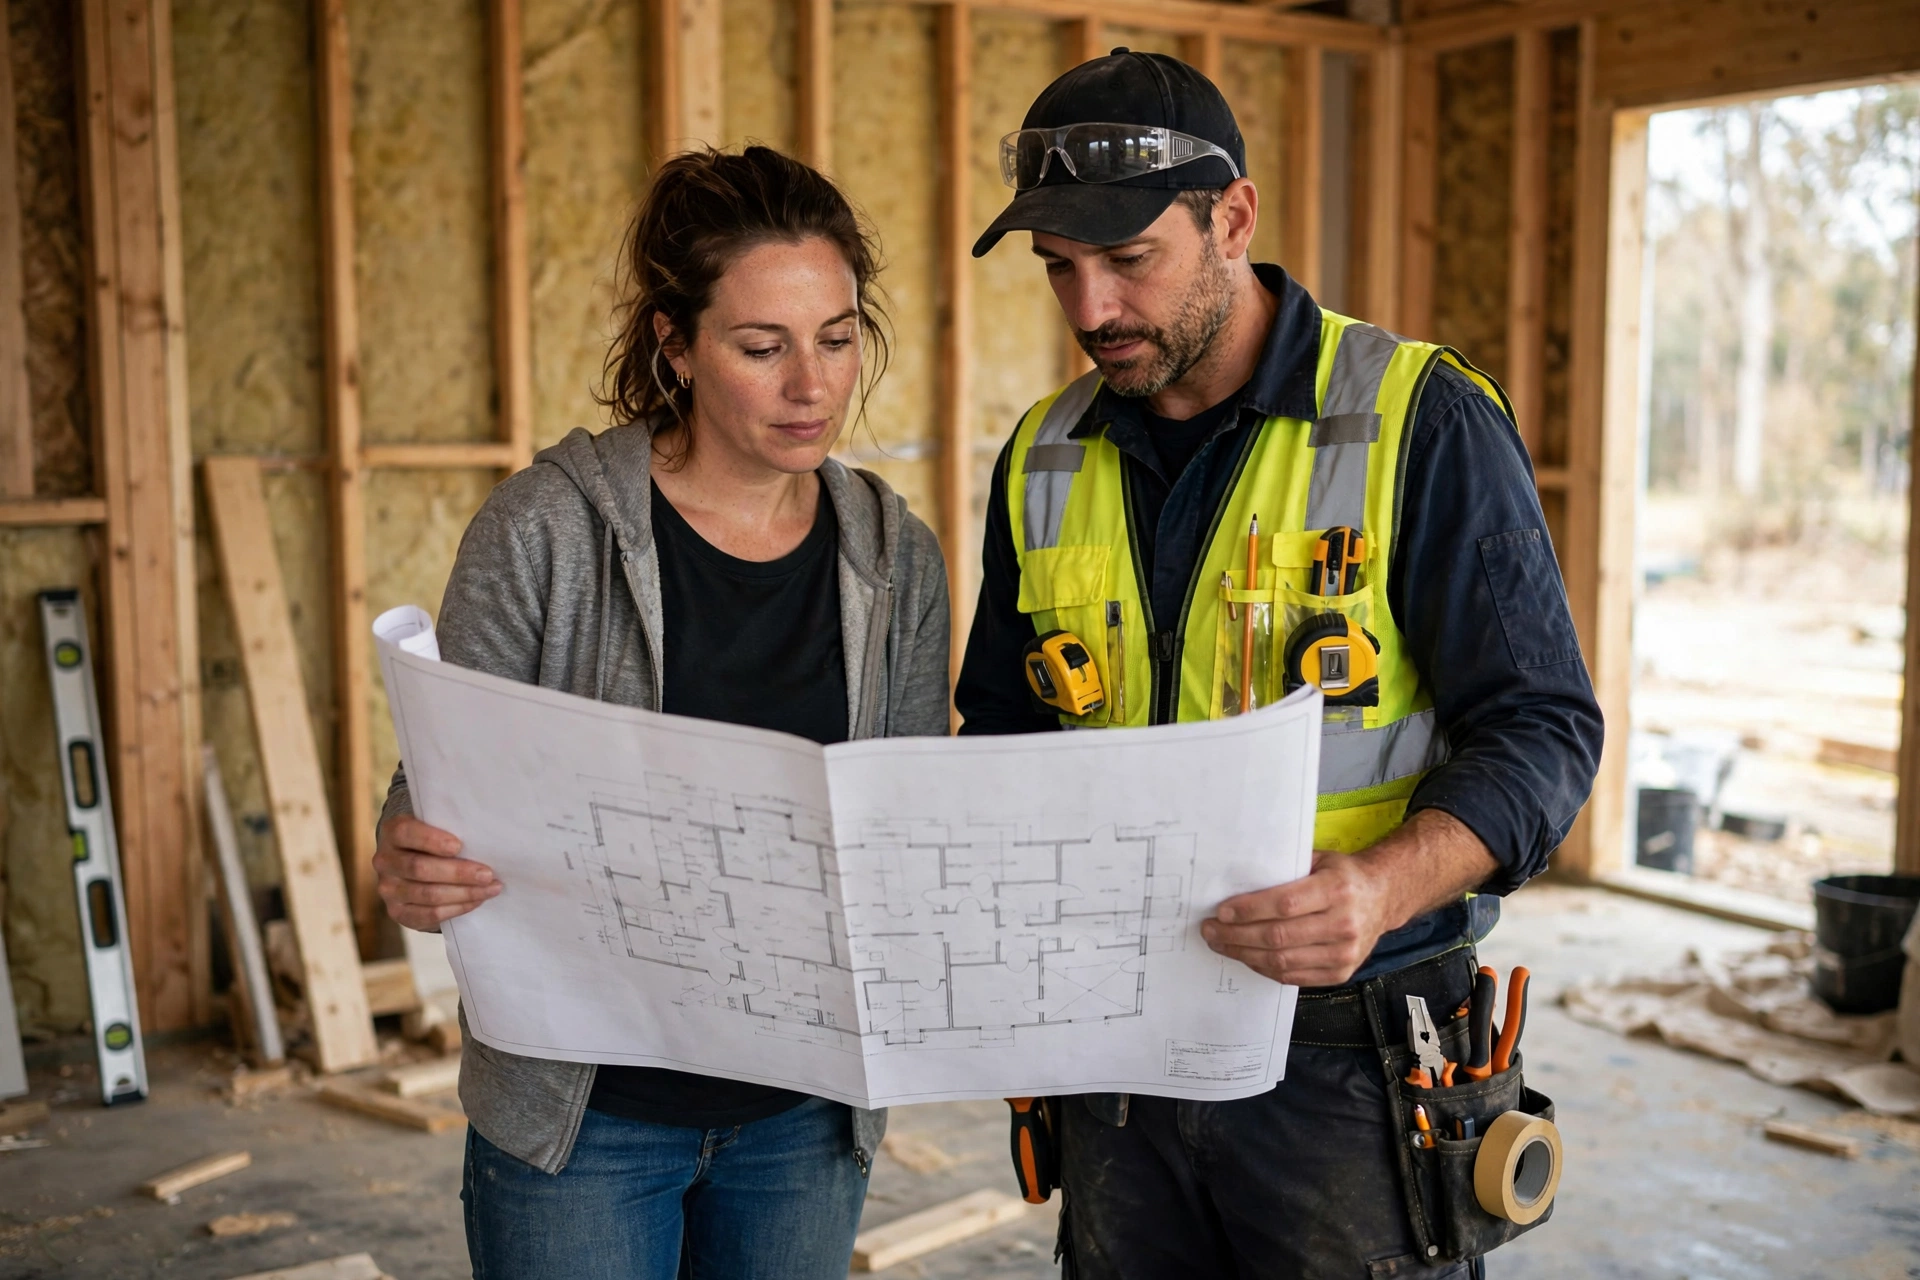
Planning and layout is the first stage of wiring a house, and it is where the homeowner’s input matters most: deciding, room by room, where outlets, switches, lights and larger appliances will go, before any cable is run. Changes made on paper are easy; changes made after the walls close are not.
A good planning conversation covers everyday life, not just the floor plan. Where will the beds, desks and televisions sit? Where will kitchen appliances live? Is there a room that may become a home office later? Outlets placed for today’s furniture can feel wrong within a year, so it is worth thinking one step ahead. The electrician can explain what is practical, but only the homeowner knows how each room will actually be used.
The plan also decides how power is shared: which rooms sit on which circuits, and where dedicated circuits are needed for heavy appliances. The homeowner does not need to design this, but understanding that it is decided now — not during the finish stage — prevents surprises later. Once the plan is agreed, it becomes the map for every stage that follows.
Stage 2: Rough-In — Wiring Before the Walls Close
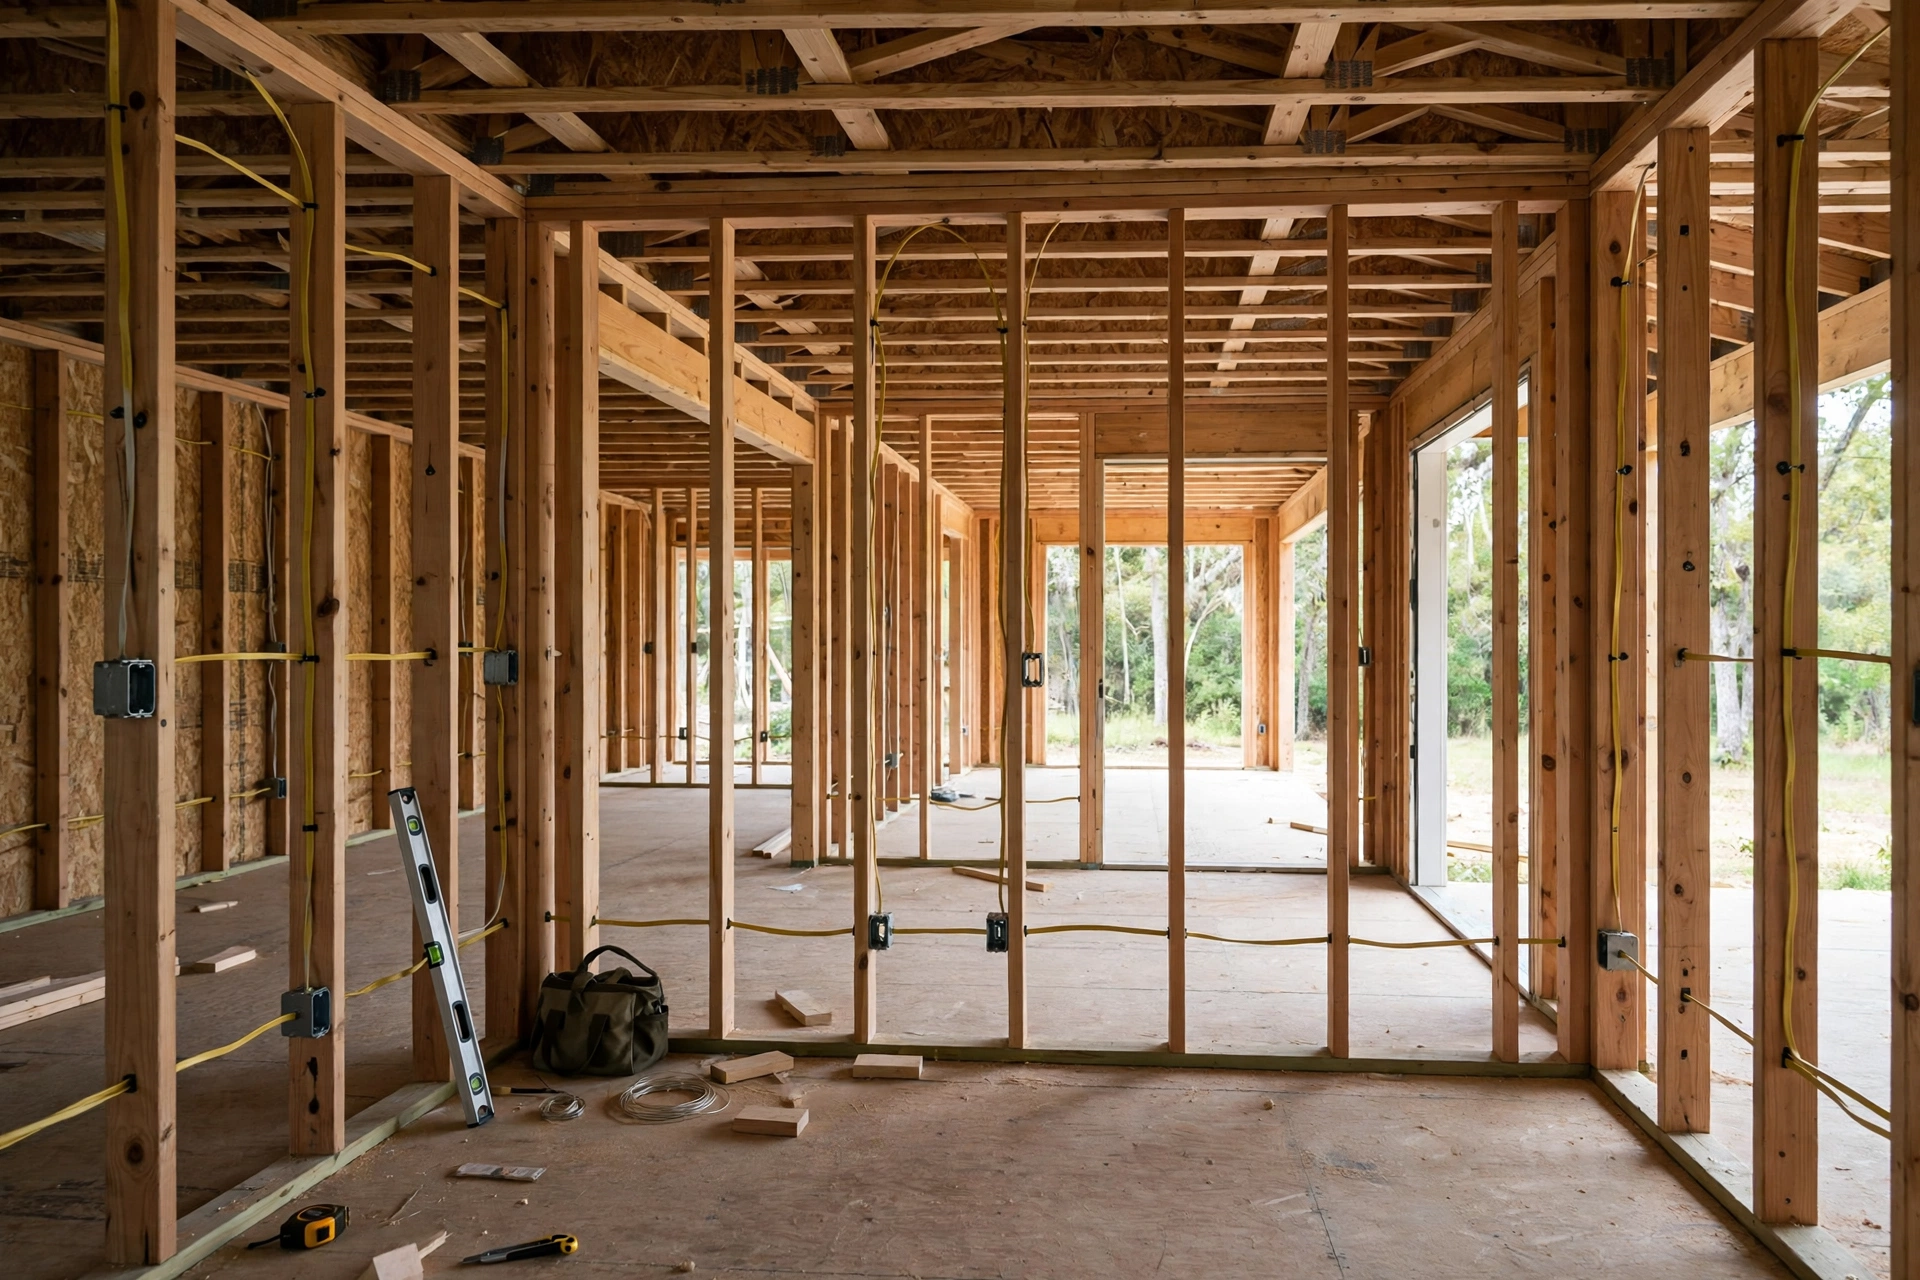
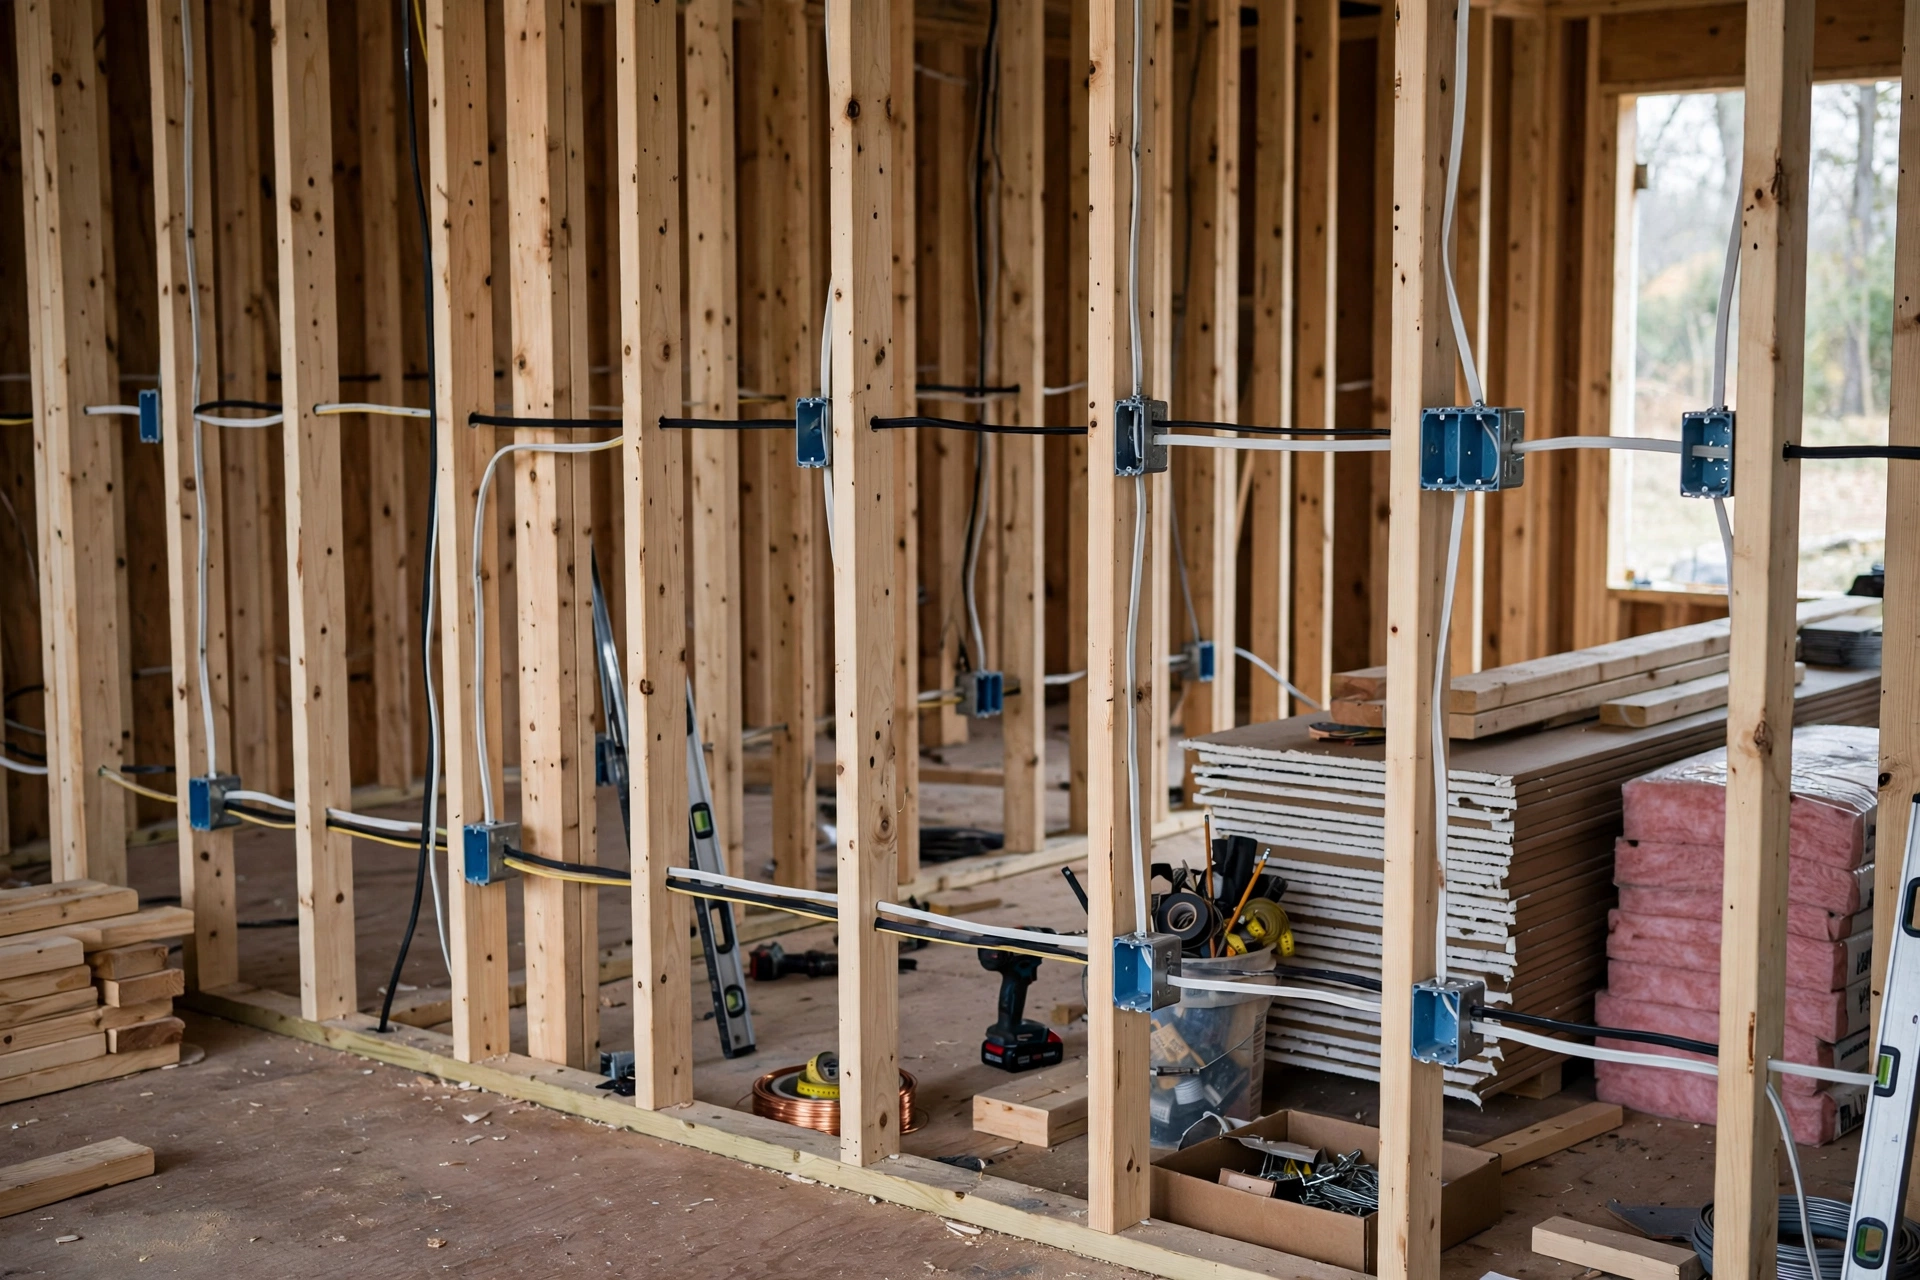
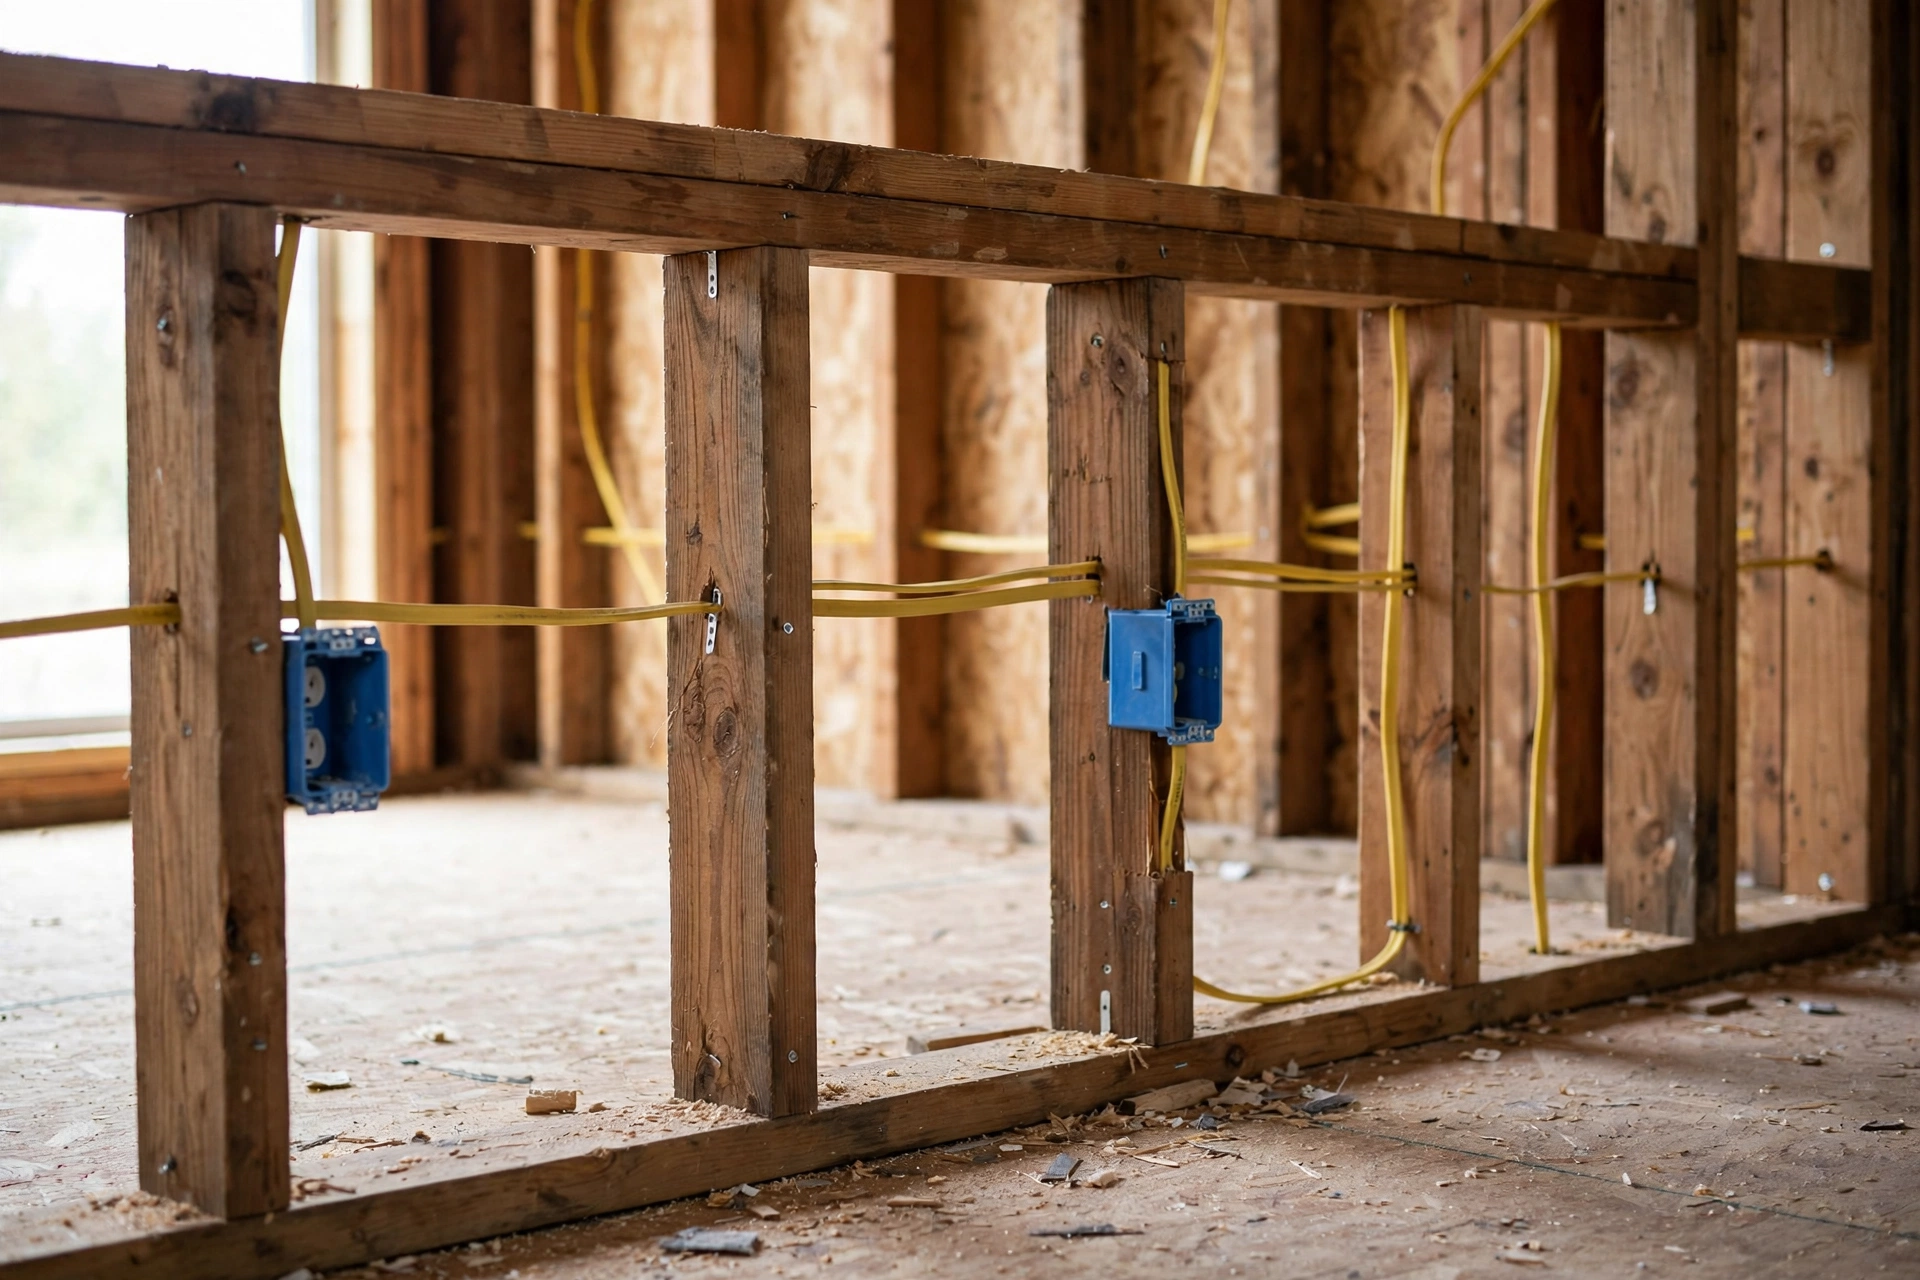
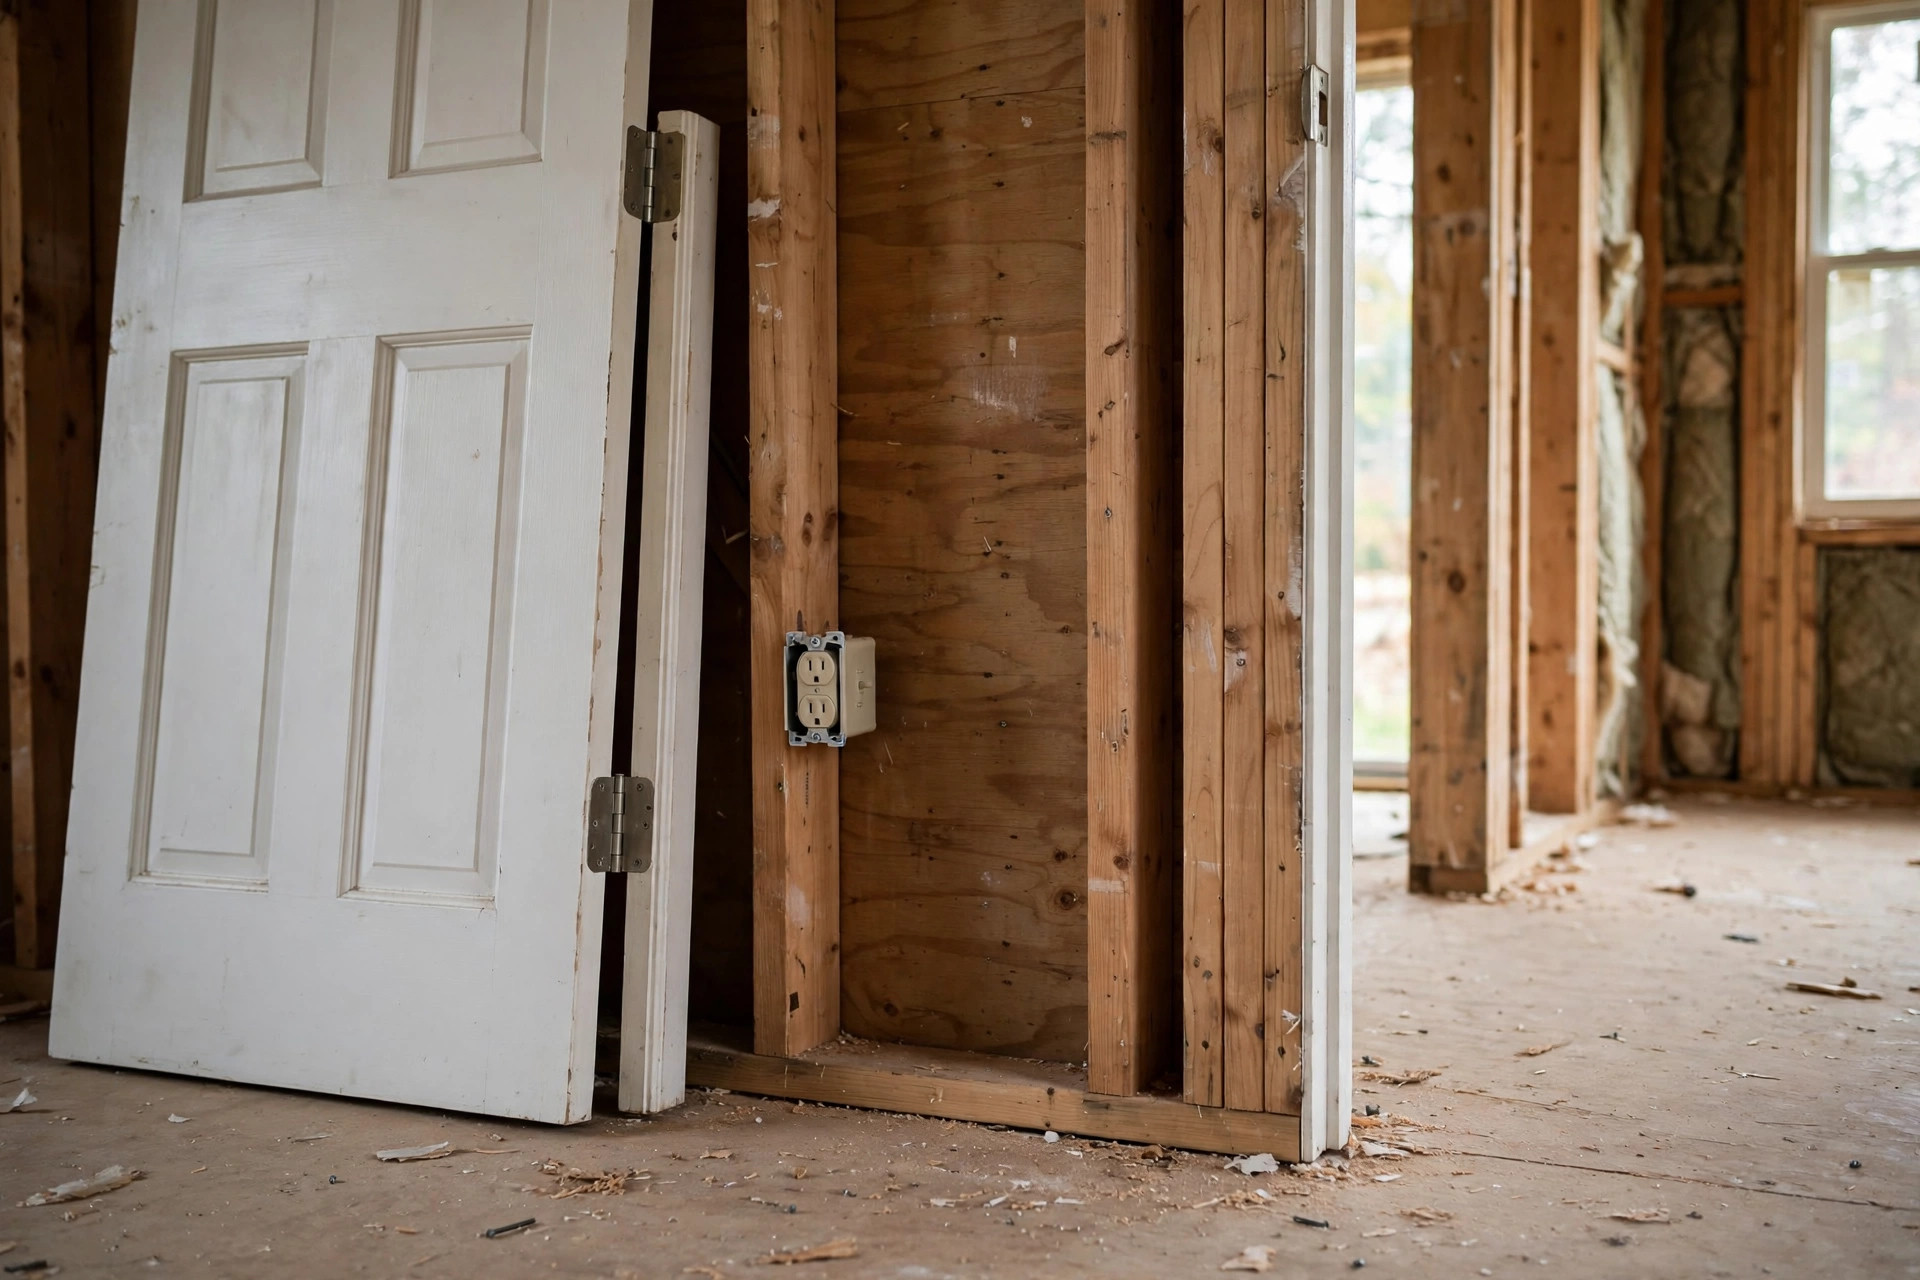
Rough-in is the stage where cables are run through the framed structure and outlet and switch boxes are fixed in place, while the walls are still open and everything is visible. It happens after framing and before insulation and plasterboard, because the cables need open access to the inside of the walls.
During rough-in, the house looks like a skeleton of timber or steel framing with cables threaded through it and boxes marking where outlets and switches will be. No cover plates, switches or light fittings are installed yet, and the system is not live for everyday use. This is deliberate: the rough-in is the hidden backbone, and it must be finished and checked before it is covered up.
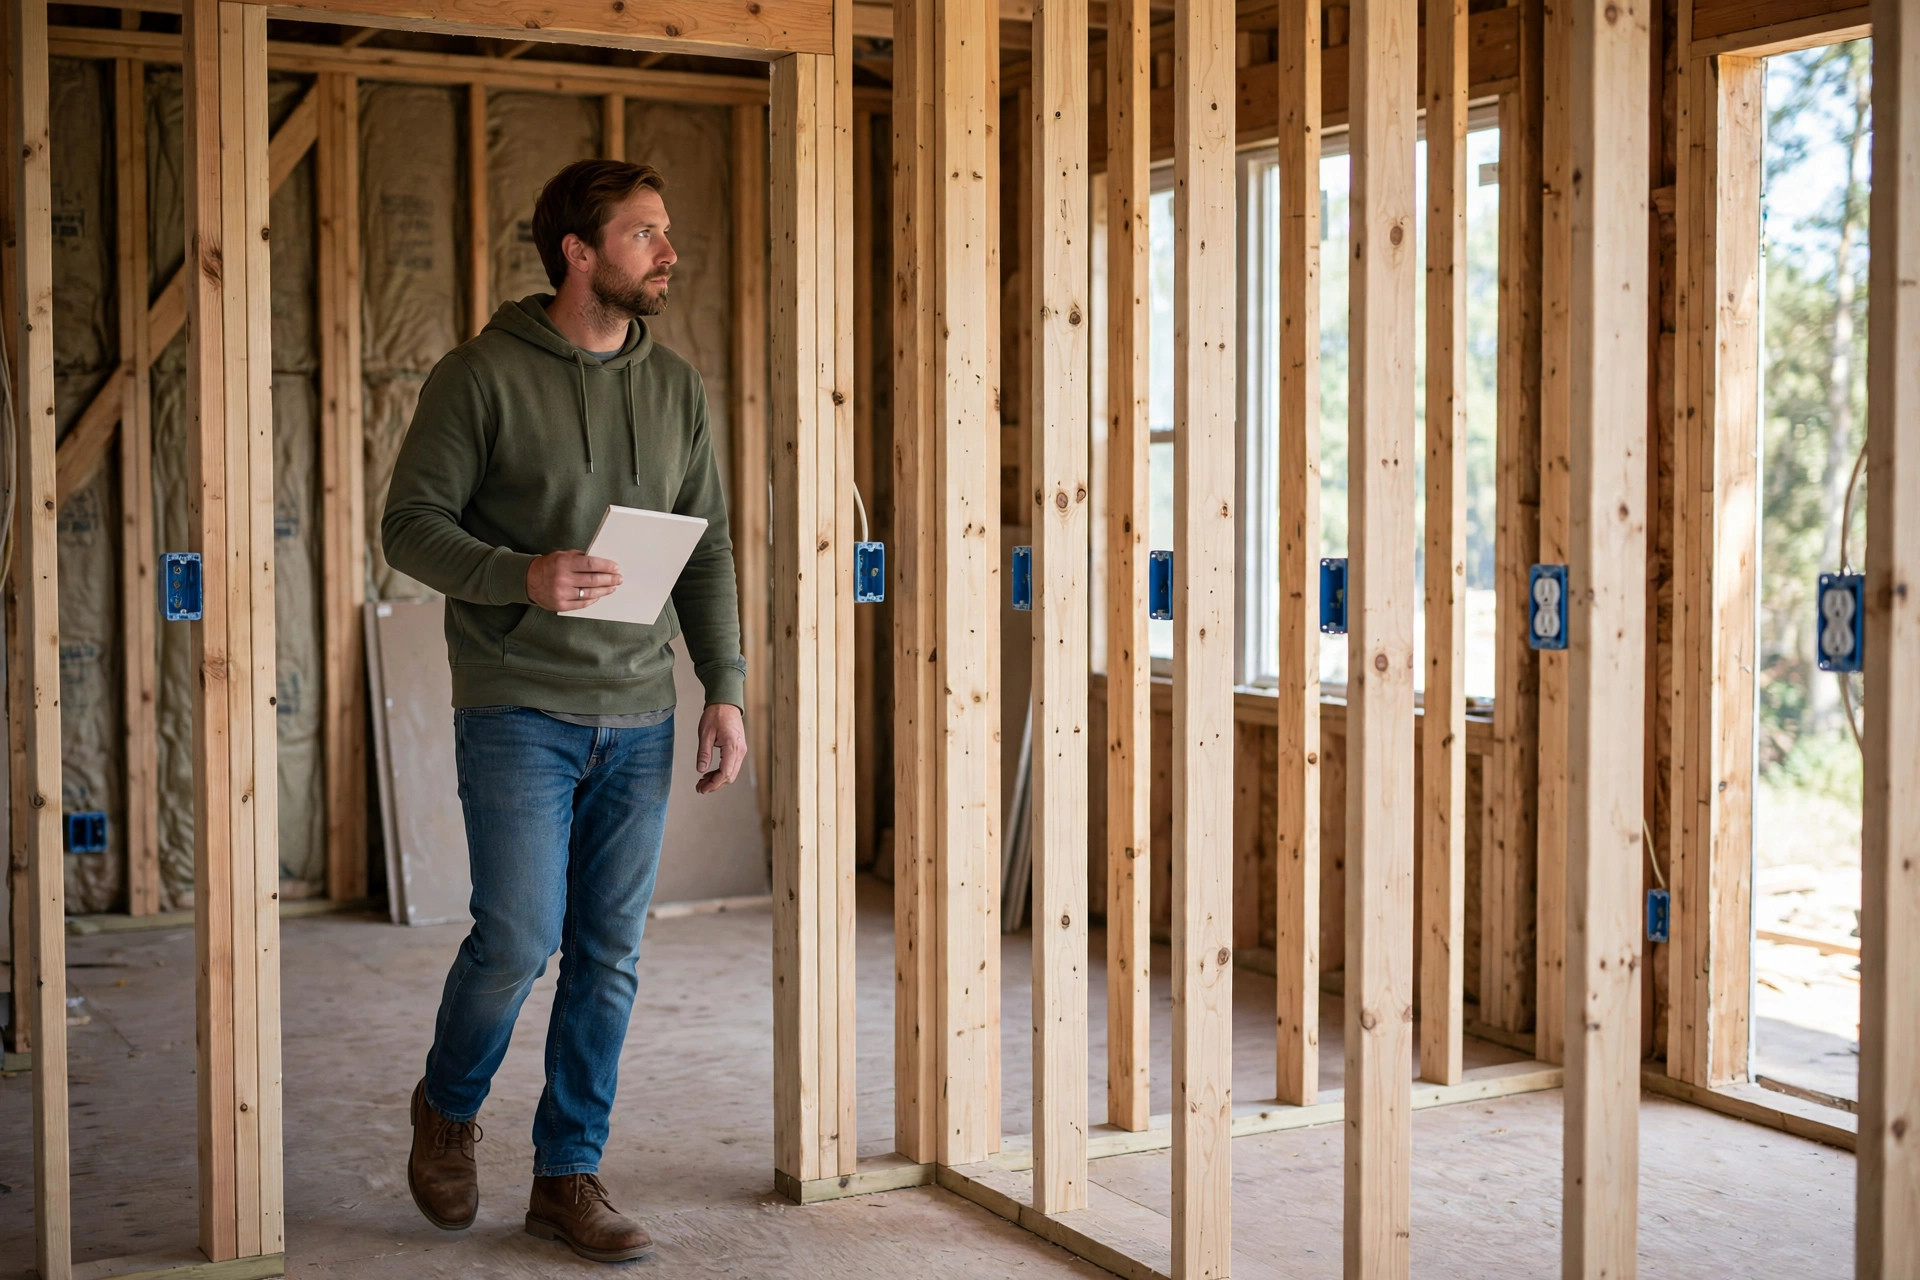
For the homeowner, rough-in includes one of the most valuable moments in the whole job: the walk-through before the walls close. Standing in each framed room and seeing exactly where every outlet, switch and light will be is the last easy chance to spot a mistake — an outlet behind a door swing, a missing switch by a bed, a light in the wrong place. Speak up at this stage, because afterwards the same change means opening a finished wall.
Stage 3: Inspection — Checking the Rough-In Work
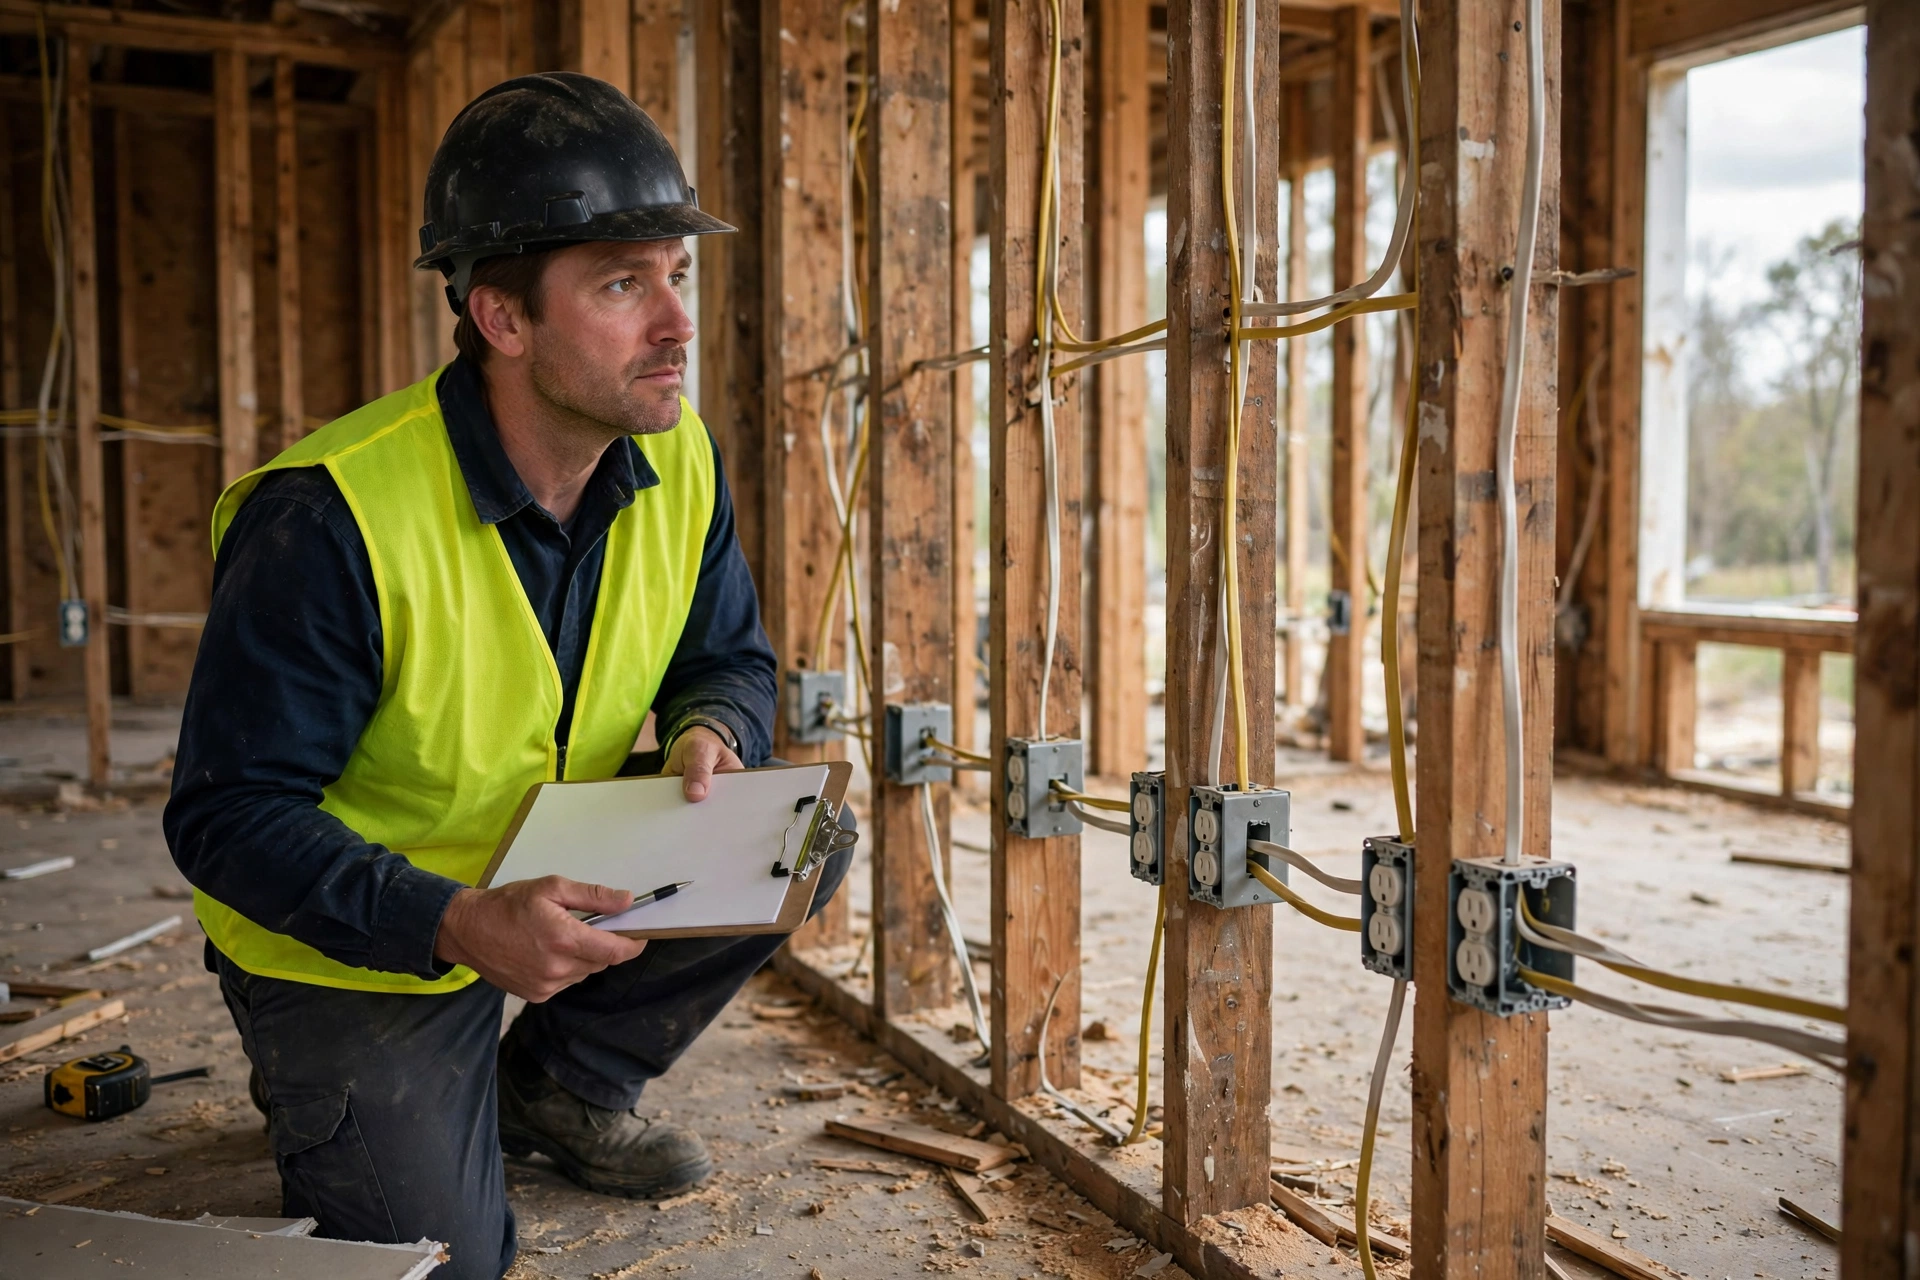
Inspection is the stage where the rough-in wiring is checked before the walls are closed, usually by a local authority inspector or an approved inspector, depending on local rules. Its purpose is simple: to confirm the hidden work is safe and correct while it can still be seen and fixed.
An inspector generally checks that the work matches the agreed plan, that cables are routed and protected properly, that boxes are secure, and that the installation follows the local electrical rules for the area. The homeowner is not expected to carry out this check, but it is worth knowing it exists and why it matters. A passed inspection is a record that the hidden work was seen and approved by someone other than the installer.
If the inspector finds a problem, the electrician corrects it and the work is checked again. This can feel like a delay, but it is far better than discovering the same problem after the walls are closed, when fixing it means cutting into finished work. No finishing should cover rough-in wiring before this check is complete.
Stage 4: Finish and Trim — Outlets, Switches and Fixtures
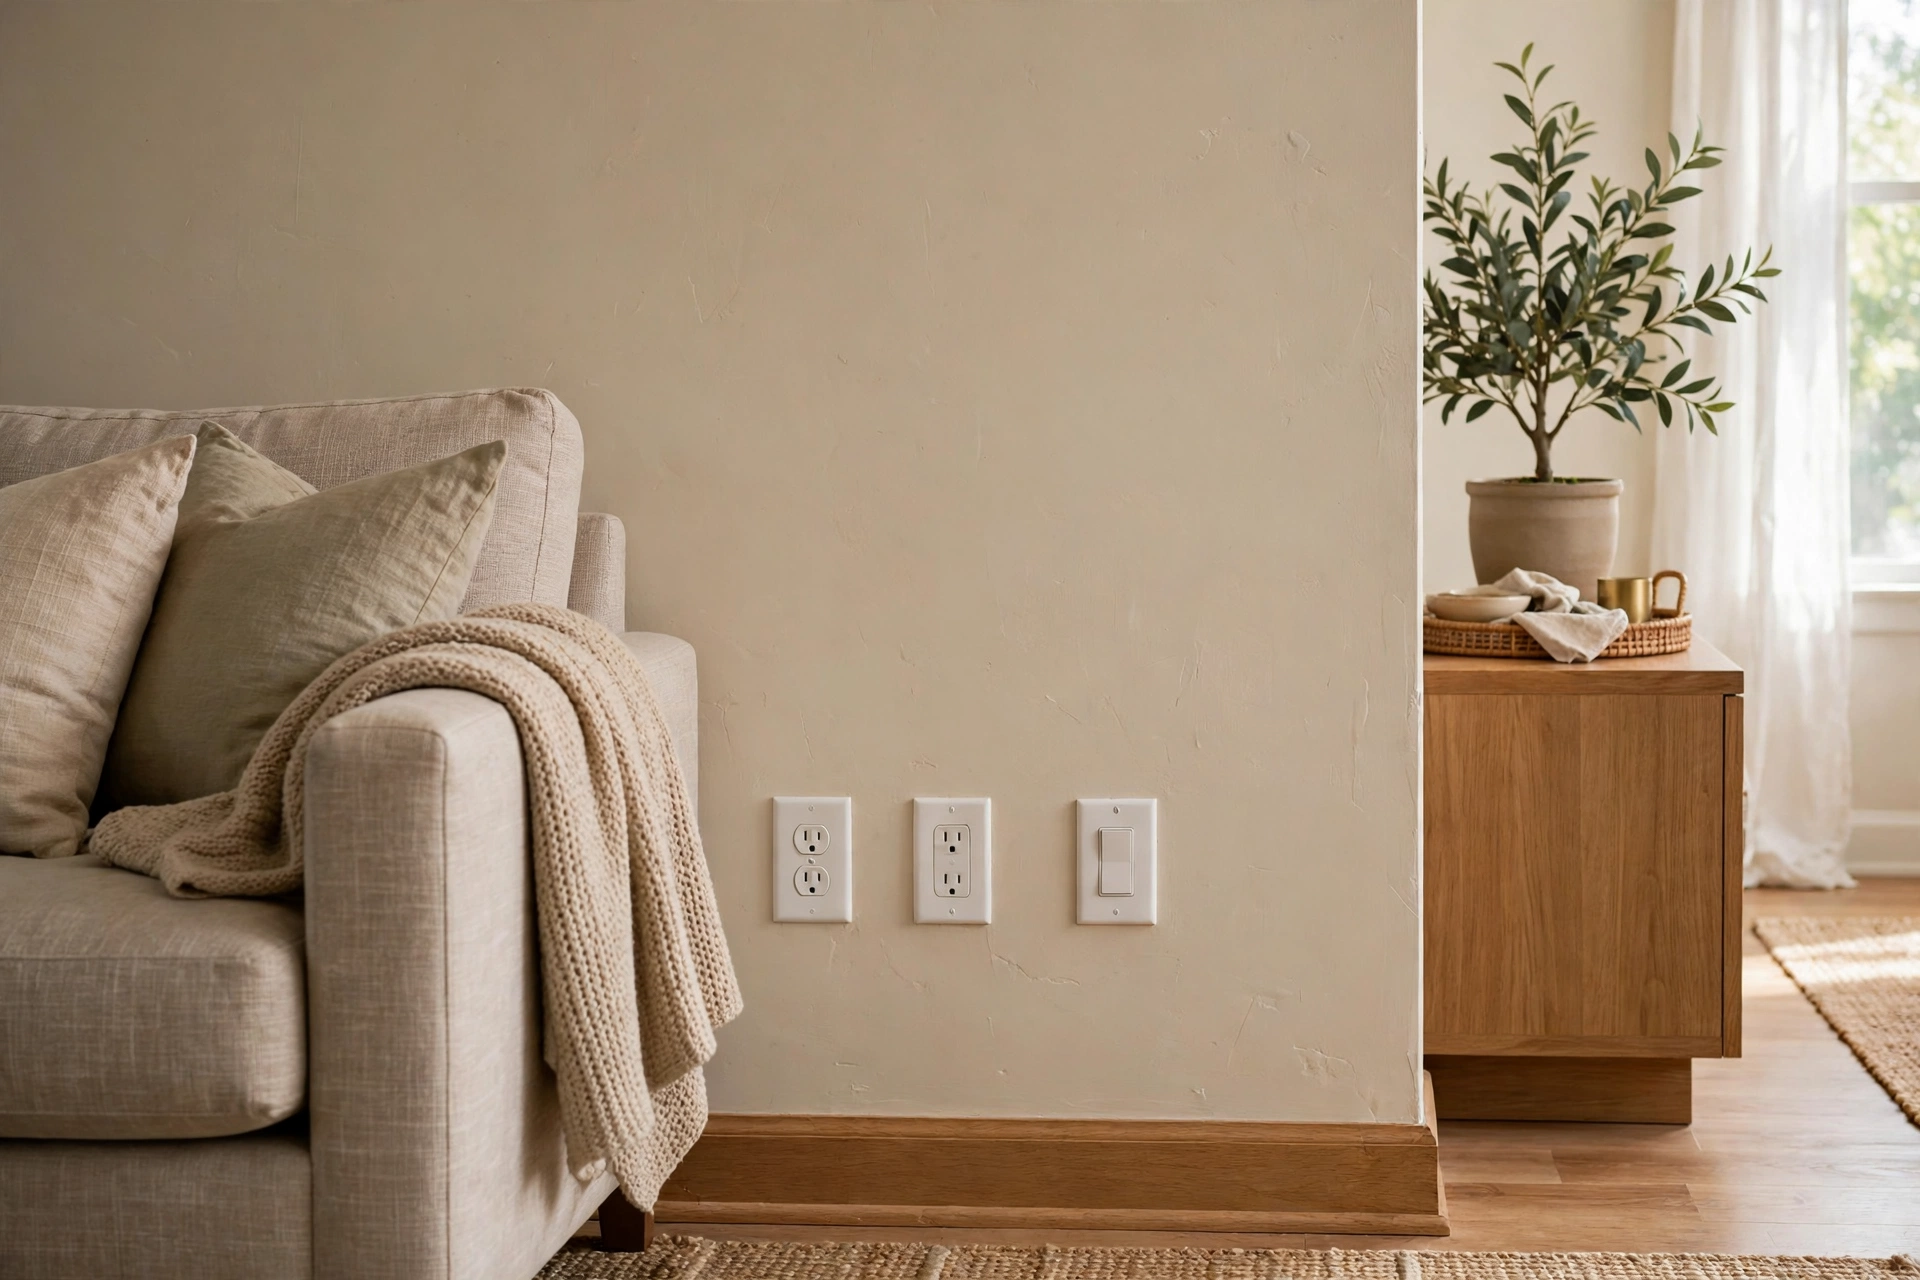
Finish and trim, sometimes called the trim-out, is the stage where the visible parts are fitted after the walls are finished and painted: outlets, switches, cover plates, and light fixtures. This is when the house starts to look electrically complete, because the parts people actually touch finally appear.
By this stage the hidden work is already done and approved, so the finish stage is about fitting and connecting the visible devices to the wiring already in the walls. The electrician fits each outlet and switch in its box, mounts light fixtures, and fits cover plates. The homeowner’s job at this stage is observation: checking that every planned outlet and switch is present, in the expected place, and neatly finished.
Finish work is also when small planning decisions show up. A switch that seemed fine on paper may feel awkward in the finished room, and a missing outlet is obvious once furniture arrives. Minor adjustments are still possible, but anything involving new cable runs is a bigger job now, which is why the rough-in walk-through mattered so much.
Stage 5: Testing and Handover
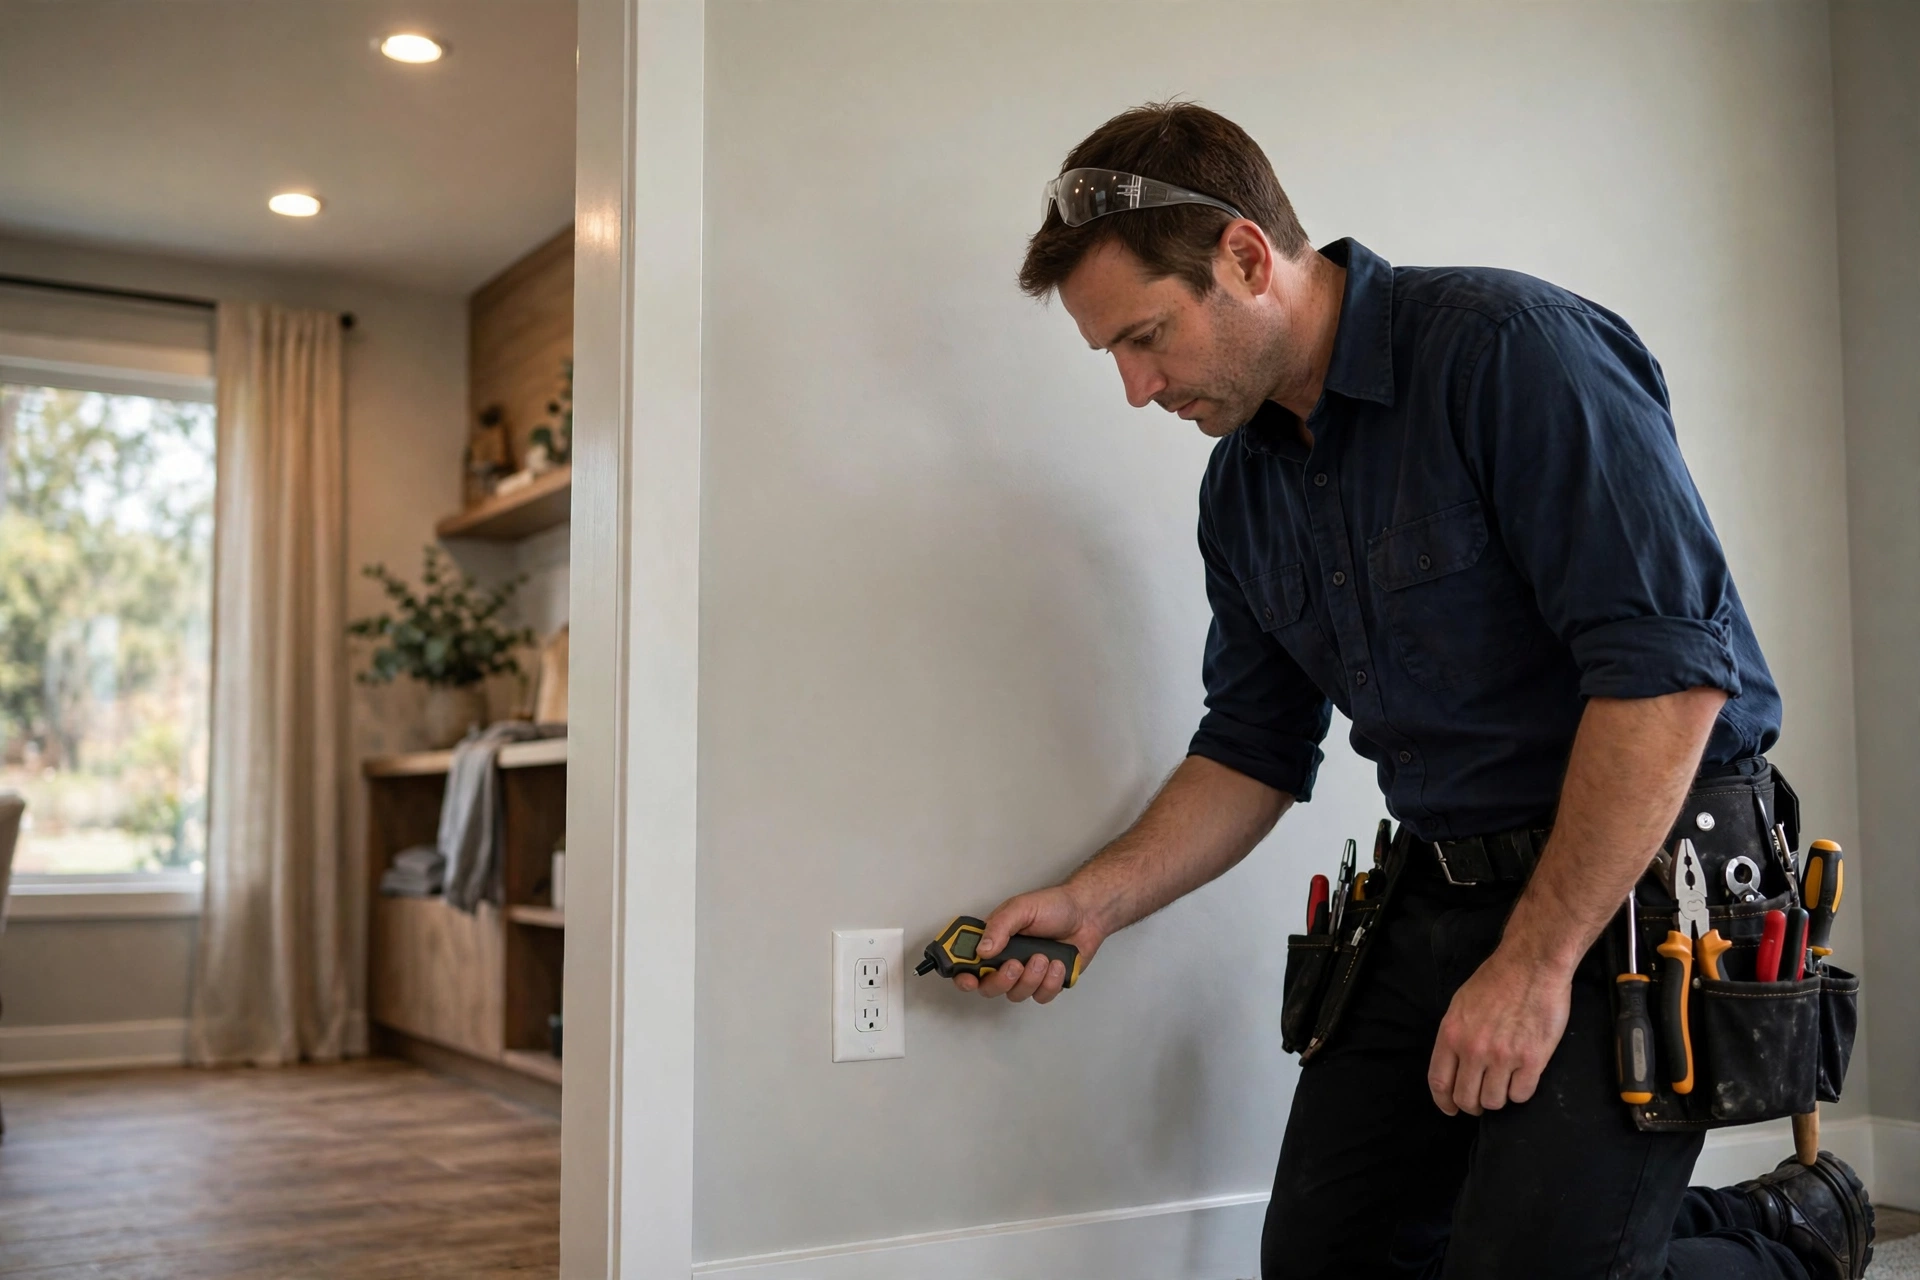
Testing and handover is the final stage, where the electrician checks that every circuit, outlet, switch and light works as planned, and hands the system over to the homeowner with an explanation of how it is organised. A house is not finished electrically until this stage is complete.
Testing is the electrician’s work, using proper test equipment to confirm circuits behave correctly and safety devices operate as intended. The homeowner should not test circuits by opening panels or removing covers. What the homeowner can do is join the final walk-through: try the lights and switches in each room with the electrician present, ask which breaker controls which area, and note anything that does not behave as expected.
Handover should include knowing where the service panel is, understanding that its circuits are labelled, and having a contact for questions. Keep any notes or documents from this stage with the house paperwork. A clear handover turns a finished installation into a system the homeowner can live with confidently.
The Stages at a Glance
Seeing the stages side by side makes the sequence easy to remember, and it shows why the order cannot be shuffled. Each stage has a different job, a different person in charge, and a different role for the homeowner in the process.
| Stage | What happens | Who does it | Homeowner’s role |
|---|---|---|---|
| 1. Planning and layout | Outlet, switch and light positions agreed room by room | Homeowner and electrician together | Decide how rooms will be used |
| 2. Rough-in | Cables run and boxes fixed while walls are open | Licensed electrician | Walk through before walls close |
| 3. Inspection | Hidden work checked before it is covered | Inspector or local authority | Know it happened; ask for the result |
| 4. Finish and trim | Outlets, switches, plates and lights fitted | Licensed electrician | Check positions and finish |
| 5. Testing and handover | System tested and explained | Licensed electrician | Join the walk-through; keep notes |
The table also explains the most common source of confusion: why a job that looks “almost done” at rough-in still has several stages to go. The visible finish is only the last part of the work.
Wiring a New Build vs Rewiring an Existing House
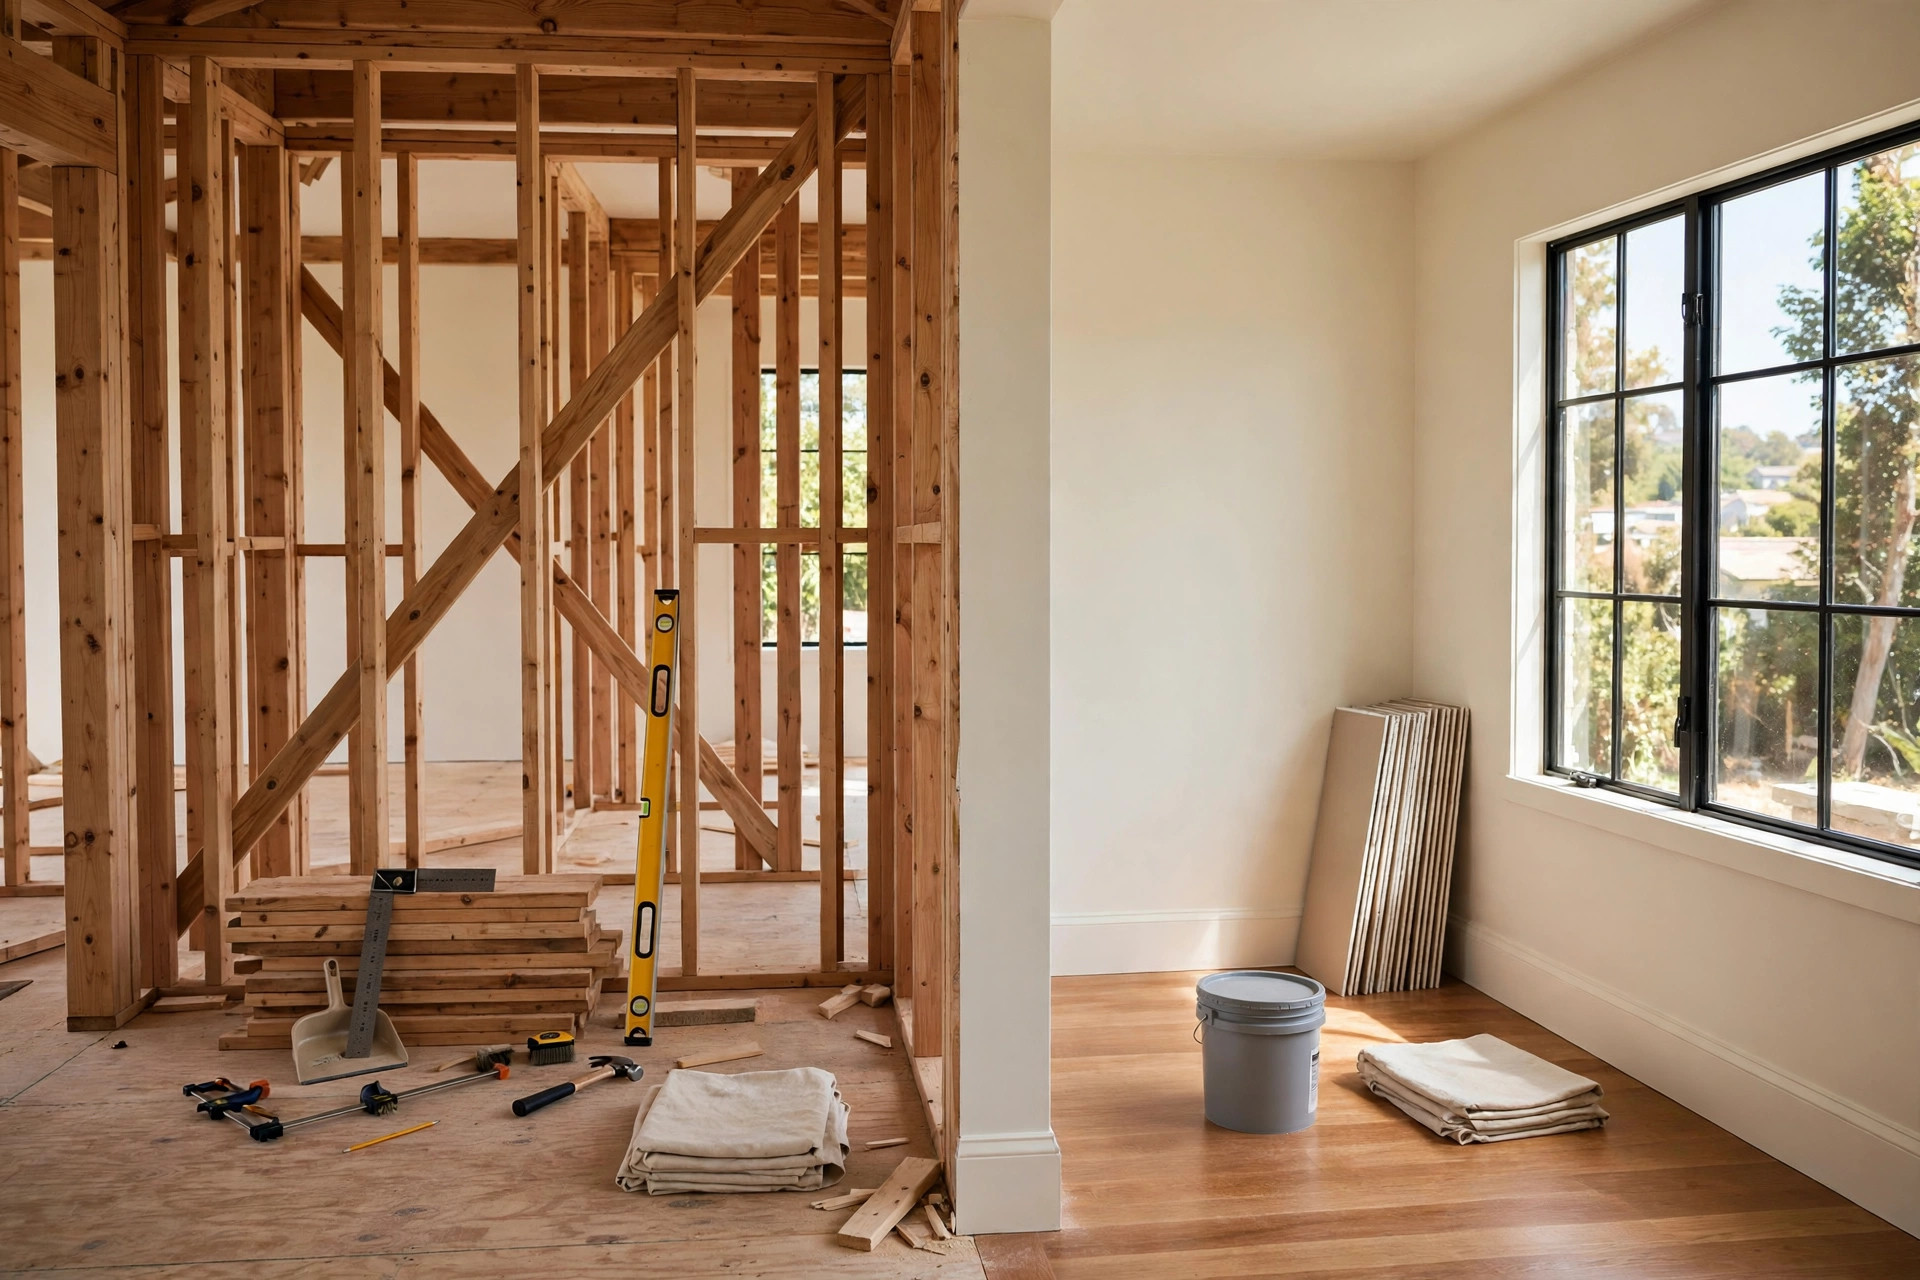
Wiring a new build follows the construction sequence naturally, while rewiring an existing house follows the same stages but with extra steps for access, because walls are already finished and people may be living in the home. The stages are the same; the practicalities are different.
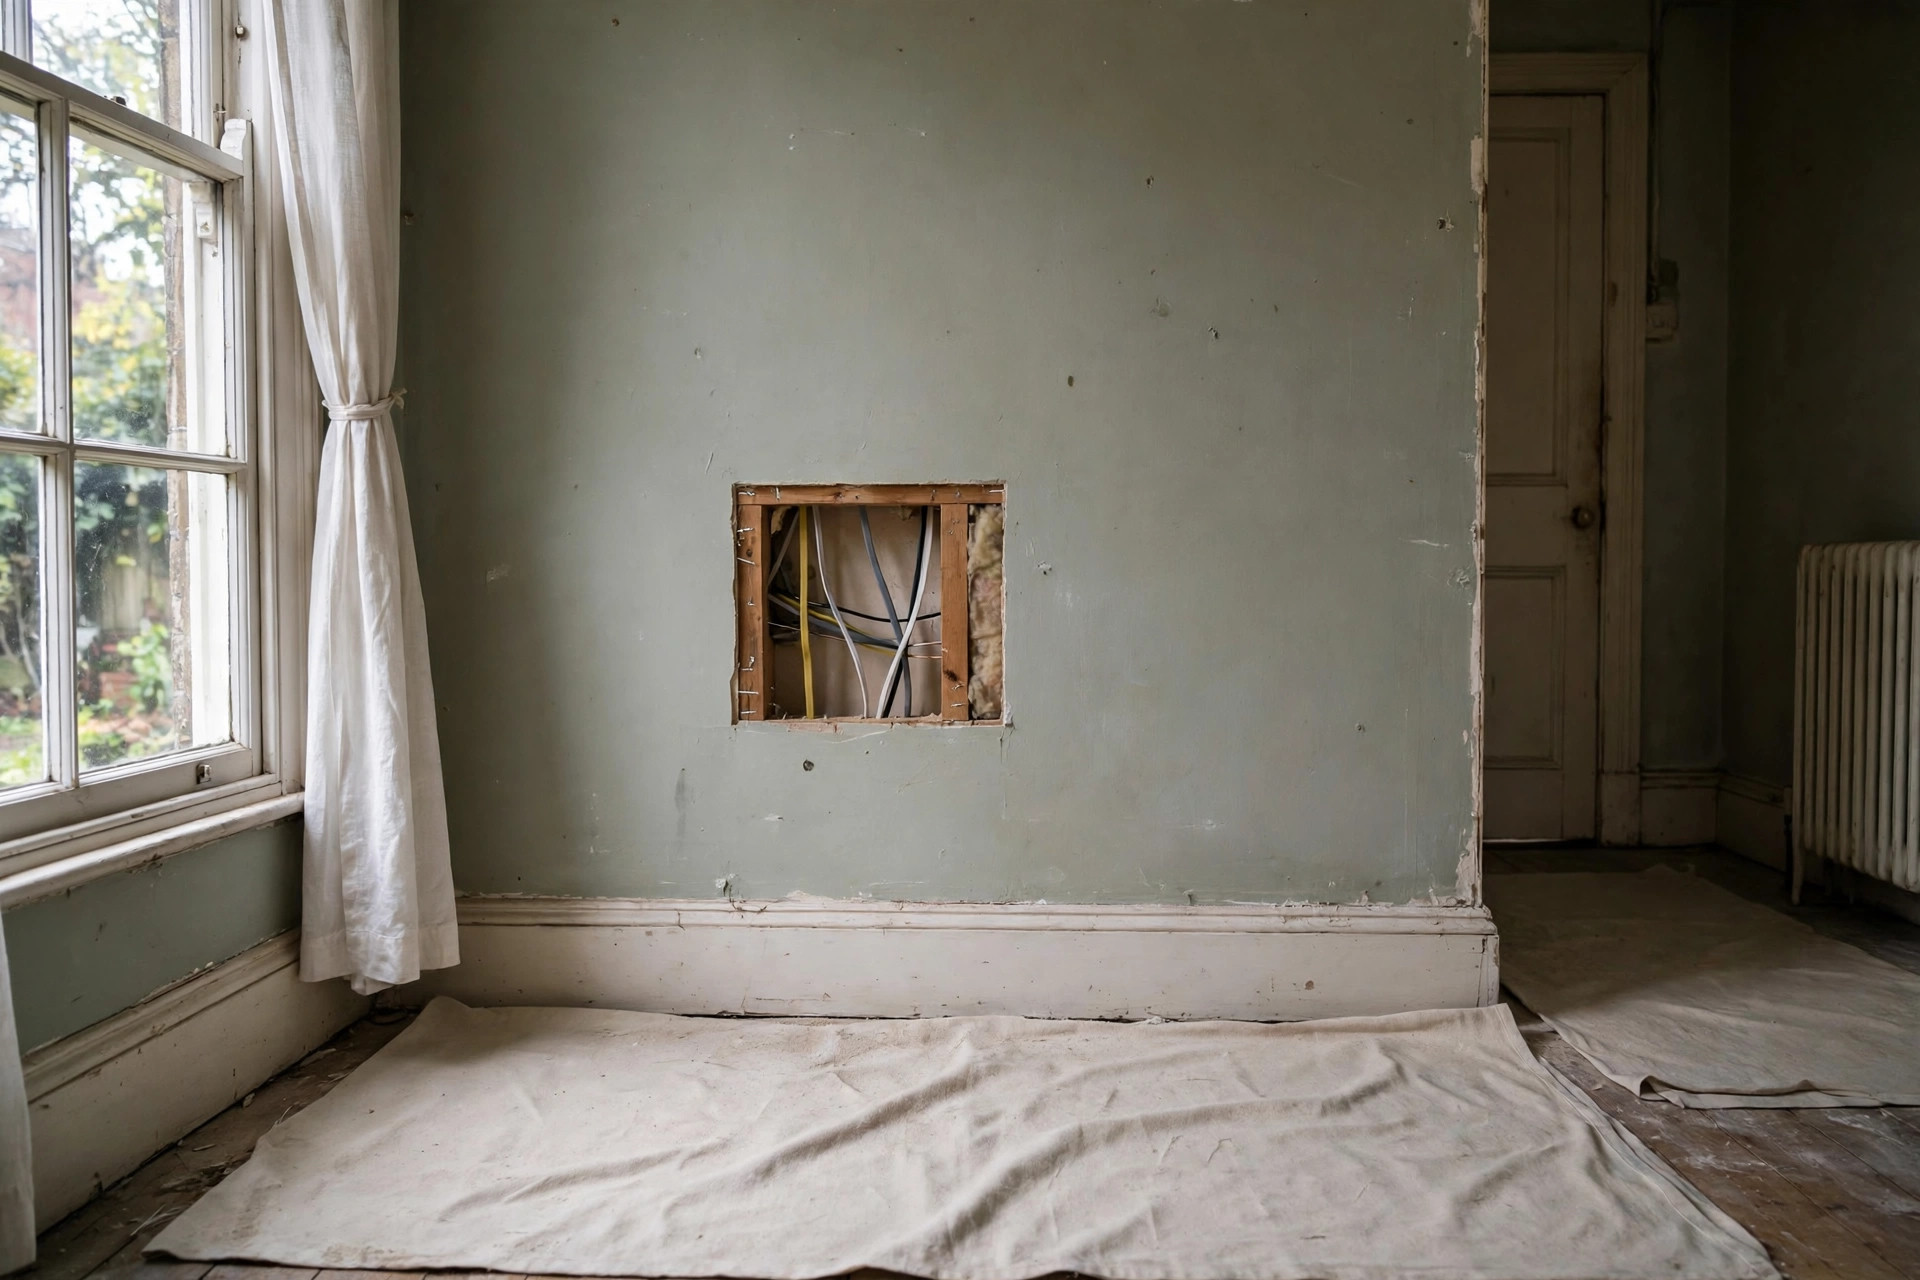
In a new build, rough-in happens in open framing, inspection happens before plasterboard, and finish follows painting, all in step with the rest of the build. In a rewire, the electrician must first gain access to the existing structure, which can mean lifting floorboards, opening sections of wall, and planning the work room by room so the house stays usable. Finished surfaces are then repaired and repainted after the new wiring is in.
A rewire also starts with a survey of the existing installation: what is already there, what condition it is in, and what can stay. That survey shapes the plan, and it sometimes reveals surprises, such as old wiring hidden in unexpected places. Homeowners planning a rewire should expect more dust, more patching, and a longer timeline than a new build of the same size, and should discuss phasing — which rooms first — with the electrician.
What Can Delay a Wiring Job
A wiring job can be delayed by plan changes, failed inspections, material availability, scheduling with other trades, and hidden conditions in older homes. Most delays are normal parts of building work, not signs that something has gone wrong at all.
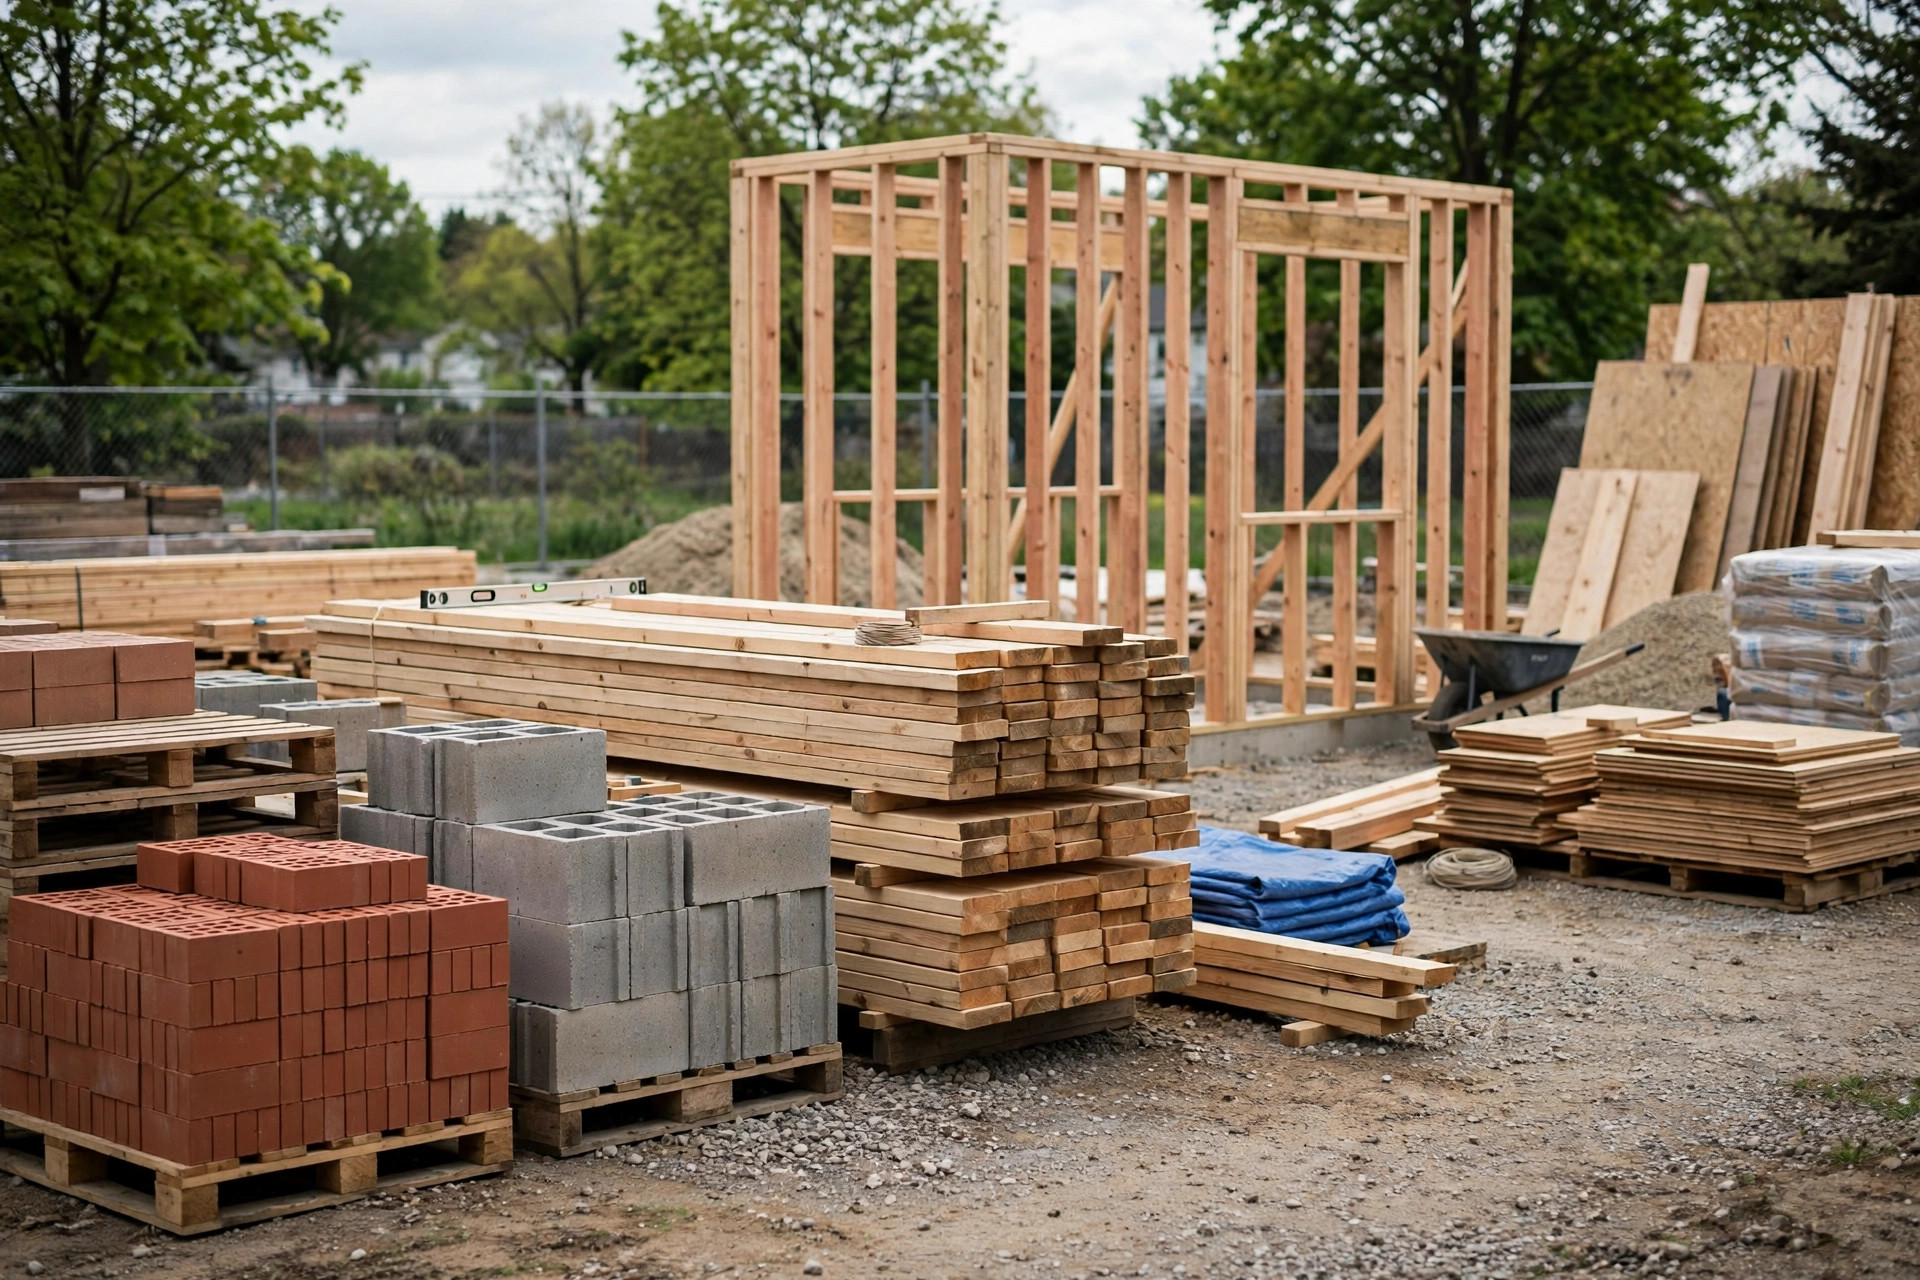
Plan changes are the most common cause. Adding outlets or moving a light after rough-in means redoing hidden work, and that ripples into inspection and finish. A failed inspection also adds time, because corrections must be made and checked again before walls close. Material delays, such as waiting for a particular panel or fixture, can pause the finish stage even when the rough-in is complete.
Other trades matter too: wiring cannot be roughed in before framing is ready, and finish cannot start before painting is done. In older homes, hidden conditions — damaged timber, unexpected old wiring, or difficult access — can slow a rewire. The best protection against delay is a settled plan, early decisions, and a realistic expectation that inspections and other trades set part of the pace.
A Homeowner’s Stage-by-Stage Checklist
A homeowner’s checklist for wiring a house is a list of observations, not tasks to carry out: things to decide, look at, or ask about at each stage, while all installation work stays with the licensed electrician. Keeping this list handy makes each walk-through more useful.
- Before planning: note how each room will be used and where large furniture and appliances will sit.
- At planning: confirm outlet, switch and light positions room by room, and ask what happens if a position changes later.
- At rough-in: walk through the framed rooms and check every box position before the walls close.
- At inspection: confirm the rough-in check has passed before finishing work covers the wiring.
- At finish: check that every planned outlet, switch and light is present, in place, and neatly finished.
- At handover: join the final walk-through, ask which breaker serves which area, and keep the handover notes.
- Throughout: write down questions as they arise, and raise them with the electrician rather than investigating wiring yourself.
This checklist does not involve touching wiring, opening panels, or removing covers. Its value is in catching planning mistakes early, when they are still cheap to fix.
Common Mistakes at Each Stage
Common mistakes in wiring a house are usually stage mistakes: deciding too late, changing the plan after the walls close, covering work before inspection, or assuming the finish stage can fix a rough-in problem. Each one is easy to avoid once the sequence is understood.
At planning, the classic mistake is too few outlets, or outlets placed for an empty room rather than a furnished one. At rough-in, the mistake is skipping the walk-through, or assuming a box position that looks odd will somehow be corrected later. At inspection, the mistake is letting finishing work cover wiring before the check is complete, which can mean reopening finished walls. At finish, the mistake is accepting missing or misplaced devices silently instead of raising them at handover.
A final, broader mistake is treating wiring as a job to hurry. Rushing the plan, or pressing to skip inspection, saves days and can cost far more later. The stages exist in their order for a reason, and respecting that order is the simplest way to get a safe, sensible result.
When to Call a Licensed Electrician
Call a licensed electrician for every stage of wiring a house, and immediately if anything about the electrical system seems wrong, because installation, inspection preparation, repair and testing are all licensed work. There is no stage of house wiring that is a homeowner DIY job.
During a build or rewire, the electrician is the person for plan questions, rough-in work, finish fitting, and testing. After handover, call one for flickering lights, breakers that trip repeatedly, outlets or switches that feel warm or look damaged, burning smells, or any sign of water near electrical parts. Do not open panels, remove covers, or investigate wiring yourself to diagnose a problem.
If you are buying a home and unsure about its wiring, or planning a rewire, an electrician’s survey is the right first step. It gives a professional view of what exists and what the stages will involve, before any work begins.
Conclusion
Wiring a house is a sequence, and the sequence is the point: plan first, rough in while the walls are open, inspect before covering, finish once the walls are done, and test before handover. Each stage has its own job, and each one protects the stages that follow it.
For the homeowner, the most valuable moments are the earliest ones — the planning conversation and the rough-in walk-through — because that is when changes are easy. After that, the job is to observe, ask questions, and leave installation and testing to a licensed electrician. Follow the stages in order, and the result is a system that is safe, well organised, and ready for everyday life.
Frequently Asked Questions
How long does wiring a house take?
It depends on the size of the house, the number of circuits, and inspection scheduling. A small home moves faster than a large one, and rewires take longer than new builds.
What is rough-in wiring?
Rough-in is the stage where cables are run and boxes are fixed while walls are still open, before insulation and plasterboard cover the work.
What happens if a wiring inspection fails?
The electrician corrects the problem and the work is checked again. Finishing work should not cover the wiring until the check has passed.
Can I change outlet positions after rough-in?
Minor changes may be possible, but moving outlets after walls close usually means opening finished work, so it is better to decide positions during planning.
Can I live in a house while it is being rewired?
Sometimes, if the work is phased room by room, but it involves dust, noise, and periods without power in parts of the home, so discuss phasing with the electrician first.
Disclaimer: This article is provided for general information only. It is not professional electrical advice, and it does not promote any brand, product, or service. Electrical rules, systems, and suitability vary by home and location, so always check the guidance for your own home and seek qualified advice from a licensed electrician before making a decision. Never work on live circuits, open an electrical panel, or remove outlet or switch covers unless you are trained and qualified to do so safely.