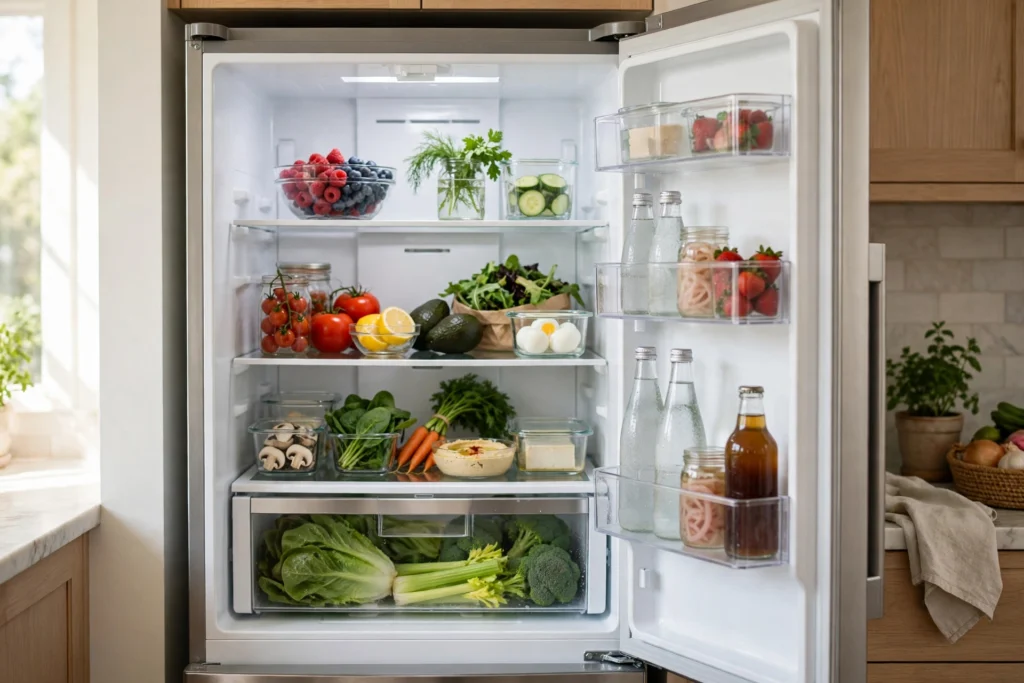
To clean a refrigerator means to empty one section at a time, discard spoiled food, wash shelves and drawers in warm soapy water, wipe the interior walls and door seals, dry everything, and restock with the oldest items at the front. Done in that order, with perishable food kept cool, it is a safe and straightforward job.
A refrigerator looks clean when the door is closed, but inside it collects spills, crumbs, expired food, and smells that build up quietly. A spilled sauce dries on a shelf, a forgotten leftover smells, and a dirty door seal stops sealing properly, which can affect temperature and waste energy.
This guide works section by section, so food is not left out for long, and it covers the parts most guides skip: the seal, the drain area, the freezer, and the exterior. It ends with a restock method that keeps the next clean much easier.
Prepare Food and Supplies First
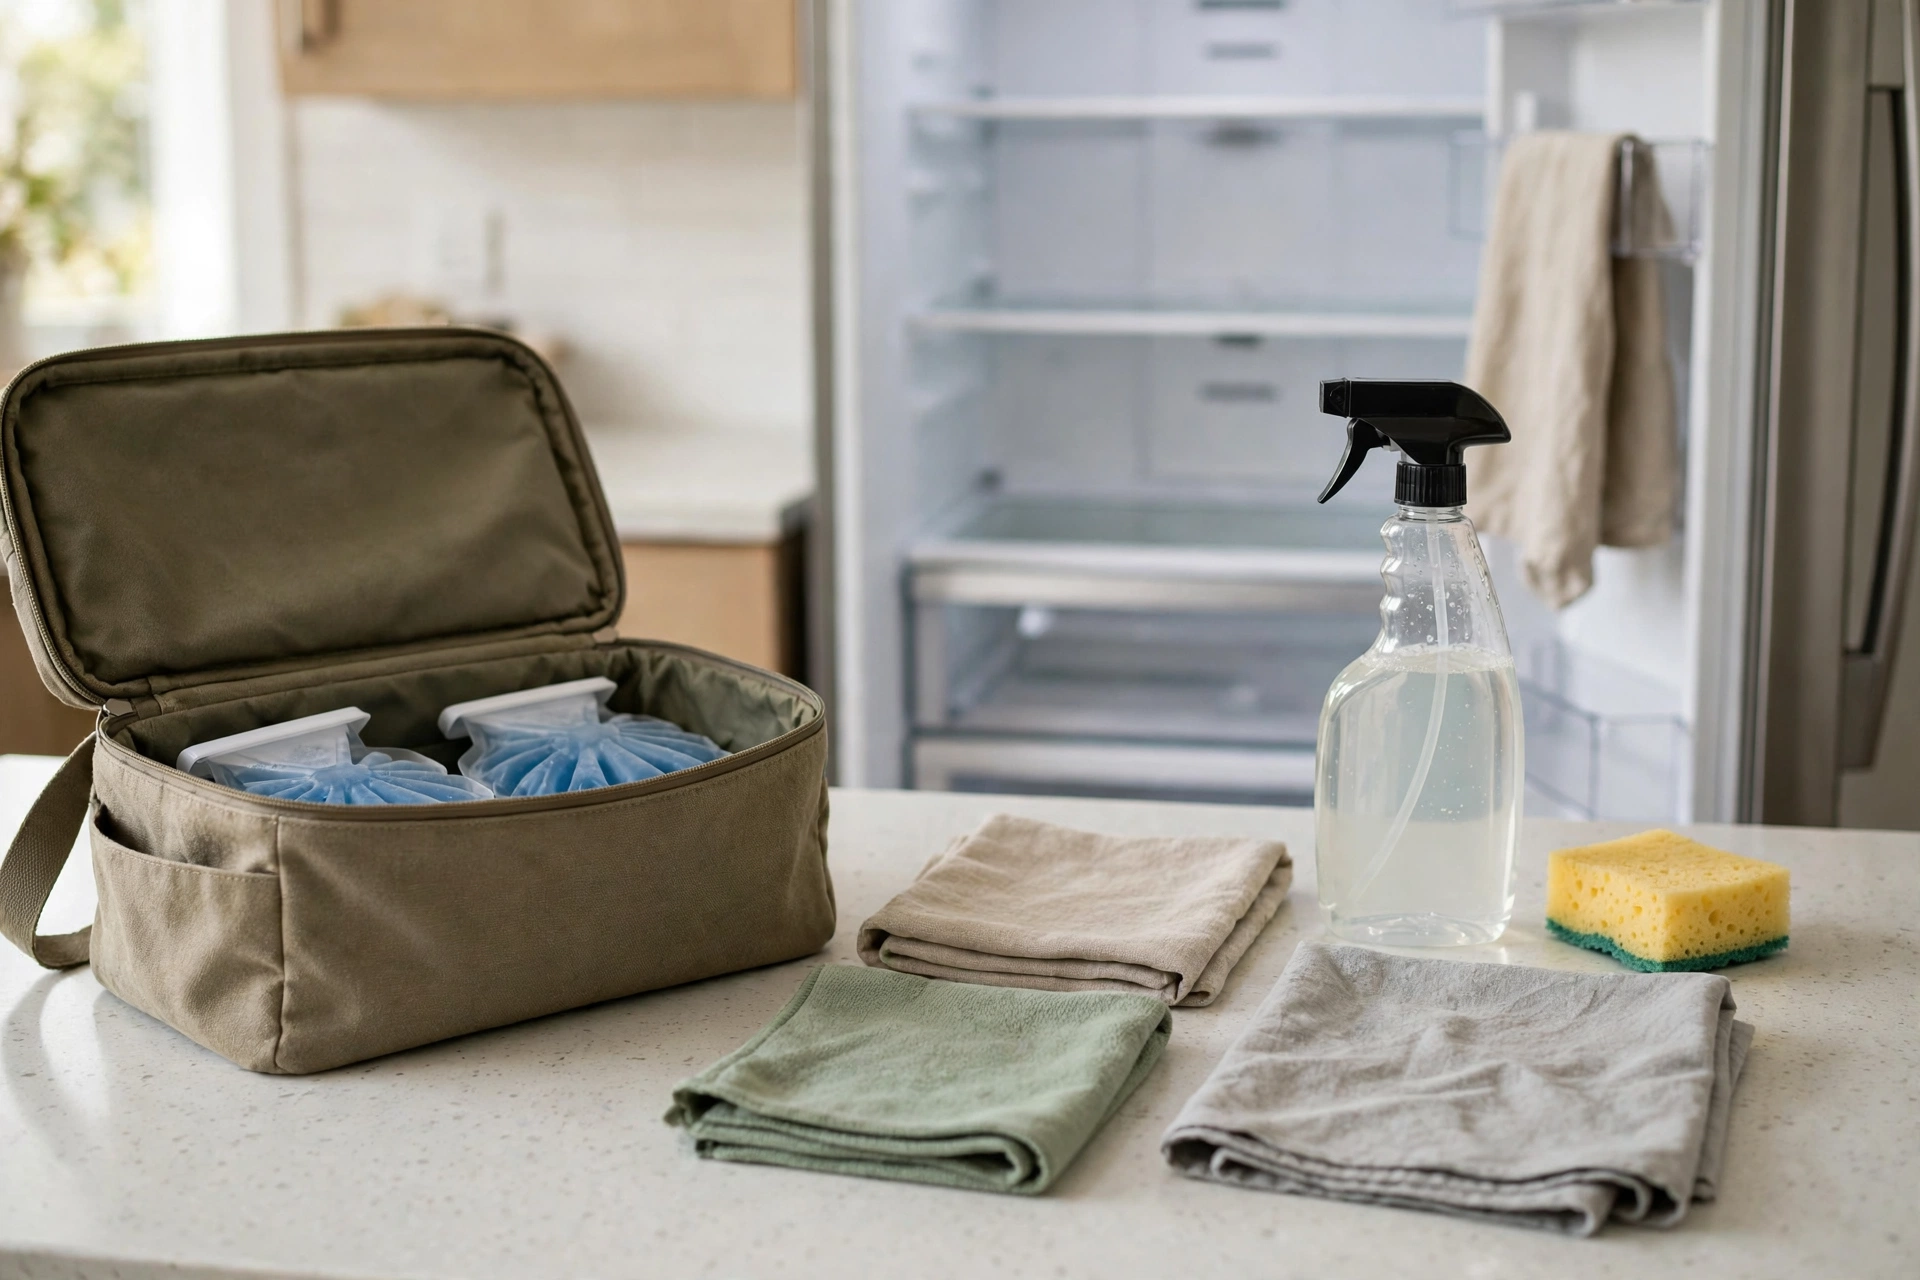
Before you clean a refrigerator, gather warm soapy water, baking soda, microfibre cloths, a cooler bag or insulated box, rubbish bags, and labels for leftovers. Having everything ready first keeps food safe, because perishable food should not stay at room temperature for long.
Move perishable items into a cooler bag with ice packs if the clean will take more than a short time, especially in warm weather. Keep raw meat separate from ready-to-eat food, following normal food safety practice for your household, and discard anything that is clearly spoiled or past its safe date. If you are unsure about a food item, discard it rather than risking illness.
Switch the refrigerator to a setting that suits cleaning if the manual suggests it, but do not switch it off for a long period unless the maker advises it. Wear gloves if you are handling spoiled food or strong cleaners, and keep cleaning products away from food at all times. Preparation takes only a few minutes and protects both food and the clean itself.
- Warm soapy water, baking soda, and microfibre cloths
- Cooler bag or insulated box with ice packs for perishable food
- Rubbish bags, labels, and a pen for leftovers
- Dry cloths for drying shelves before they go back
Empty One Section at a Time
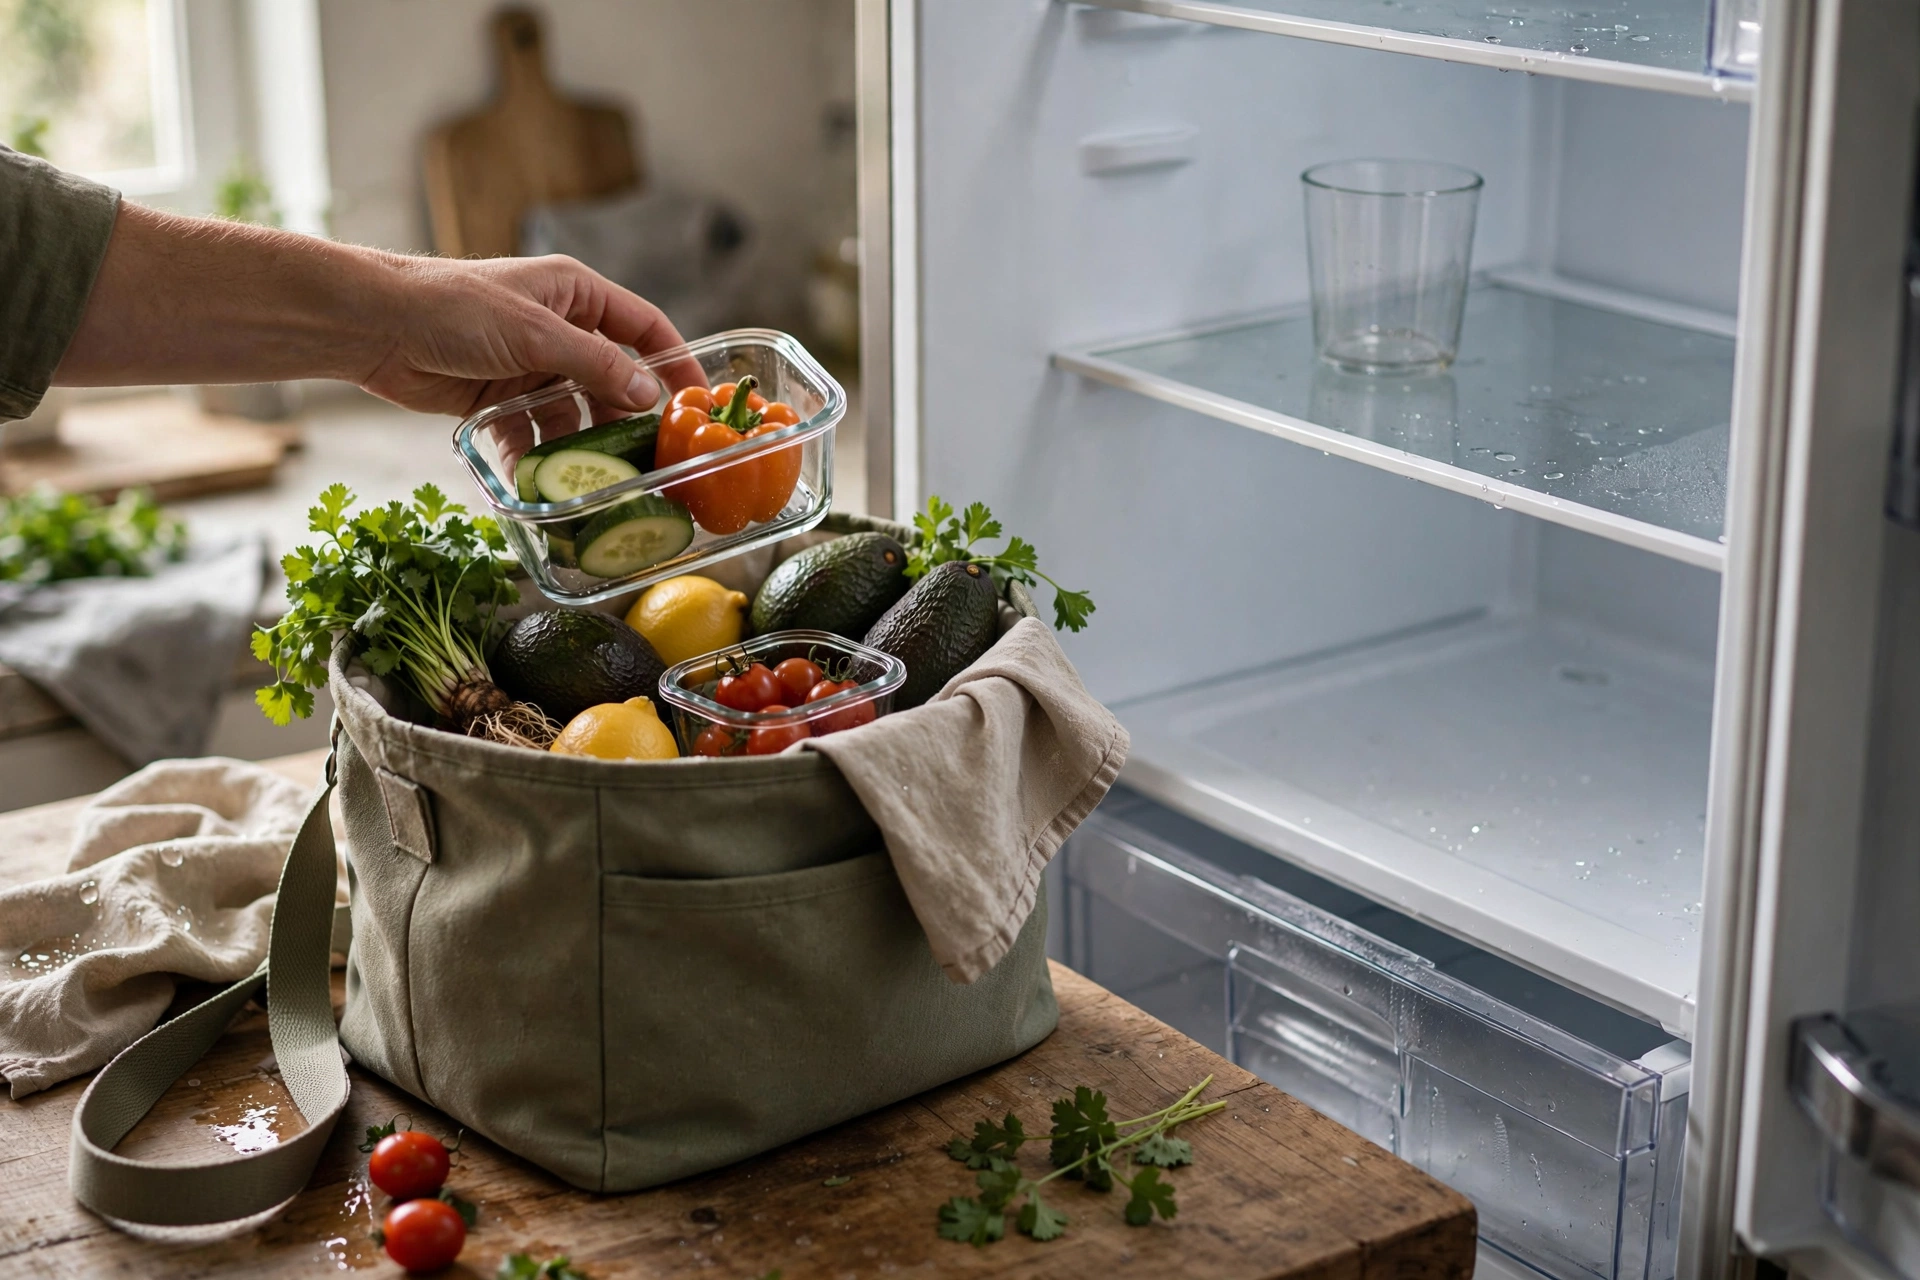
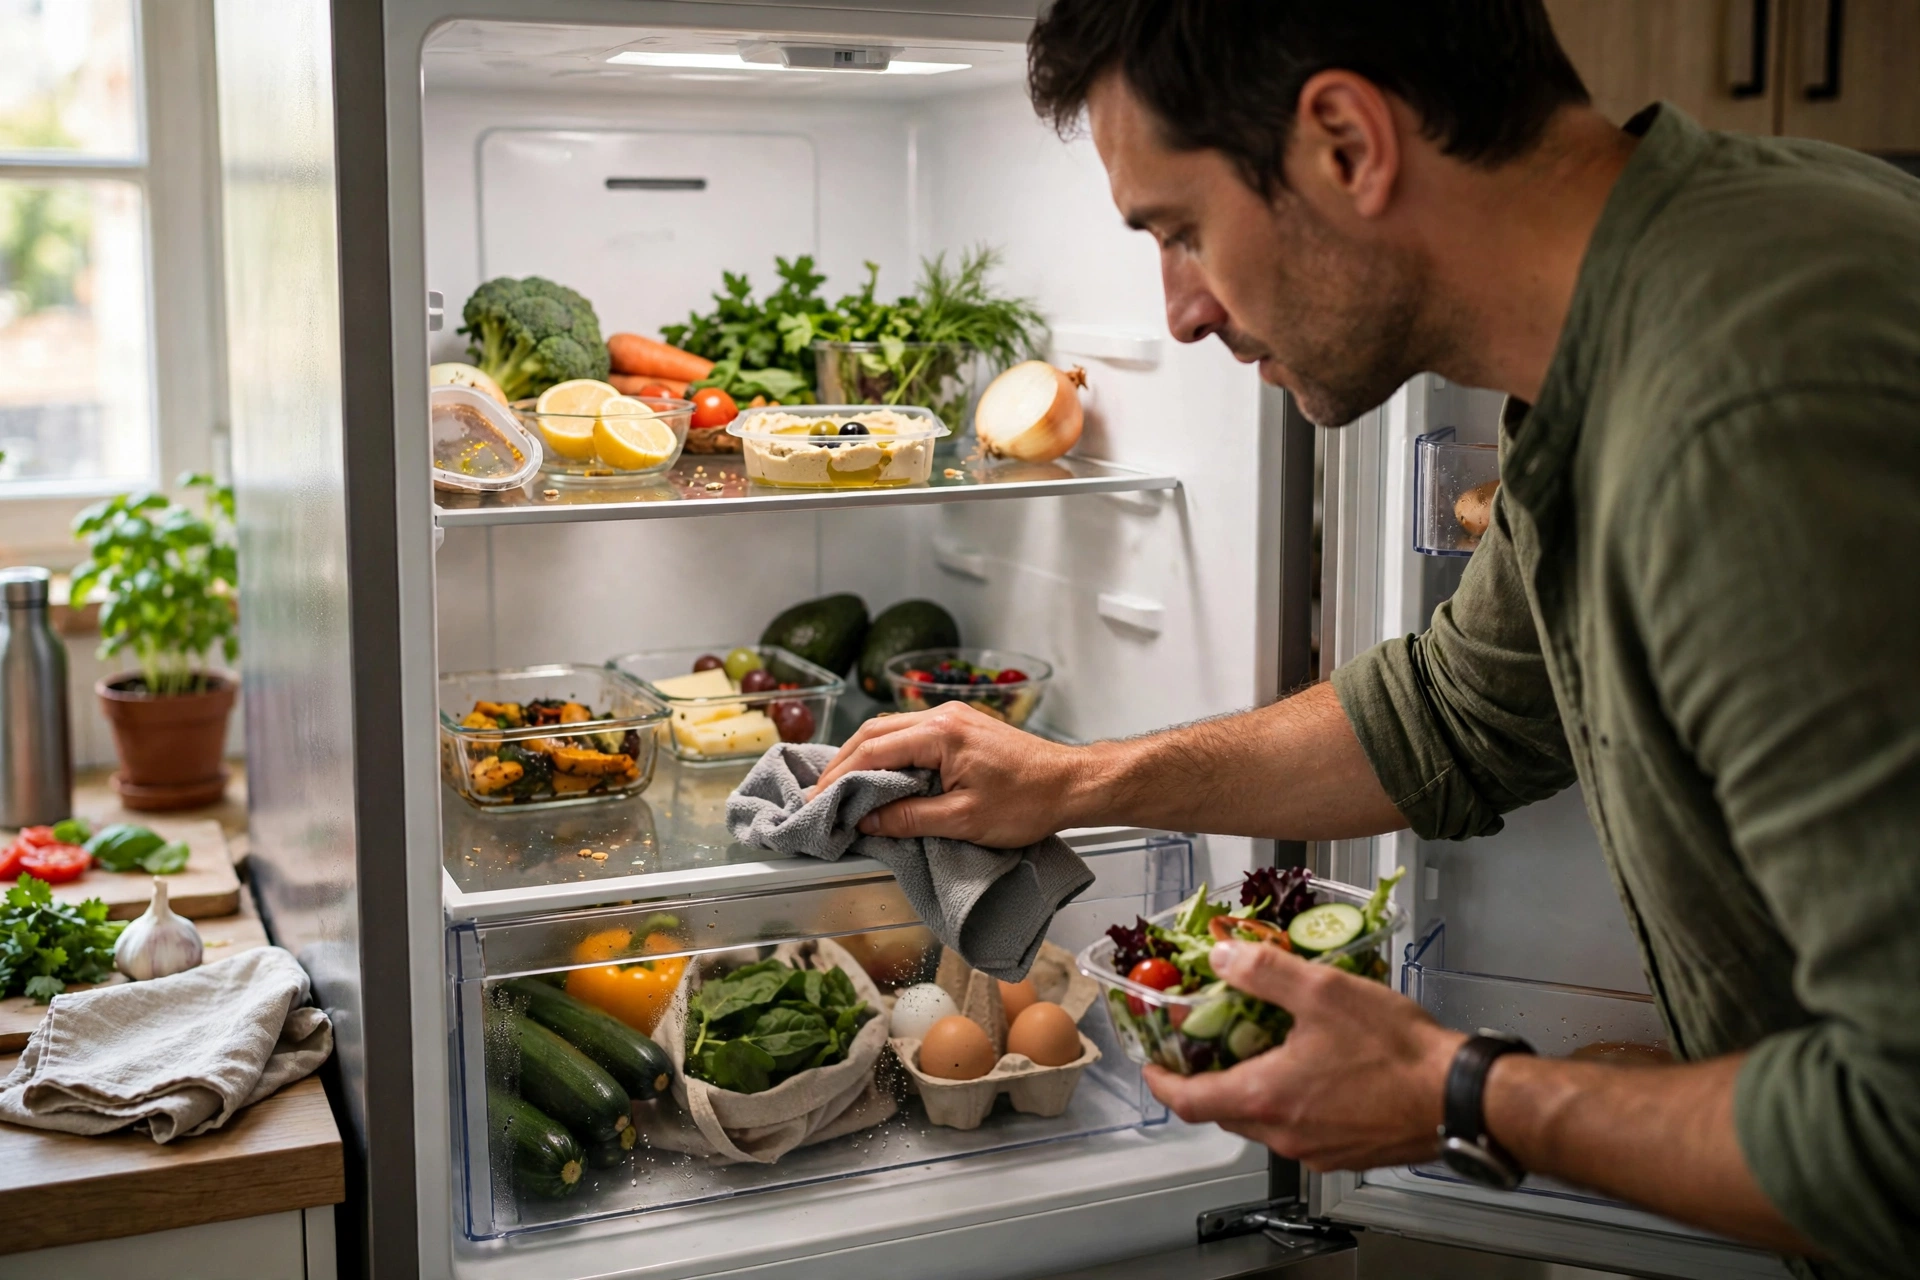
To clean a refrigerator safely, empty one section at a time, rather than taking everything out at once, so food stays cool and the job stays manageable. Start with the top shelf, then work down, or start with the door, depending on your fridge layout.
Place items from one section on a clean counter or in the cooler bag, grouped by type, so you can see what you have. Check dates as you go, discard spoiled items, and set aside anything that needs using soon. This is also a good time to notice duplicates, such as two open jars of the same sauce, and to plan meals that use them up.
Working section by section has another benefit: you can clean, dry, and restock one area before moving to the next, so the fridge is never fully empty for long. If you need a break, the rest of the fridge stays cold and organised, and you can return to the next section without starting again.
Wash Shelves and Drawers Properly
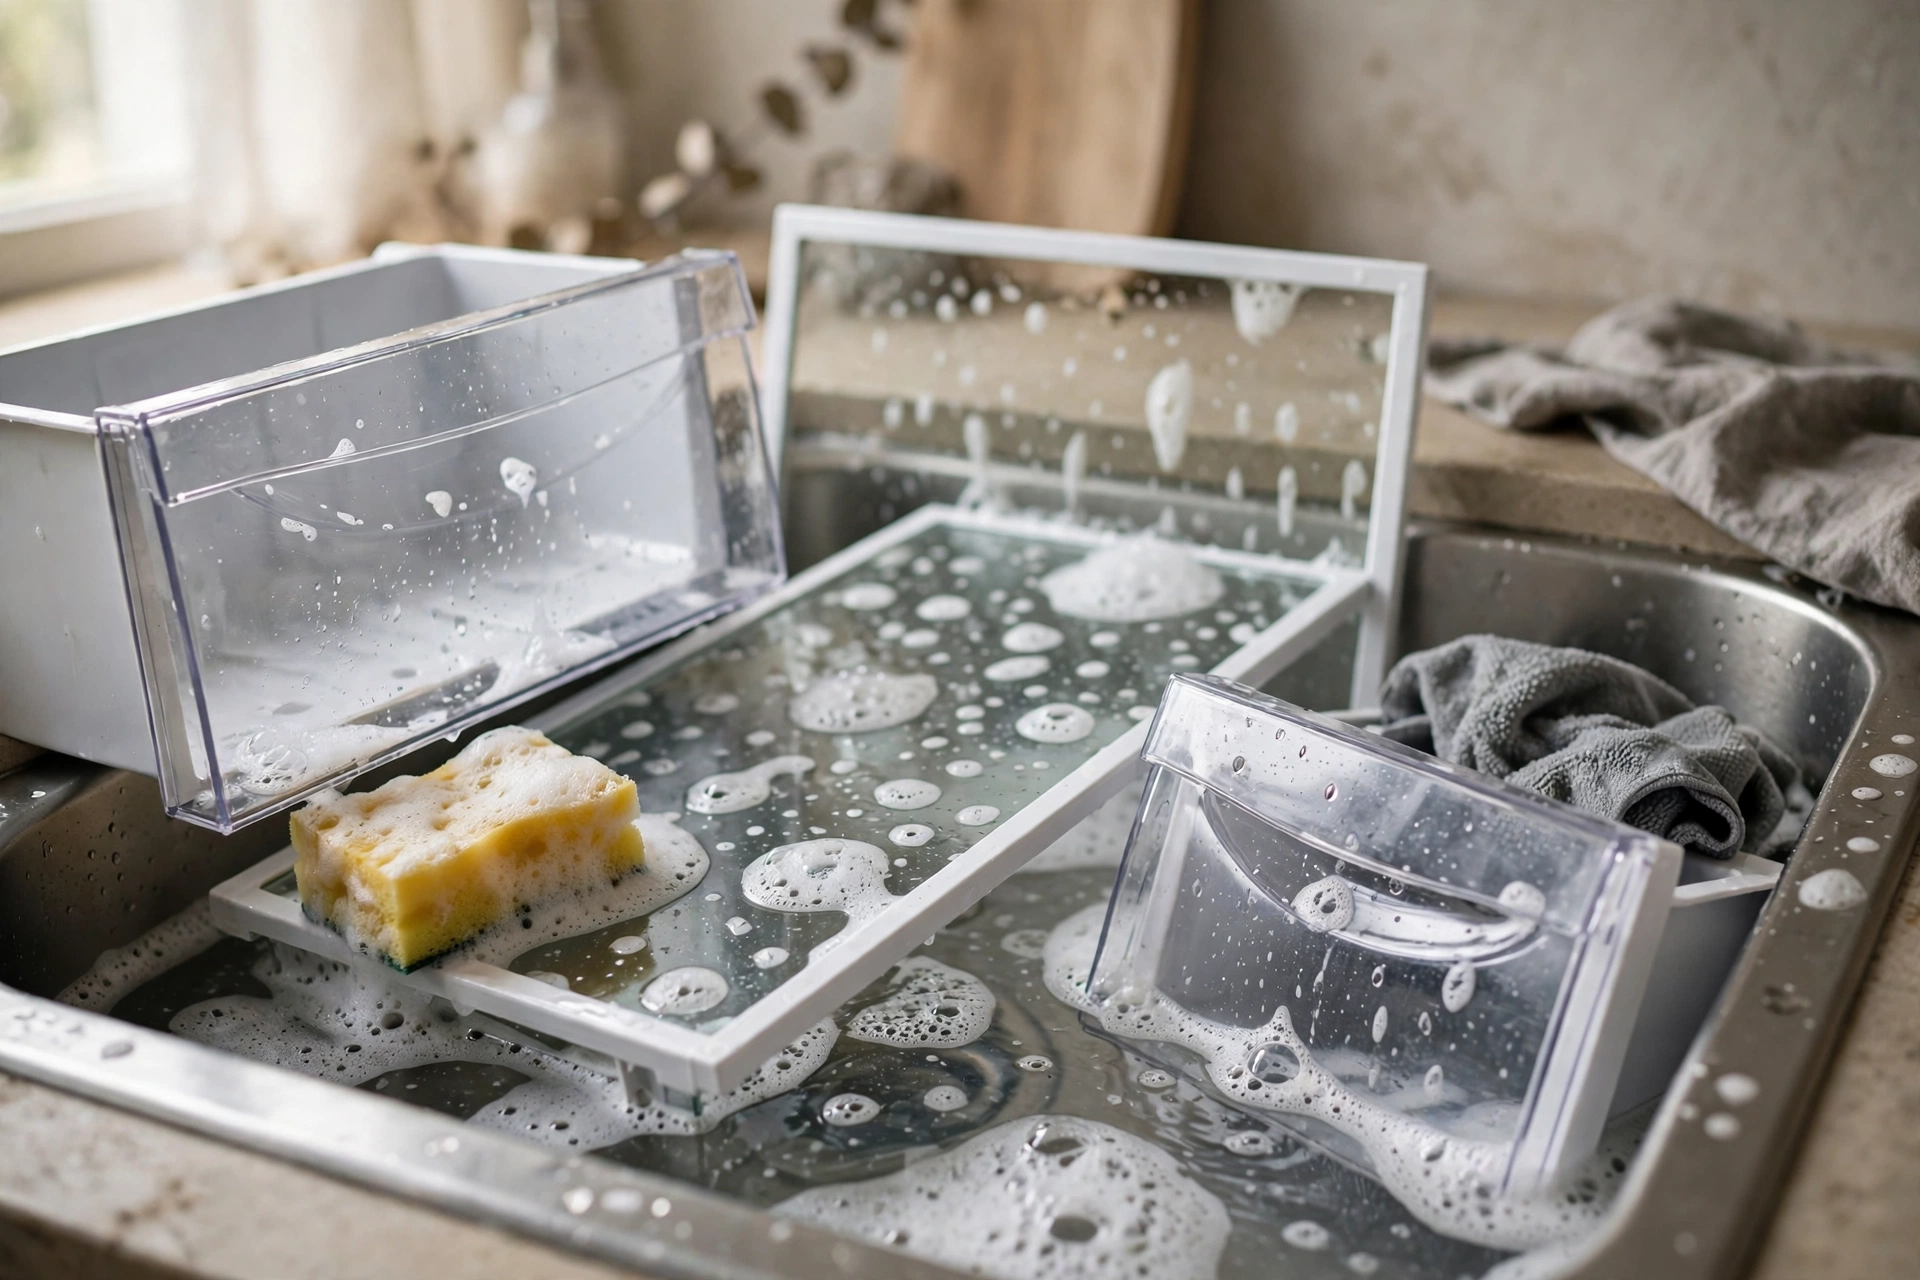
To wash refrigerator shelves and drawers, remove them, wash them in warm soapy water, rinse well, and dry them completely before putting them back. Shelves and drawers collect spills and crumbs, and washing them outside the fridge is much easier than wiping them in place.
Let glass shelves warm to room temperature before washing them in warm water, because a sudden temperature change can crack glass. Wash with dish soap and a soft cloth, paying attention to edges and corners, and rinse until no soap remains. For plastic drawers, check for cracks or damage, and clean the runners and tracks where crumbs collect.
Dry shelves and drawers fully with a clean cloth before returning them, because damp shelves attract new dirt and can make food packaging soggy. If a shelf is stained, a paste of baking soda and water, left for a short time and then rinsed, can help, but test a hidden spot first and follow the maker’s guidance for your fridge model.
Wipe Interior Walls and the Drain Area
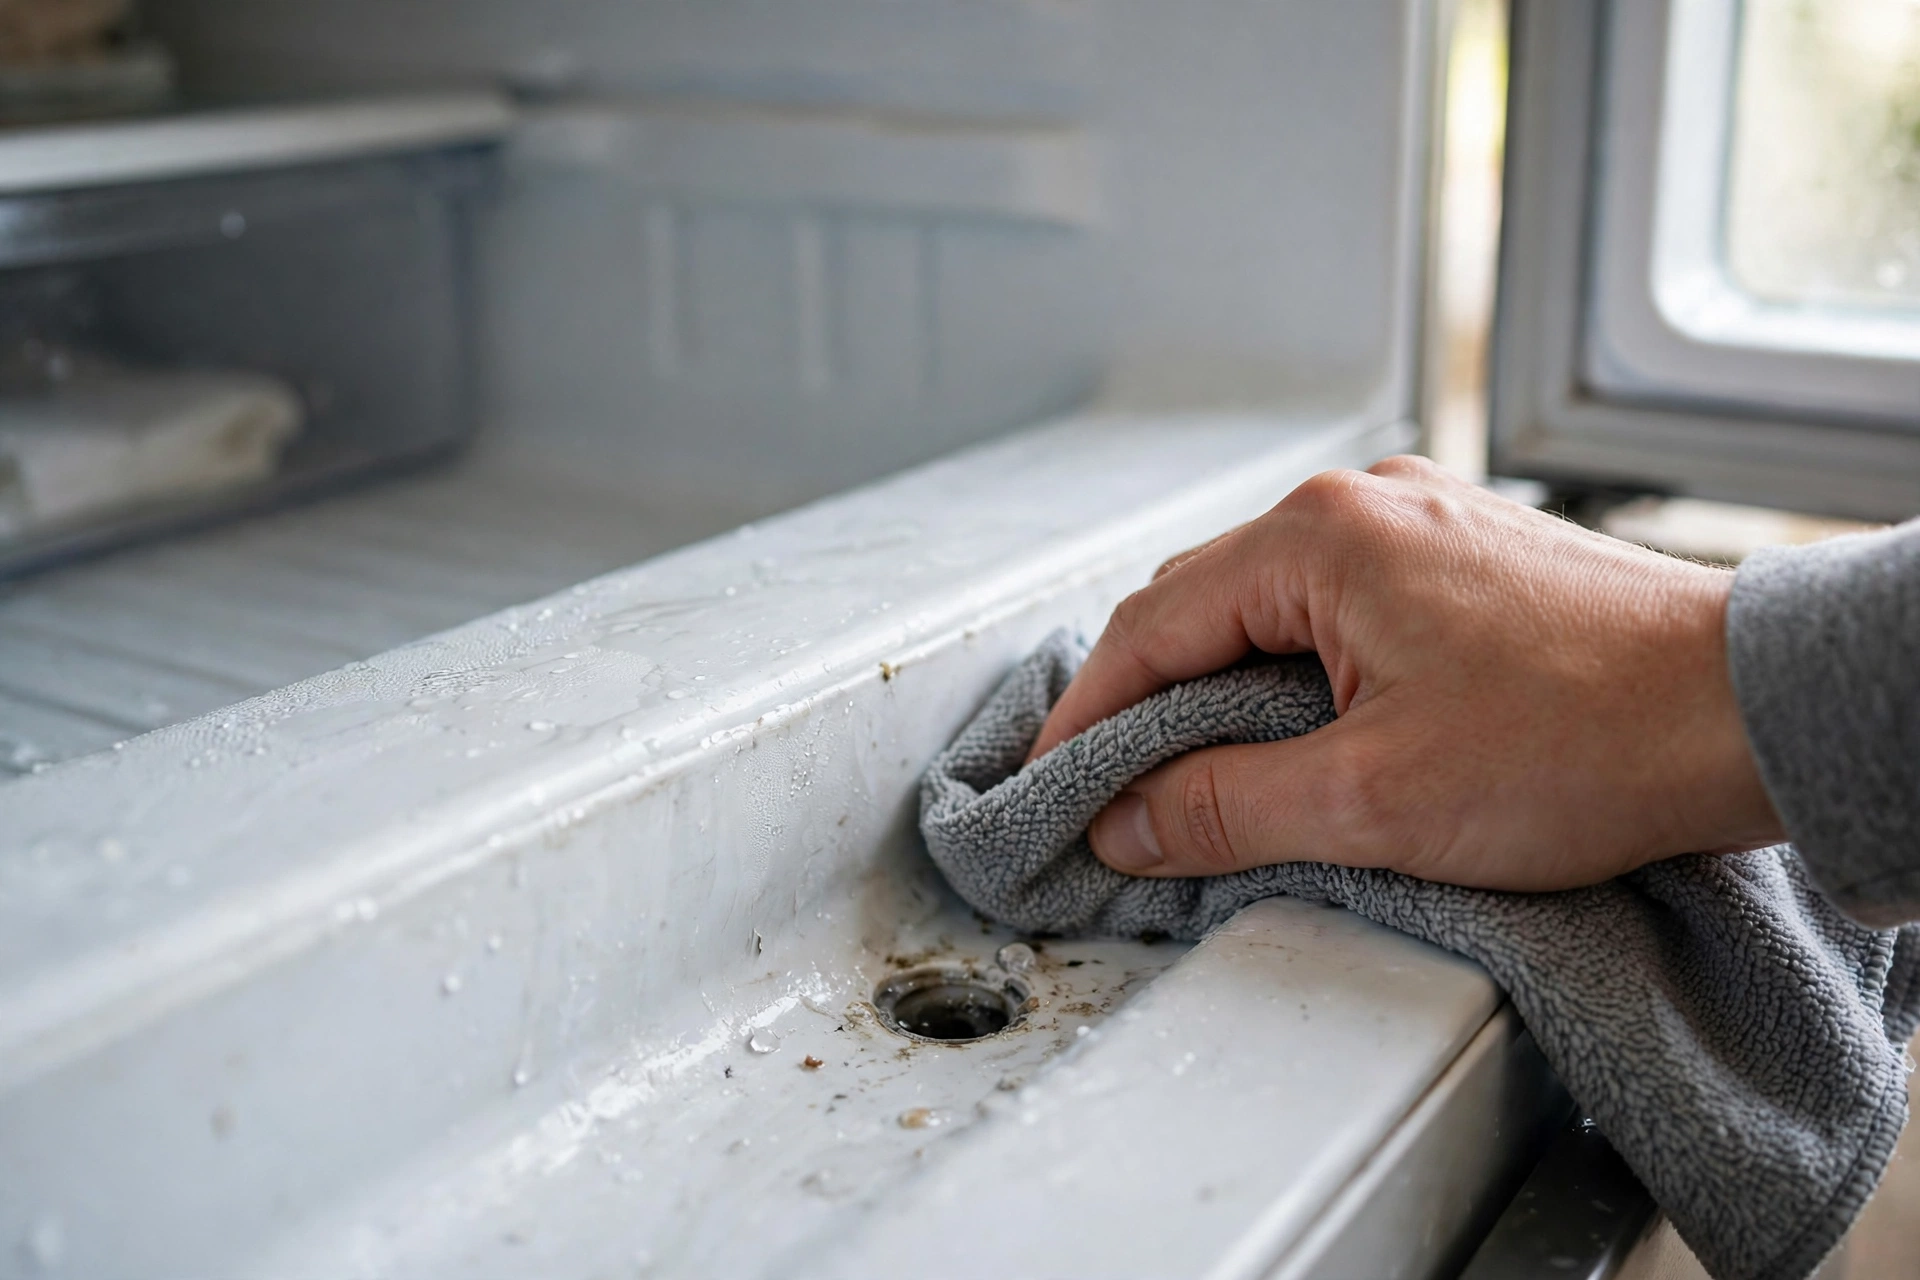
To wipe refrigerator interior walls, use warm soapy water on a microfibre cloth, work from top to bottom, rinse the cloth often, and dry the walls before restocking. Interior walls collect splashes and condensation, especially at the back, where cold air circulates.
Wipe the top, sides, and back of each section, including the area around the light and any vents, without spraying liquid directly into vents or electrical parts. Use a lightly damp cloth for those areas, and dry them well afterwards. If your fridge has a drain hole or channel at the back, check it for blockages, following the maker’s guidance, because a blocked drain can cause water to pool inside.
For stubborn marks, a baking soda solution (a small amount in warm water) can help, but rinse well afterwards so no residue remains near food. Avoid strong cleaners, bleach, or abrasive pads inside a refrigerator, because residues and scratches can affect food and the interior finish.
Clean Door Seals So They Seal Properly
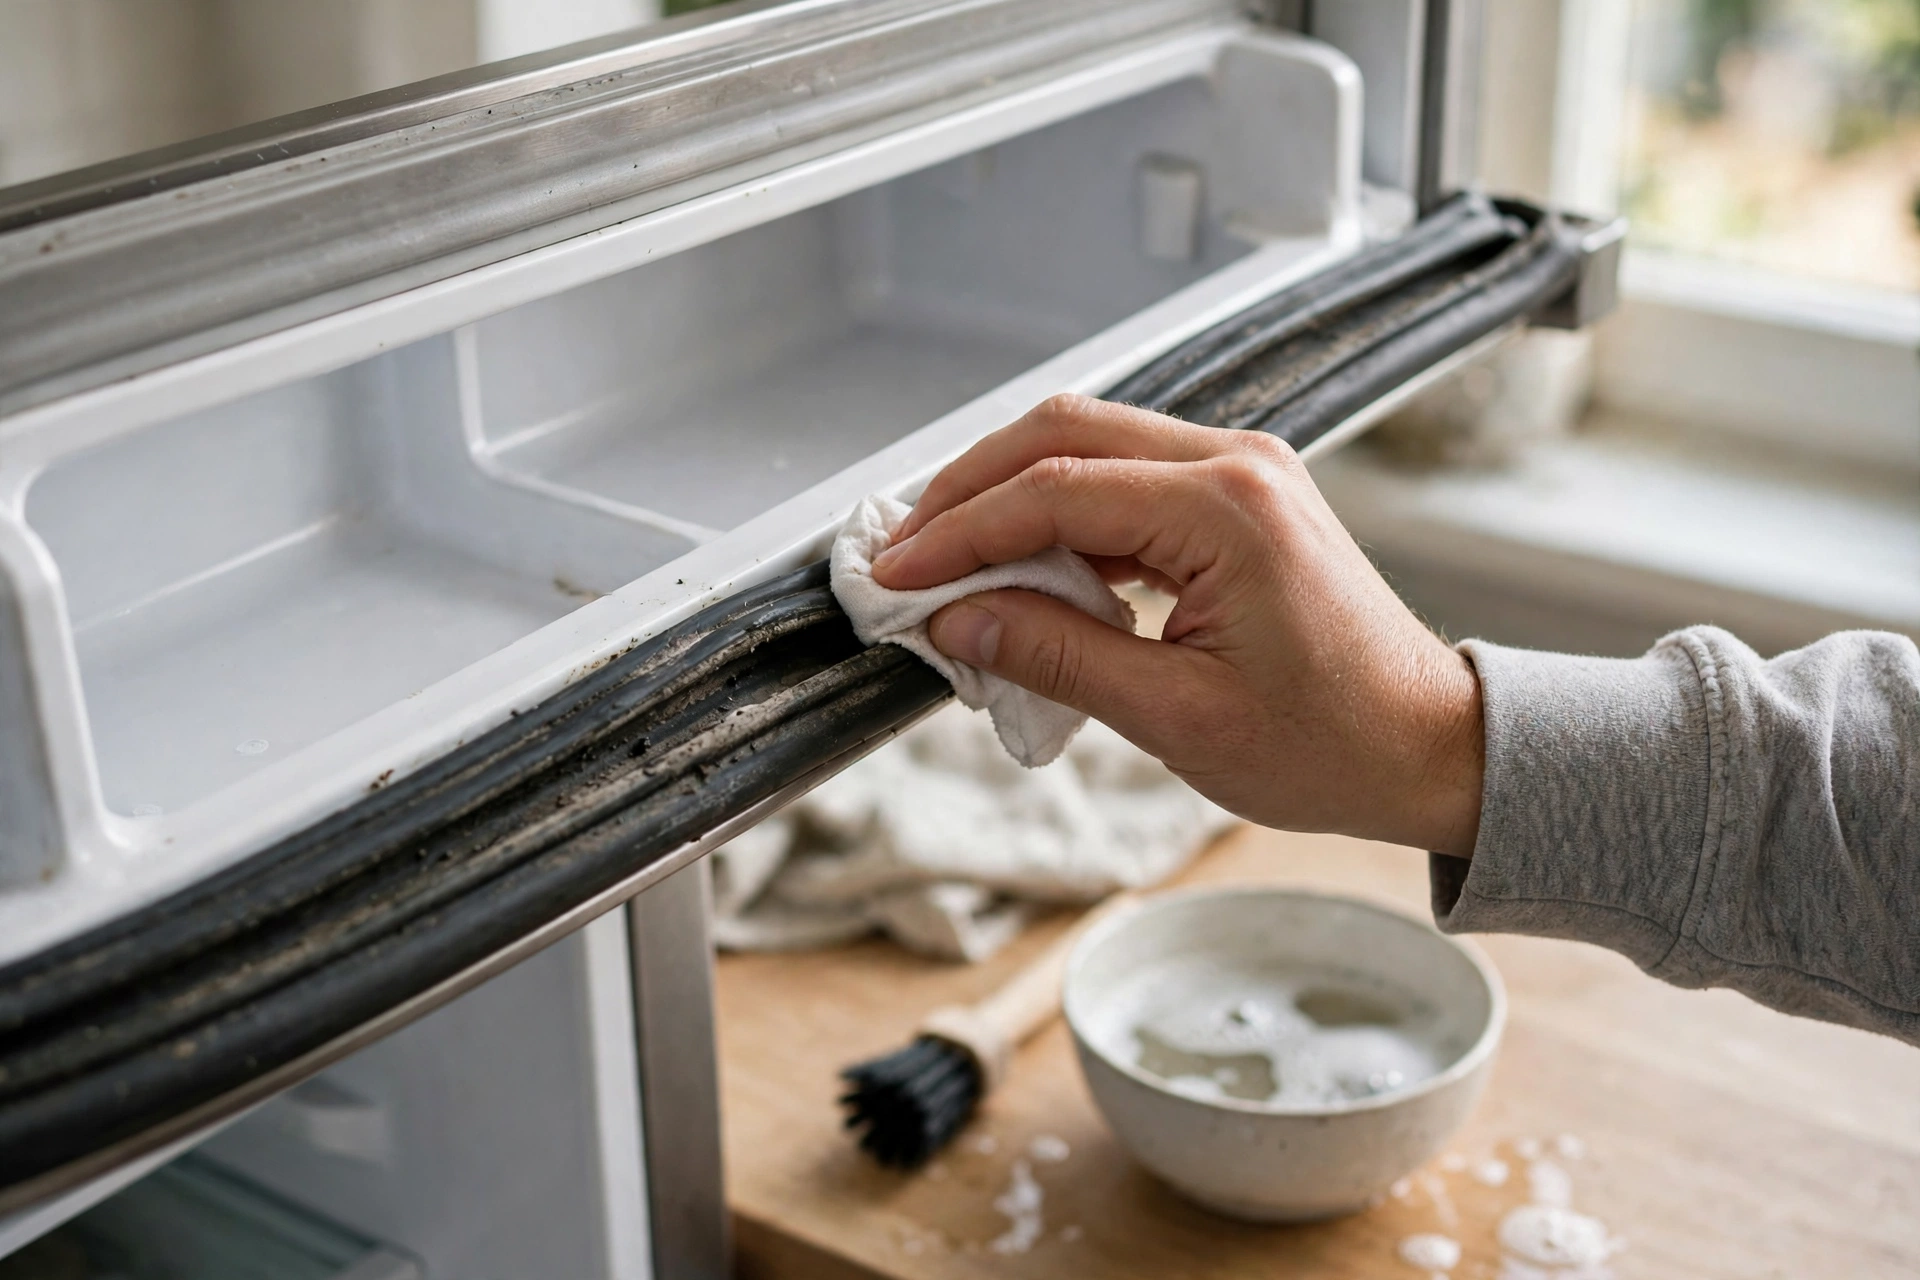
To clean refrigerator door seals, wipe them gently with warm soapy water, clean the folds where crumbs and spills collect, rinse, and dry them well so they keep sealing properly. A dirty or damaged seal lets cold air escape, which can affect temperature and waste energy.
Open the door fully and wipe the seal from top to bottom, opening each fold carefully to remove crumbs, sauce, and mould-prone moisture. Use a soft cloth or an old toothbrush for the folds, but do not pull or stretch the seal, because stretching can damage it and create gaps. Rinse the cloth often and dry the seal afterwards, so it does not stay damp.
Check the seal while you clean it. Close the door on a thin piece of paper and pull gently; if the paper slips out easily in many places, the seal may be worn and worth checking with the maker or a technician. A clean, well-fitting seal is one of the simplest ways to keep a refrigerator efficient.
| Fridge part | Main method | Avoid |
|---|---|---|
| Glass shelves | Warm soapy water, rinse, dry fully | Sudden hot water on cold glass |
| Plastic drawers | Wash, rinse, dry, check runners | Abrasive pads, strong bleach |
| Interior walls | Damp cloth, top to bottom, dry | Spraying vents or electrics |
| Door seals | Gentle wipe, clean folds, dry | Pulling or stretching the seal |
| Freezer | Empty, defrost as maker directs | Chipping ice with sharp tools |
| Exterior and handles | Damp cloth, dry, polish if needed | Soaking controls or displays |
Clean the Freezer the Right Way
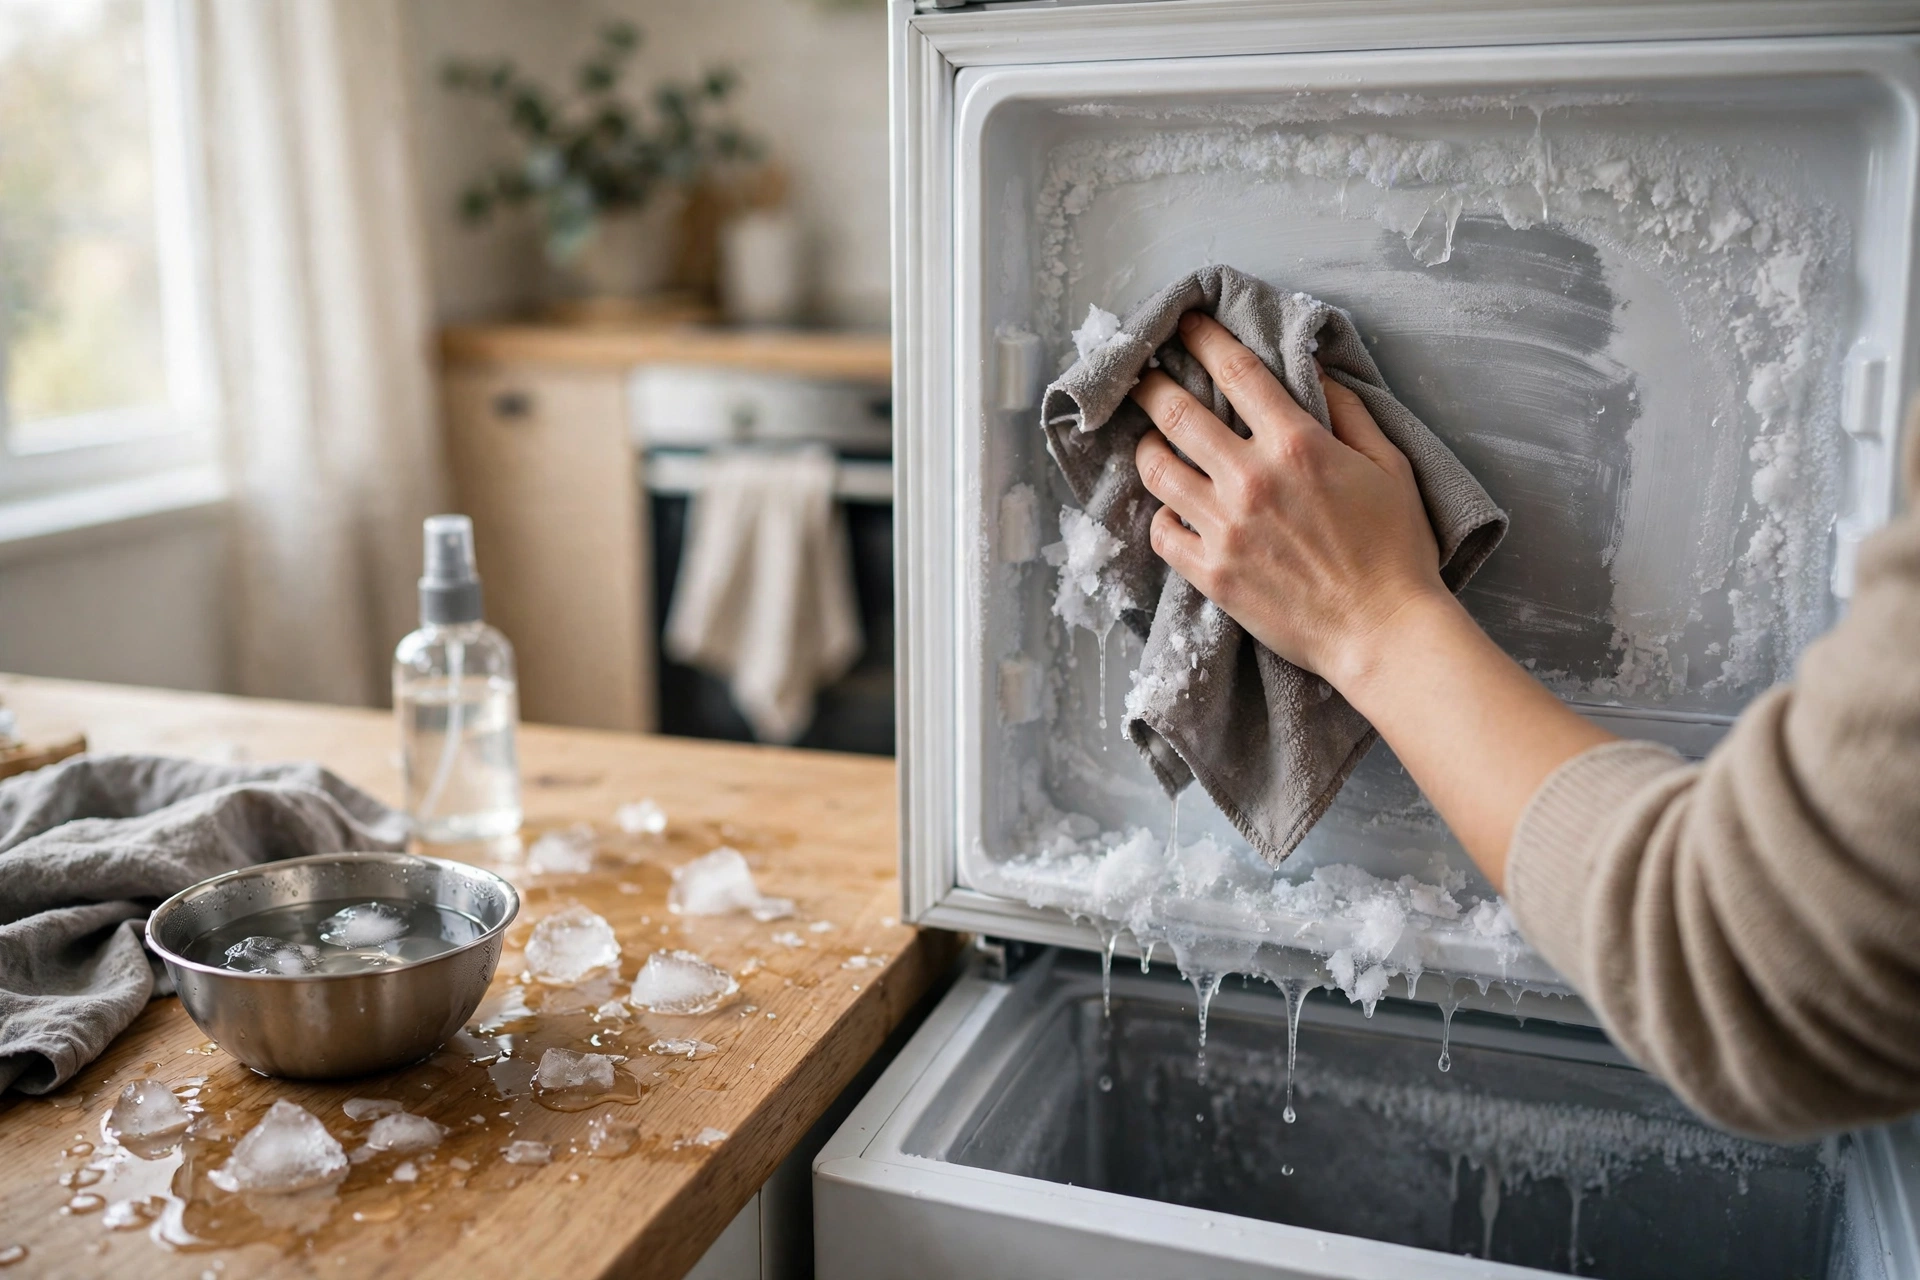
To clean a freezer, empty it, defrost it only as the maker directs, wipe the interior with warm soapy water, dry it fully, and restock with labelled items. Freezers need a different approach from fridges, because ice and frozen food change the rules.
Move frozen food into a cooler bag or insulated box, and keep it frozen while you work. If your freezer is frost-free, wipe the interior with a damp cloth and dry it, without defrosting. If it needs manual defrosting, follow the maker’s instructions exactly, place towels to catch water, and never chip ice with a sharp tool, because that can damage the freezer and be unsafe.
Wipe shelves, drawers, and walls, dry them well, and check for frost buildup in corners and around the seal. Restock with the oldest items at the front, label items with dates, and leave a little space for air to circulate. A clean, well-organised freezer is easier to use and less likely to develop freezer burn or smells.
Clean the Exterior, Handles, and Coils Area
To clean a refrigerator exterior, wipe the doors, handles, and sides with warm soapy water or a suitable cleaner, dry them well, and avoid spraying liquid onto displays, controls, or vents. Handles collect grime from hands, and the top of the fridge collects dust, so both deserve attention.
For stainless steel, wipe in the direction of the grain and dry with a soft cloth to reduce spots. For other finishes, follow the maker’s guidance and avoid abrasive products. Wipe the top of the fridge with a dry cloth first, then a damp cloth, because dust there can fall onto food preparation areas below.
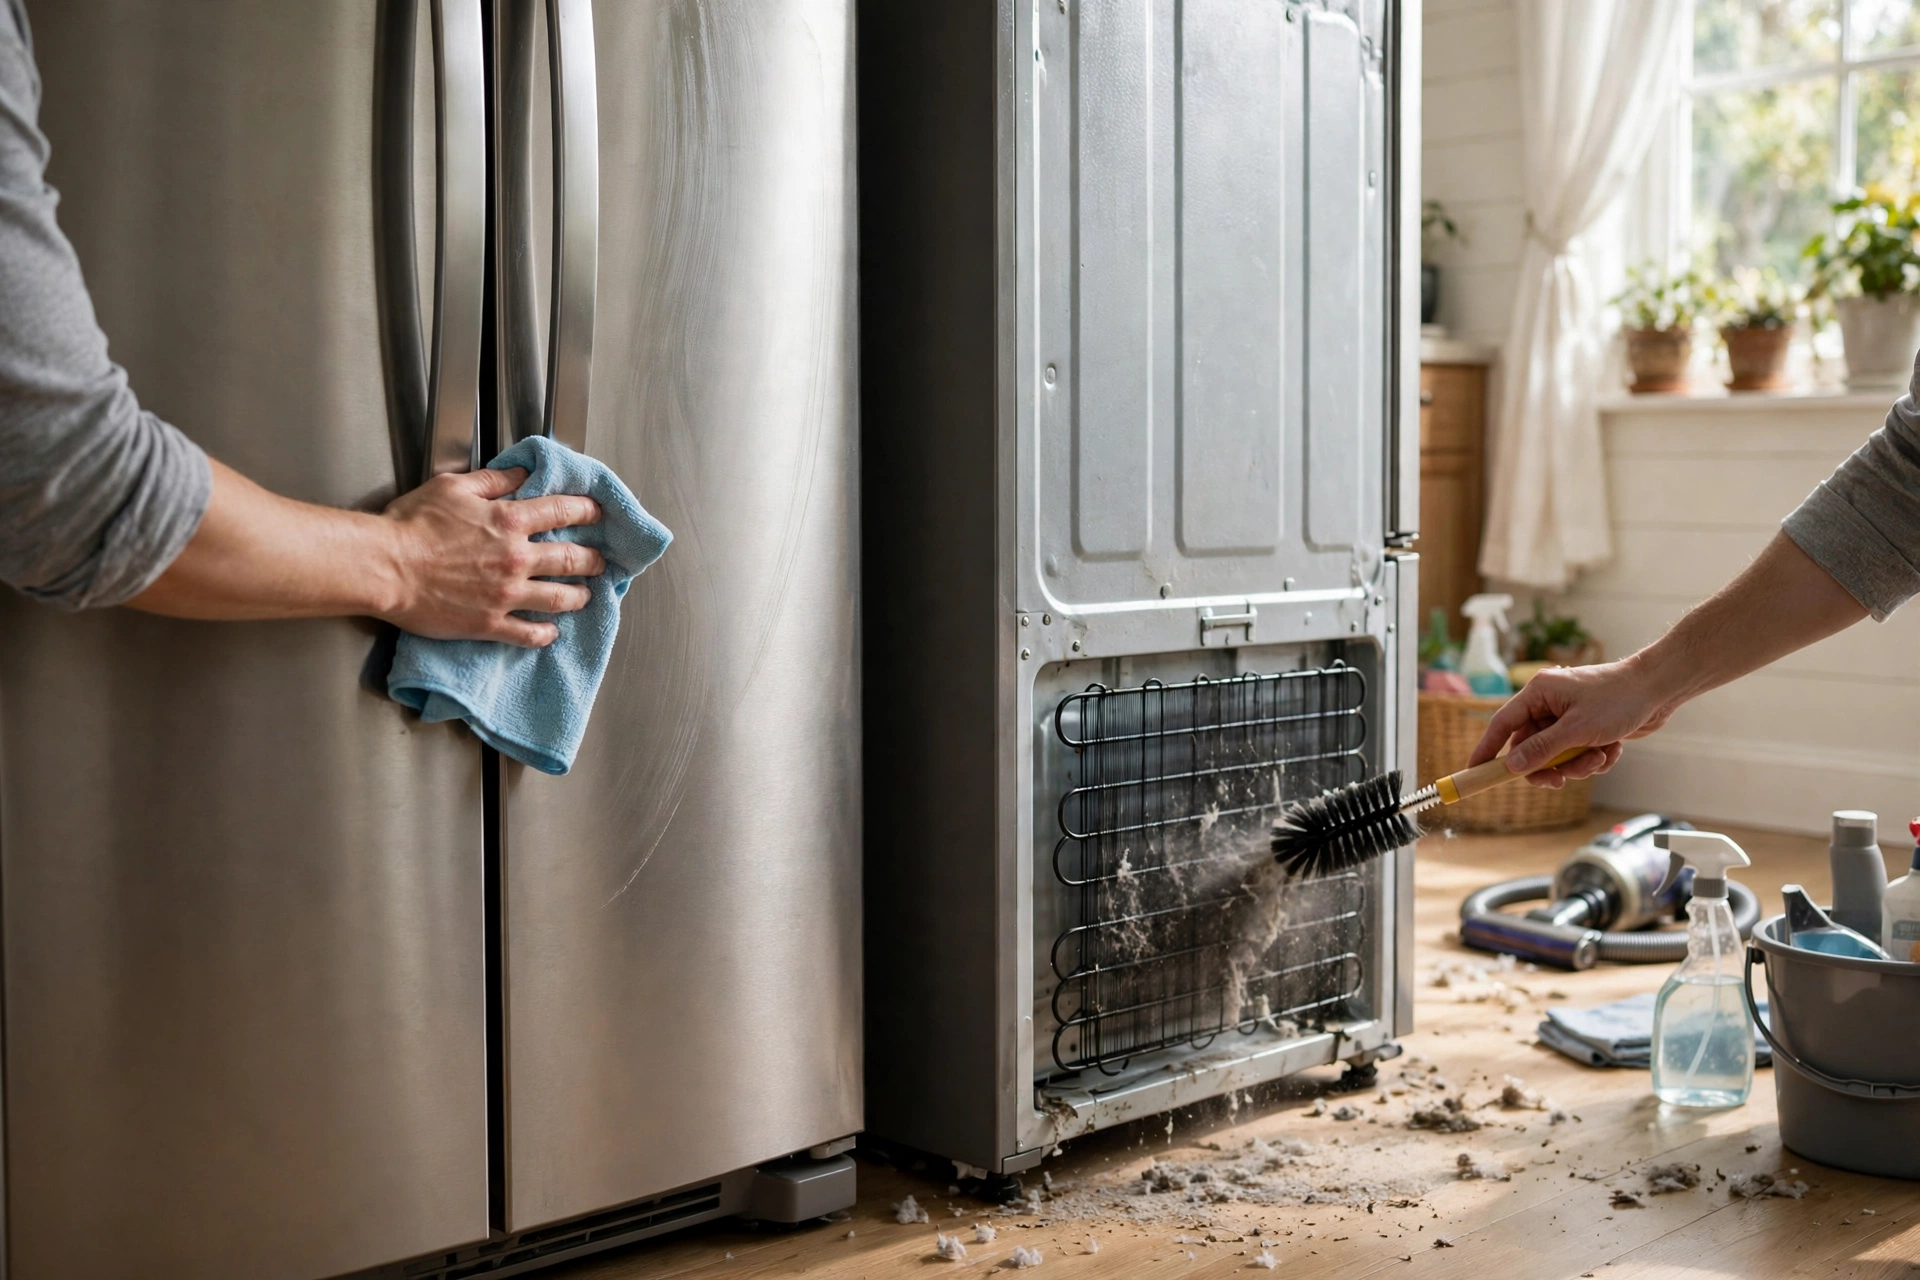
If your fridge has accessible coils at the back or underneath, check the manual before touching them, and switch the fridge off if the manual advises it. Dust on coils can affect efficiency, but coils can be sharp and delicate, so follow the maker’s instructions or seek advice rather than forcing a clean. Keep the area around the fridge clear so air can circulate.
Remove Odours Without Masking Them
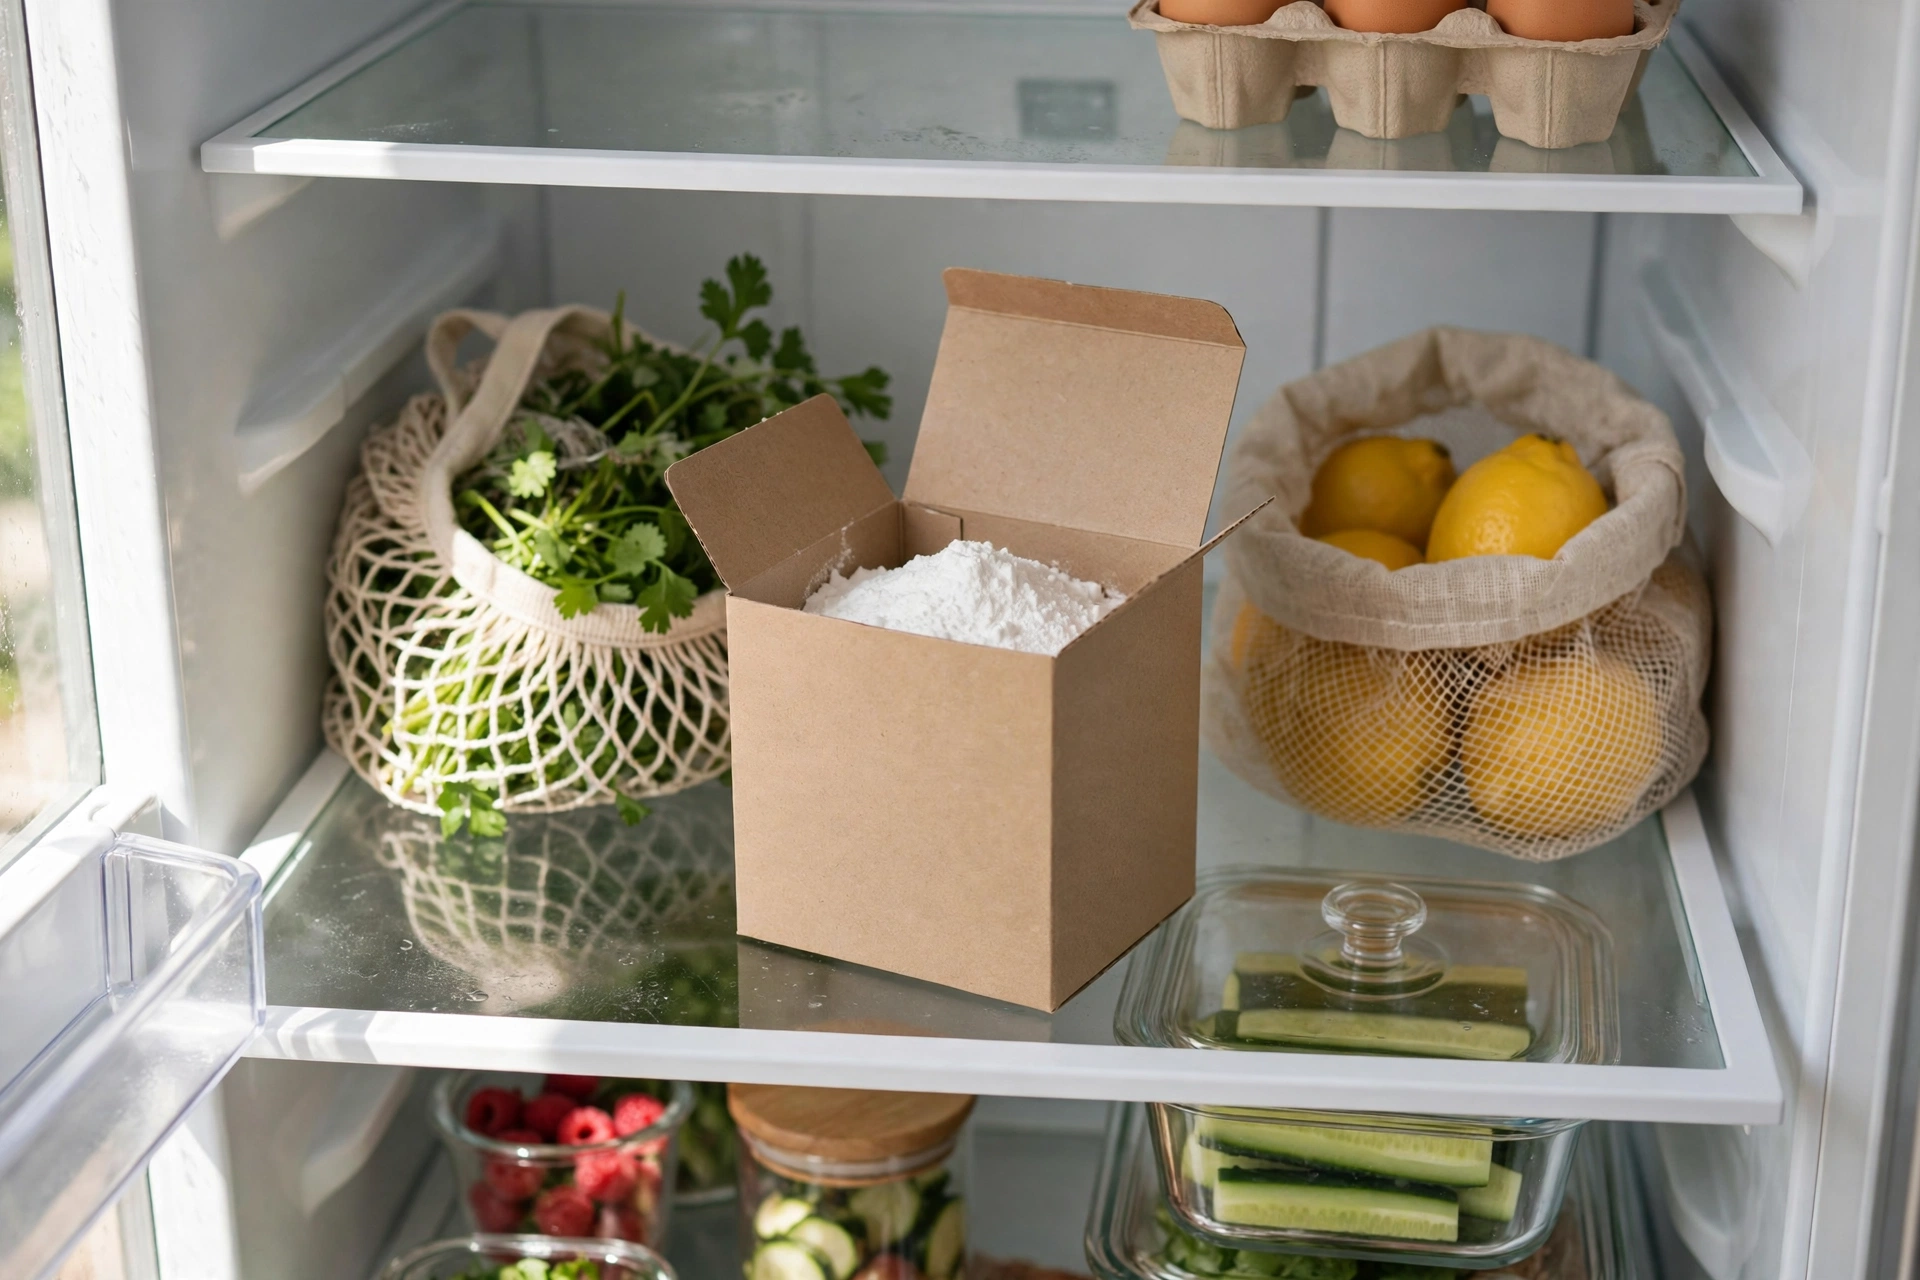
To remove refrigerator odours, clean the source first, then place an open box of baking soda inside if the maker allows it, and ventilate the fridge briefly before restocking. Odours usually come from spoiled food, spills, or a dirty drain, not from the fridge itself, so masking them with fragrance does not solve the problem.
Start by discarding spoiled items and wiping spills, including under drawers and in the seal folds, where smells hide. Wash shelves and drawers well, because a clean-looking shelf can still smell if a spill dried underneath it. Dry everything before restocking, because dampness can make smells worse.
Baking soda can absorb light odours over time, but it is not a substitute for cleaning. If a smell persists after a thorough clean, check the drain area and the freezer, and consider whether a spill has reached a hidden part. A persistent, strong smell, or visible mould that keeps returning, may need professional advice.
Restock in an Order That Stays Clean
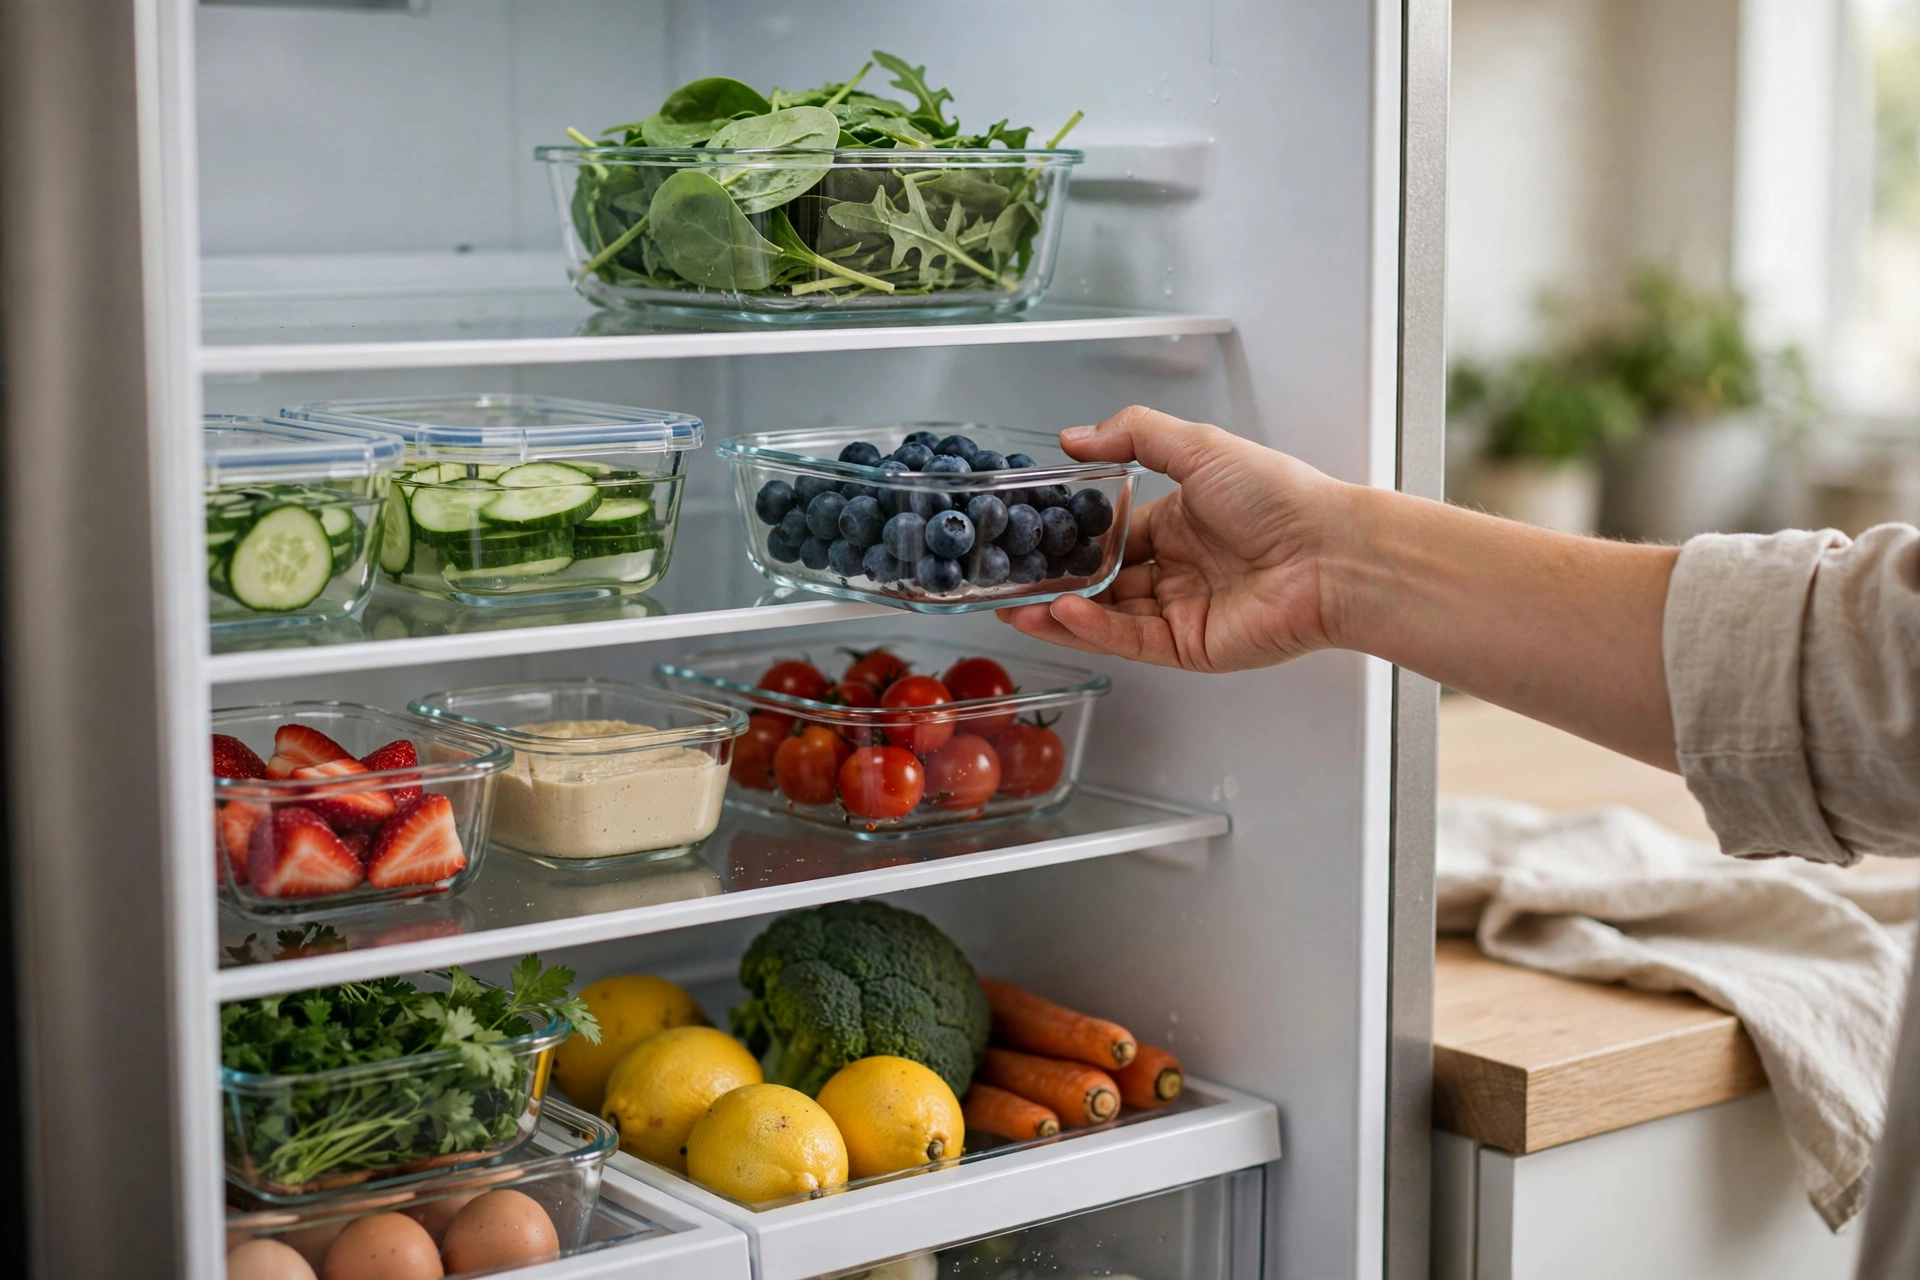
To restock a cleaned refrigerator, group similar foods together, place the oldest items at the front, label leftovers with dates, and leave a little space for air to circulate. A good restock order keeps food visible, reduces waste, and makes the next clean much easier.
Place dairy and ready-to-eat foods where the maker suggests, keep raw meat separate and low, following food safety practice, and put condiments and jars in the door where they are easy to reach. Use clear containers for leftovers, label them with the date, and place them where you will see them before they spoil.
Avoid overfilling the fridge, because blocked air vents affect temperature and make cleaning harder. Leave a small gap between items, and keep a short list of what is inside on the door or in a phone note, if that helps your household. A restocked fridge that is organised stays clean longer than one that is simply full.
Keep a Fridge Clean With a Weekly Check
To keep a refrigerator clean after a deep clean, do a weekly check: scan for spoiled food, wipe a spill at once, check the door seal, and take a minute to tidy one shelf. Small, regular checks prevent the buildup that makes a full clean feel like a large job.
Link the weekly check to an existing habit, such as shopping day or the day before rubbish collection. Wipe the handles weekly, because they are touched often, and check the top shelf, where leftovers hide. Once a month, pick one deeper task, such as a drawer, the freezer, or the exterior, so the work stays spread out.
Keep cleaning supplies nearby, such as a cloth and a small bottle of warm soapy water, so a spill can be wiped at once. Replace baking soda boxes as directed, and keep food in sealed containers, so spills are contained. A fridge that is checked weekly rarely needs a long, unpleasant clean.
Clean the Ice Maker and Water Dispenser
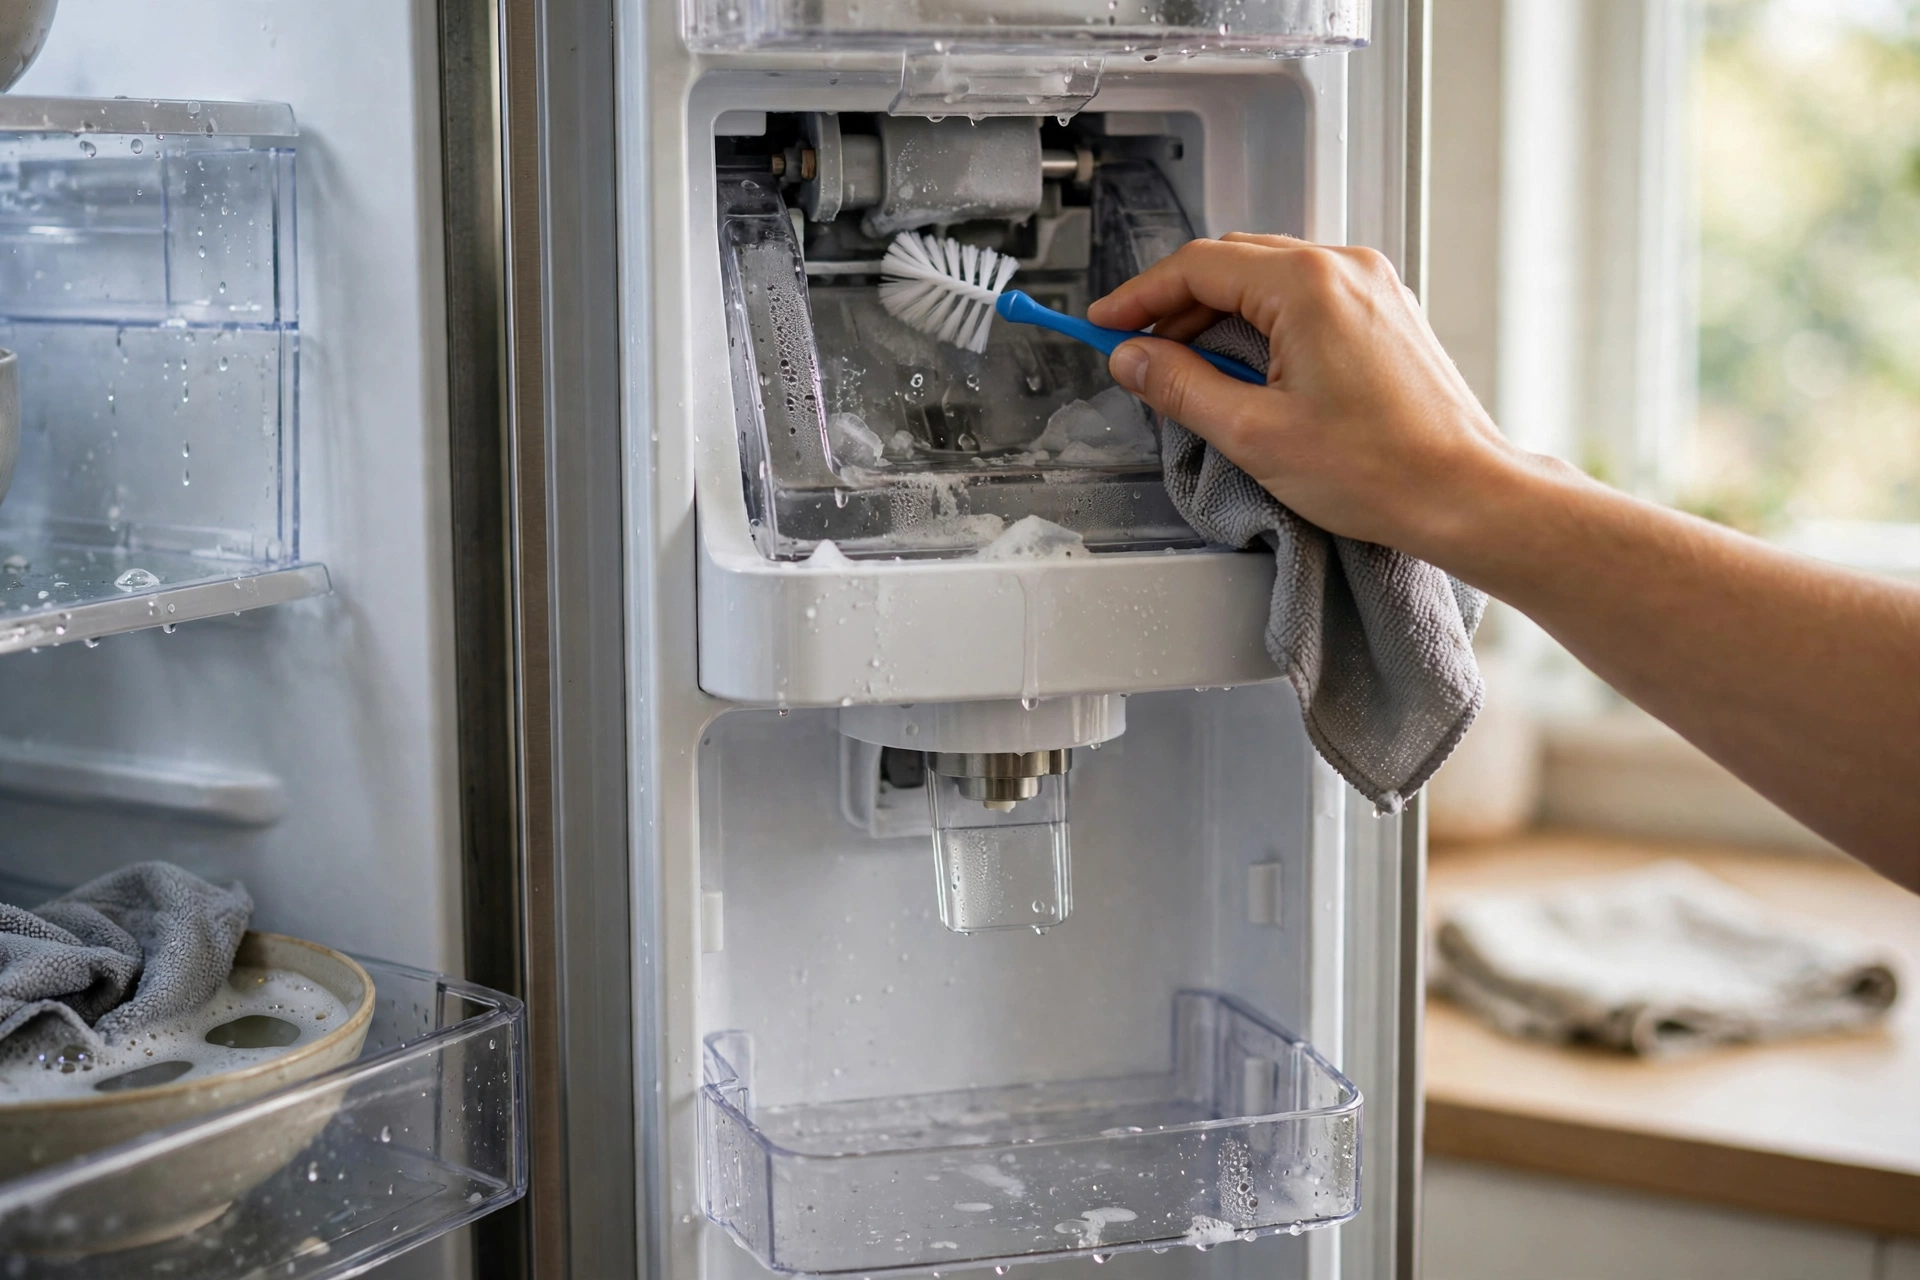
To clean a refrigerator ice maker and water dispenser, follow the maker instructions exactly, wipe the dispenser area with warm soapy water, and discard old ice if it smells stale. Dispensers collect drips, fingerprints, and mineral marks, and ice can absorb smells from nearby food if it sits too long.
Wipe the dispenser nozzle, tray, and surrounding area with a damp cloth, rinse, and dry well, so water does not pool and leave spots. Empty and wash the ice bin if the maker allows it, and discard ice that has been stored for a long time. If your model has a water filter, check the maker guidance for when to replace it, rather than guessing. A clean dispenser keeps water tasting fresh and prevents drips from staining the door.
Label and Date Leftovers Clearly
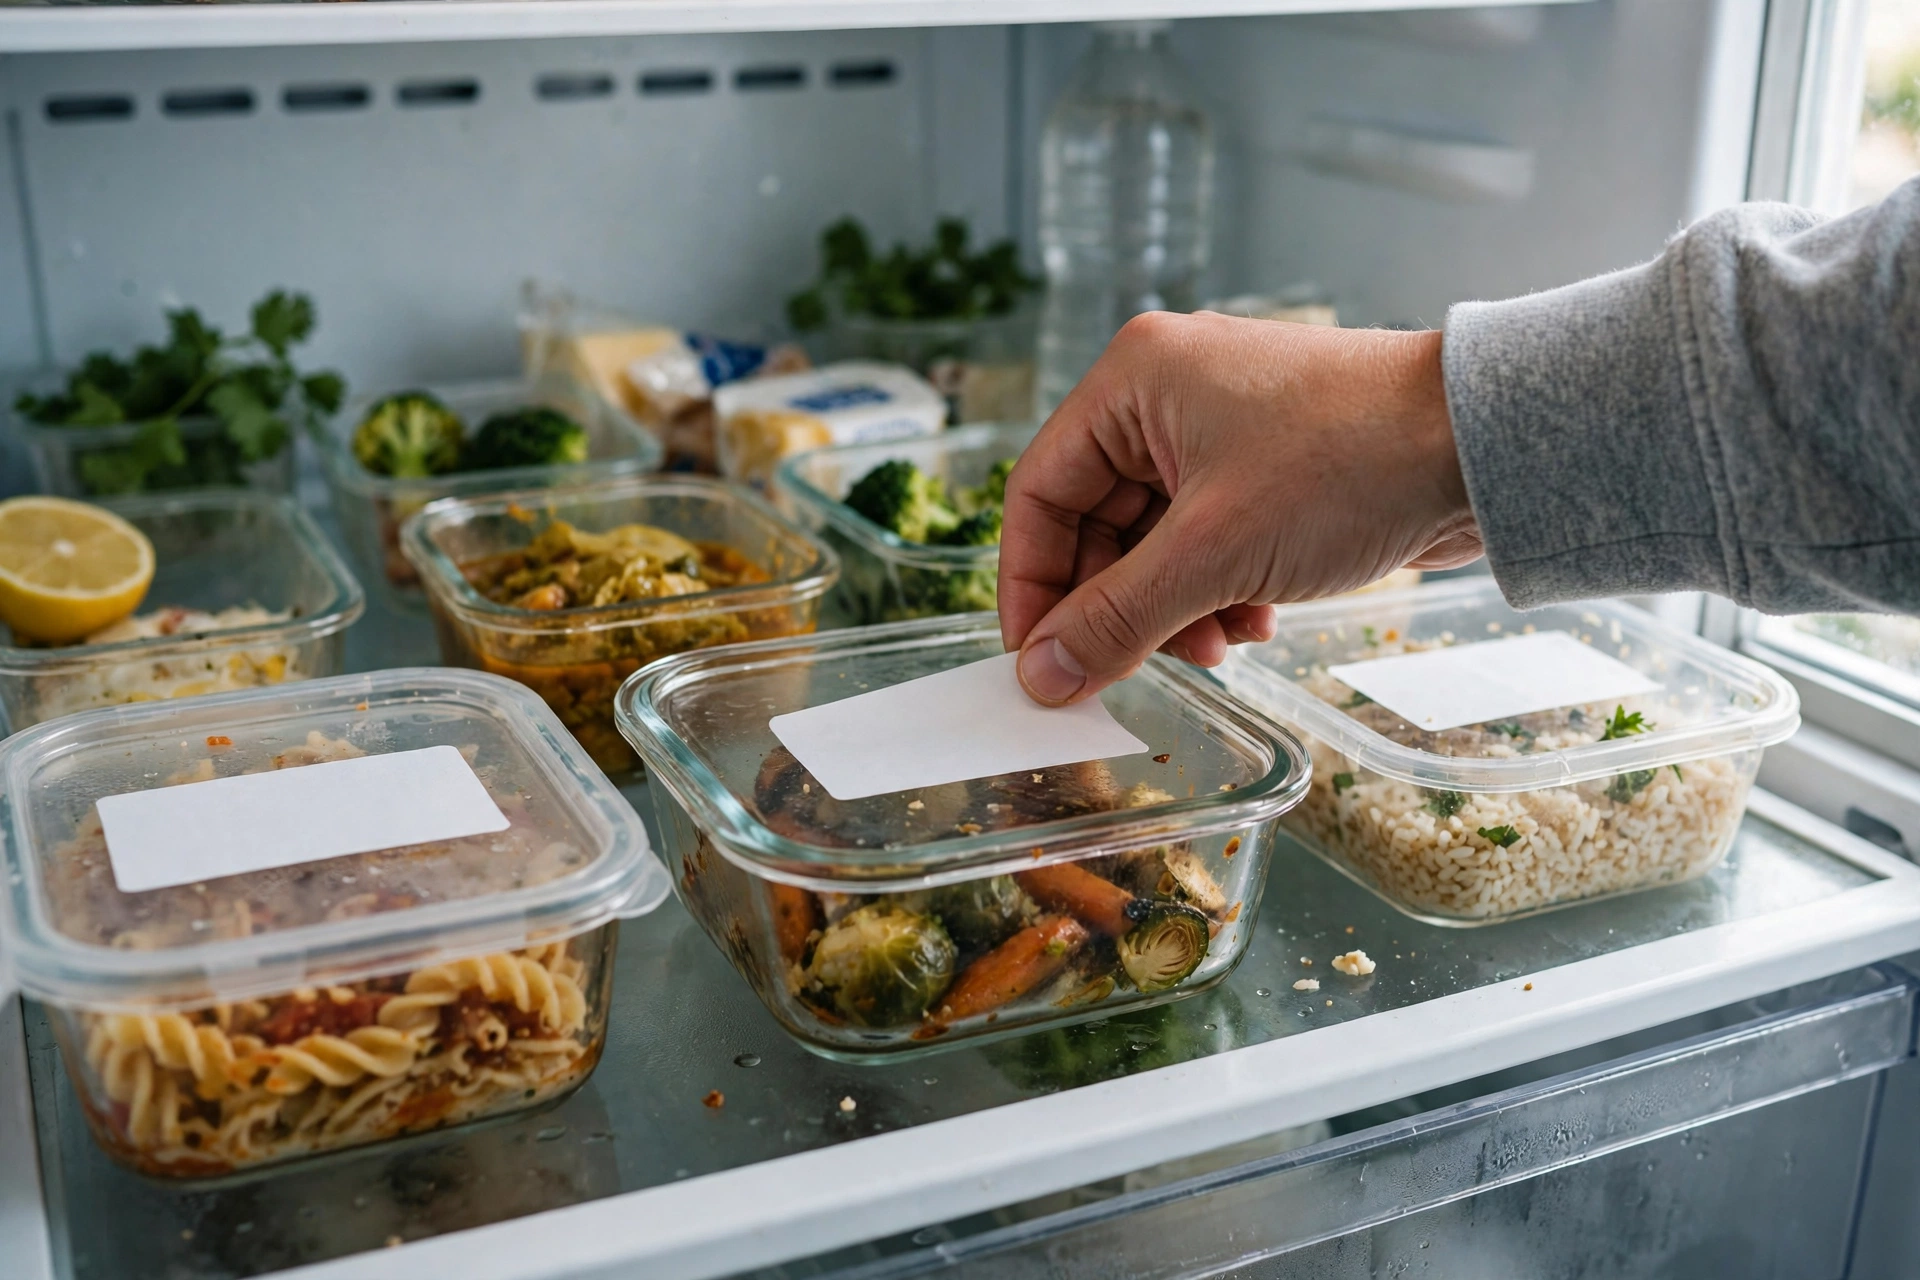
To label leftovers clearly, write the food name and date on the container with a label or marker, place it where you will see it, and use it before older items. Clear labels prevent forgotten food, which is a common cause of fridge smells and waste.
Use small, reusable labels or masking tape, and write in large, readable letters, so anyone in the household can read them. Place newly labelled leftovers behind older ones, so the oldest food is used first, and check labels during the weekly fridge check. If a label is missing or unclear, treat the item with caution and discard it if you are unsure about its age.
Keep a simple rule for leftovers, such as using them within a few days, following household food safety practice, and note the rule on the fridge if it helps. Clear labels turn a clean fridge into a fridge that stays clean, because food is used before it spoils.
Conclusion
How to clean a refrigerator safely is really about order and food safety: empty one section at a time, wash shelves and drawers, wipe walls and seals, clean the freezer as the maker directs, and restock with the oldest items first. With a short weekly check, the fridge stays fresh, organised, and pleasant to open.
FAQs
How often should I clean my refrigerator?
Most home refrigerators benefit from a full clean every three to four months, with a weekly check for spoiled food and spills. Busy households or homes with frequent spills may need the full clean more often.
Can I use baking soda in my refrigerator?
Yes, a small amount of baking soda in warm water is a gentle cleaner for interior walls and shelves, and an open box can absorb light odours. Rinse well afterwards so no residue remains near food.
How do I remove a bad smell from my fridge?
Discard spoiled food, wash shelves and drawers, wipe seals and the drain area, and dry everything before restocking. If a smell persists after a thorough clean, check hidden spills or seek professional advice.
Should I switch my fridge off to clean it?
Usually not for a normal clean, if you work section by section and keep food cool. Follow your fridge manual, and switch it off only if the maker advises it, such as for manual defrosting.
How do I clean fridge door seals?
Wipe seals gently with warm soapy water, clean the folds with a soft cloth or toothbrush, rinse, and dry well. Do not pull or stretch the seal, and check for gaps if cold air seems to escape.
Disclaimer: This article is for general information only and does not provide professional appliance repair, food safety, or medical advice. Always follow your refrigerator manual and product labels, keep perishable food cool, discard food you are unsure about, keep cleaning products away from food, children, and pets, and seek qualified help for gas, electrical, cooling, or damaged-seal problems. Clearise Cleaning Services does not offer guest posting, paid promotion, or advertising through this article.