
A basement can be one of the most useful rooms in a home, yet it is also the room most often left unfinished. Learning how to finish a basement is really about turning a cold, bare lower level into a comfortable space you actually want to spend time in, whether that means a family room, a home office, a guest room, or a play area for children. A basement sits partly or fully below ground level, so damp, low ceilings, limited light, and uneven temperatures shape what you can do and in what order. When you plan the use of the room first, deal with moisture before covering anything up, and work through insulation, framing, and finishes in the right order, you avoid the most expensive kind of rework: opening a finished wall to fix a hidden problem.
What Finishing a Basement Really Means
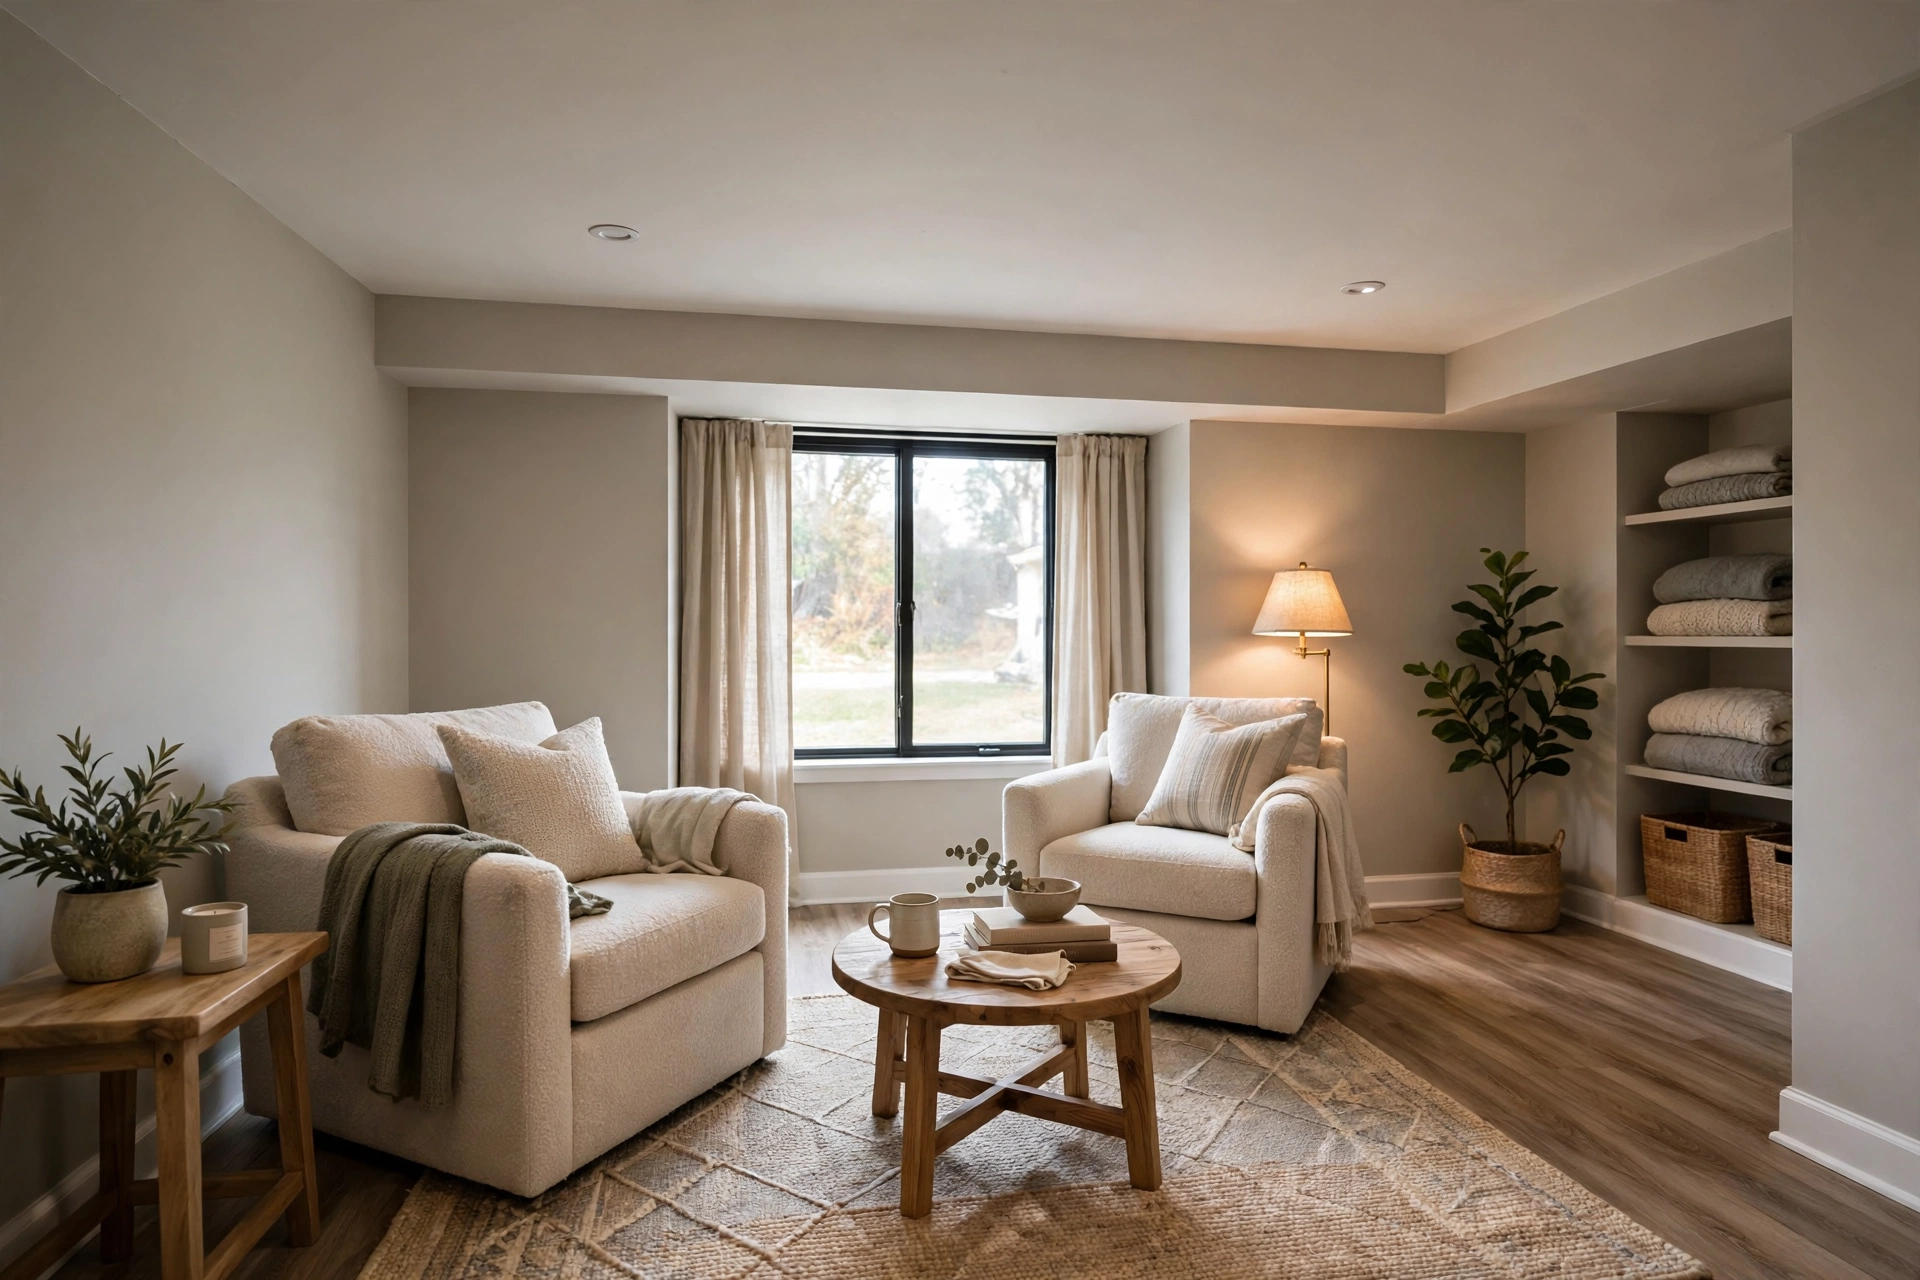
Finishing a basement means converting an unfinished lower level into a liveable room with insulated walls, a finished ceiling, proper flooring, lighting, and heating, so the space feels like a genuine part of the home rather than a storage area.
A finished basement is not simply a painted concrete room with a rug on the floor. It usually means the walls are insulated and covered, the ceiling hides pipes and wiring neatly while still allowing access to them, the floor is level and comfortable underfoot, and the room has enough light, warmth, and ventilation to be used all year round. Some homeowners finish only part of the basement, keeping a separate utility area, since furnaces, water heaters, and panels need clear access. Note ceiling height, support posts, stairways, windows, and overhead pipes before choosing finishes, since these fixed features shape the layout.
Start With the Way You Will Use the Room
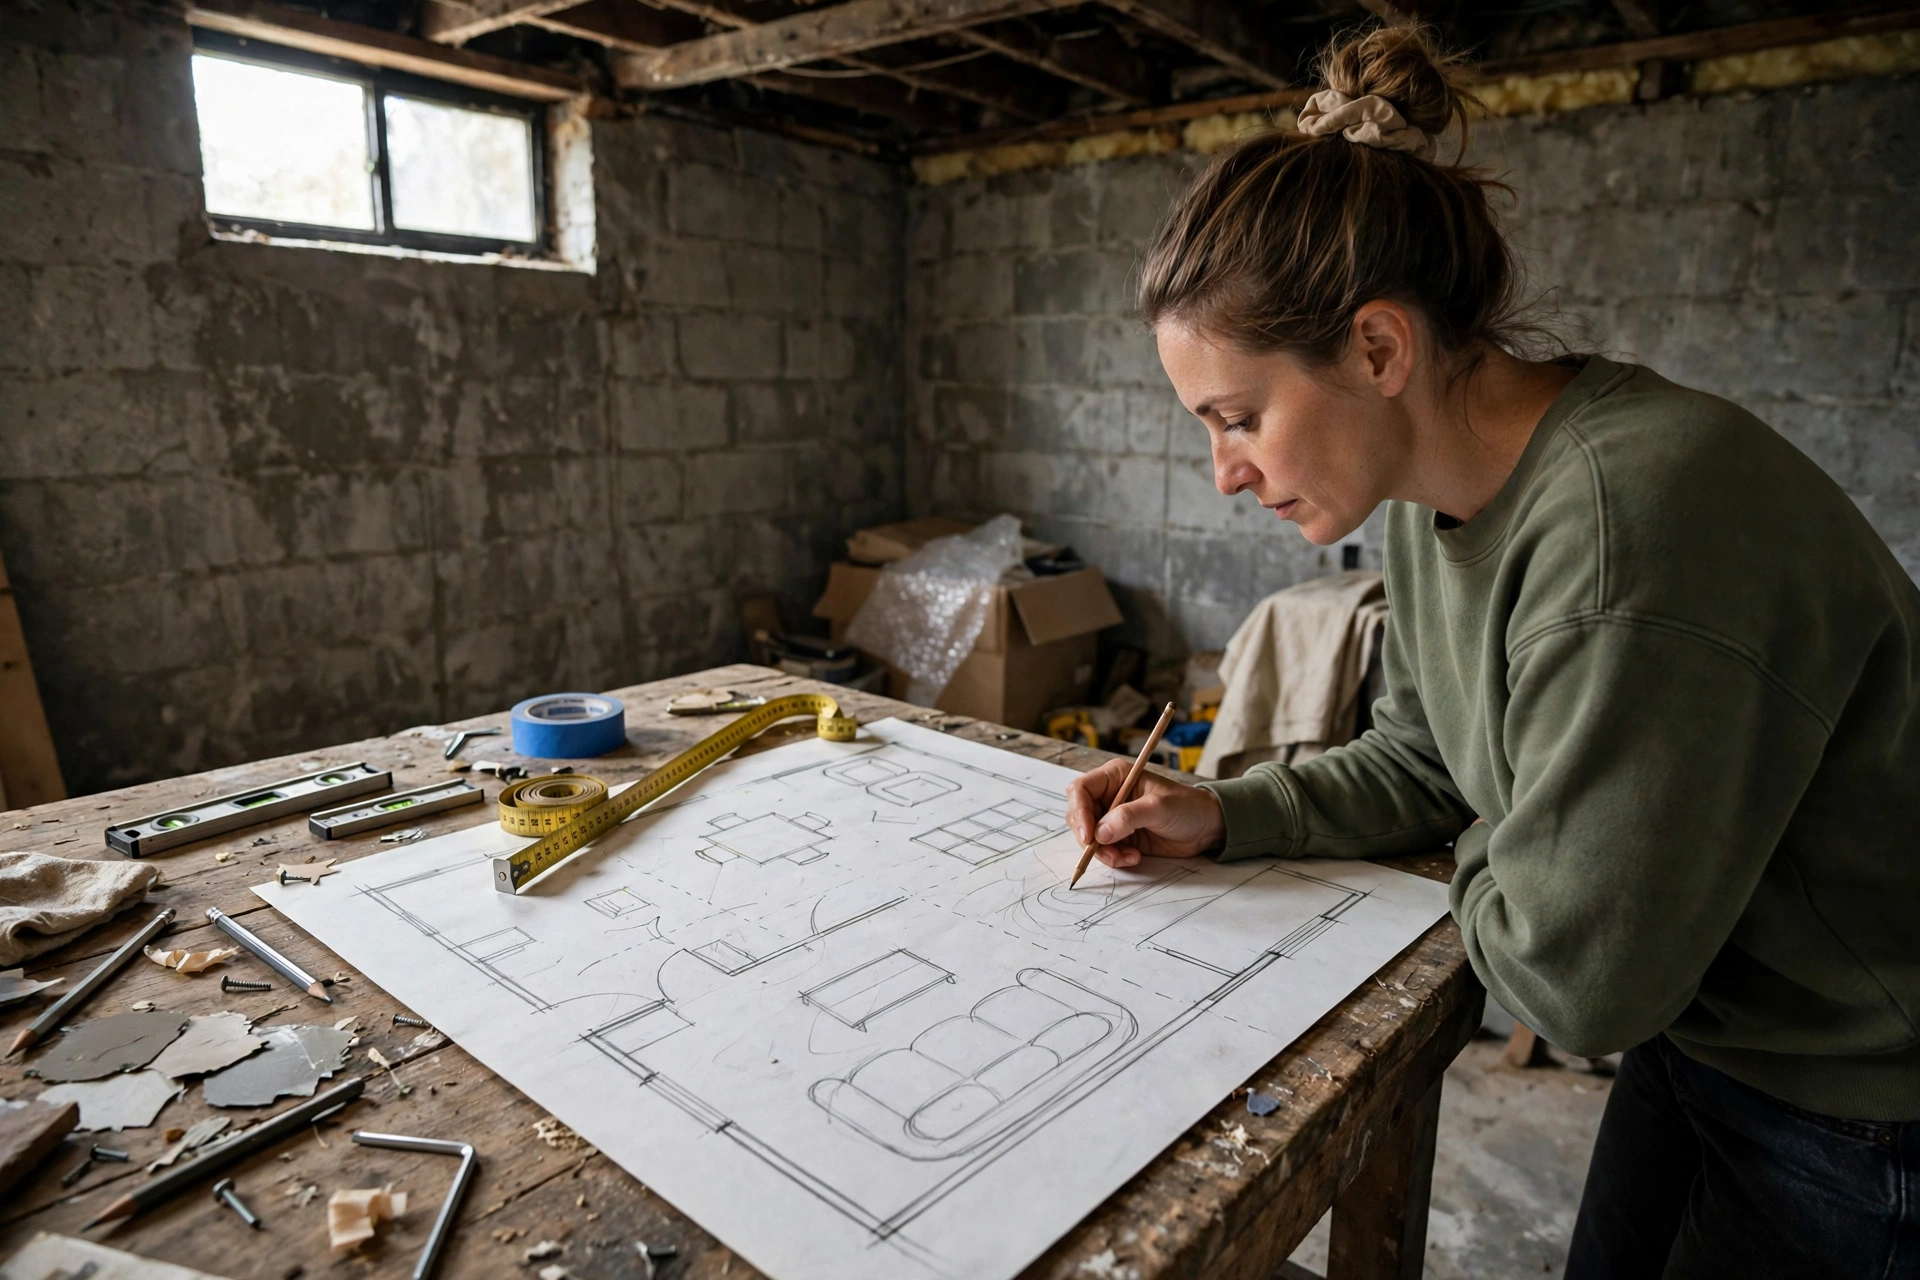
Decide how you will use the finished basement before you buy materials or draw a layout, because the room’s purpose decides its lighting, flooring, storage, and sound needs, and changing direction halfway through the project wastes both time and money.
A family room needs open floor space, comfortable seating, and good evening lighting. A home office needs quiet, reliable power for equipment, and a layout that keeps work separate from household traffic. A guest room needs privacy, a comfortable temperature, and a safe, easy way in and out. A playroom needs durable flooring, washable surfaces, and storage that children can reach. Each use also affects soundproofing, since noise travels easily between a basement and the rooms above it. Sketch the layout on paper first, even if it is rough. Mark where seating, desks, or beds will go and where storage should be, then check that plan against the real constraints: window positions, stair location, ceiling height, and pipes or ducts that cannot move. A flexible layout adapts better if your needs change in a few years.
Check Moisture and Damp Before Anything Else

Check for moisture and damp before any finishing work begins, because covering a damp wall with insulation and drywall hides the problem instead of solving it, and trapped moisture can damage finishes, encourage mould growth, and affect indoor air quality over time.
Basements are more likely to be damp than rooms above ground, because they sit against soil that holds water. Look for water stains on walls and floors, white chalky deposits on concrete, musty smells, peeling paint, or damp patches after heavy rain. Check corners, the joint where the wall meets the floor, and the areas around windows and pipes. If you find standing water, repeated leaks, or signs of mould, solve that first, with help from a qualified professional who can find the source. Common causes include poor drainage, gutters discharging too close to the house, and foundation cracks. Only when the basement stays dry through wet weather should you move on to insulation and framing.
Plan Insulation and Wall Framing in the Right Order
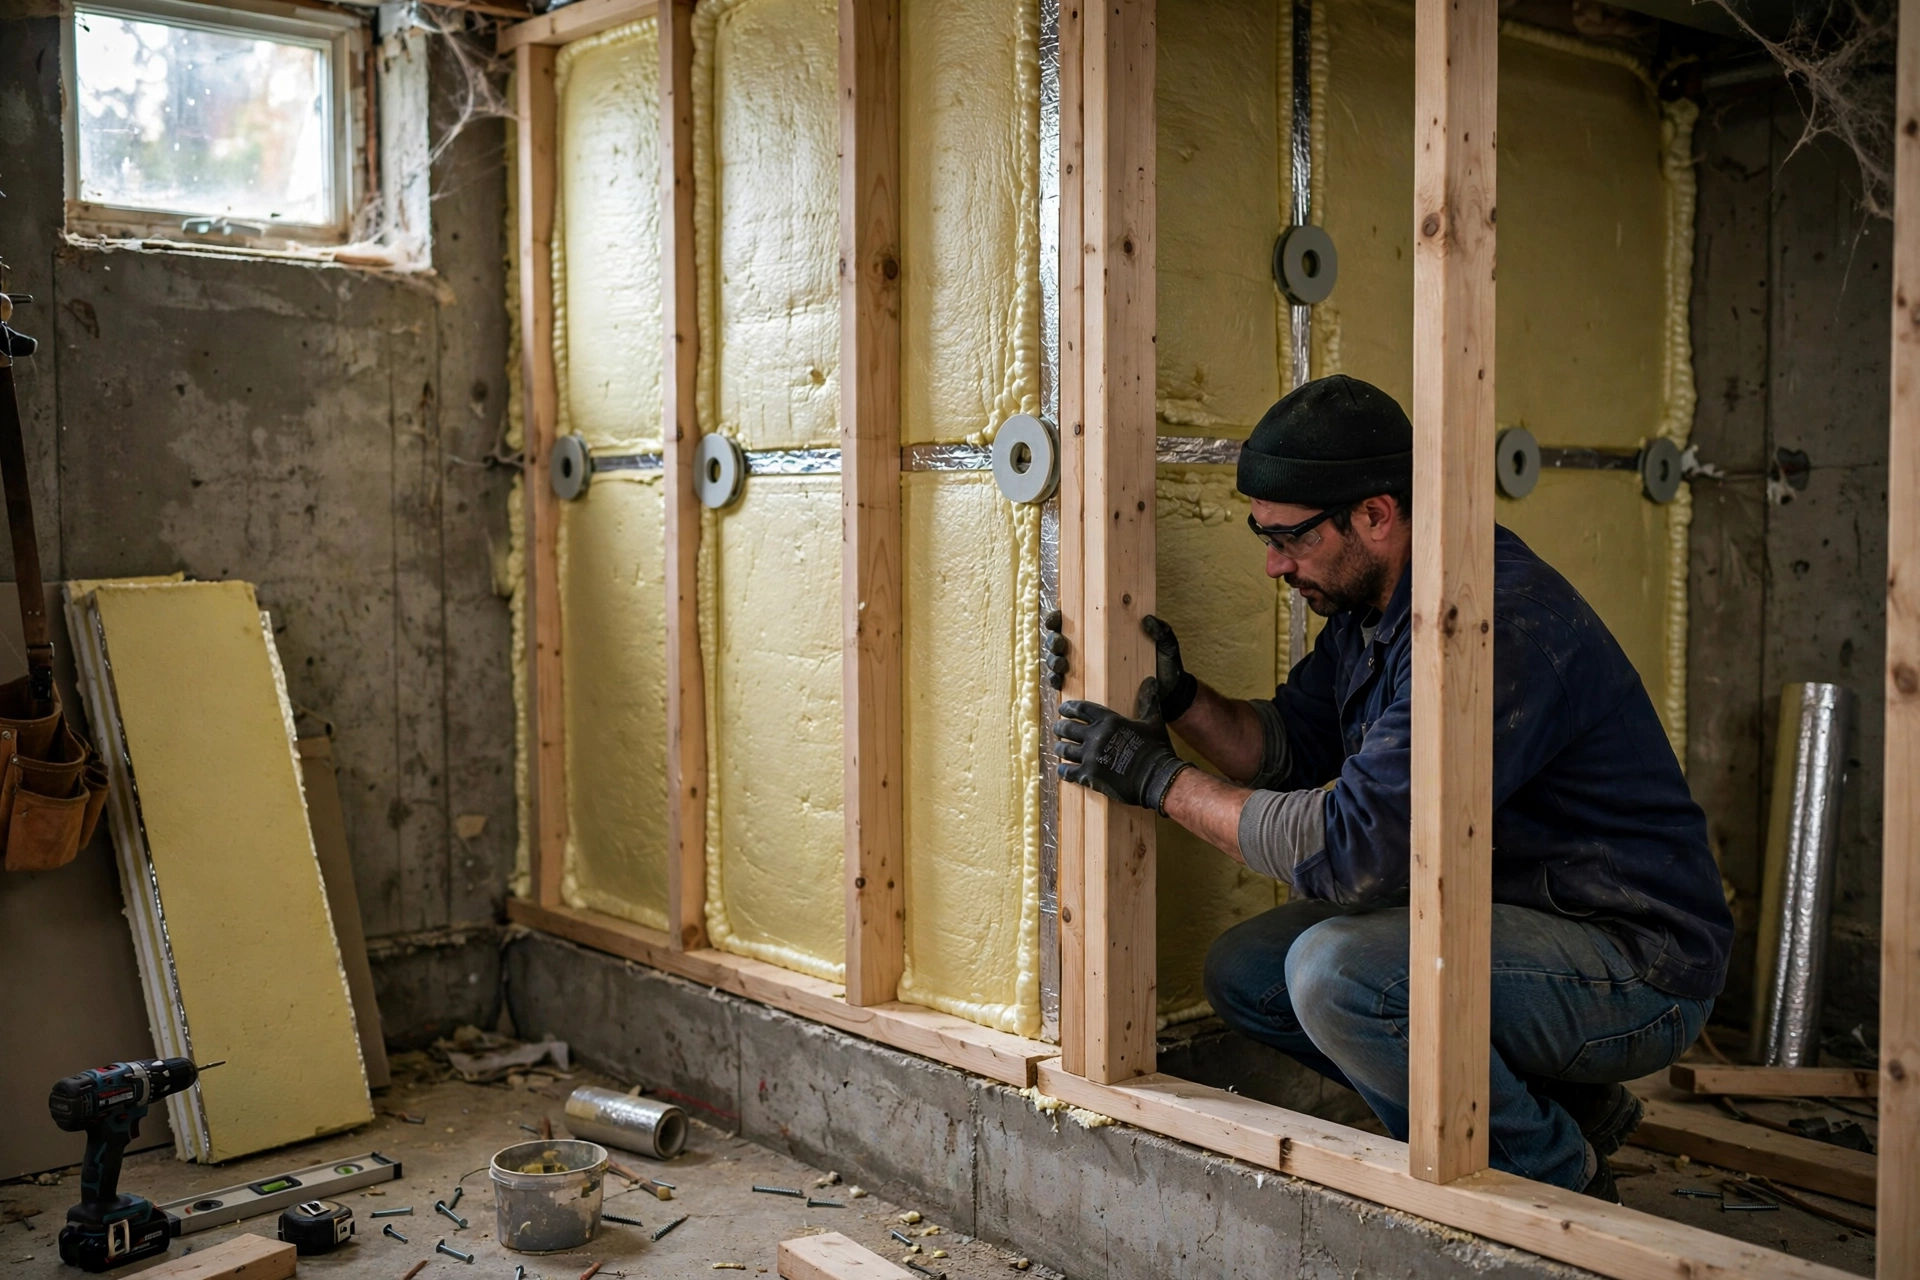
Insulate basement walls against moisture and cold before framing and drywall go up, and choose insulation and framing materials suited to below-ground conditions rather than simply copying an above-ground wall assembly, since concrete walls behave very differently from timber-framed walls upstairs.
Insulation in a basement does two jobs: it keeps the room warmer in winter and cooler in summer, and it helps control condensation on cold concrete surfaces. The right approach depends on climate, foundation type, and local rules, so get professional advice. A poorly detailed wall can trap moisture even when each material on its own seems suitable. Framing usually comes after the insulation strategy is settled. Timber or metal framing creates the straight surface that drywall will fix to and leaves room for wiring and outlets. Leave access where it matters: shut-off valves, cleanouts, and electrical panels should stay reachable, and removable panels are a practical answer where a fully open space is not possible. Frame around obstacles rather than burying them, and remember that every layer added overhead reduces headroom.
Choose Flooring That Suits a Basement
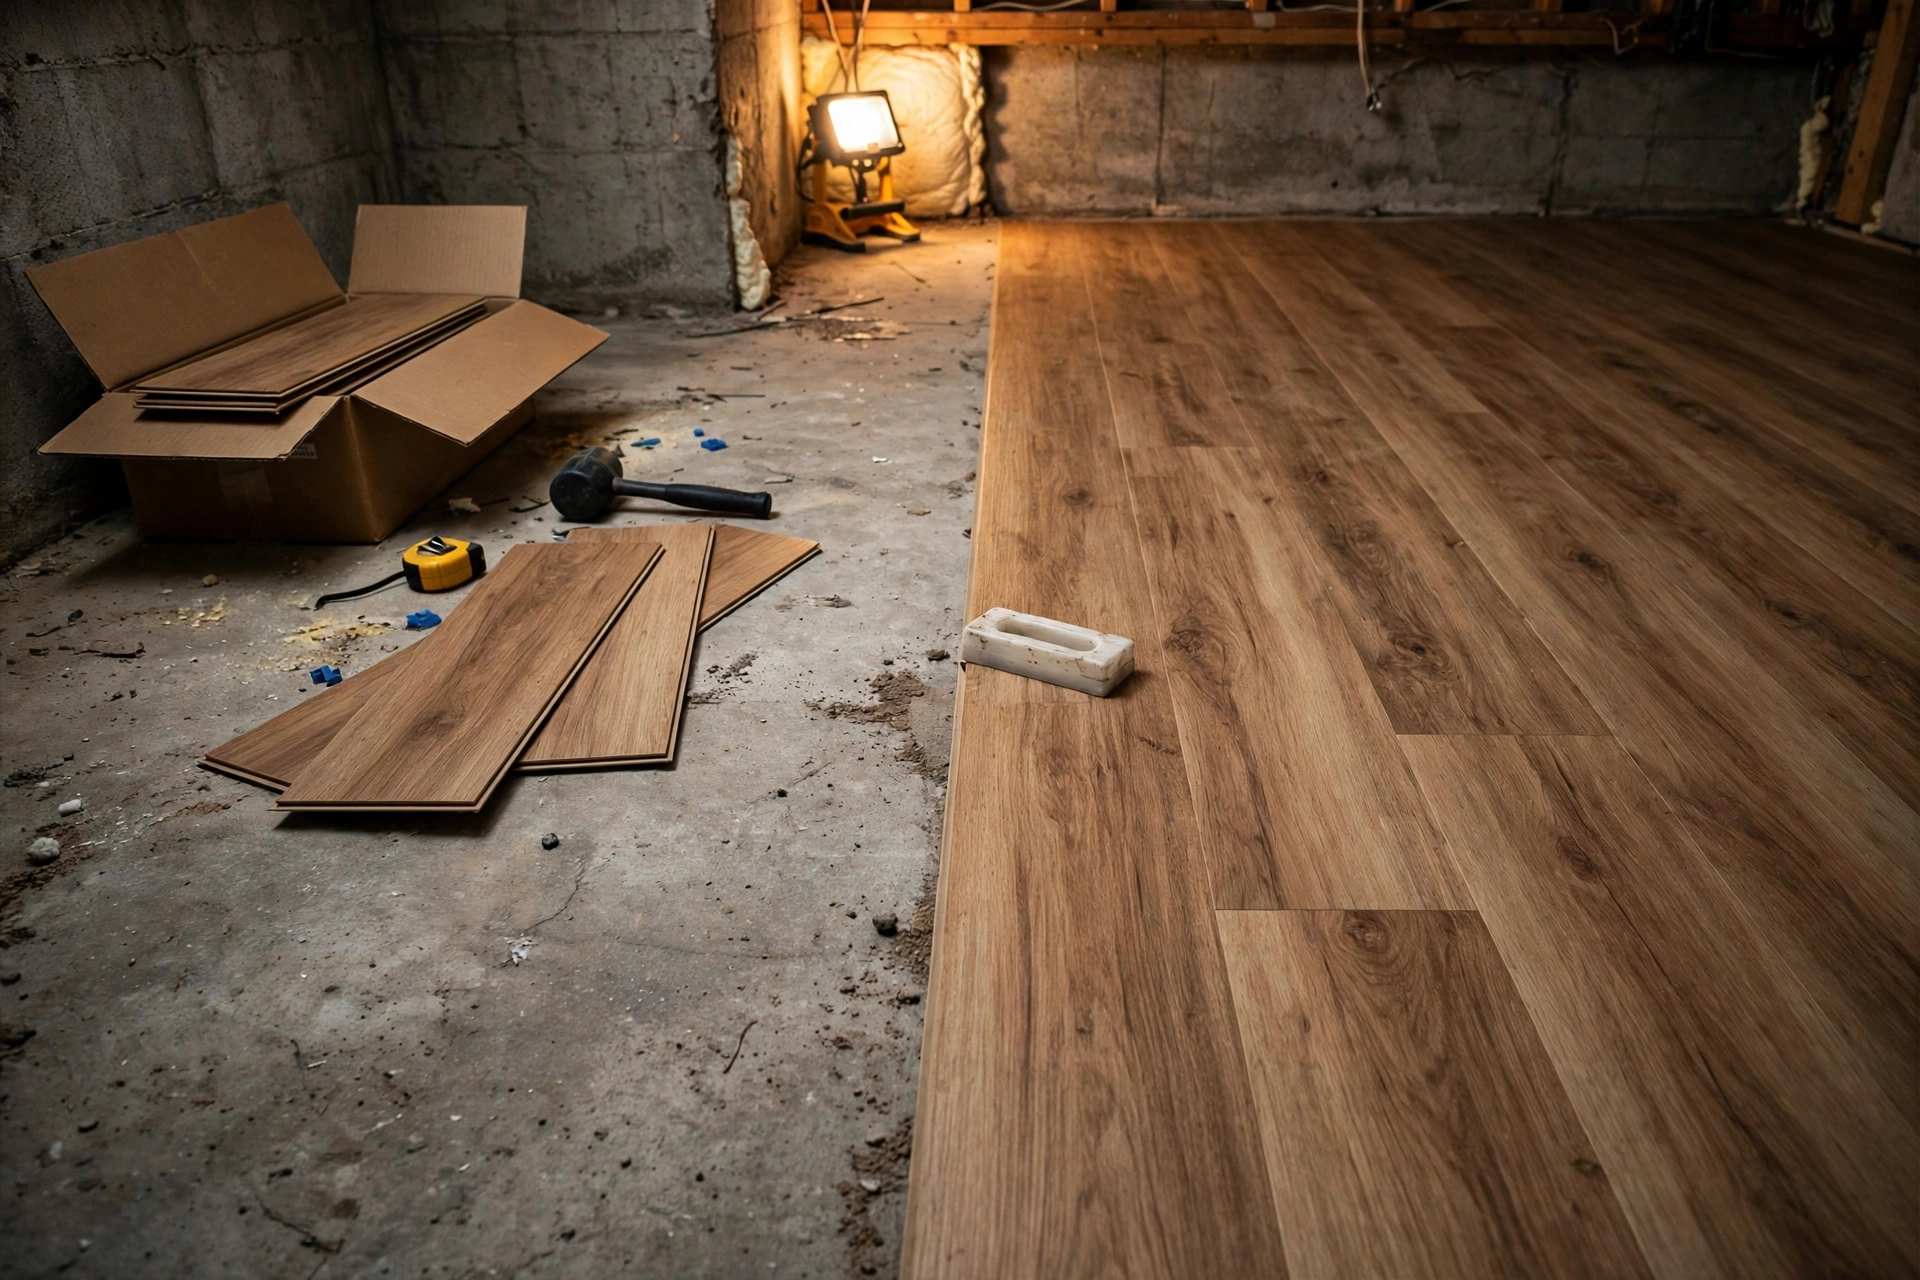
Choose basement flooring that can handle damp, temperature changes, and the hard concrete slab underneath, and keep comfort and maintenance in mind alongside appearance, because flooring that suits an upstairs room does not always suit below-ground conditions at all when the room sits below ground level.
The concrete slab is the starting point, and it can feel cold, carry moisture vapour, and may not be perfectly level. Many choose vinyl planks, tiles, or engineered products made for damp conditions, often over an underlayment or raised subfloor that adds warmth. Test the slab for dampness and level first, and keep drains accessible. Think about how the room will be used: a playroom or family room benefits from a softer, warmer surface, while a workshop or utility corner is better served by a hard, easy-to-clean floor. Whichever option you pick, follow the flooring maker’s guidance for basement use, because performance often depends on correct preparation of the slab beneath.
Plan Lighting, Outlets and Heating Comfort
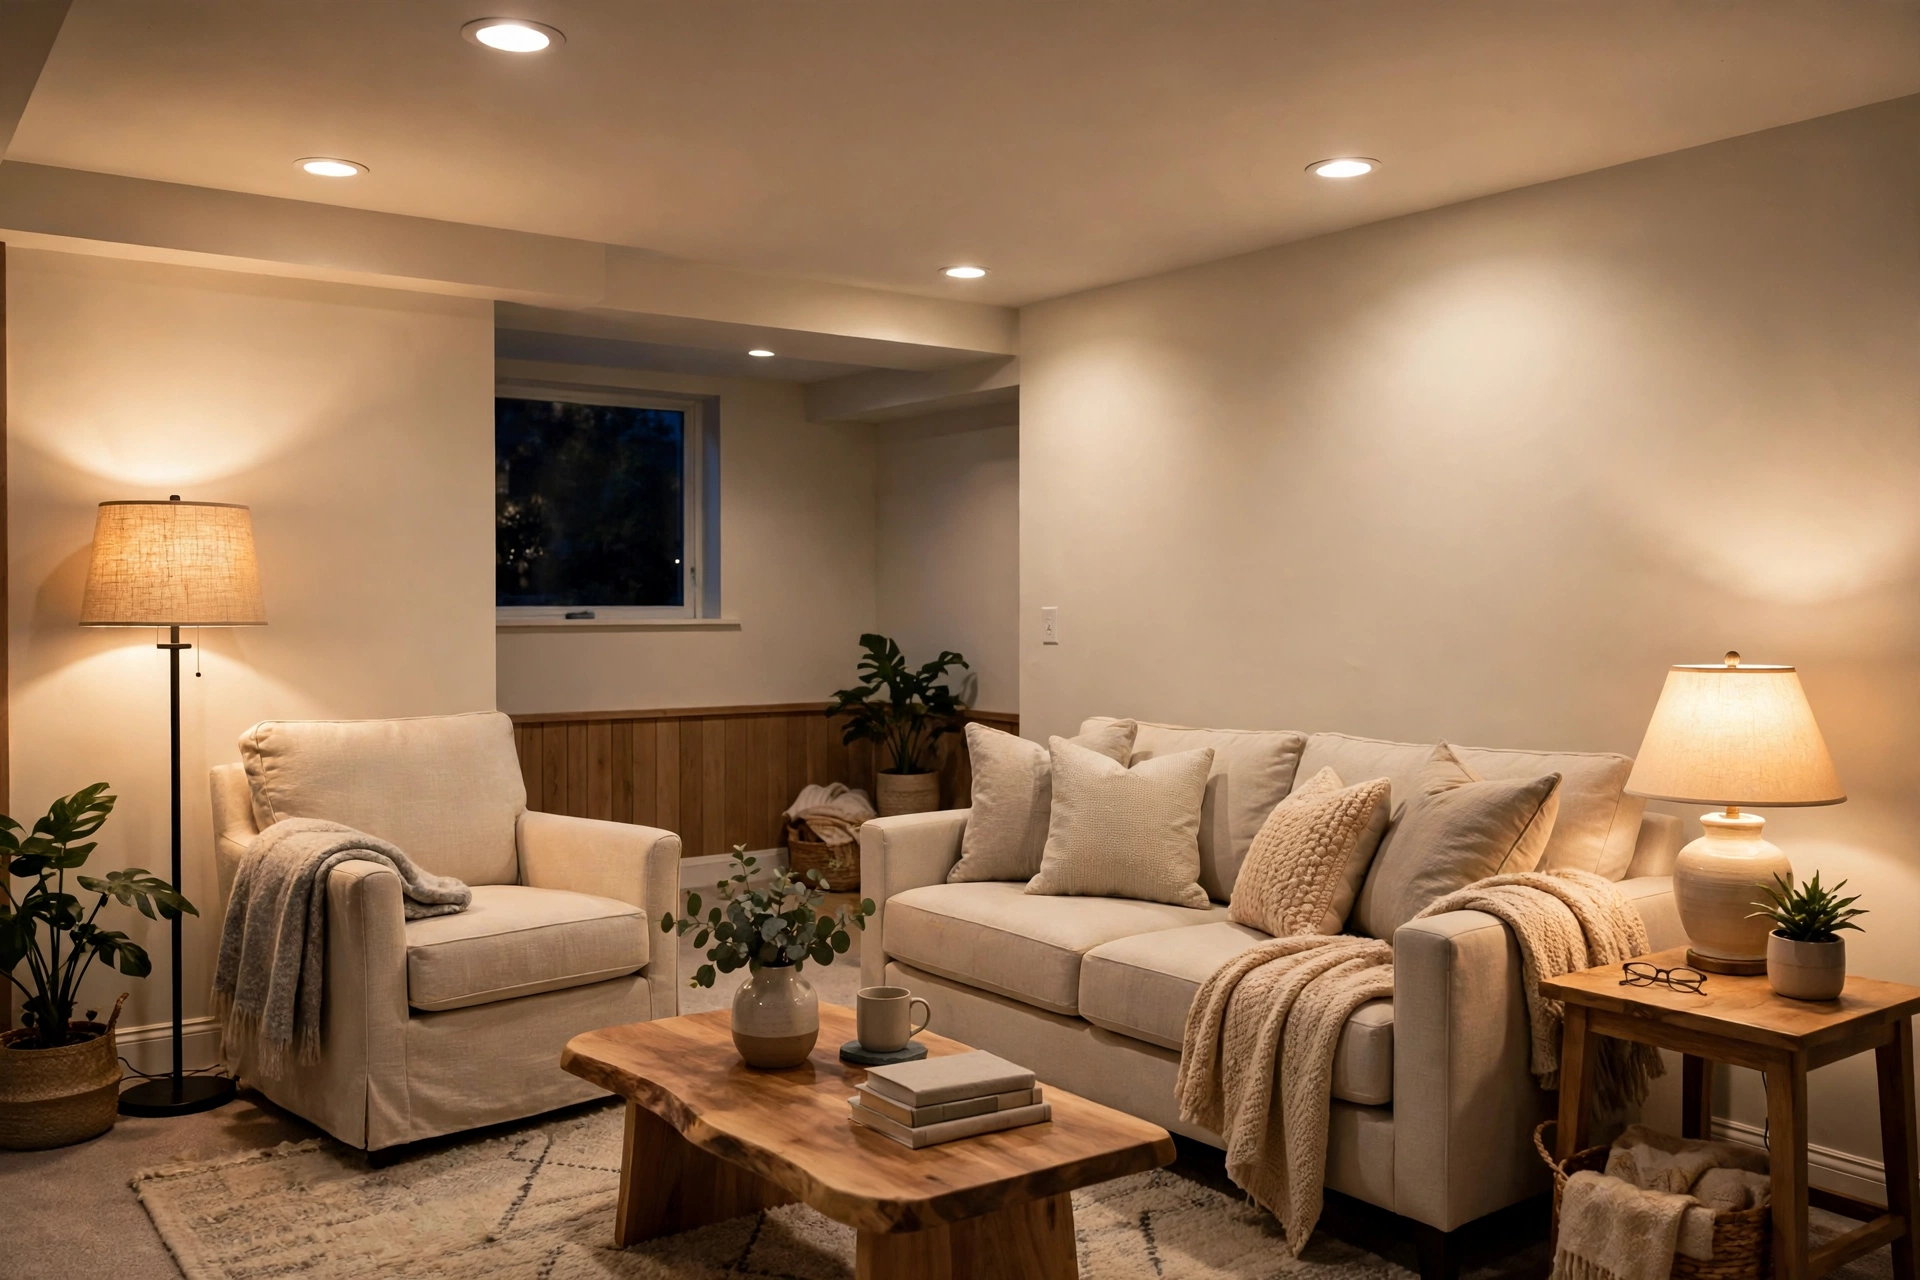
Plan basement lighting, power outlets, and heating early, because basements have little natural light and can feel cold, and adding circuits or ductwork after drywall is finished is disruptive, messy, and costly to put right for a basement that will be used every day.
Basement windows are often small and set high in the wall, so daylight alone rarely lights the room well. A layered approach works best: general ceiling lighting for the whole room, task lighting where people read or work, and softer lighting for relaxed evenings. Place light switches where they are easy to reach from the stairs and from each main seating or work area, so nobody has to cross a dark room. Plan outlets where furniture will actually sit, with enough capacity for televisions, computers, lamps, and chargers. Electrical work in a basement should be done or checked by a licensed electrician, both for safety and for compliance with local rules. Heating matters just as much: a basement that is cold in winter will not get used, however good it looks. Check whether the existing heating system can serve the new room comfortably, whether additional heating is needed, and how air will circulate so the room does not feel stuffy.
Keep Egress, Safety and Access in Mind
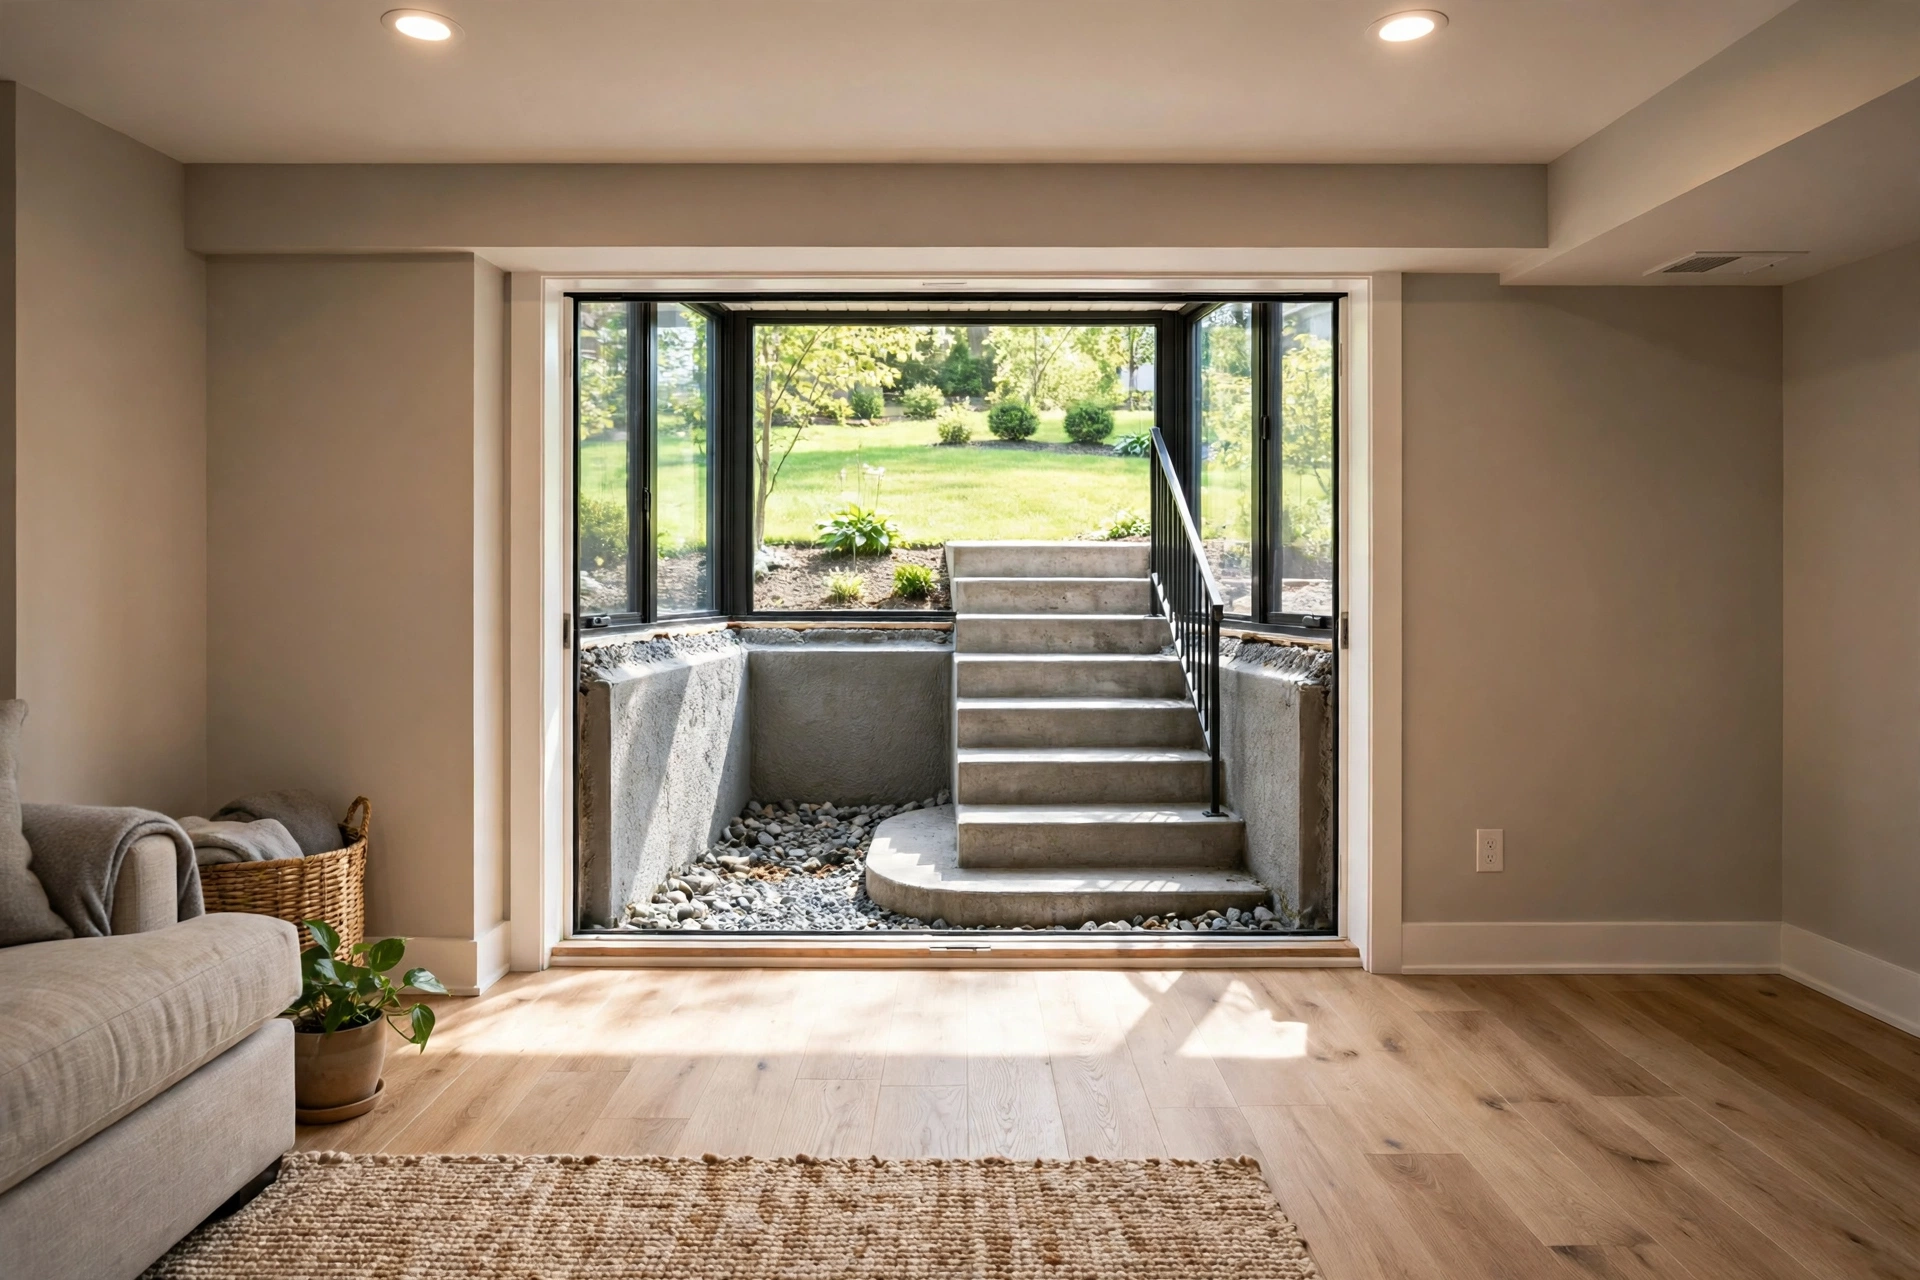
Keep egress, safety, and access in mind from the start, because a finished basement must offer a safe way out, working smoke and carbon monoxide alarms, and clear access to essential equipment, whatever the room will be used for and at every stage of the project.
Egress means a safe way to leave the room in an emergency, and it matters most if the basement will be used as a bedroom. Rules for egress windows, window wells, and escape routes vary by location, so check your local building rules and speak to a qualified professional before assuming a small basement window is enough. A clear, unobstructed stairway and a second way out, where one is available, are basic safety sense. Smoke alarms and carbon monoxide alarms should be installed as required locally and tested regularly, and the finished layout should never block access to the electrical panel, furnace, water heater, or main shut-off valves. Low ceilings, support posts, and stair headroom also deserve attention during planning. A layout that forces people to duck under a beam or squeeze past a post every day will feel awkward and can be a hazard in the dark. If the basement has a sump pump, drains, or other equipment that must keep working, plan the finished layout around them and keep them accessible rather than sealing them away behind a wall.
Work Through Permits and Professional Help
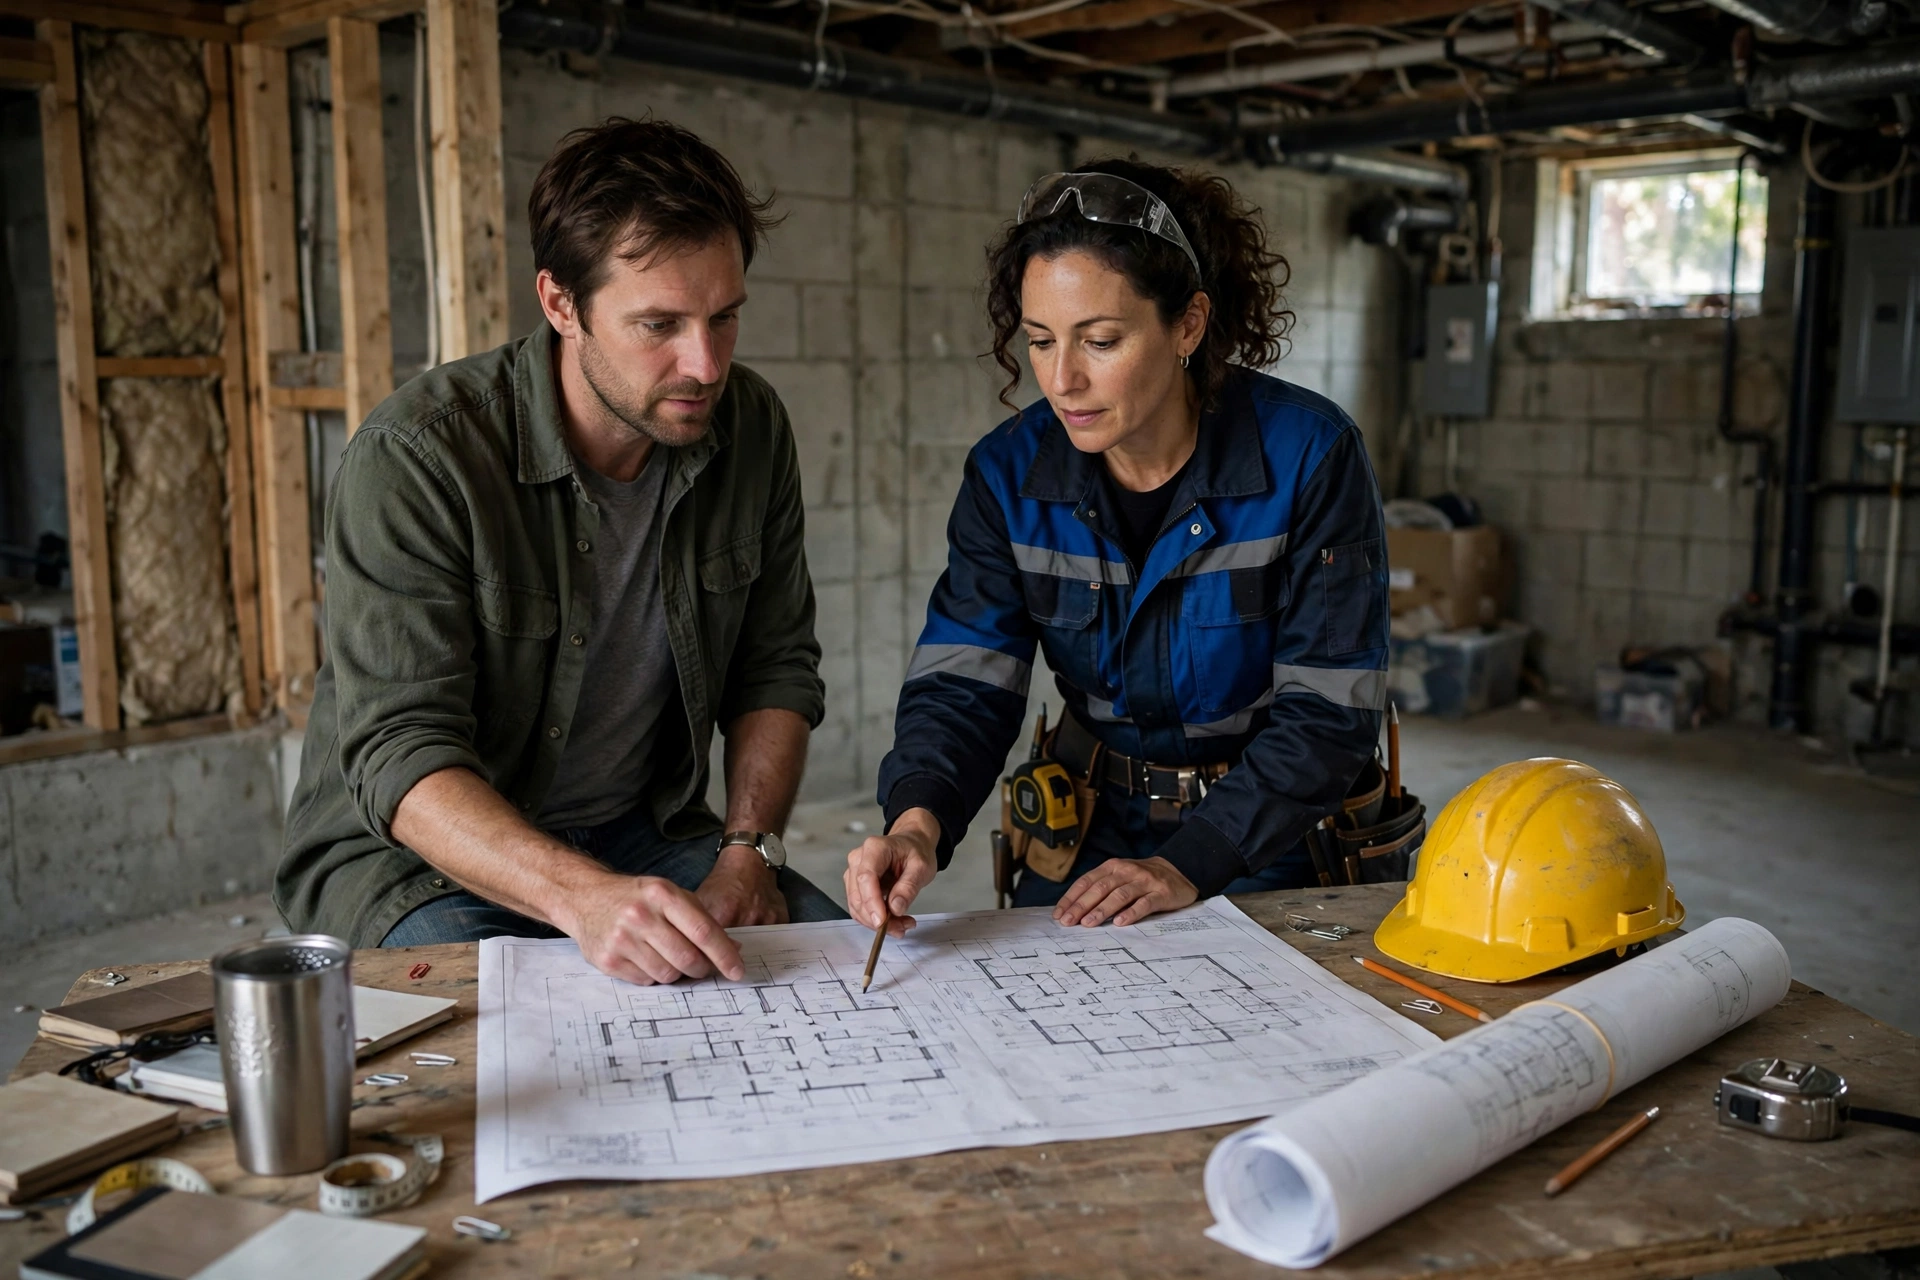
Check whether permits are needed and which parts of the job require licensed professionals before work starts, because basement finishing often involves electrical, plumbing, heating, and structural rules that vary by location and are easy to overlook at the planning stage.
Permit requirements differ from place to place, and they often depend on the scope of the work: adding walls, bedrooms, bathrooms, or electrical circuits is more likely to need approval than simple cosmetic changes. Licensed electricians should handle wiring and panel work, plumbers should handle any new bathroom or laundry plumbing, and structural questions, such as removing or moving a support post, always belong to a qualified professional. Many homeowners handle painting, trim, and some finishing work themselves, and that balance often gives the best result: professionals cover the safety-critical systems, while the homeowner controls the look and feel of the room. Get clear written quotes, agree on the order of work, and confirm who is responsible for inspections before anyone starts.
Follow a Sensible Order of Work
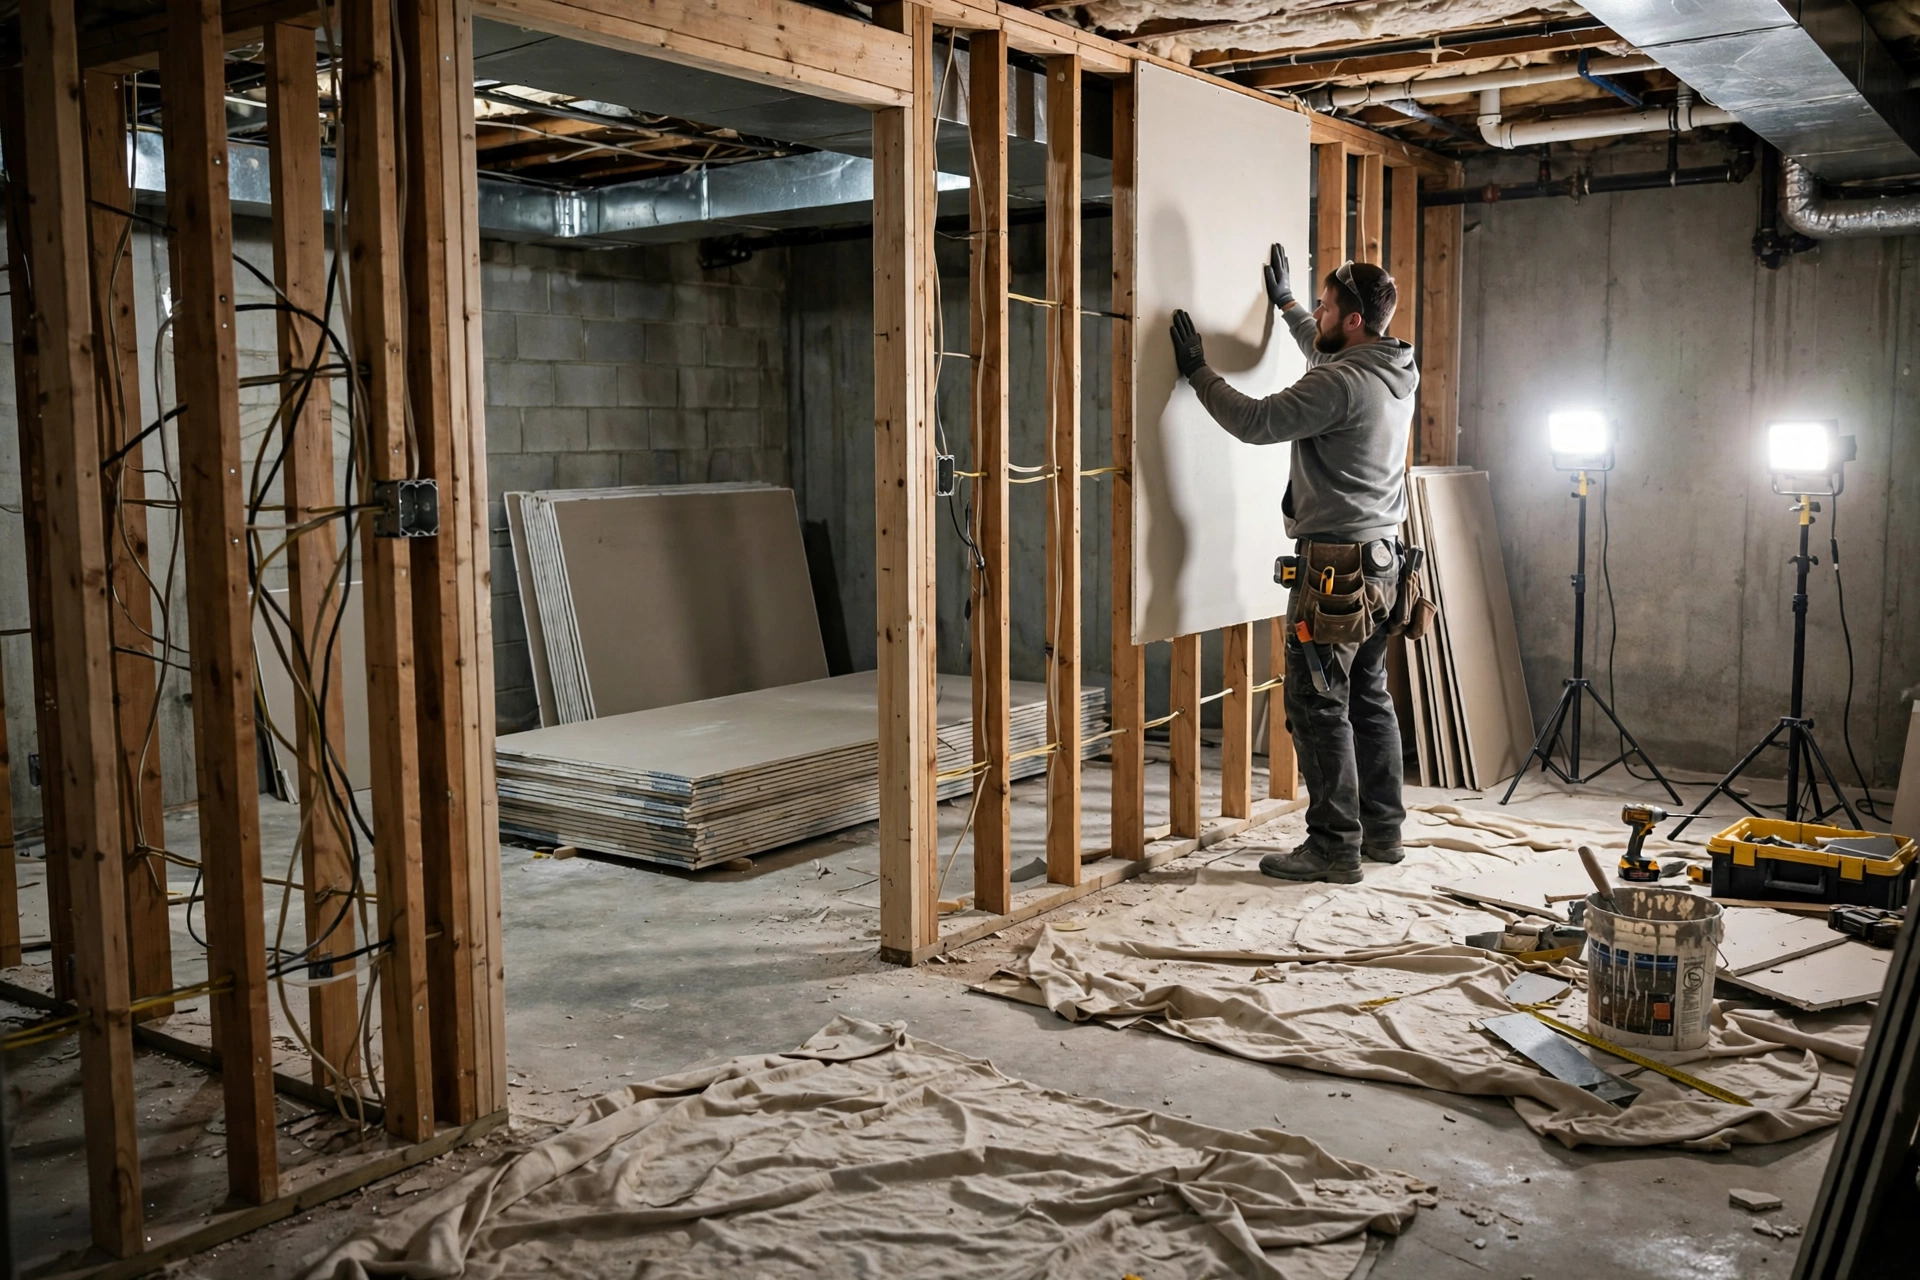
Follow a sensible order of work: plan the layout, fix moisture, insulate and frame, run electrical and plumbing rough-ins, arrange inspection, then close up with drywall, flooring, trim, and paint, because each stage hides the one before it and mistakes become harder to fix.
Start with planning and moisture checks, then deal with drainage, grading, or foundation issues. Next comes insulation and framing, followed by the rough-in stage, where wiring, plumbing, and ductwork are installed while the walls are still open. This is the right time for inspections, since an inspector can see the work before it is covered. After that, drywall goes up, joints are taped and finished, and the room is primed and painted. Flooring usually comes after painting to protect it from splashes, followed by trim, doors, and final fixtures. Do not rush the sequence: opening finished walls again costs more than any time saved. A steady pace, with a check at each stage, produces a room that looks good and stays good.
- Plan the room’s use, layout, and budget, and check local permit requirements.
- Inspect for moisture and fix the source of any water problems before covering walls.
- Settle the insulation approach, then frame the walls and ceiling.
- Run electrical, plumbing, and heating rough-ins, and arrange inspections while walls are open.
- Hang, tape, and finish drywall, then prime and paint.
- Install flooring, trim, doors, and light fixtures, then furnish the room.
What Affects the Cost of Finishing a Basement

The cost of finishing a basement depends mainly on the room’s size, its current condition, the quality of finishes chosen, and how much licensed professional work is involved, rather than on any single fixed figure that could apply to every home.
Size is the most obvious factor: a larger floor area needs more framing, insulation, drywall, flooring, and lighting. Condition matters just as much. A dry basement with good ceiling height and few obstacles costs less to finish than one needing drainage work, foundation repairs, or ceiling adjustments. The choice of finishes also moves the total considerably, from simple painted walls and practical flooring to built-in storage, a bathroom, or high-end lighting and trim. Each addition is a choice, not a necessity, and it helps to separate must-haves from nice-to-haves early. Licensed professional work, permits, and inspections add to the total but protect the value of the work. Doing some finishing tasks yourself, such as painting or installing trim, can reduce costs, but only where the work is safe and within your skill. Because prices vary widely by region, materials, and scope, get several detailed written quotes for the same scope of work and compare them line by line, and keep a small contingency for surprises, such as a damp patch found once walls are opened.
| Choice | What it usually means | Best for |
|---|---|---|
| Basic finish | Painted drywall, practical flooring, standard lighting | A first usable family or play room on a modest budget |
| Mid-range finish | Better flooring, built-in storage, improved lighting and trim | A home office, guest room, or everyday living space |
| Full finish with bathroom | Added plumbing, fixtures, tiling, and ventilation | A guest suite or long-term living space |
| Partial finish | One finished area plus an unfinished utility and storage zone | Homes that still need workshop or storage space |
Common Mistakes That Lead to Rework
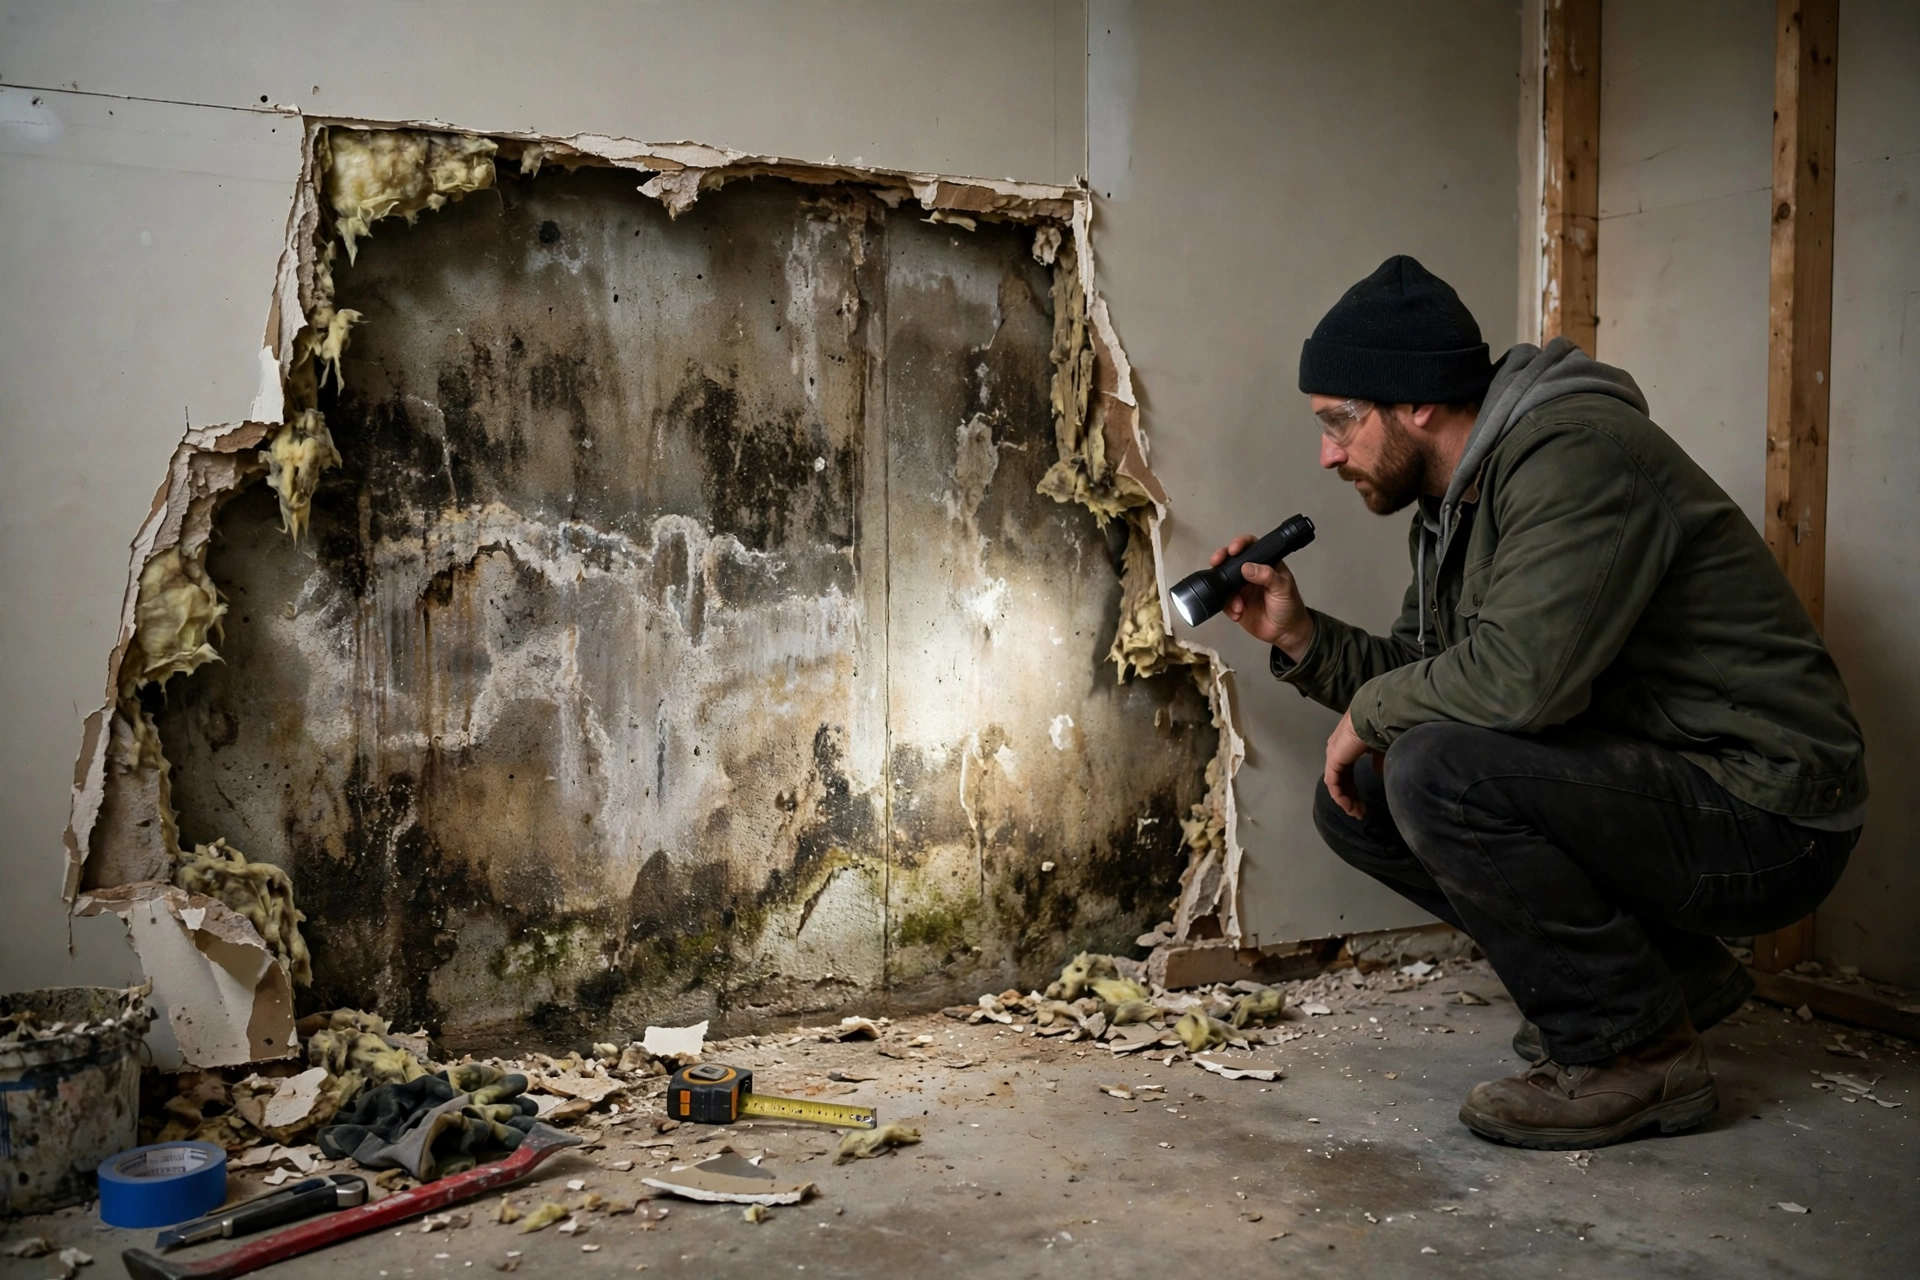
The most common basement finishing mistakes are covering damp walls, skipping permits or inspections, burying access to equipment, and choosing finishes that do not suit below-ground conditions, and most of them are avoidable with a little patience at the planning stage.
Covering a damp wall is the costliest mistake of all, because the damage shows up later, behind finished surfaces, and fixing it means removing the very work just completed. Skipping permits or inspections creates a different kind of risk: work that does not meet local rules may need to be changed, and it can cause problems when the home is sold. Burying access panels, shut-off valves, and electrical panels behind drywall with no way to reach them turns routine maintenance into demolition. Choosing flooring or wall finishes that cannot cope with damp or temperature changes leads to warping, staining, and early replacement. Smaller mistakes still frustrate: too few outlets, dark corners from poor lighting planning, and ceiling finishes that make a low room feel lower. Underestimating storage is another frequent regret. Walking through the finished room in your mind, from the stairway to each corner, before work starts is a simple way to catch most of these problems while they are still cheap to fix.
Conclusion
Finishing a basement is one of the most rewarding home projects, because it turns space you already own into a room you will use every day. The key is the order of work: decide how the room will be used, make sure it is dry, then work steadily through insulation, framing, services, drywall, and finishes, with permits and professional help where they are needed. A moisture-first approach protects everything that follows. Take time at the planning stage, ask professionals about the safety-critical parts, and keep access to equipment and services in the finished design. Done this way, it becomes a warm, dry, well-lit room your home genuinely benefits from.
Frequently Asked Questions
How long does it take to finish a basement?
Timelines vary with the room’s size, condition, and scope, and with how much professional work is involved. Simple finishes take less time than projects adding a bathroom or major electrical work, so get a schedule from your contractor.
Can I finish a basement myself?
Some tasks, such as painting and trim, suit a skilled homeowner, but moisture problems, electrical work, plumbing, and structural changes should be handled by qualified professionals for safety and compliance with local rules.
Do I need a permit to finish a basement?
It depends on your location and the scope of work. Adding walls, bedrooms, bathrooms, or new circuits often needs approval, so check with your local building authority before starting work.
What flooring is best for a finished basement?
Flooring made for below-ground conditions, such as vinyl planks or tiles over a suitable underlayment, usually performs best. Carpet can work in a dry basement but needs care if water ever appears.
How do I know if my basement is too damp to finish?
Look for water stains, musty smells, peeling paint, or damp patches after rain. If dampness keeps returning, have a qualified professional find and fix the source before any finishing work begins.
Disclaimer: This article is for general information only and is not professional, legal, or building advice. Basement conditions, building rules, and safety requirements vary by location, so always check your local rules and consult qualified professionals, including licensed electricians and plumbers, before starting work. No guest posting, paid promotion, or advertising is involved in this article, and no specific brand or product is recommended.
Thanks for visiting Clearise Cleaning Services! Discover more helpful tips and expert cleaning insights by exploring our related categories.