Cleaning techniques are the methods you use to remove dust, dirt, and germs from a surface, including wipe direction, pressure, cleaner dwell time, and drying afterwards. Good technique matters more than a strong product, because the same cleaner can work well or poorly depending on how it is used.
Many people clean hard but get weak results, and the reason is usually technique, not effort. Wiping in circles spreads dust, mopping over dry grit scratches floors, and spraying disinfectant and wiping it off at once gives it no time to work. Small changes in method, such as wiping in one direction or letting a cleaner sit, often make a bigger difference than buying a new product.
This guide covers the core techniques for a normal home: dusting, wiping, scrubbing, soaking, vacuuming, mopping, and disinfecting. Each section explains the method, why it works, and the mistakes to avoid, so you can use the same principles in the kitchen, bathroom, bedroom, or living room.
The Core Principles Behind Good Cleaning
Good cleaning follows a few core principles: work from high to low, from dry dirt to wet cleaning, from clean areas to dirty areas, and give cleaners time to work before you scrub. These principles prevent rework, because dirt from above never lands on a surface you have already cleaned.
Start with dry dirt first. Dust, sweep, or vacuum before you mop or wipe with a wet cloth, because wet cleaning over dry grit spreads dirt and can scratch surfaces. Work from the top of a room downward, and from the far corner toward the door, so you finish at the exit and do not walk over a freshly cleaned floor.
Give cleaners dwell time, which is the contact time stated on the label, instead of spraying and wiping at once. Use clean cloths, and switch to a fresh cloth or a fresh part of the cloth when it becomes dirty, because a dirty cloth spreads dirt instead of removing it. Finish by drying surfaces where water spots or dampness would cause problems, such as mirrors, taps, and floors.
Dusting Techniques That Do Not Just Move Dust
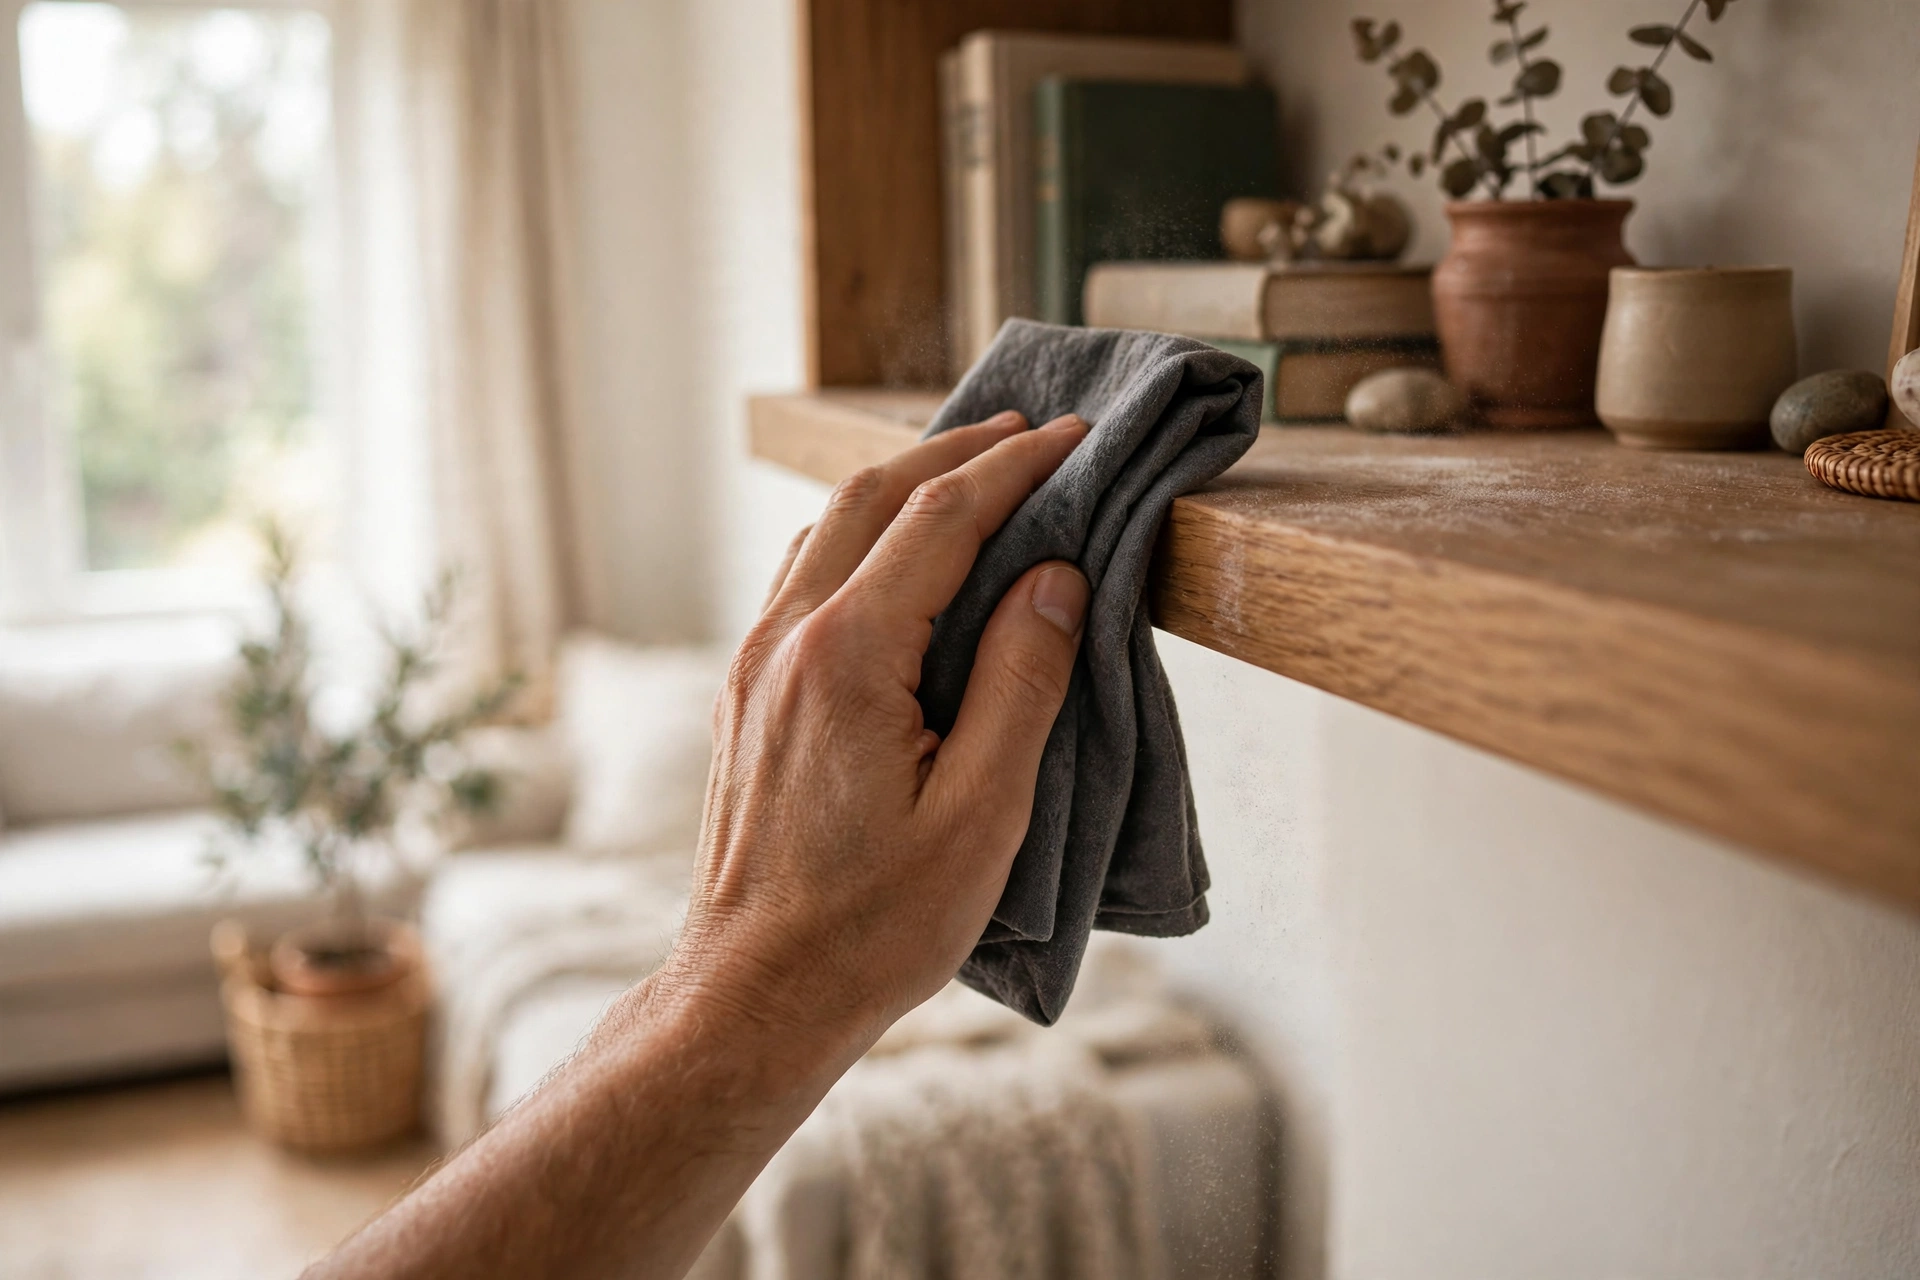
To dust well, use a dry microfibre cloth or a duster, wipe in one direction, fold the cloth to a clean section often, and finish with a damp cloth only where the surface allows it. Wiping in circles or with a dry feather duster often moves dust into the air, where it settles again.
Microfibre cloths work well because their fibres trap dust instead of pushing it around. Wipe shelves, frames, and furniture in one steady direction, and shake or rinse the cloth outside the room when it becomes dusty, rather than shaking it inside. For electronics, use a soft, dry cloth, and avoid spraying cleaner directly onto screens, vents, or speakers.
Dust high surfaces first, such as ceiling corners, light fittings, and tall shelves, then work down to tables and skirting boards. For heavy dust, a slightly damp cloth picks up more than a dry one, but check the surface first, especially on wood and electronics. Wash microfibre cloths regularly so they keep trapping dust.
Wiping Techniques for Counters, Sinks, and Tables
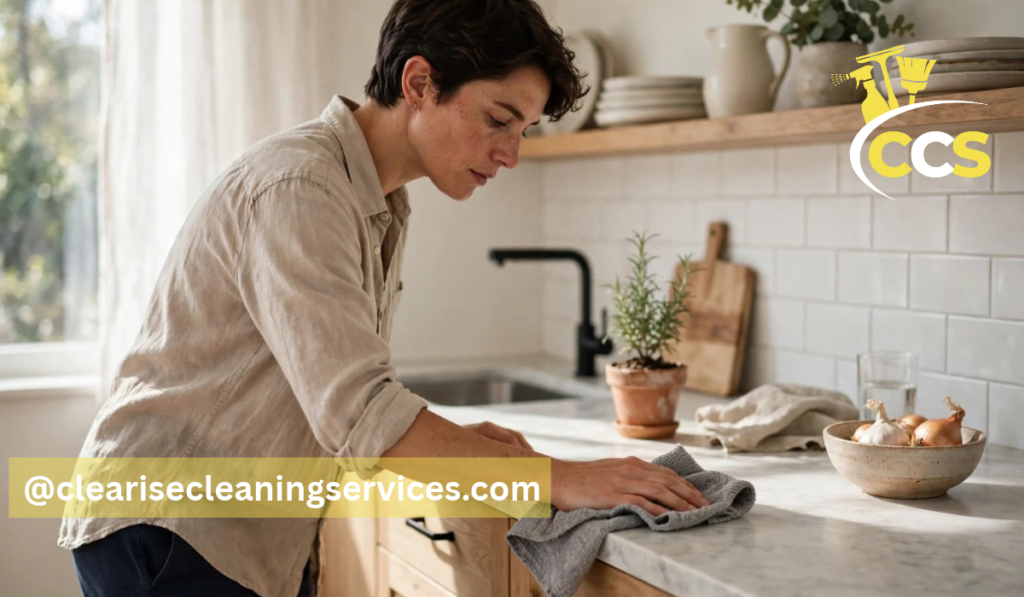
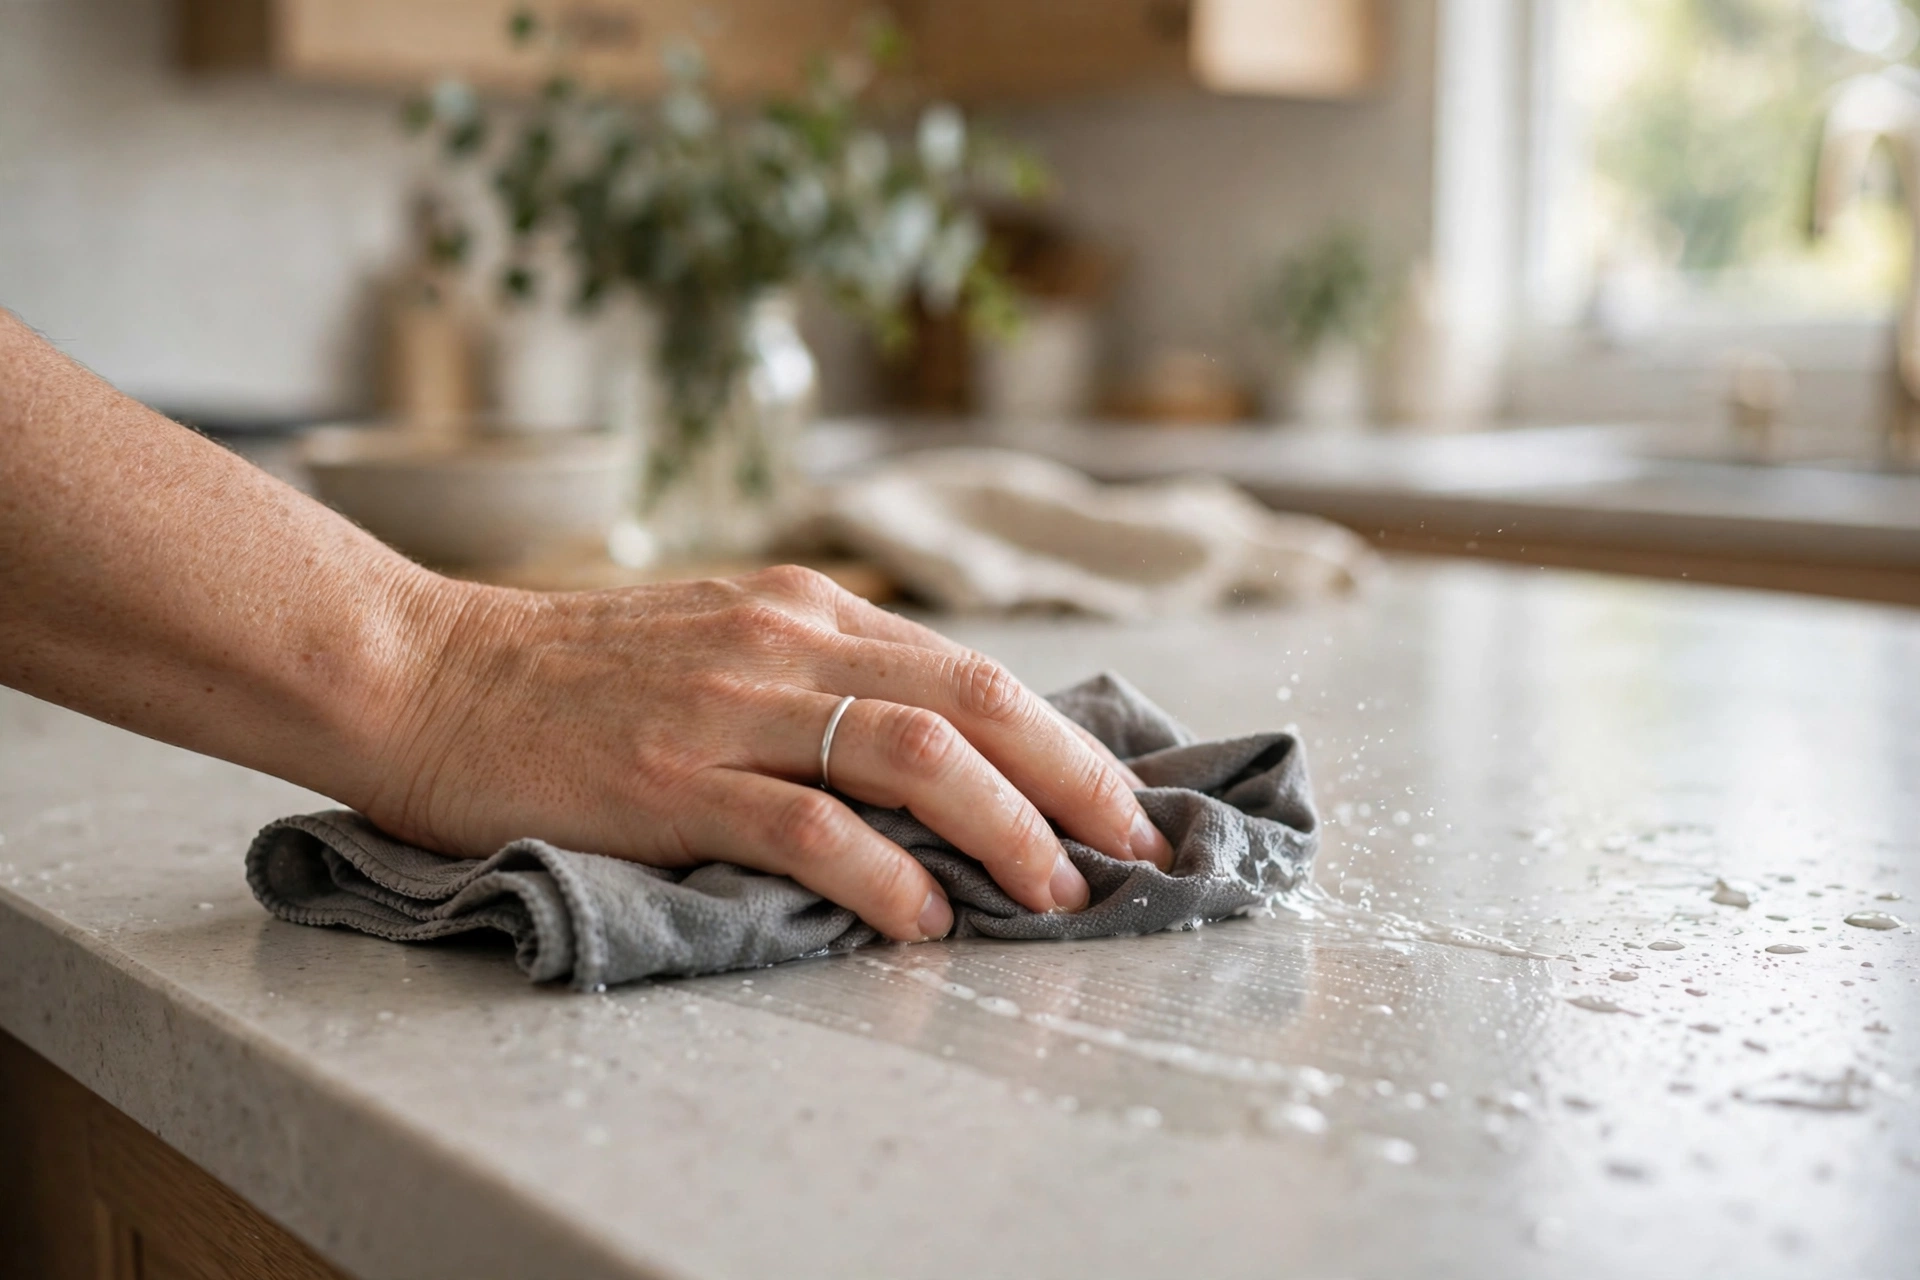
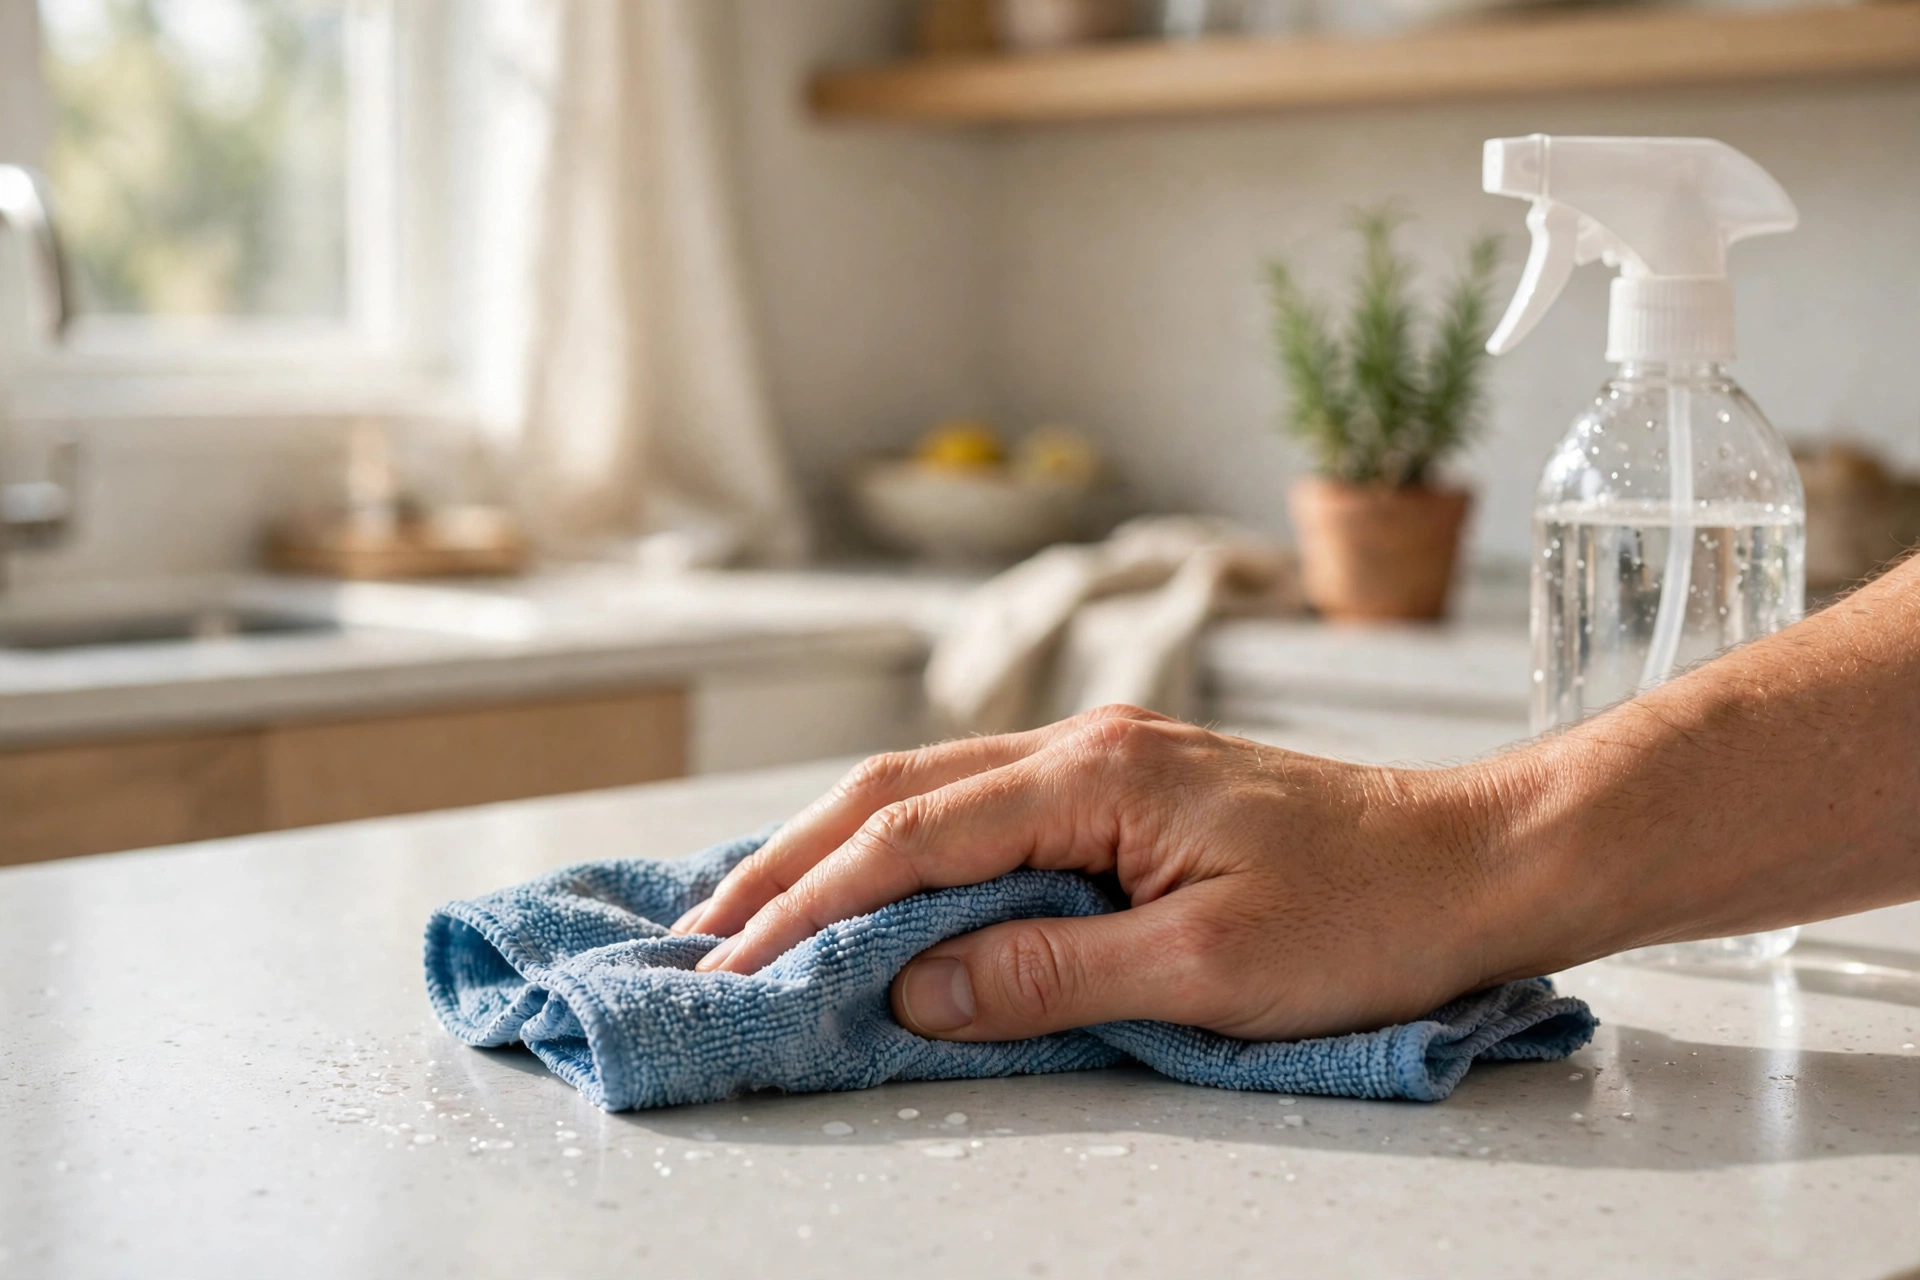
To wipe a surface well, spray cleaner onto the cloth, not onto the surface, wipe in an S-shape or in one direction, rinse the cloth often, and finish with a dry cloth where streaks would show. Spraying the cloth first keeps cleaner out of joints, electronics, and food areas, and gives you better control.
The S-shape, also called a serpentine wipe, covers a surface without going over the same dirt twice, which is why it works better than random circles. Wipe from the cleanest part of a surface toward the dirtiest part, so you do not drag grease or grime across a clean area. Rinse the cloth in clean water often, and wring it well, because a cloth full of dirty water leaves a film behind.
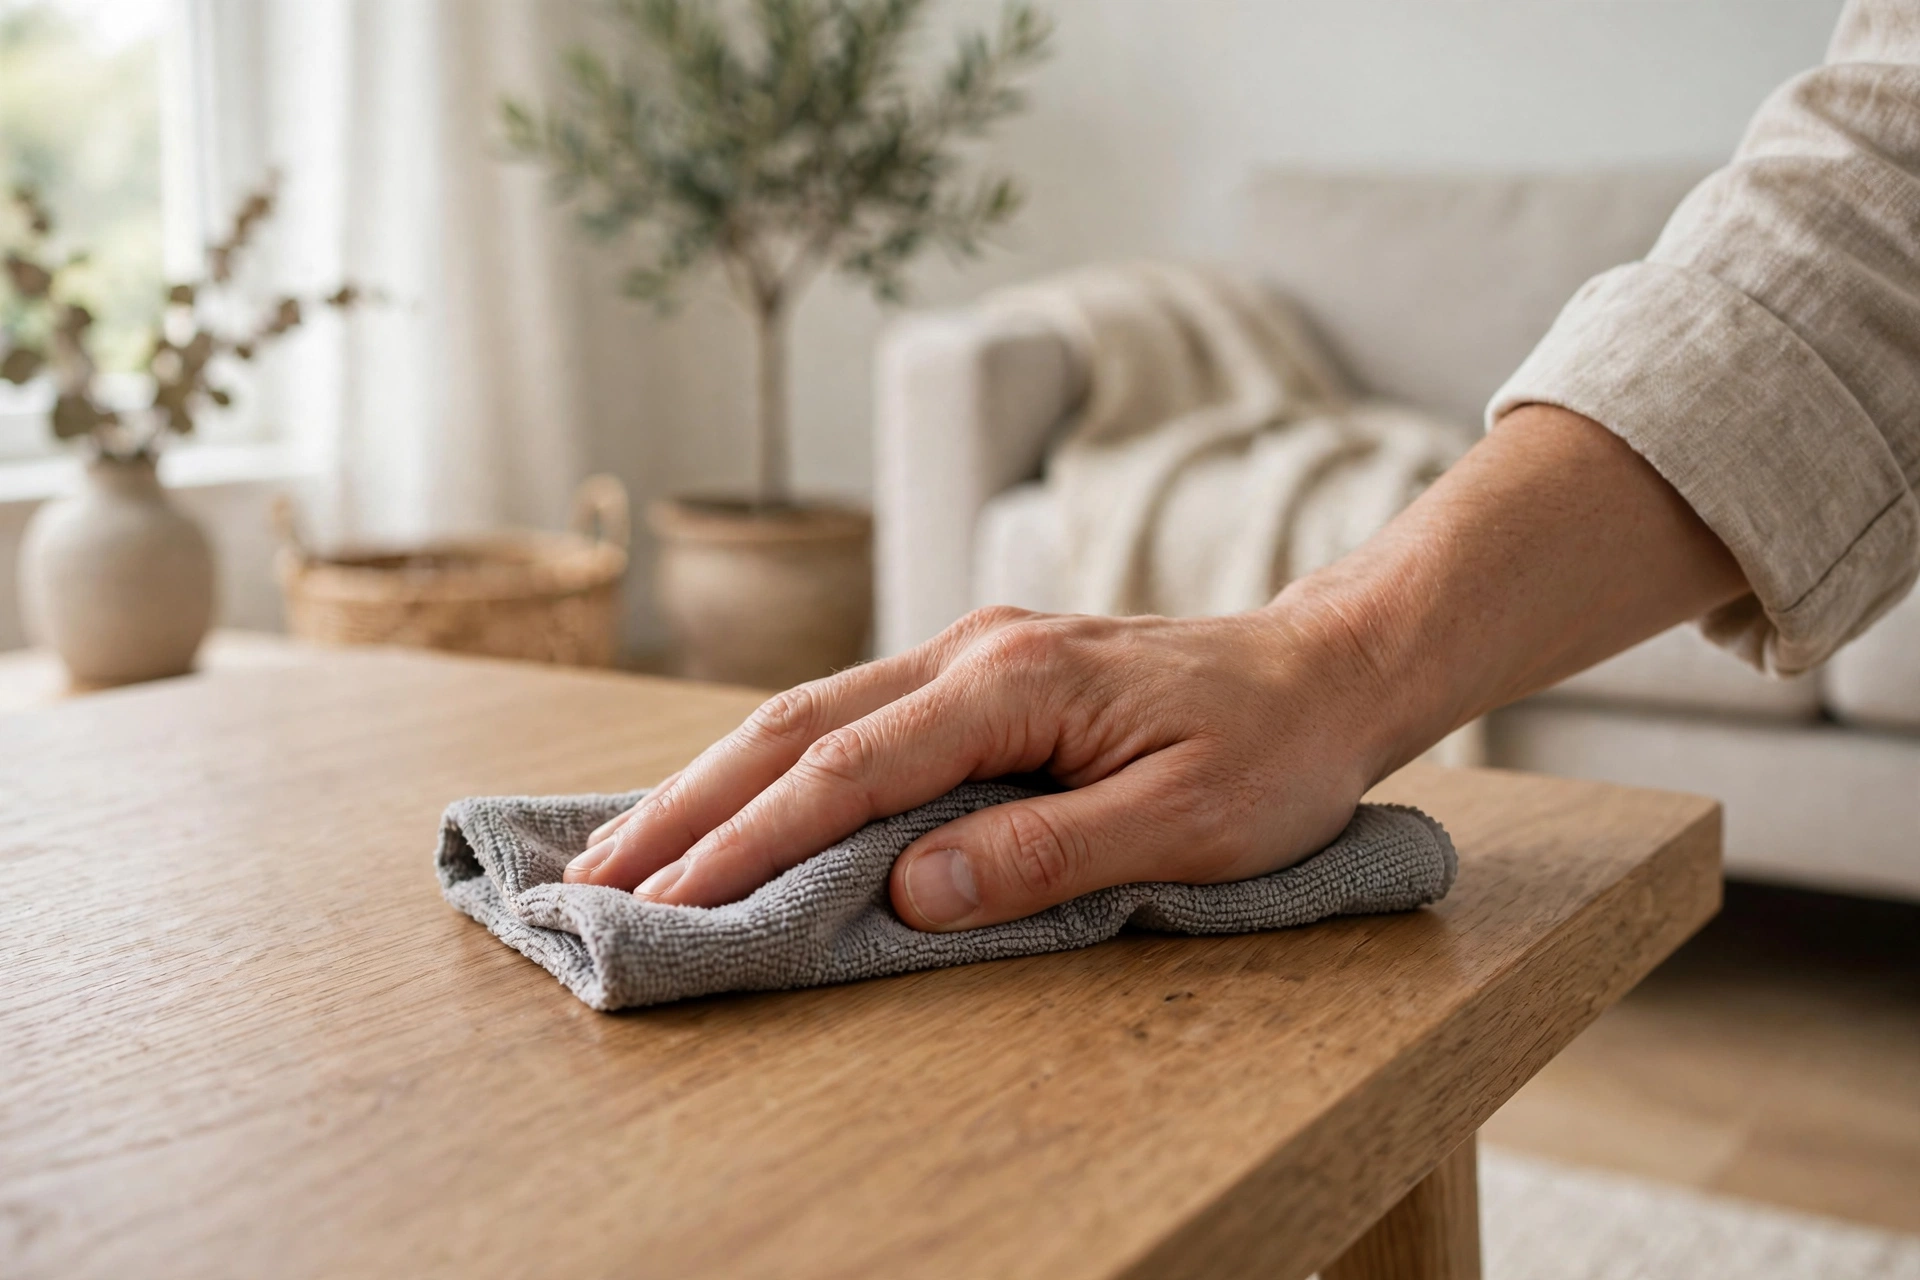
For kitchen counters, use a cleaner suited to the material, rinse, and dry, especially on natural stone, where standing water and acidic cleaners can cause damage. For sinks, wipe from the rim inward, rinse, and dry the tap and basin to prevent spots. For tables, wipe the top, then the edges, then the legs if they need it, and dry polished surfaces with a soft cloth.
Scrubbing Without Damaging Surfaces
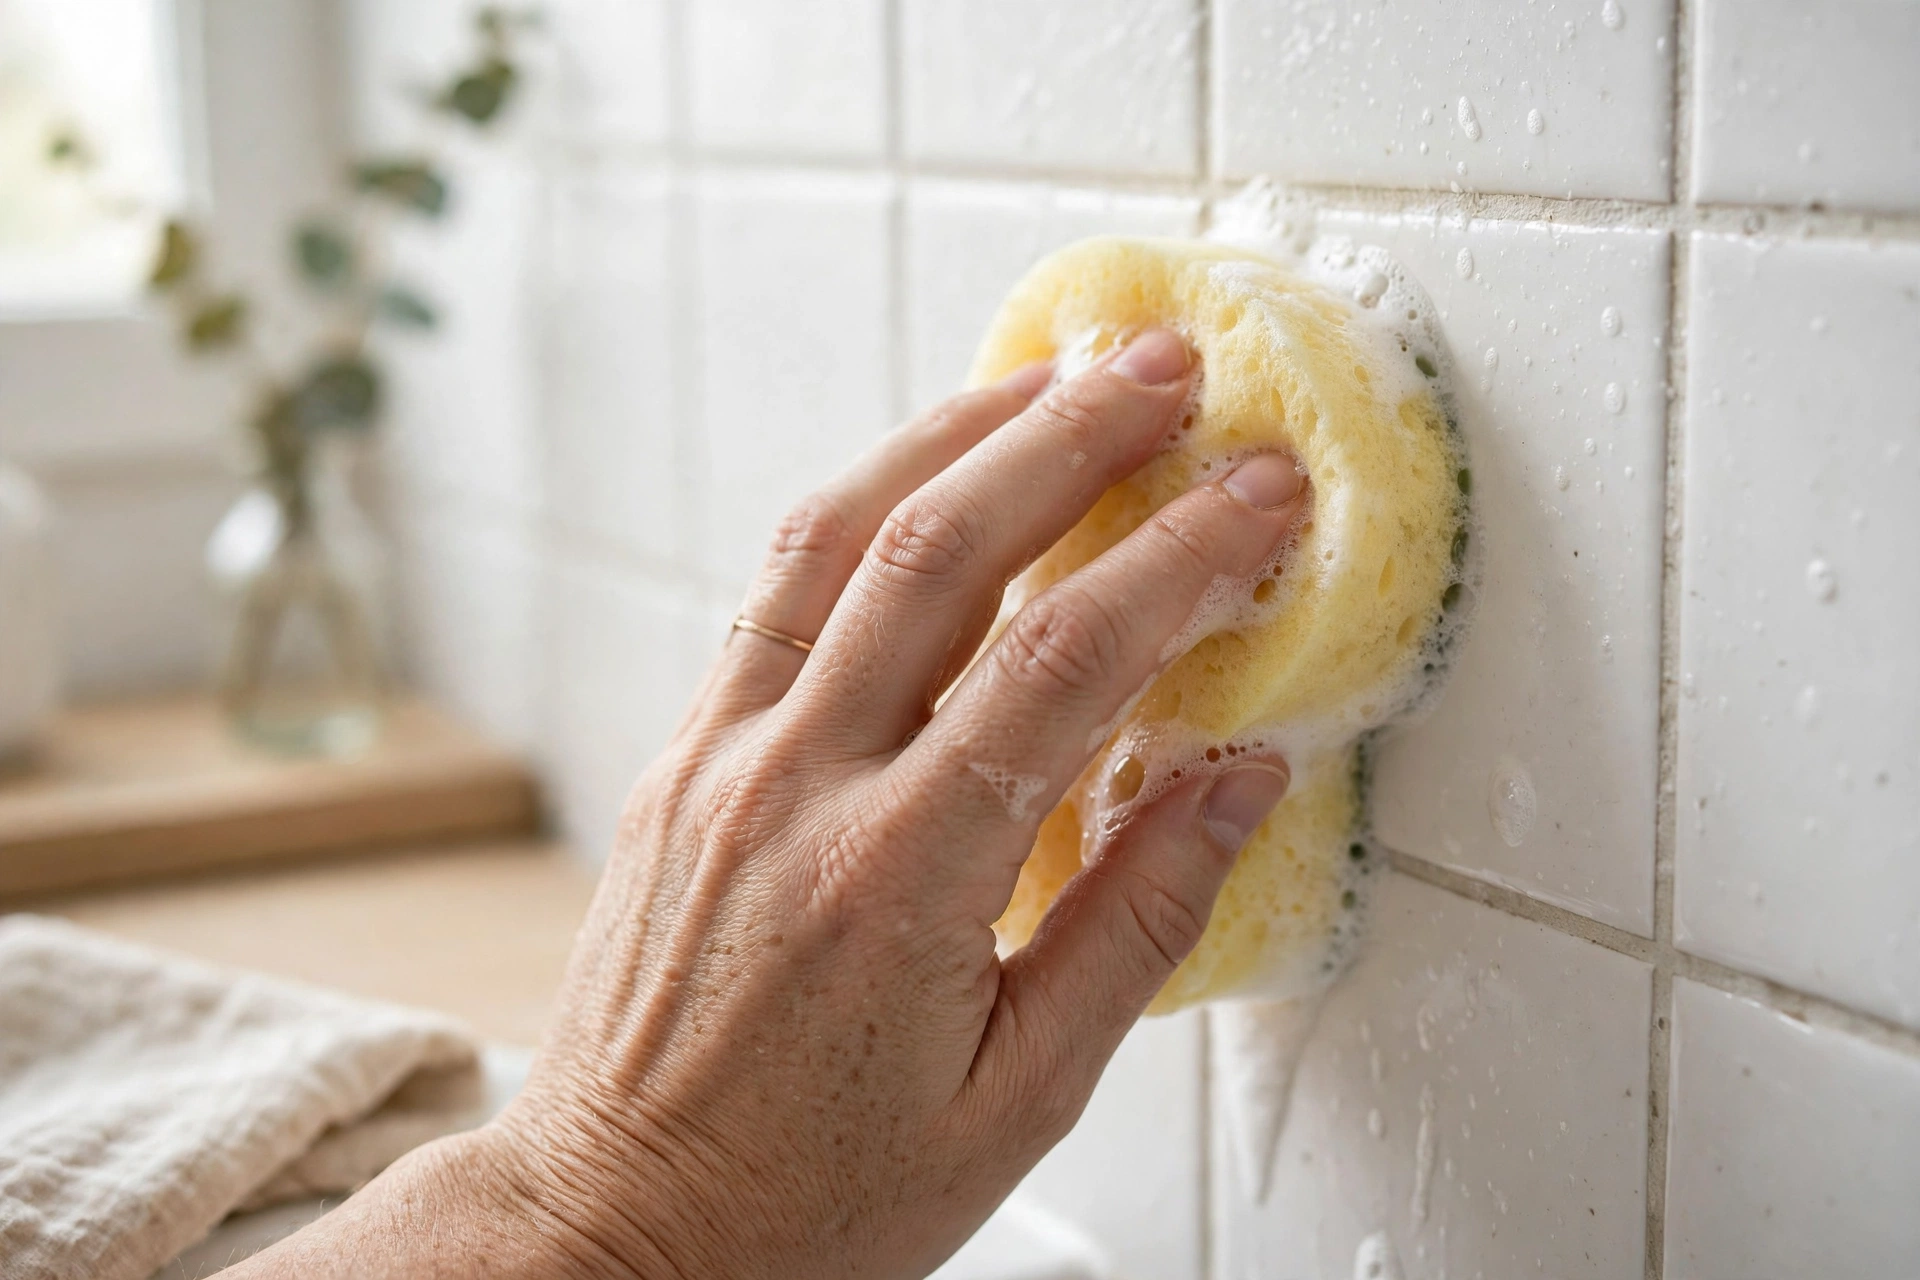
To scrub well, choose the softest tool that works, use gentle, even pressure, scrub in a steady pattern, and rinse often, because hard scrubbing with an abrasive pad can scratch surfaces that a softer tool would clean safely. Scrubbing is about repeated, gentle passes, not force.
Start with a non-scratch sponge or a soft brush, and move to a firmer tool only if the surface allows it and the dirt remains. For sinks and tiles, a non-scratch sponge with warm soapy water usually works, and a baking soda paste can help on stubborn marks. For grout, a small brush, such as an old toothbrush, reaches into lines that a sponge cannot.
Scrub in one direction along grout lines, or in small, even sections on a flat surface, and rinse the tool and the surface often, so loosened dirt does not dry back onto it. Avoid steel wool and abrasive pads on glass, polished metal, natural stone, and coated surfaces, unless the maker clearly allows them. If a mark does not lift after gentle scrubbing, let a suitable cleaner sit on it first, rather than scrubbing harder.
Soaking: Let Time Do the Work
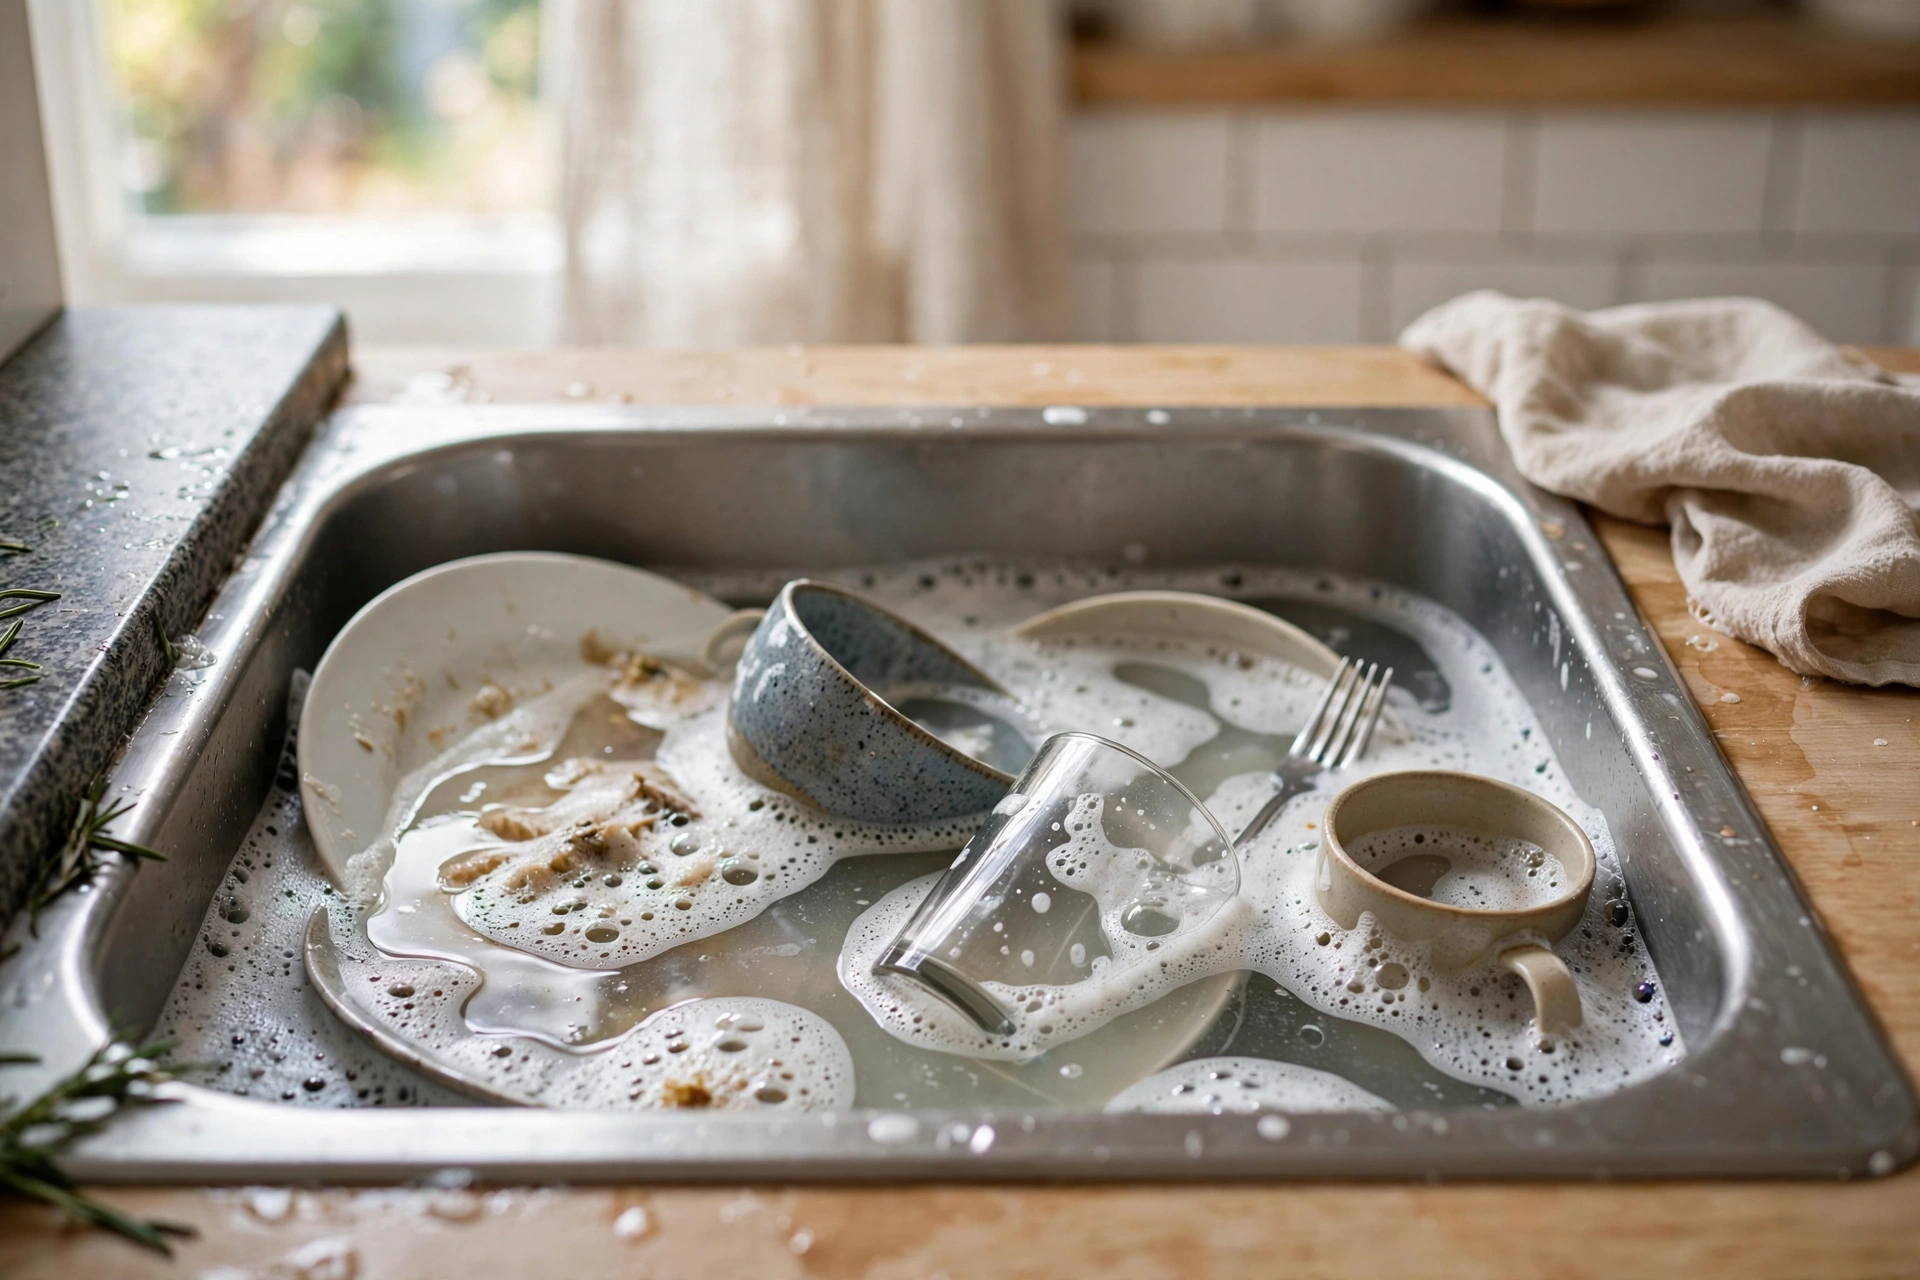
Soaking means letting water or a suitable cleaner sit on a dirty item or surface so it softens, which reduces scrubbing and damage, and it works best for oven racks, shower heads, cloths, and dried food. A short soak often achieves more than ten minutes of hard scrubbing.
For oven racks, soak them in warm soapy water in a sink or tub, let them sit, then scrub gently and rinse. For a shower head with mineral buildup, remove it if the maker allows it, soak it in a vinegar solution as directed, rinse well, and refit it. For cloths and mops, soak in warm soapy water, rinse, and dry them fully, so they do not develop a smell.
Soaking needs limits. Do not soak wood, electronics, or warned-against items, and do not leave items soaking for days. Rinse well after soaking, because leftover cleaner can leave a film or attract new dirt. Soaking is a technique for stubborn dirt, not a replacement for regular cleaning.
Vacuuming Techniques for Carpets and Hard Floors
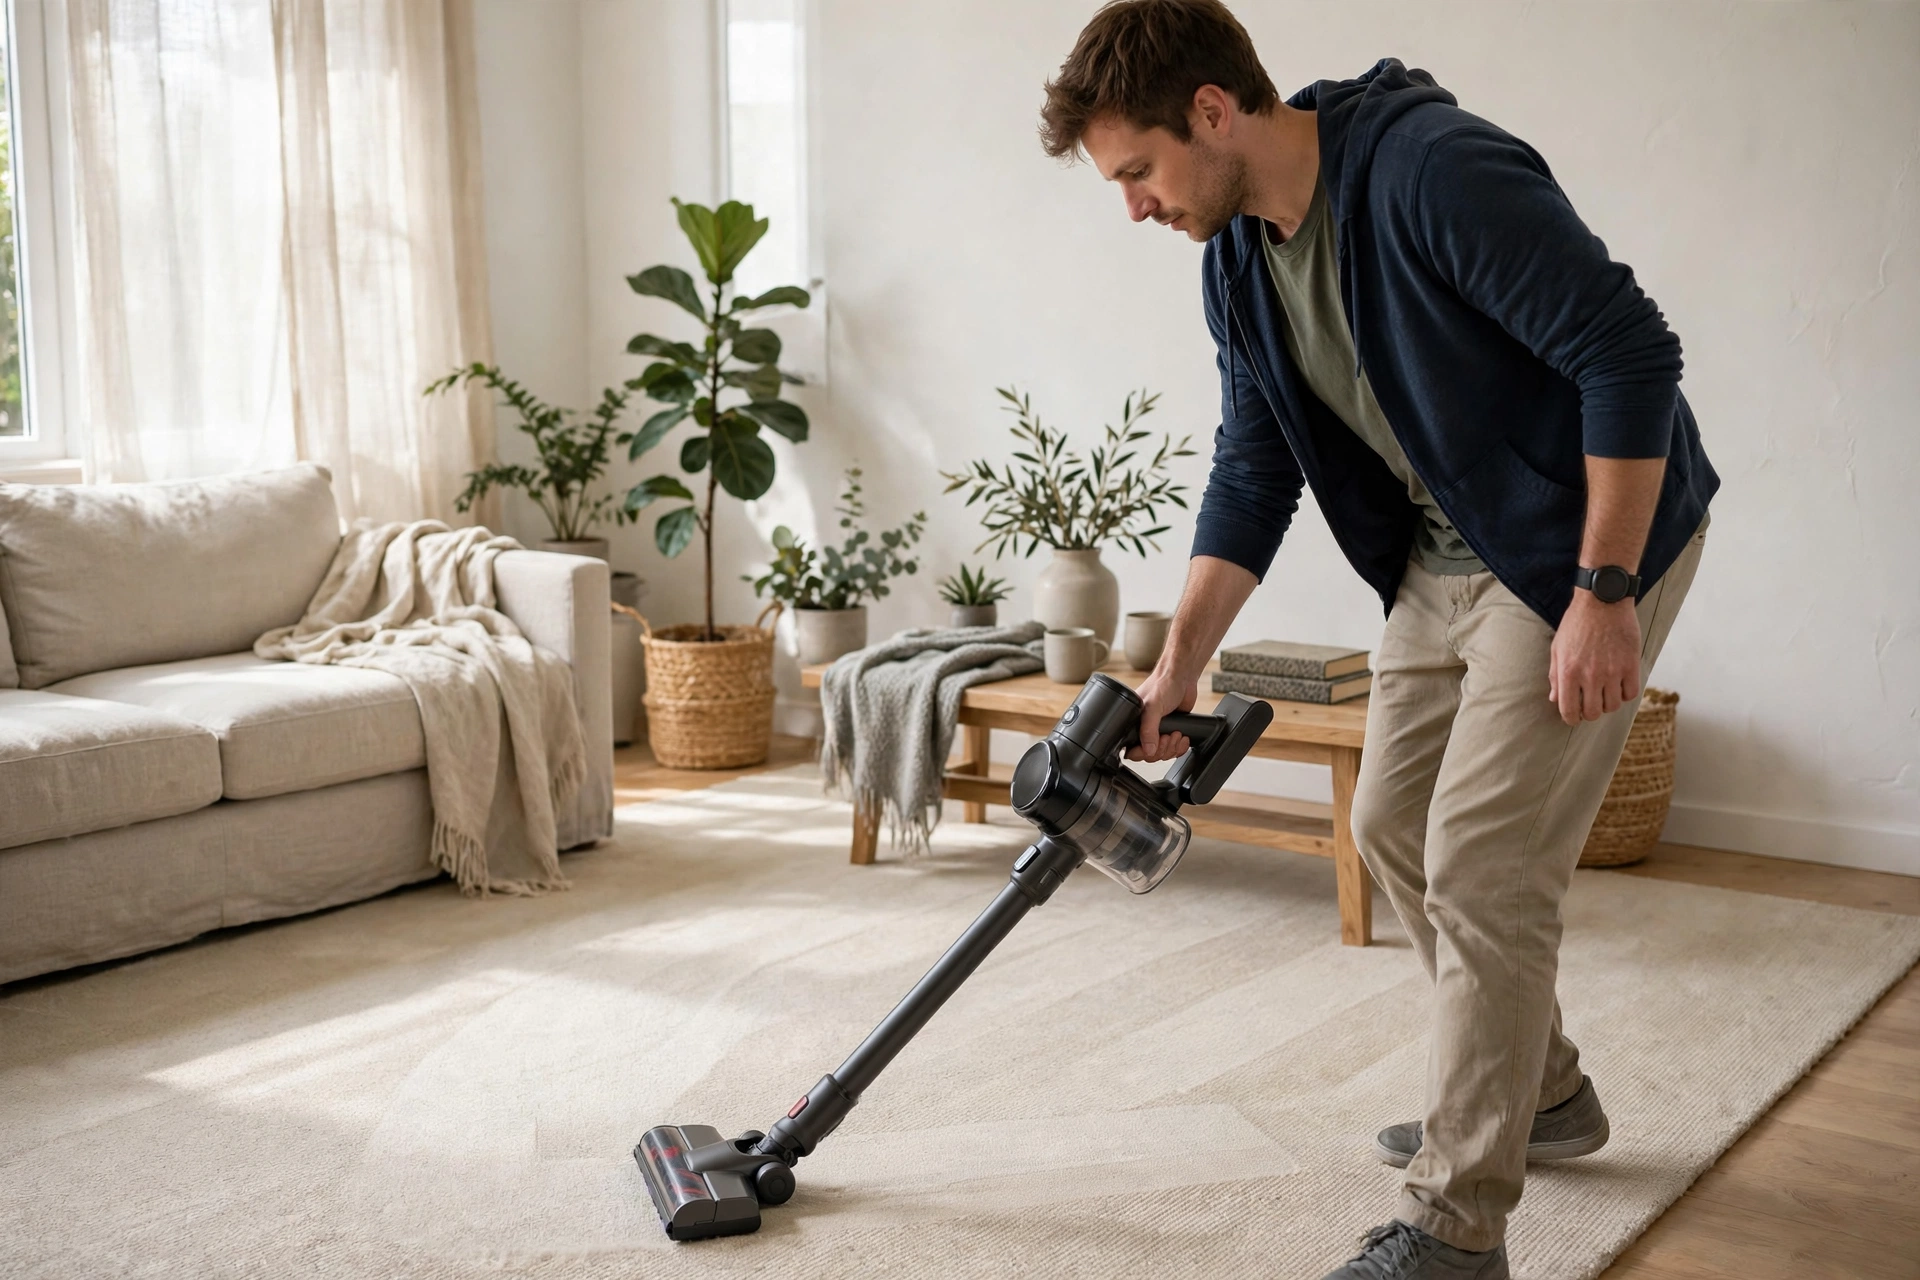
To vacuum well, move slowly, vacuum carpets in both directions, overlap each pass slightly, and vacuum edges and corners with a crevice tool, because a quick, single-direction pass leaves dust deep in carpet pile and along skirting boards. Slow passes give the vacuum time to lift dirt.
On carpet, vacuum the room in rows, first in one direction, then across it, if time allows. Pay attention to high-traffic lanes, such as doorways and the centre of living rooms, and vacuum under furniture edges where dust collects. Empty the bag or bin and clean filters as the maker directs, because a full vacuum loses suction and leaves dirt behind.
On hard floors, vacuum or sweep before mopping, to remove grit that could scratch the floor. Use a hard-floor setting or a soft brush head if your vacuum has one, and vacuum corners and edges with the crevice tool. For rugs, vacuum both sides if the maker allows it, and check the rug backing for dirt that has passed through the pile.
| Technique | Best for | Key point |
|---|---|---|
| Dusting | Shelves, furniture, electronics | One direction, clean cloth often |
| Wiping | Counters, sinks, tables | Spray the cloth, S-shape, rinse often |
| Scrubbing | Sinks, tiles, grout | Softest tool first, rinse often |
| Soaking | Racks, shower heads, dried dirt | Let time soften dirt, rinse well |
| Vacuuming | Carpets, rugs, hard floors | Slow, both directions, edges too |
| Mopping | Hard floors | Damp mop, far corner to door, dry well |
Mopping Techniques for Hard Floors
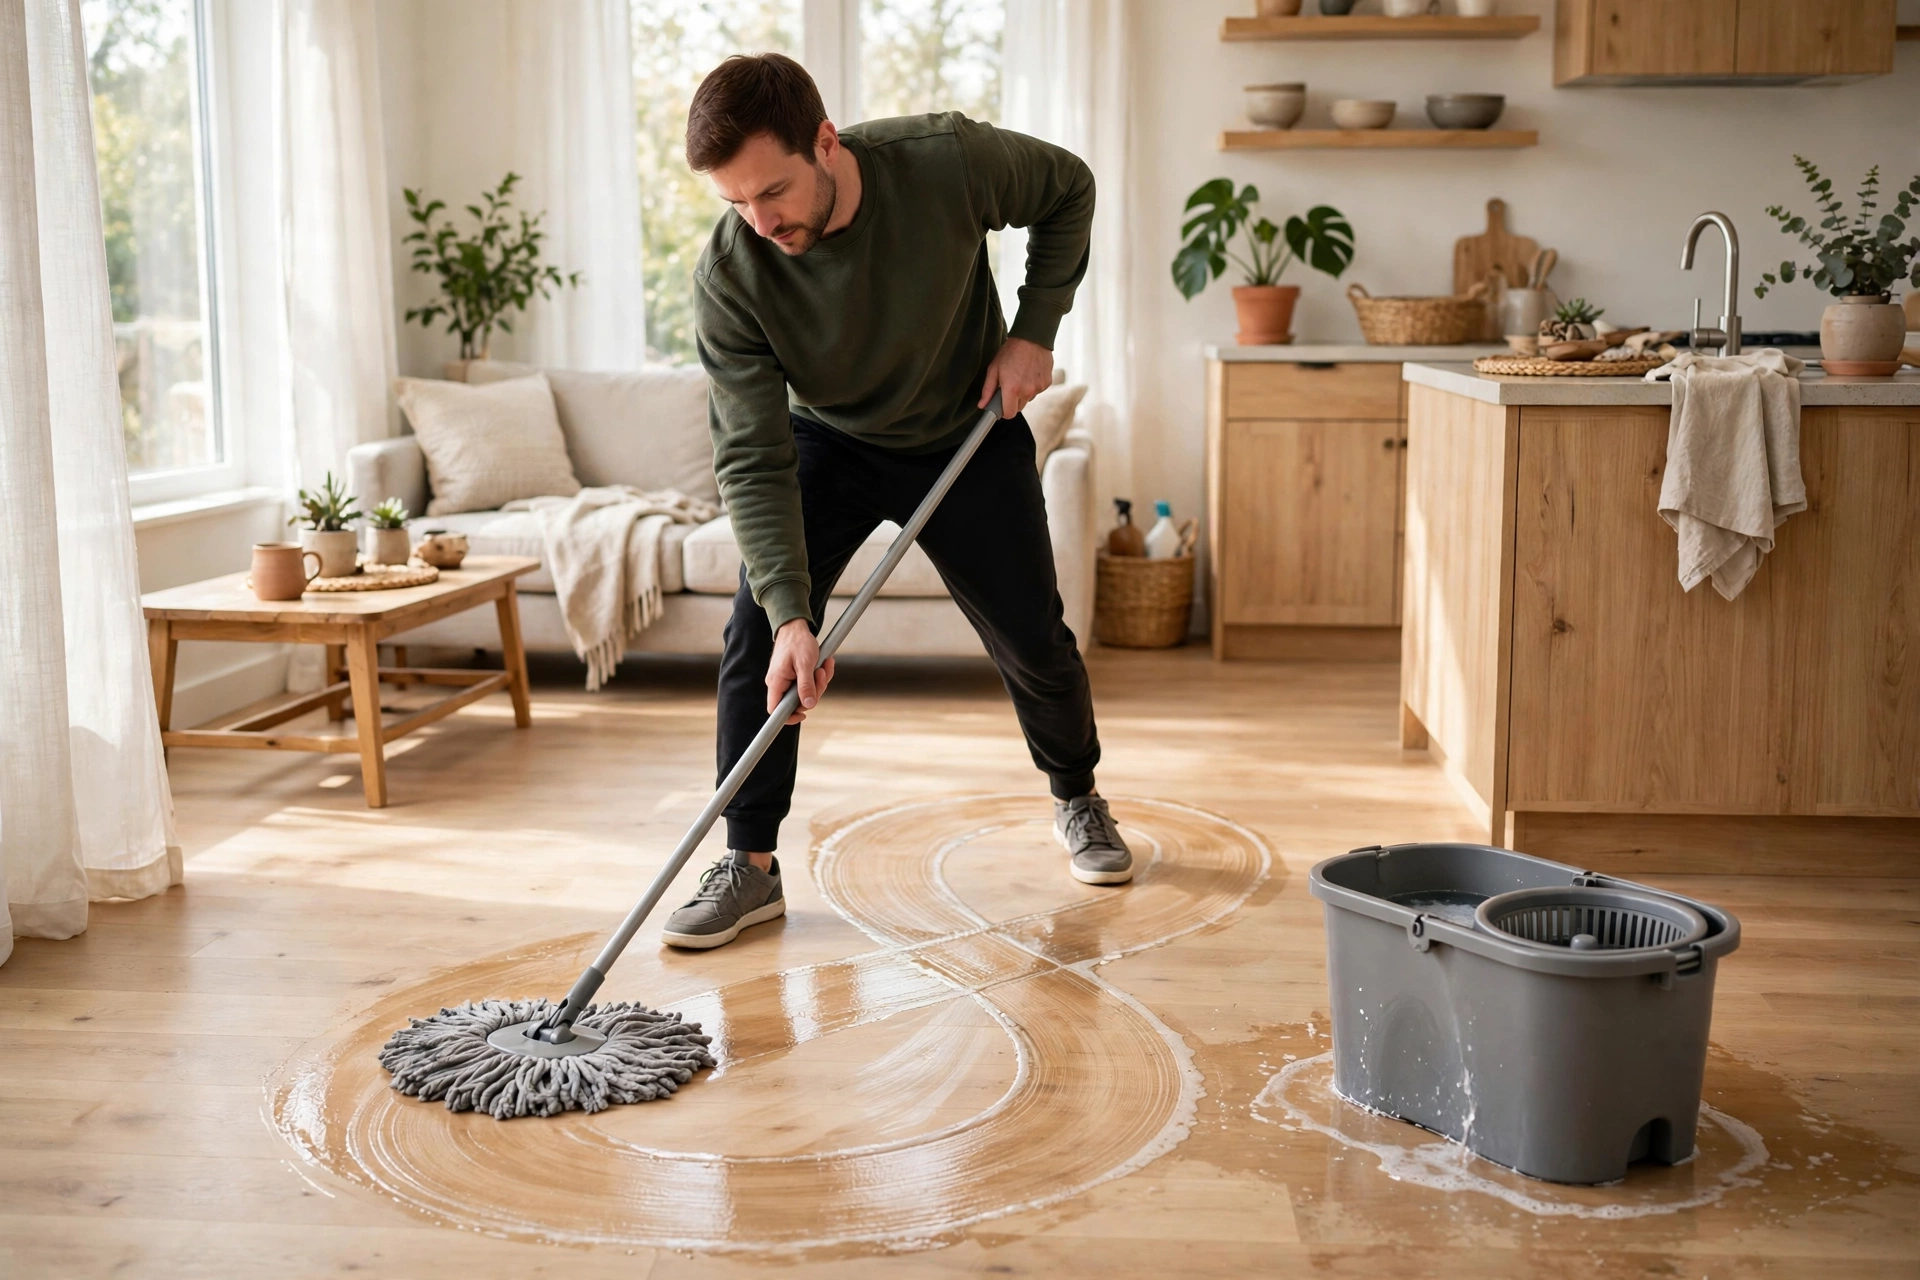
To mop well, sweep or vacuum first, wring the mop well, mop in sections from the far corner toward the door, rinse the mop often, and let the floor dry fully before walking on it. Mopping over dry dirt spreads grit, and a soaking-wet mop leaves water that can damage floors and leave streaks.
Use a cleaner suited to the floor type, and only a lightly damp mop on wood and laminate, drying any standing water promptly. For tile, a damp mop with a suitable floor cleaner usually works well, and grout lines may need a brush for stubborn dirt. For vinyl, use only a cleaner the maker allows, and avoid standing water.
Mop in sections, such as one part of a room at a time, and rinse the mop in clean water often, so you are not spreading dirty water. Work toward the door, wipe skirting boards while the floor dries, and replace mats only when the floor is dry. If the floor looks streaky, rinse and mop again with clean water.
Cleaning Versus Disinfecting: Know the Difference
Cleaning means removing dirt and many germs from a surface, while disinfecting means killing germs on a surface after cleaning, and the two steps are different, because a disinfectant cannot work well through a layer of dirt. Clean first, then disinfect only where it is needed, such as taps, handles, and toilet areas.
Start by cleaning the surface with soap and water or a suitable cleaner, and rinse or wipe it as directed. Then apply a disinfectant if you choose to use one, following the label exactly, including the contact time, which is how long the surface must stay wet for the product to work. Wiping a disinfectant off at once usually means it has not had time to work.
Disinfecting every surface every day is not necessary in a normal home. Focus on high-touch surfaces, such as door handles, light switches, taps, and toilet handles, especially when someone in the home is ill. Ventilate the room, wear gloves if the label advises it, never mix disinfectants with other cleaners, and keep products away from children and pets.
Choose the Right Tools and Cloths
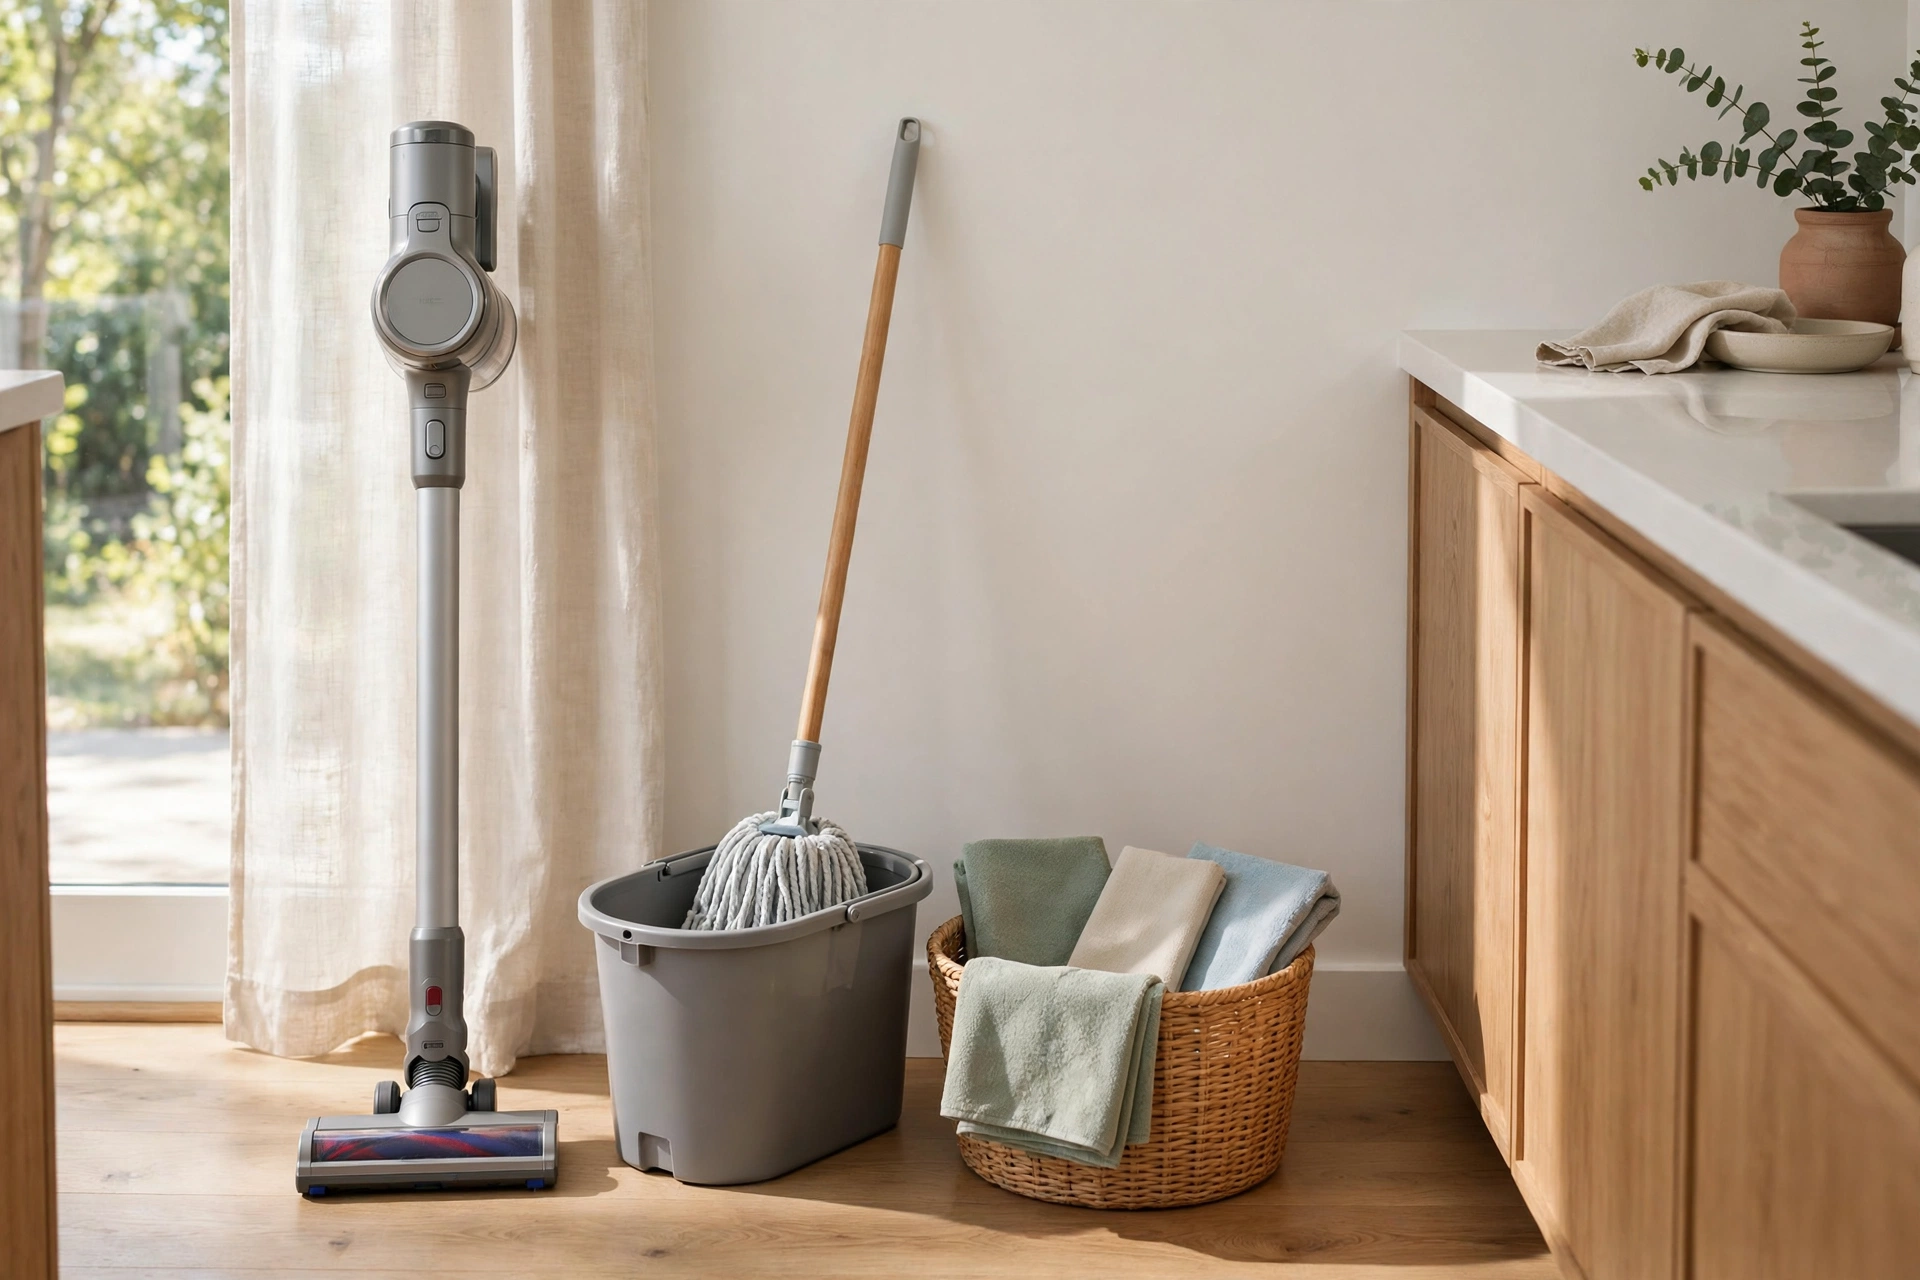
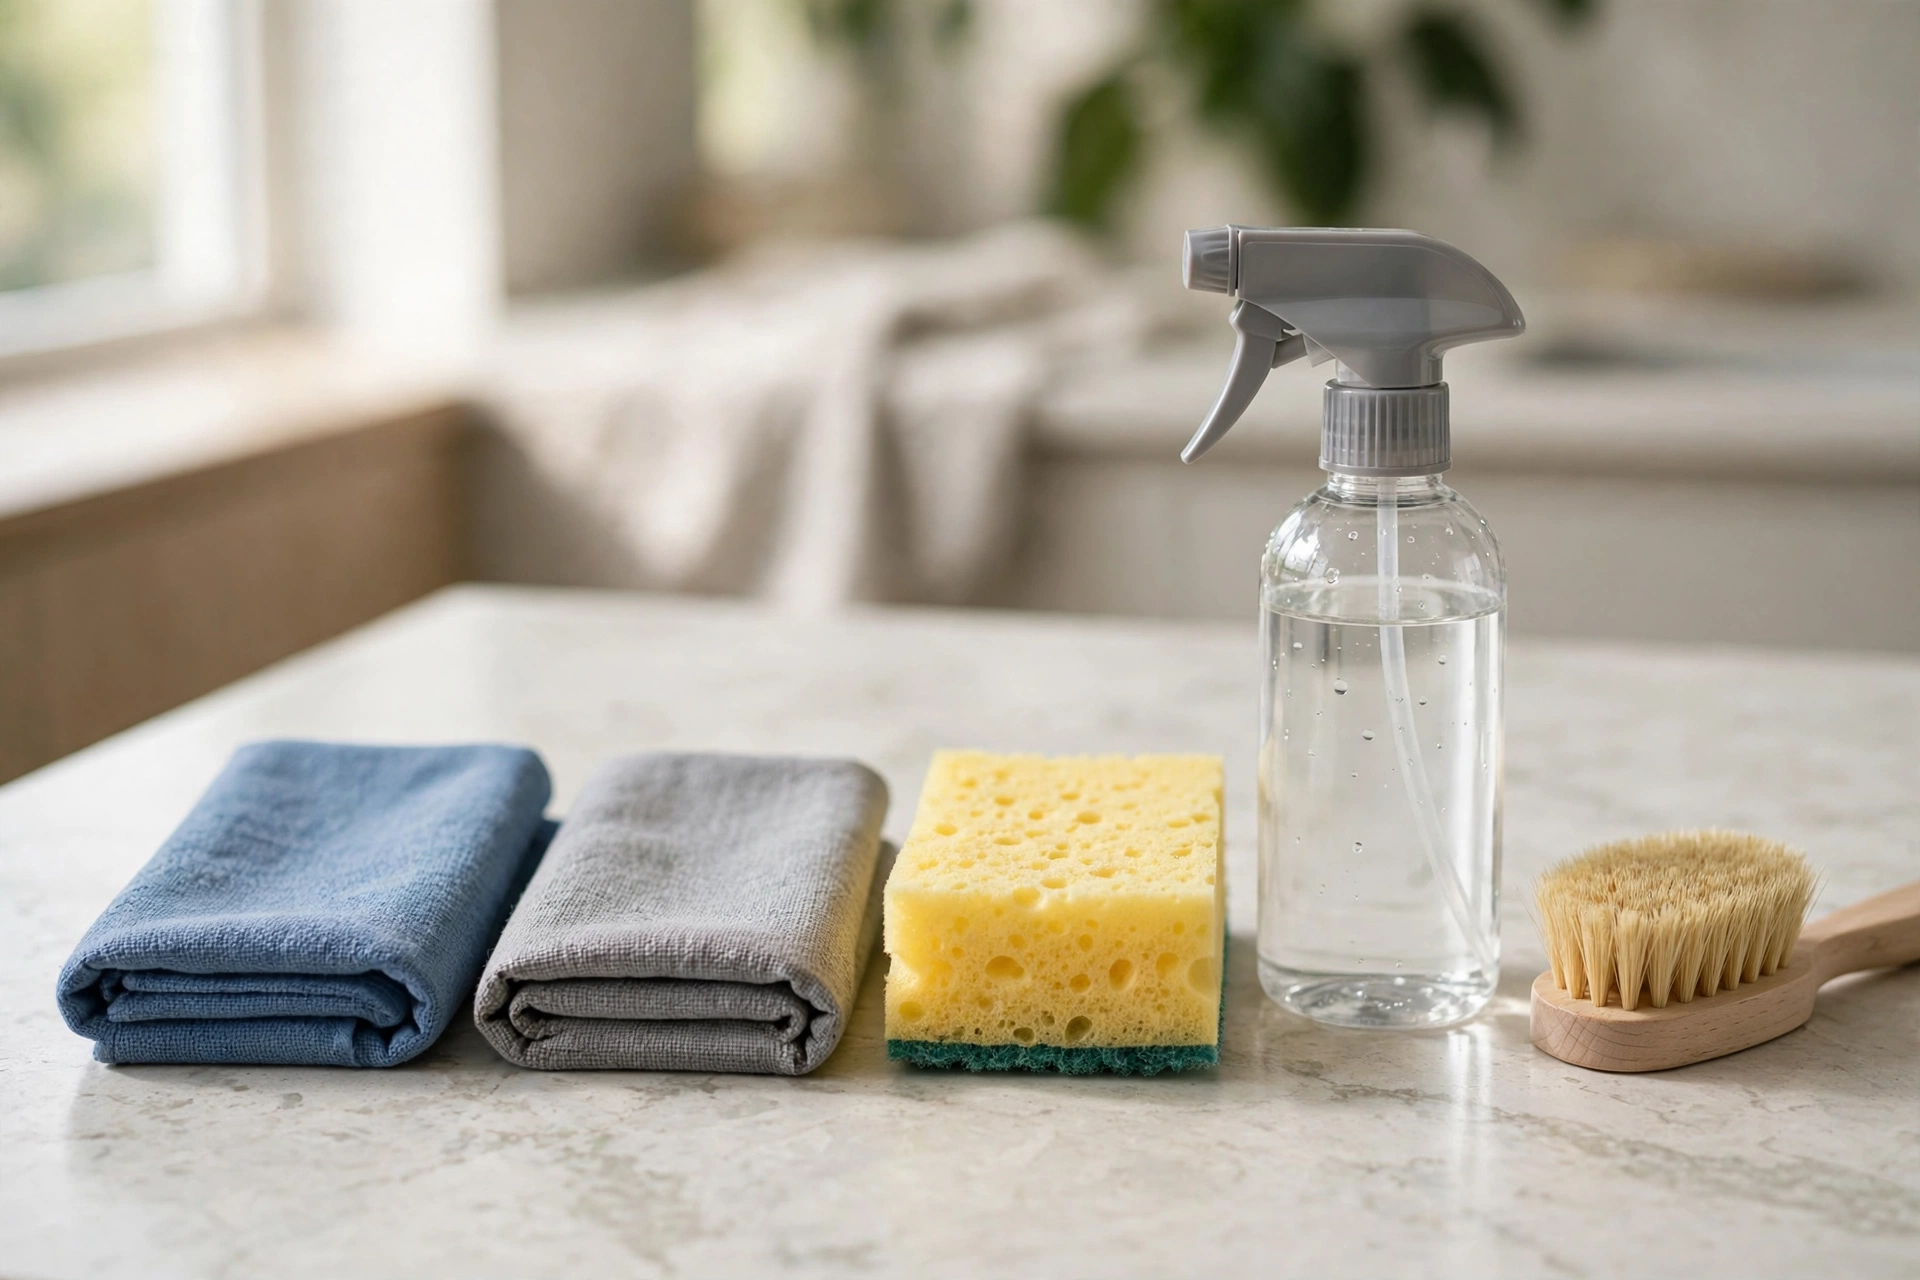
Choosing the right tools means matching the cloth, brush, and mop to the surface, keeping separate cloths for bathrooms and kitchens, and replacing worn tools, because the wrong tool can scratch a surface or spread germs between rooms. Tools matter as much as technique.
Microfibre cloths work well for most dusting and wiping, because they trap dust and absorb water. Use a non-scratch sponge for sinks and tiles, a soft brush for grout, and a mop suited to your floor type. Keep a separate cloth for the toilet area, and wash cloths after use, so germs do not travel to the kitchen or living room.
Replace cloths and sponges when they become worn, torn, or smelly, because a worn tool cleans poorly and can harbour germs. Store tools clean and dry, with mops hung to dry rather than left in dirty water. A small set of clean, good tools outperforms a large set of worn ones.
Polishing and Finishing Touches
Polishing means buffing a clean, dry surface with a soft, dry cloth to remove streaks and water spots, and it is the finishing step that makes mirrors, taps, glass, and polished furniture look truly clean. Polishing works only on a surface that is already clean, because buffing dirt only spreads it.
For mirrors and glass, wipe with a small amount of glass cleaner on a cloth, then buff dry with a clean microfibre cloth, checking from an angle for streaks. For chrome taps, wipe with warm soapy water, rinse, and buff dry, so water spots do not form. For polished wood furniture, dust first, then buff with a soft, dry cloth, using a polish only if the maker allows it.
Check each room from the doorway for streaks and missed spots. Put tools away, empty the vacuum if needed, and wash cloths, so the next clean starts with clean tools. These finishing touches take only a few minutes, but they are what turn a cleaned room into a room that looks finished.
Mistakes That Undo Good Cleaning
The mistakes that undo good cleaning are wiping in circles, mopping over dry dirt, wiping disinfectant off too soon, using a dirty cloth, and skipping drying, because each one either spreads dirt or leaves a surface damp, streaky, or still dirty. Avoiding these mistakes often matters more than buying a new product.
Wiping in circles moves dirt around instead of lifting it, so wipe in one direction or an S-shape. Mopping over dry grit scratches floors and spreads dirt, so sweep or vacuum first. Wiping a disinfectant off at once defeats its purpose, so follow the label contact time. A dirty cloth spreads dirt, so switch to a clean section often.
Skipping drying leaves water spots on mirrors and taps, and damp floors and mats can develop smells. Using too much cleaner leaves a film that attracts new dirt, so rinse well and use only the amount the label directs. If a surface still looks dirty after a good technique, check whether the cloth, water, or tool was dirty, before reaching for a stronger chemical.

Build a Routine Around These Techniques
To build a cleaning routine around these techniques, assign one technique to each day or session, such as dusting on one day, vacuuming on another, and wet rooms on a third, so the whole house is covered weekly without one long session. A routine built on techniques, not rooms, is easier to keep.
Start with a simple weekly plan: dust main surfaces, vacuum high-traffic rooms, wipe kitchen and bathroom surfaces, and mop hard floors, spread across the week if that suits you. Once a month, add one deeper technique, such as scrubbing grout, soaking racks, or polishing fixtures, so deep work stays spread out.
Keep supplies in one caddy, so a session does not start with a search for cloths and cleaners. Teach everyone in the home the same basic techniques, such as blotting instead of rubbing and wiping in one direction, because shared technique means shared results. Review the routine after a month and adjust it to your home.

Conclusion
Good cleaning is mostly technique: work high to low, dry before wet, give cleaners time, use clean tools, and dry at the end. Learn these methods once, and you can apply them in every room, on almost every surface. With a simple routine built around them, cleaning becomes faster, gentler on surfaces, and easier to keep up.
FAQs
What is the most important cleaning technique?
Work from high to low and from dry dirt to wet cleaning, because this order prevents dirt from landing on surfaces you have already cleaned. It applies in almost every room.
Should I spray cleaner on the surface or the cloth?
Spray it on the cloth for most wiping, because this keeps cleaner out of joints, electronics, and food areas, and gives you better control over how much product you use.
How long should a cleaner sit before wiping?
Follow the time stated on the product label, which is called dwell or contact time. For disinfectants, this time is essential, because wiping too soon means the product has not worked.
Why does my floor look streaky after mopping?
Streaks usually mean the mop was too wet, the water was dirty, or cleaner residue was left behind. Rinse the mop often, wring it well, and mop again with clean water if needed.
Do I need to disinfect every surface every day?
No, in a normal home, cleaning is enough for most surfaces. Focus disinfecting on high-touch surfaces such as handles, switches, and taps, especially when someone is ill.
Disclaimer: This article is for general information only and does not provide professional cleaning, disinfection, or surface-care advice. Always follow the instructions for your surfaces, appliances, and cleaning products, test cleaners on a hidden spot first, keep cleaning products away from children and pets, never mix bleach with vinegar or other cleaners, and seek qualified help for damaged surfaces, electrical problems, or persistent mould. Clearise Cleaning Services does not offer guest posting, paid promotion, or advertising through this article.
Thanks for visiting Clearise Cleaning Services! Discover more helpful tips and expert cleaning insights by exploring our related categories.